
TL;DR
- Start with the use-case of the headshot. A LinkedIn headshot, an actor headshot and a team page portrait need different backgrounds, crops and expressions. Settle this before you set up a single light.
- Lock your light, then forget it. A large key light at about 45 degrees with a 2:1 key-to-fill ratio flatters most faces. Repeating that setup is what makes a whole team’s headshots match.
- Shoot for sharp eyes. Use 85-135mm, f/5.6-f/8 with strobes, eye-detection AF and base ISO.
- Direct, don’t just ask for a smile. Chin forward and down, a slight squint and conversation-based prompts beat “say cheese” every time.
- Plan your frame budget. Most of the post-shoot time goes into choosing between near-identical expressions, so shoot with intent and let AI culling handle the blinks, blur and duplicates.
- Export for where the image will live. That means square crops for profiles, 4:5 for actors and web, and full-resolution sRGB files for everything else.
Ten minutes into a corporate session, your client says it: “I hate how I look in photos.” Their shoulders creep up, the smile goes stiff, and the next 40 frames are unusable.
Headshots look simple. One person, one background. That simplicity is exactly why they’re hard, because with nothing else in the frame, every small miss shows: a flat key light, a chin pulled back, glare across a pair of glasses, a crop that doesn’t survive LinkedIn’s circle.
This guide covers the headshot photography tips that fix those misses, from the light ratio you set before the client walks in to the file sizes you export after they leave. You’ll also get a settings cheat sheet for each type of headshot, a prep sheet you can send to clients, and a simple way to keep culling under control.
What Makes a Headshot Different From a Portrait?
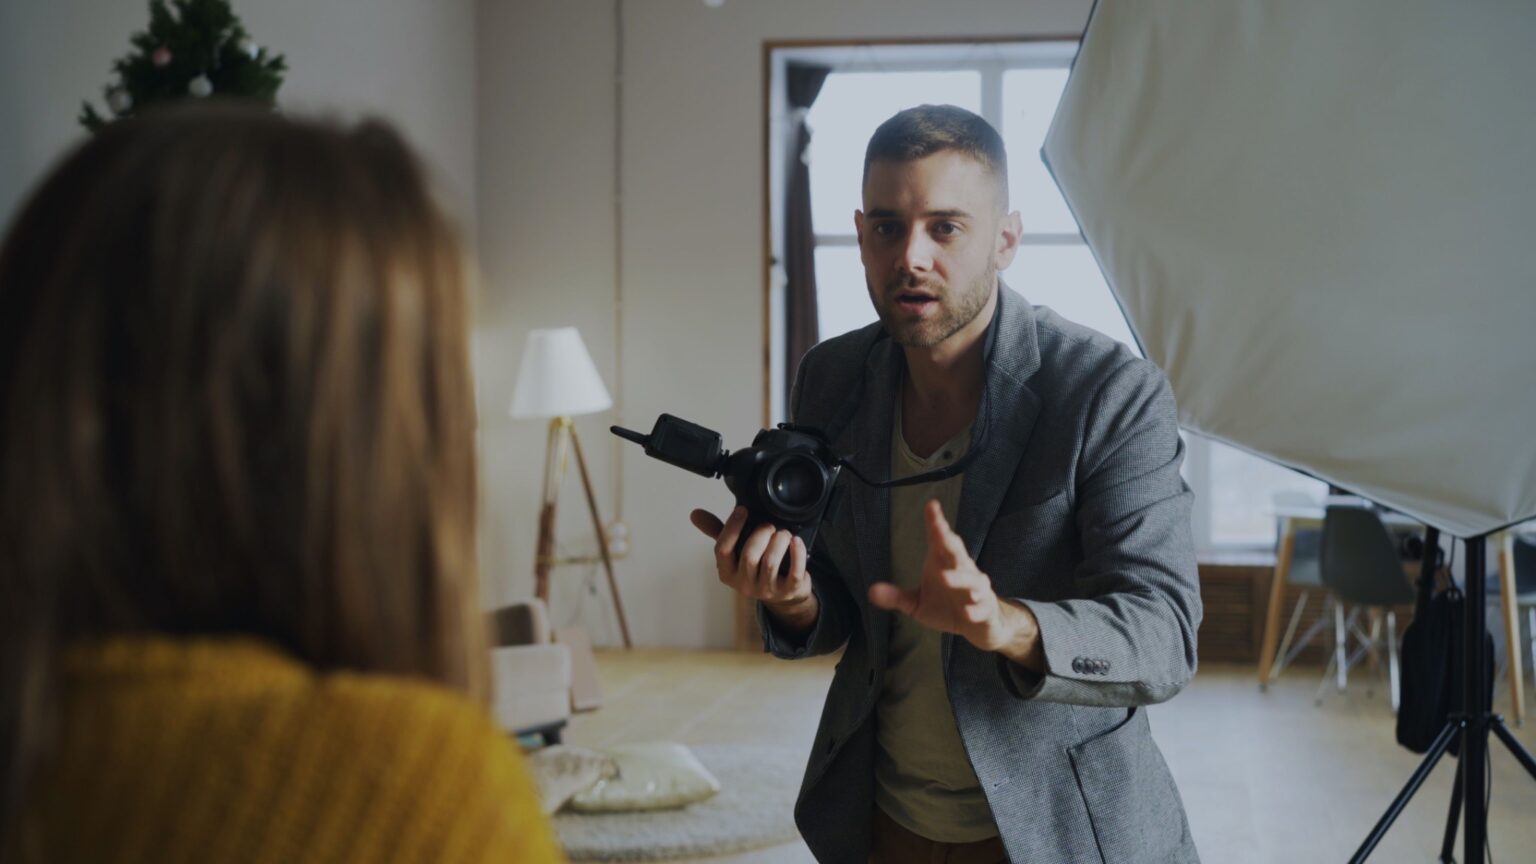
A headshot is a tightly framed portrait, usually head and shoulders, made to represent one person professionally on LinkedIn, a company website, a casting submission or a speaker bio. A portrait can tell any story. A headshot has one job: make the person look like the most confident, trustworthy version of themselves at thumbnail size.
That thumbnail test matters more than most guides admit. Your client’s headshot will mostly be seen at around 100 pixels wide, inside a circle, next to a name. Strong eye contact, clean separation from the background and a crop with room to adapt matter more than fine background texture nobody will ever see.
Headshot Settings Cheat Sheet (by Headshot Type)
Use this table as your starting point, then adjust for the face in front of you.
| Headshot type | Focal length | Aperture | Lighting | Background | Expression |
| Corporate / LinkedIn | 85-105mm | f/5.6-f/8 (strobe) | Two lights, soft, 2:1 ratio | White or light gray | Warm, approachable smile |
| Executive / editorial | 85-135mm | f/5.6-f/8 | One large source, 3:1-4:1 ratio | Mid gray, charcoal or black | Confident, closed-mouth or slight smile |
| Actor (commercial and theatrical) | 85-135mm | f/2.8-f/5.6 | Window light or soft key, 2:1 commercial, up to 4:1 theatrical | Neutral or softly textured, out of focus | Range: bright to neutral to serious |
| Personal brand / environmental | 50-85mm | f/2.8-f/4 | Ambient light plus fill flash | The client’s real workspace | Relaxed, in context |
| Team headshot day | 85-105mm | f/8 | Fixed three-light setup, locked down | Brand-matched solid color | Consistent across every person |
Here’s how you can read this table: the lighting ratio and background change the most between headshot types. Lens and camera settings barely move. If you get the purpose right, most of your technical decisions follow from it.
Headshot Photography Tips for Setting Up the Shoot
1. Ask What the Headshot Is For Before You Book
“Professional headshot” can mean five different things. Here are the three questions you should ask when the client books:
- Where will this image live? LinkedIn, a company team page, a casting site, a book jacket or a conference program each need a different crop and tone.
- Does it need to match existing photos? If their team page already uses a gray background and a 4:5 crop, your images should match it exactly.
- Who needs to see it? A lawyer’s clients expect something different from a startup’s investors.
Ask for the URL of the page where the headshot will go. Two minutes on that page will tell you the background color, crop and mood the client needs.
2. Send Your Client a Headshot Tips Prep Sheet
A lot of “I hate how I look in photos” can be prevented the day before. Send every client a short prep sheet with these headshot tips:
- Bring 2-3 tops, in solid colors and in different necklines. A jacket is the fastest way to change a look.
- Avoid fine stripes and tight patterns, which can moiré on camera, plus logos, neon colors and anything close to their skin tone.
- Get any haircut a week before, not the day before.
- Wear makeup that’s matte, not shiny. Avoid heavy SPF foundation, which can look pale under flash.
- Bring your everyday glasses if you’re known for wearing them. Clients who don’t recognize themselves in their headshot won’t use it.
- Drink water, sleep well and skip alcohol the night before. Puffiness shows up at 85mm.
Why this works: clients who arrive prepared feel more in control, and clients who feel in control relax faster in front of the camera.
3. Build a Lighting Setup You Can Repeat Every Time
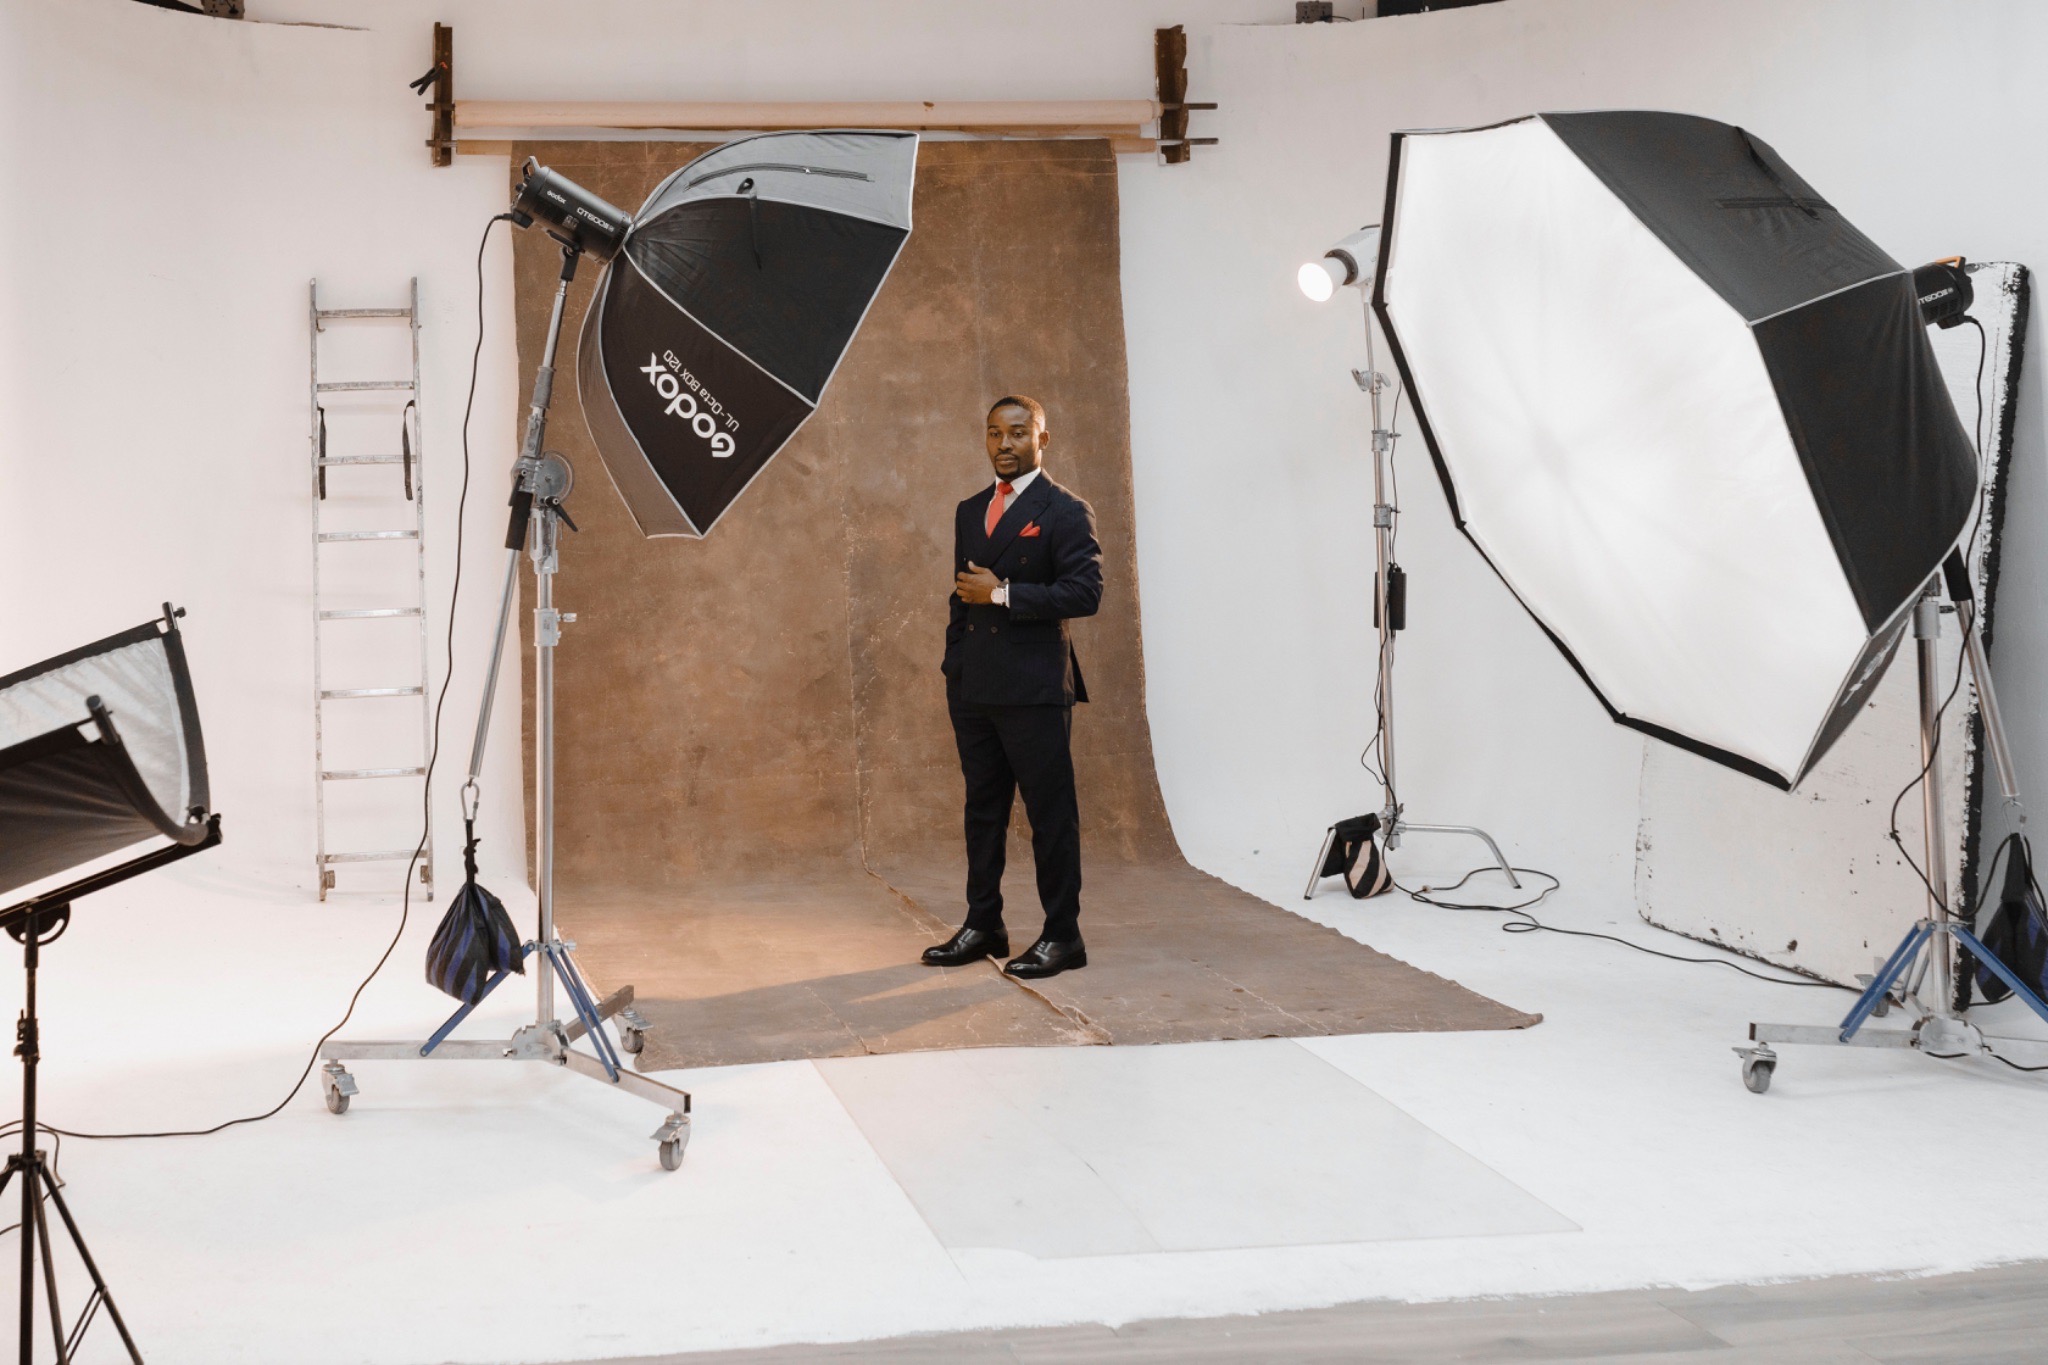
Soft, directional light flatters the widest range of faces. This four-light starting setup works for most studio headshots:
- Key light: a 3-4 ft octabox or 36×48″ softbox, about 45 degrees to one side, slightly above eye level and as close as the frame allows. The closer the source, the softer the light.
- Fill: a white or silver reflector, or a second light, on the opposite side. Start at a 2:1 ratio, meaning fill one stop below the key, for corporate work. Drop the fill for more shape.
- Background light: for pure white, light the background about 1 to 1.5 stops brighter than the key. Any brighter and the light wraps around the edges of the subject and lowers contrast.
- Hair light (optional): a small strip box above and behind the subject to separate dark hair from dark backgrounds.
One-light alternative: a large octabox in front of the subject and slightly above, with a reflector at chest height underneath, gives you clamshell lighting. It’s forgiving, quick to set up and great for team headshot days in small conference rooms.
Natural-light alternative: put your subject facing a large window at about 45 degrees and use a reflector on the shadow side. Avoid direct sun on the face.
Once your setup works, write down the light positions and power settings or take a reference photo. Repeating the setup exactly is what makes a 40-person team look like one consistent set.
4. Choose a Background That Matches the Use-Case
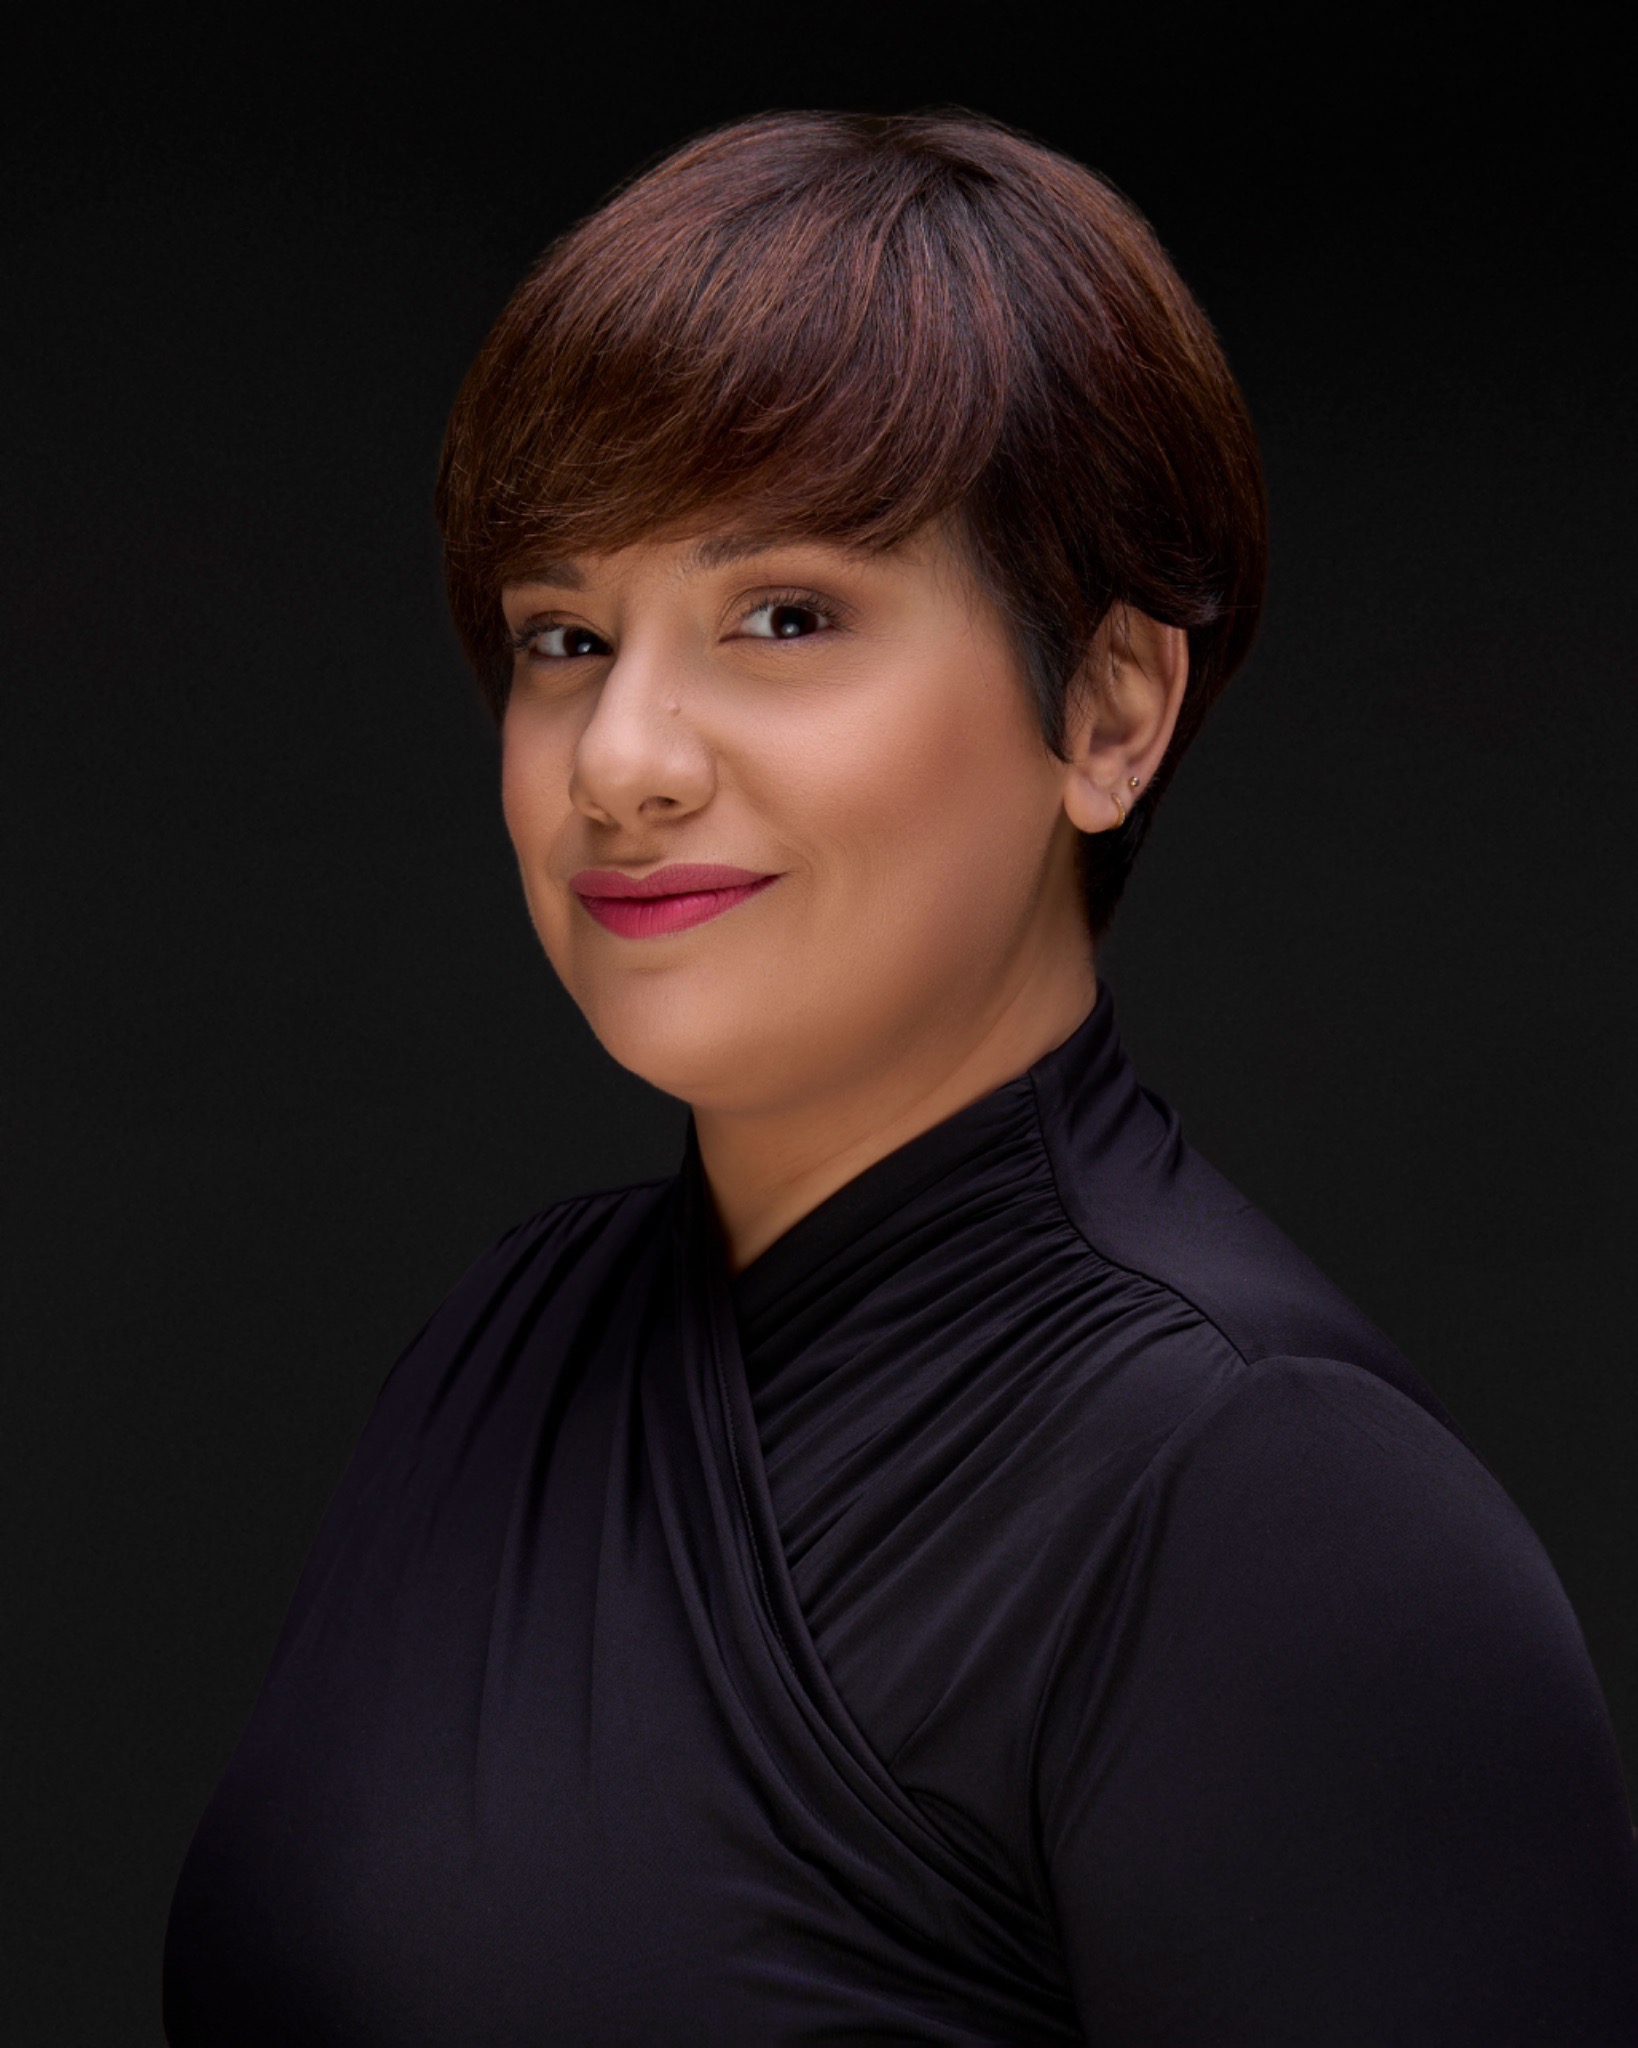
The background should support the face, never compete with it.
- White or light gray: modern and safe for most industries, and easy to match across a team.
- Mid gray: timeless and forgiving, because it hides small lighting inconsistencies.
- Charcoal or black: executive and editorial looks, but it needs a hair light or rim light for separation.
- Brand colors: popular for team pages. Confirm the exact color before the shoot.
For location work, keep the subject at least 6-8 feet from the background so it falls out of focus even at f/5.6.
5. Pick a Focal Length That Flatters Faces
Distance shapes faces more than the lens itself does. At 85mm or longer, you stand far enough back that noses don’t look enlarged and ears don’t disappear. That’s why 85mm, 105mm and the 70-200mm f/2.8 are the standard headshot lenses.
- 85mm prime: the classic choice, sharp and compact.
- 105mm or 135mm prime: a bit more compression, which flatters strong features.
- 70-200mm f/2.8: lets you reframe without moving, which is useful on fast team days.
- 50mm: fine for environmental headshots where you want context. Avoid it for tight crops.
If you’re deciding which lens to buy, this guide on how to choose a portrait lens by focal length and budget goes deeper.
6. Set Your Camera for Sharp Eyes, Not Shallow Blur
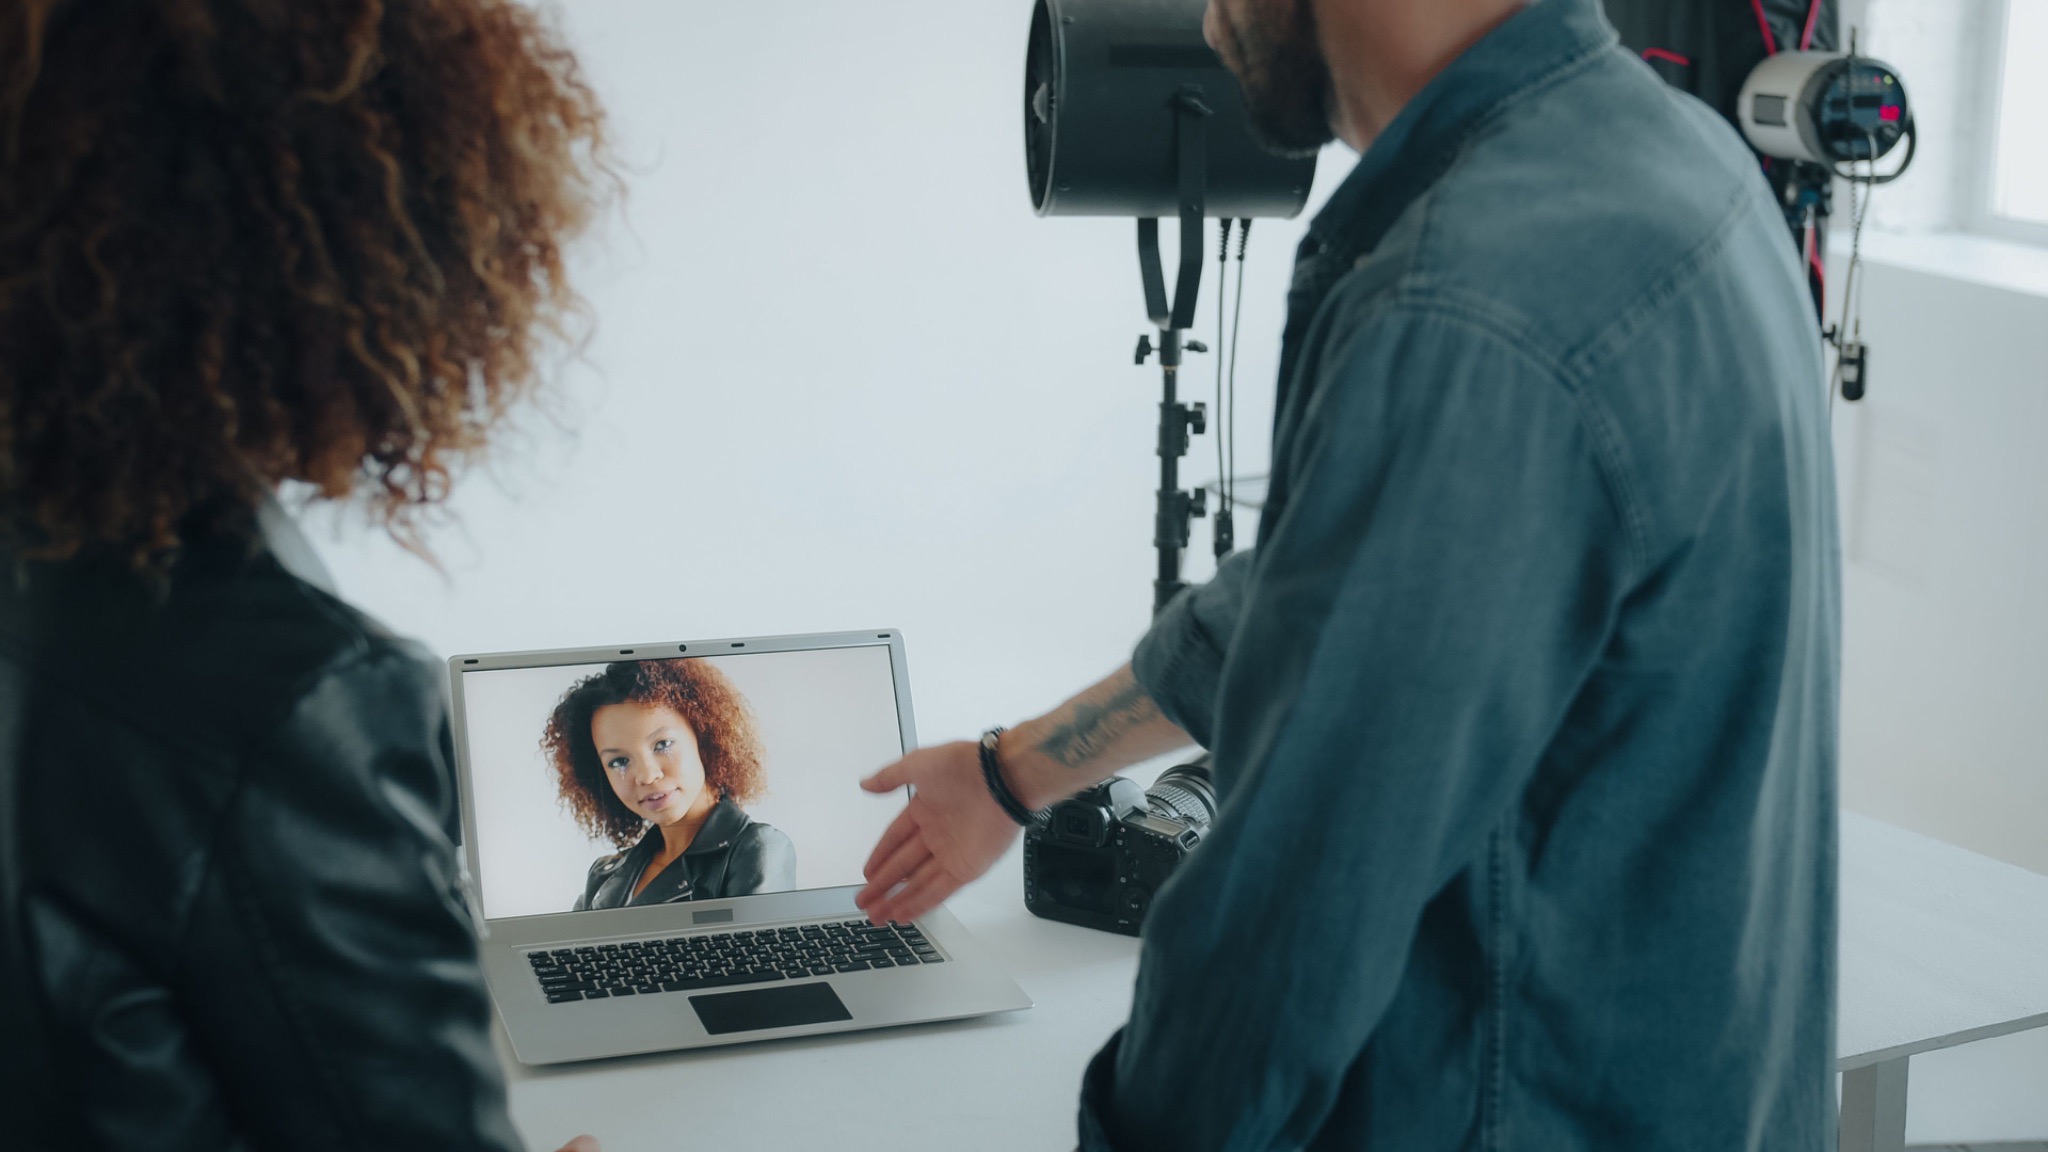
Shallow depth of field is a portrait habit that hurts headshots. At 85mm and head-and-shoulders distance, f/1.8 can leave one eye sharp and the other soft.
With strobes:
- Aperture: f/5.6-f/8, which keeps both eyes and the tip of the nose sharp.
- Shutter speed: at or below your flash sync speed, usually 1/160-1/250s depending on the camera. The flash freezes motion, so you don’t need a faster shutter.
- ISO: your camera’s base ISO.
With natural or continuous light:
- Aperture: f/2.8-f/4.
- Shutter speed: 1/250s or faster.
- ISO: auto ISO with a sensible upper limit.
Focus: use eye-detection AF in continuous mode (AF-C or Servo). Modern subject detection handles small head movements better than a single fixed point. Switch to single-point AF on the nearest eye only if detection struggles with glasses or hair across the face.
File format: RAW. If you’re shooting tethered for client review, add a small JPEG.
Tether when you can. Clients who see their images live on a laptop give feedback in the moment, and that alone prevents most “I don’t like any of them” emails.
Headshot Gear That Covers Most Sessions
| Gear | Value pick | Pro pick | Why it matters |
| Camera | Any recent 24MP+ full-frame body | Canon EOS R5 Mark II, Sony a7R VI, Nikon Z8 | Higher resolution gives you room to crop square, 4:5 and horizontal from one frame |
| Lens | 85mm f/1.8 | 85mm f/1.4 or 70-200mm f/2.8 | Flattering perspective at a comfortable working distance |
| Key light | Godox AD600Pro II | Profoto Pro-D3 | Consistent power and color shot after shot |
| Modifier | 36×48″ softbox | 4-5 ft octabox | Bigger and closer means softer light |
| Fill | 42″ 5-in-1 reflector | Second light with a strip box | Controls your lighting ratio |
| Background | Seamless paper | Collapsible fabric backdrop system | Clean, matchable backgrounds on location |
The takeaway: you don’t need the pro column to make great headshots. A repeatable setup and good direction matter far more.
Headshot Photography Tips for During the Shoot
7. Pose From the Ground Up
Most stiff headshots start with stiff feet. Work from the bottom up:
- Feet: angle the body 15-30 degrees away from the camera and put weight on the back foot.
- Shoulders: bring the front shoulder slightly toward the lens and drop both shoulders away from the ears.
- Chin: ask the client to push their forehead toward the camera, then tip the chin slightly down. It defines the jawline and removes a soft chin line without looking strained. Headshot photographer Peter Hurley builds his posing around the jawline for this reason.
- Eyes: look straight down the lens for most frames, and slightly off-camera for a few alternates.
Show clients the pose instead of describing it. Demonstrating the “forehead forward” move yourself gets a laugh, and that laugh is often your first usable frame.
8. Direct Expressions With Prompts, Not “Smile”
“Smile” produces a social smile, which tends to look tense and stop at the mouth. Real expressions come from thinking about something.
Prompts that work:
- “Tell me about the best part of your job.”
- “Think of the last time someone made you laugh out loud.”
- “Give me the look you’d give a client who just agreed to your proposal.”
Micro-direction for fine-tuning:
- “Squint just a little from the bottom lid.” This is what Hurley calls the “squinch.” It reads as confidence instead of surprise.
- “Breathe out through your mouth, then close it gently.”
- “Smaller smile. Think ‘pleasant,’ not ‘thrilled.’”
Keep shooting through the laugh. The frame right after the laugh, as the face settles, is usually the most natural one.
9. Fix Common Headshot Problems on Set

It’s faster to fix things in camera than in post. Keep this table handy:
| Problem | Why it happens | On-set fix |
| Glare on glasses | The key light reflects straight into the lens | Raise the key light or move it wider. Tilt the frames slightly down by lifting the arms off the ears. |
| Shiny forehead or nose | Oil plus a small or hard light source | Blot with powder, and use a larger, more diffused key |
| Soft chin line | Chin pulled back or camera too low | Forehead forward, chin down, camera at or slightly above eye level |
| Eyes look small or squinty | Smiling too hard | Prompt a smaller smile. Use the squinch on purpose. |
| Collar or jacket bunching | Sitting back in the chair | Have them sit forward, then tug the jacket down at the back |
| Subject blends into the background | Dark hair on a dark background | Add a hair light or light the background a little brighter |
If glare still makes it into a gallery, here’s a full guide on how to remove glare from glasses in photos, both manually and with AI.
10. Light for the Face in Front of You
One setup works for most people, but small changes make a big difference:
- Rounder faces: use short lighting. Turn the face slightly so the key light hits the side turned away from the camera. That adds shadow on the near cheek and slims the face.
- Narrower faces: use broad lighting, which lights the side of the face turned toward the camera so it reads wider.
- Deeper skin tones: expose for the skin, not the background, and check your histogram or zebras. Shine shows up more, so a larger, closer source helps. A white reflector usually looks more natural than gold.
- Fair skin: watch for clipped highlights on the forehead and nose, and lower the key light slightly if needed.
On team days, adjust exposure for each person instead of using one setting for everyone. A white background will fool your meter differently with every outfit.
11. Shoot Variety, but Know Your Frame Budget
Clients want options. You don’t want 900 near-identical frames to go through later. Plan a frame budget before the session:
| Session type | Looks | Frames per look | Total frames | Where the time goes in culling |
| LinkedIn session (30 min) | 2 | 60-80 | 120-160 | Choosing the best expression in each look |
| Actor session (2 hrs) | 4-5 | 100-150 | 400-750 | Comparing subtle shifts in expression |
| Team headshot day (40 people) | 1 each | 40-60 | 1,600-2,400 | Sorting by person, then picking each person’s best |
These are illustrative planning ranges, not industry benchmarks. Adjust them to how you shoot.
Give every session the same set of looks so clients always get real variety:
- Standard: direct eye contact and a warm smile
- Same look with the head turned about 15 degrees
- A serious or thoughtful expression
- A different outfit, if they brought one
- A looser crop with room for horizontal and banner use
12. Run Team Headshot Days Like a Production Line

Team headshot days reward systems:
- Lock everything down. Tape the stool position, the light stands and the camera position to the floor.
- Shoot a name slate. Photograph a card with each person’s name before their first frame. Later, splitting a 2,000-frame shoot into one folder per person takes minutes instead of an hour.
- Budget 5-8 minutes per person, including walking in and out.
- Check focus and exposure on every new person. Hair color and clothing change everything.
- Keep the mood light. Have music playing, water and mints ready, and a two-line intro that explains exactly what you’ll ask them to do.
The slate trick also helps after the shoot. Once each person has their own folder, you can cull and edit each one as a small, separate job.
Headshot Photography Tips for After the Shoot
13. Cull by Person, Then by Expression
Culling headshots is slow for a specific reason. The technical rejects are easy. Choosing between 12 frames where only the corner of the mouth changes is what eats your evening.
Split the job in two:
- Technical pass: reject blinks, missed focus and duplicates.
- Creative pass: choose the expression that looks most like the person at their best.
AI tools are good at the first pass. Aftershoot’s AI culling groups duplicates, flags closed eyes and blur, and gives you a shortlist, so you spend your attention on the creative pass. In an independent test, Digital Camera World’s reviewer found that Aftershoot organized a portrait session into categories like Selected, Blurred and Eyes Closed in under 12 minutes. On G2, one user put it simply: it “removes duplicates, flags blurry shots, and even catches things like closed eyes.”
You still choose the final expression. That decision is yours.
14. Retouch to a Written Standard
Agree on a retouching level in writing before the shoot so the client never says “this doesn’t look like me.”
| Retouching level | What’s included | Best for |
| Natural (default) | Temporary blemishes, flyaway hairs, lint, glasses glare, color and exposure correction | Corporate, LinkedIn, team pages |
| Polished | Natural, plus softening under the eyes, evening out skin tone and subtle teeth whitening | Executive, personal brand |
| Actor-accurate | Temporary blemishes only. The person must look exactly as they do when they walk into an audition. | Commercial and theatrical actors |
The rule that never changes: remove what’s temporary, such as breakouts, redness or a razor nick. Keep what’s permanent, such as moles, freckles, scars and expression lines, unless the client specifically asks.
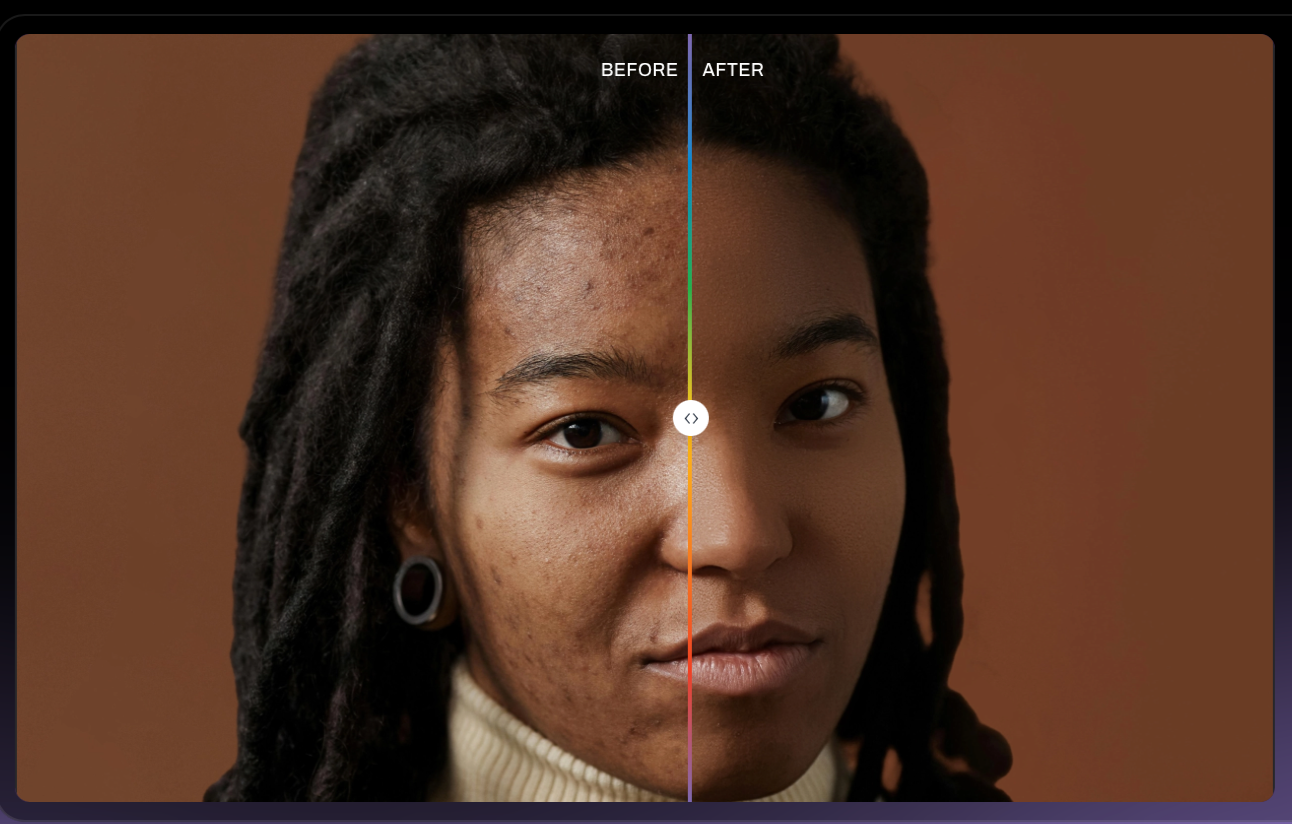
On team days, retouching 40 people to the same standard by hand is where consistency slips. Aftershoot’s AI skin retouching targets temporary blemishes while keeping freckles, moles and skin texture. It also handles face shine, glasses glare and flyaways, so the whole team ends up at the same level of polish. You set how strong the retouching is, and you approve every image.
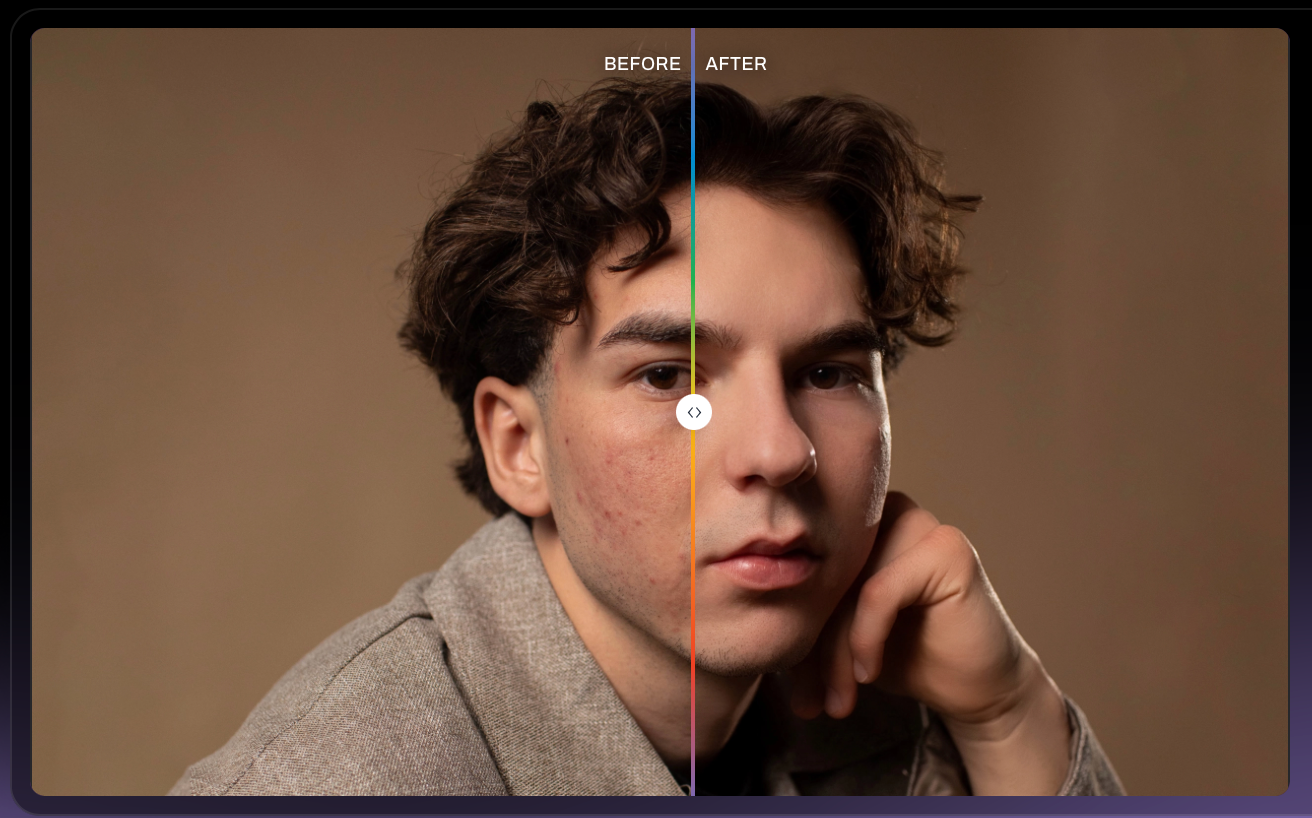
Additionally, you can also check out our AI Face Retouching tool that polishes skin without changing expressions, skin texture, or identity. Here’s what the results could look like:
15. Export the Right Files for Every Platform
The most common delivery mistake is sending one file and hoping it works everywhere. Export a small set of files for each final image:
| Use | Aspect ratio | Size | Color space |
| LinkedIn and social profiles | 1:1 square | 1080-2000px (LinkedIn needs at least 400 x 400px and files under 8MB) | sRGB JPEG |
| Website and team page | Match the site, often 4:5 or 3:4 | 1600-2400px on the long edge | sRGB JPEG |
| Actor headshot | 4:5 (8×10 print) | Full resolution | sRGB |
| Banner or speaker slide | 16:9 or wider | Full resolution | sRGB |
| Print and press kit | Uncropped original | Full resolution, set to 300 ppi for print layouts | sRGB unless the printer asks for Adobe RGB |
Two details clients will thank you for:
- Leave space around the head in the original file. A slightly loose frame can become a square, a 4:5 and a horizontal crop without reshooting.
- Ignore “72 DPI for the web.” Screens only care about pixel dimensions. The DPI setting has no effect on how an image looks online.
Deliver everything in one place, with clear folder names like “LinkedIn,” “Website” and “Print,” so clients upload the right file. With Aftershoot Galleries, you can start free with the Starter plan to get 10 GB of photo storage & 1 GB video.
How To Make Every Headshot Session Repeatable?
Great headshots come from systems more than lucky frames. Settle the purpose before the shoot, lock in lighting you can repeat, direct expressions instead of waiting for them, and export files that match where the image will live.
Your most valuable time is the part only you can do: making a nervous client feel like themselves and choosing the frame where it shows. If culling and retouching are eating the evenings after your sessions, try Aftershoot free for 30 days and see how much faster your next headshot gallery goes out.
FAQs for Headshot Photography Tips
Q1. What is the best lens for headshot photography?
An 85mm prime is the most popular headshot lens because it lets you stand far enough back to keep facial proportions natural. A 105mm or 135mm adds more compression, which flatters strong features. A 70-200mm f/2.8 gives you flexibility on busy team days. Avoid focal lengths below 50mm for tight head-and-shoulders crops, because they can enlarge the nose and shrink the ears.
Q2. What are the best camera settings for headshots?
With studio strobes, start at f/5.6-f/8, a shutter speed at or below your flash sync speed (usually 1/160-1/250s), base ISO and eye-detection autofocus in continuous mode. With natural light, try f/2.8-f/4 at 1/250s or faster, with auto ISO. Always shoot RAW so you can correct white balance and skin tones accurately later.
Q3. How many photos should you take in a headshot session?
For a 30-minute LinkedIn session, 120-160 frames across two looks is usually plenty. Actor sessions with four or five looks often reach 400-750 frames. For team headshot days, plan around 40-60 frames per person. Shooting with clear looks in mind, instead of shooting continuously, gives clients real variety without burying you in near-duplicates.
Q4. What should clients wear for a professional headshot?
Solid, mid-tone colors in matte fabrics photograph best. Navy, charcoal, soft green and burgundy work for most skin tones. Avoid fine stripes, small checks, logos, neon colors and anything close to the client’s skin tone. Ask clients to bring two or three tops with different necklines and at least one jacket, so you can create distinctly different looks quickly.
Q5. How much should you retouch a professional headshot?
Retouch only what’s temporary: breakouts, redness, flyaway hairs, lint and glare on glasses. Leave permanent features like moles, freckles, scars and expression lines unless the client asks you to change them. Actor headshots need even lighter retouching, because casting directors expect the person to look exactly like their photo when they walk in. Agree on the retouching level before the session.
Q6. What size should a headshot be for linkedin?
LinkedIn needs a profile photo of at least 400 x 400 pixels and under 8MB, and it displays the photo as a circle. Deliver a square sRGB JPEG between 1080 and 2000 pixels so it stays sharp on high-resolution screens. Leave space around the head, because the circular crop cuts off the corners of the square.