TL;DR
- Most glasses glare comes from direct light bouncing off the lens at a matching angle, so a small change in light or head position often prevents it entirely.
- On set, tilting the glasses down slightly, moving your light off-axis, or using a polarizing filter are the fastest ways to stop glare before it happens.
- Manual fixes in Photoshop or Lightroom work well for isolated reflections but take time and a steady hand.
- AI-assisted retouching, like Aftershoot’s, can detect and remove glasses glare across an entire gallery in one pass, keeping results consistent.
- When glare fully covers the eyes with no visible detail underneath, no tool can invent what wasn’t captured, so prevention still matters most.
- A natural result keeps the lens, frame, and reflections of the room intact. It doesn’t erase the glasses altogether.
You nail the pose, the lighting, the expression, everything comes together, and then you zoom in and see it: two white blobs sitting where your subject’s eyes should be. And then you let out a loud sigh. Glasses glare has a way of showing up in the photos you care about most, whether it’s a groom’s portrait, a corporate headshot, or a family photo you promised would be “the one.“
The good news is that glare from glasses is one of the most fixable problems in photography, both on set and in post. This guide walks through how to prevent it while shooting, how to remove it manually, how AI retouching handles it, and when a photo simply can’t be saved.
First up, Why Does Glare Show Up on Glasses in Photos?
Glasses glare happens when a light source, flash, window, overhead light, hits the lens at an angle that reflects straight back into the camera. It’s simple physics: the angle of incidence equals the angle of reflection. If your key light and your camera are lined up on the same plane as the glasses, you’re going to see a hotspot.
This is also why glare shows up more in some situations than others. Direct on-camera flash is a common culprit, since the light source and the lens are almost always aligned. Big windows and overhead fixtures cause the same issue during natural-light portraits. Anti-reflective coatings help, but they don’t eliminate the problem entirely, especially under strong studio lighting.
7 Tips To Prevent Glare On Glasses During A Photo Shoot
Prevention is always faster than retouching, and it protects detail that editing can’t recreate.
Preventing glare during the shoot is usually faster than correcting it later. More importantly, it protects eye detail that may be impossible to recover if the reflection is completely blown out.
1. Check the glasses before settling on the pose
Glare can change with a very small movement. Before shooting a full sequence, take a test frame and zoom in on both lenses. The reflection may not be obvious on the camera preview until you inspect the eyes closely.
2. Move the light away from the camera axis
Glare appears when light reflects from the lenses toward the camera. Move the key light slightly higher or farther to one side, then take another test frame. Even a small adjustment can redirect the reflection without changing the overall look of the portrait.
3. Adjust the subject’s head angle
Ask the subject to lower their chin slightly or turn their face a few degrees away from the light. Keep the adjustment subtle so the pose still feels natural and the frames remain correctly positioned.
4. Tilt the glasses carefully
If changing the head angle affects the pose, ask the subject to angle the arms of the glasses slightly upward so the lenses tilt downward. Avoid pushing the glasses too far down the nose, especially in close-up portraits, where the adjustment may look unnatural.
5. Avoid direct on-camera flash
Because an on-camera flash sits close to the lens, its reflection can bounce directly back into the camera. When possible, use an off-camera flash, bounce the flash from a suitable surface, or reposition the light with a modifier.
6. Test a circular polarizing filter
A circular polarizer may reduce some reflections, but its effectiveness depends on the angle of the light and the curved surface of the lenses. Rotate the filter while watching the effect through the viewfinder or live view. Check the entire face as you do this, since a polarizer can also affect reflections on skin and other surfaces.
7. Capture a clean reference frame
For controlled portraits, take an additional frame after adjusting the light, pose, or glasses. If the main image still contains glare, the clean frame may provide usable eye detail for a manual composite.
If you shoot weddings or events where re-posing isn’t always possible, these small habits pay off across an entire gallery. For a deeper look at handling tricky portrait lighting on the day, see wedding portrait photography: gear, posing, lighting & workflow.
But I know it’s not always possible to get every shot right, and that’s why there are two ways to remove glare from glasses in your photographs.
How to Remove Glare from Glasses in Photos During Post-Processing?
When prevention wasn’t possible, or the glare made it into the frame anyway, manual retouching is still a reliable option for a handful of images.
1. Remove Glass Glare with Aftershoot
For repeated glare across a portrait session or wedding gallery, you can use Aftershoot Retouch instead of correcting every image manually. Aftershoot identifies glare on glasses and reduces the distracting reflection across multiple images while giving you control over the final result.
This is particularly useful when the glare appears across several photographs taken under the same lighting setup. You can process the gallery consistently, review the results, and manually refine only the images that need closer attention.
You can also test the feature on a single photograph using Aftershoot’s free AI Glasses Glare Removal tool. Here’s a quick before-after image to help you understand how the tool works.
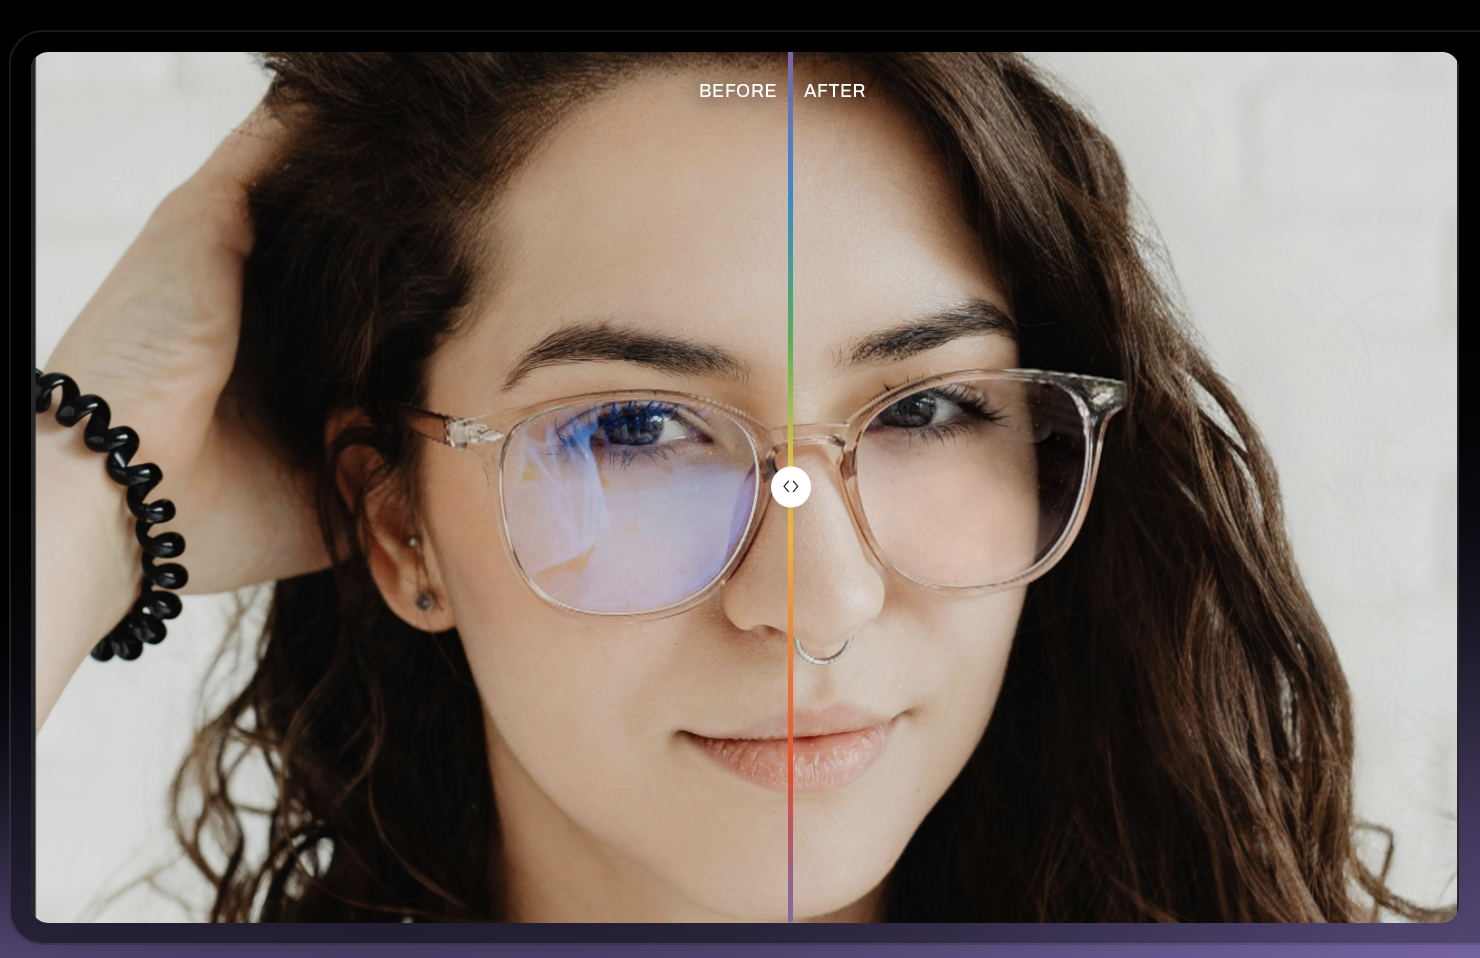
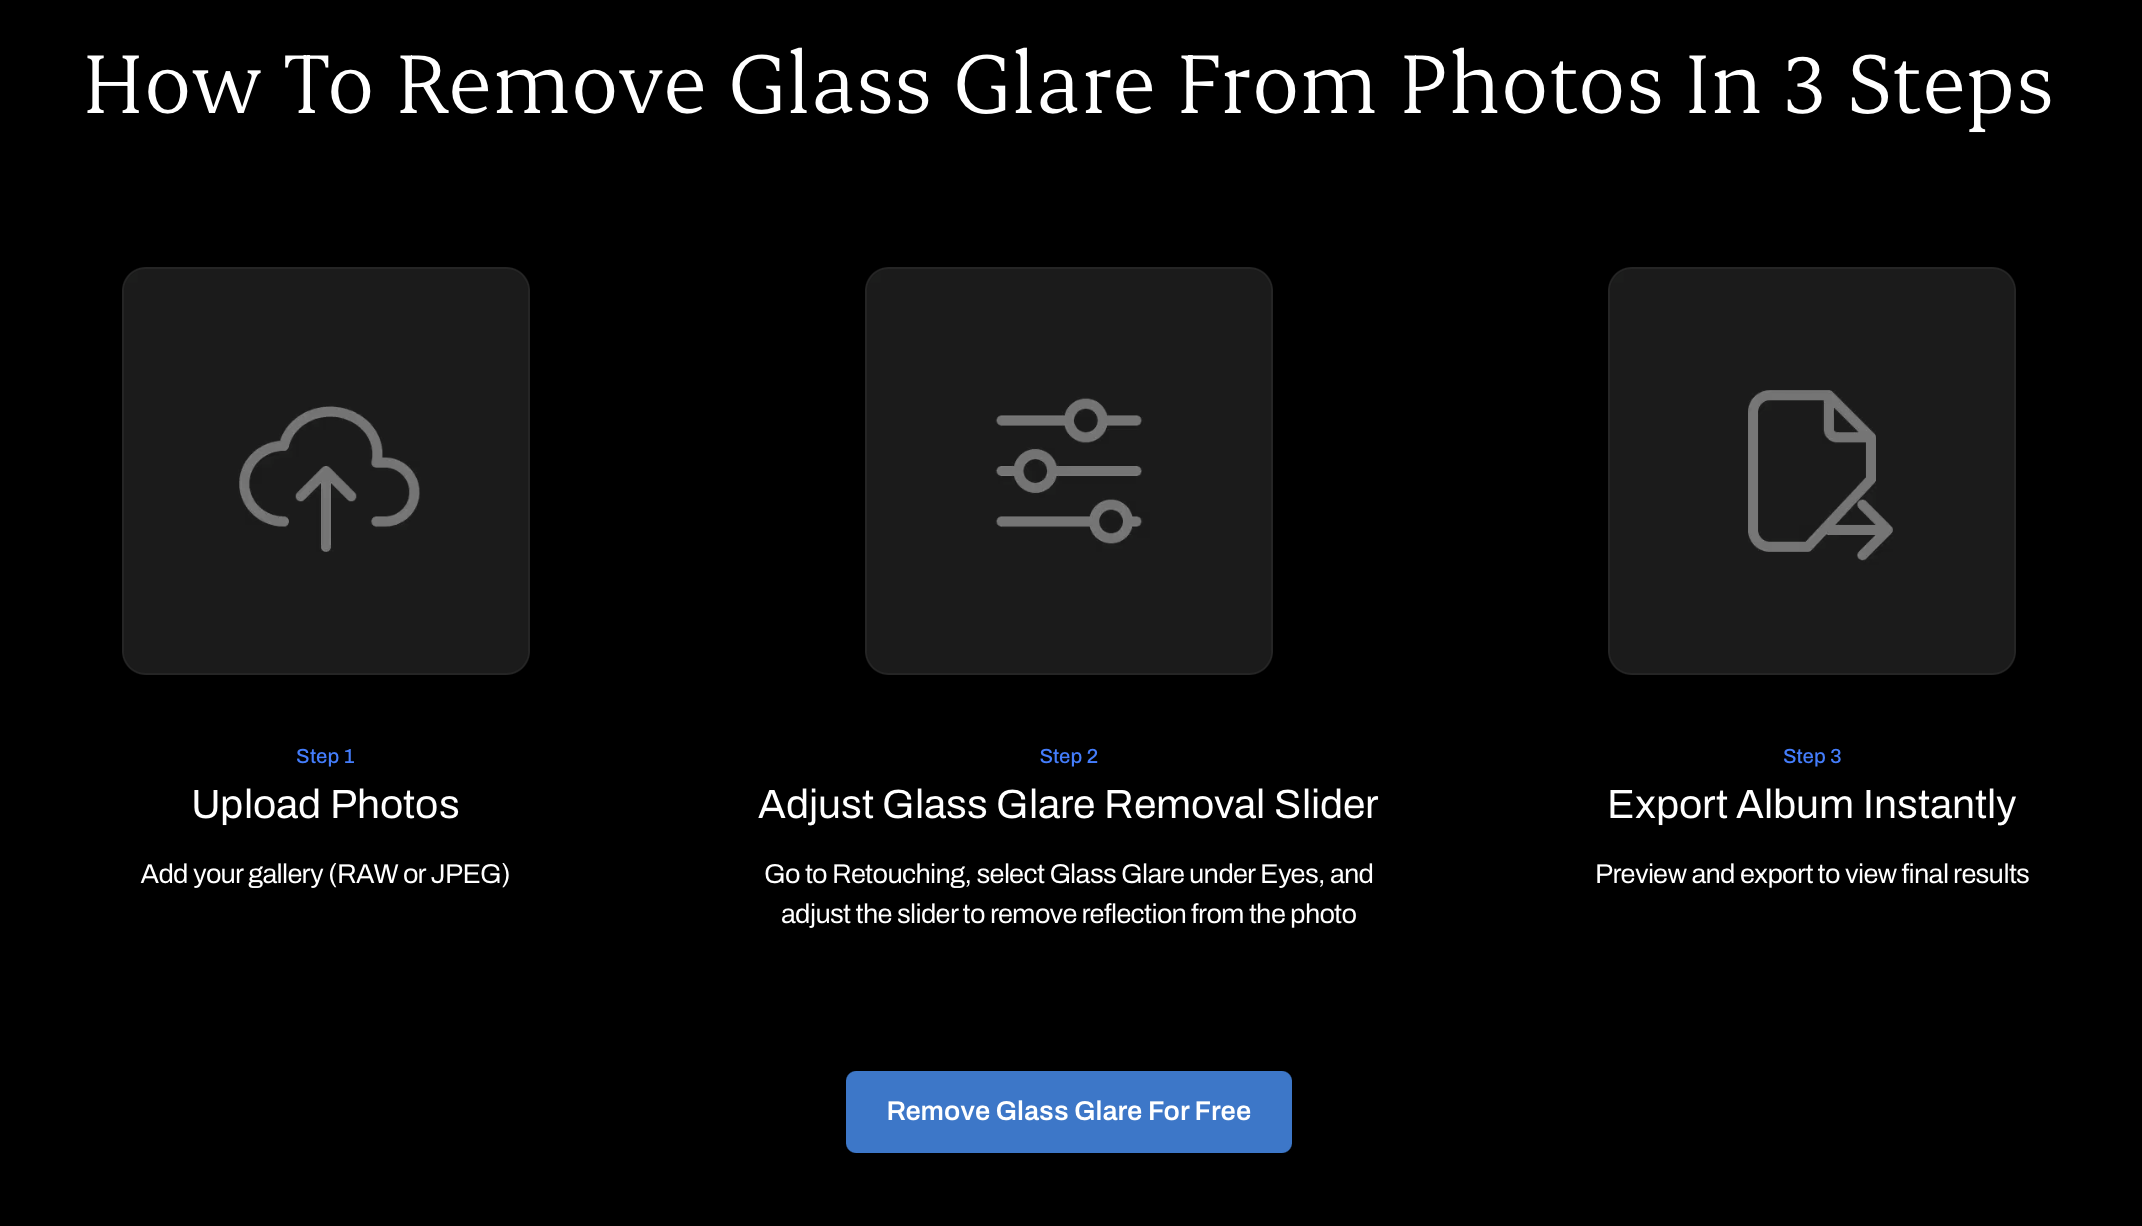
And if you’re wondering how you can remove glare from glasses with our Free Glass Glare Removal App, let me show it to you here:
- Step 1: Upload your photos in either RAW or JPEG format
- Step 2: Use the sliders to adjust the glass glare. Simply go to ‘Retouching’, select ‘Glass Glare’ under ‘Eyes, and adjust the slider to remove the reflection from the image
- Step 3: Once this is done, you can preview what the final results look like and them export the file.
2. Using Photoshop
Photoshop gives you the most control for removing glass reflection from a photo, especially when the reflection is small and doesn’t cover the pupil.
- Duplicate the layer so you’re working non-destructively.
- Use the Clone Stamp or Healing Brush to sample skin, eyebrow, or eye detail from a similar angle in the same photo (or a backup shot).
- Paint over the glare at low opacity, building up coverage gradually instead of erasing it in one pass.
- Use the Patch Tool for larger reflections, dragging a clean sample area over the glare.
- Zoom in and check for unnatural texture or color shifts before flattening.
👁️ Also Read: Aftershoot vs Photoshop
2. Using Lightroom or Capture One
For lighter reflections, local adjustment tools can tone down glare without full reconstruction. A Radial or Brush adjustment with reduced highlights, reduced whites, and a slight exposure pull can dial back a hot reflection enough that it reads as natural light on the lens instead of a blown-out spot.
3. Free online tools (only work for one-off images, not batch processing)
Several browser-based tools can also handle simple glare removal for a single image, using basic content-aware fill. These work fine for one-off edits, but most lack batch processing, which makes them impractical once you’re working through a full gallery of portraits.
| Method | Best for | Time per image | Consistency across a gallery |
| Manual (Photoshop) | Single hero shots with complex reflections | 3–10 minutes | Depends on the retoucher |
| Manual (Lightroom) | Mild, partial glare | 1–3 minutes | Moderate |
| Free online tools | One-off casual edits | 1–2 minutes | Low |
| AI-assisted (Aftershoot) | Full galleries with repeated glare across portraits | Seconds, batch-applied | High |
How to Remove Glare from Glasses in Photos with AI?
Manual retouching works, but it doesn’t scale. If you’re editing a wedding gallery with 40 portraits that all have some degree of glass glare, cloning each one by hand adds hours to your workflow.
How does Aftershoot Retouch help remove glare from glasses in photos?
If you only have five photos with glasses glare, Aftershoot’s free tool might be all you need. But when the glare appears across a 700-photo wedding gallery, alongside skin blemishes, stray hairs, eye bags, clothing wrinkles, and other distractions, fixing one issue at a time is no longer practical.
That’s where the Aftershoot AI Retouching workflow comes in. It lets you correct glasses glare and apply other retouching adjustments across multiple images, then review and refine the results before export. See how it fits into a complete portrait retouching workflow or explore its role in wedding photo retouching.
Aftershoot lets you reduce glasses glare using a dedicated Glass Glare slider, so you do not have to clone or rebuild the affected area manually in every photograph.
Here’s how to use Aftershoot Retouch to remove glass glare from your photos:
- Step 1: Import your JPEG, RAW, or TIFF-8 images into Aftershoot.
- Step 2: Select the photograph you want to work on and open the Retouch tab.

- Step 3: Switch to Loupe View by pressing Enter or the E key.

- Step 4: In the retouching panel on the right, open the Eyes category.
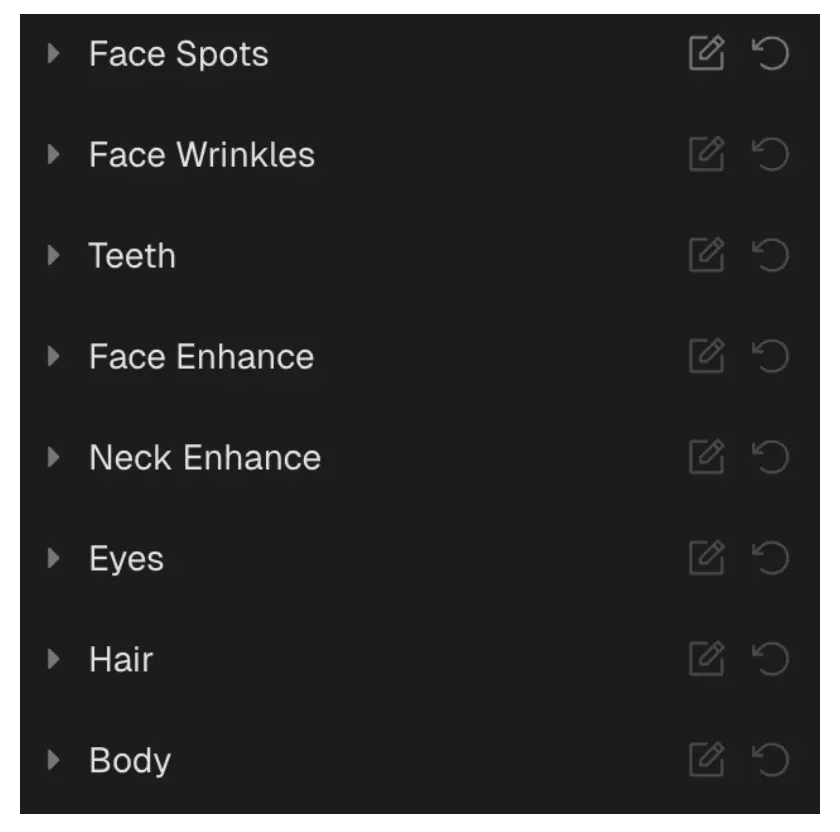
- Step 5: Find the Glass Glare slider and drag it to the desired strength.
- Step 6: Wait for Aftershoot to process the affected area, then zoom in and review the eyes, lenses, and frames.
- Step 7: Adjust the slider again if the result needs to be stronger or more subtle.
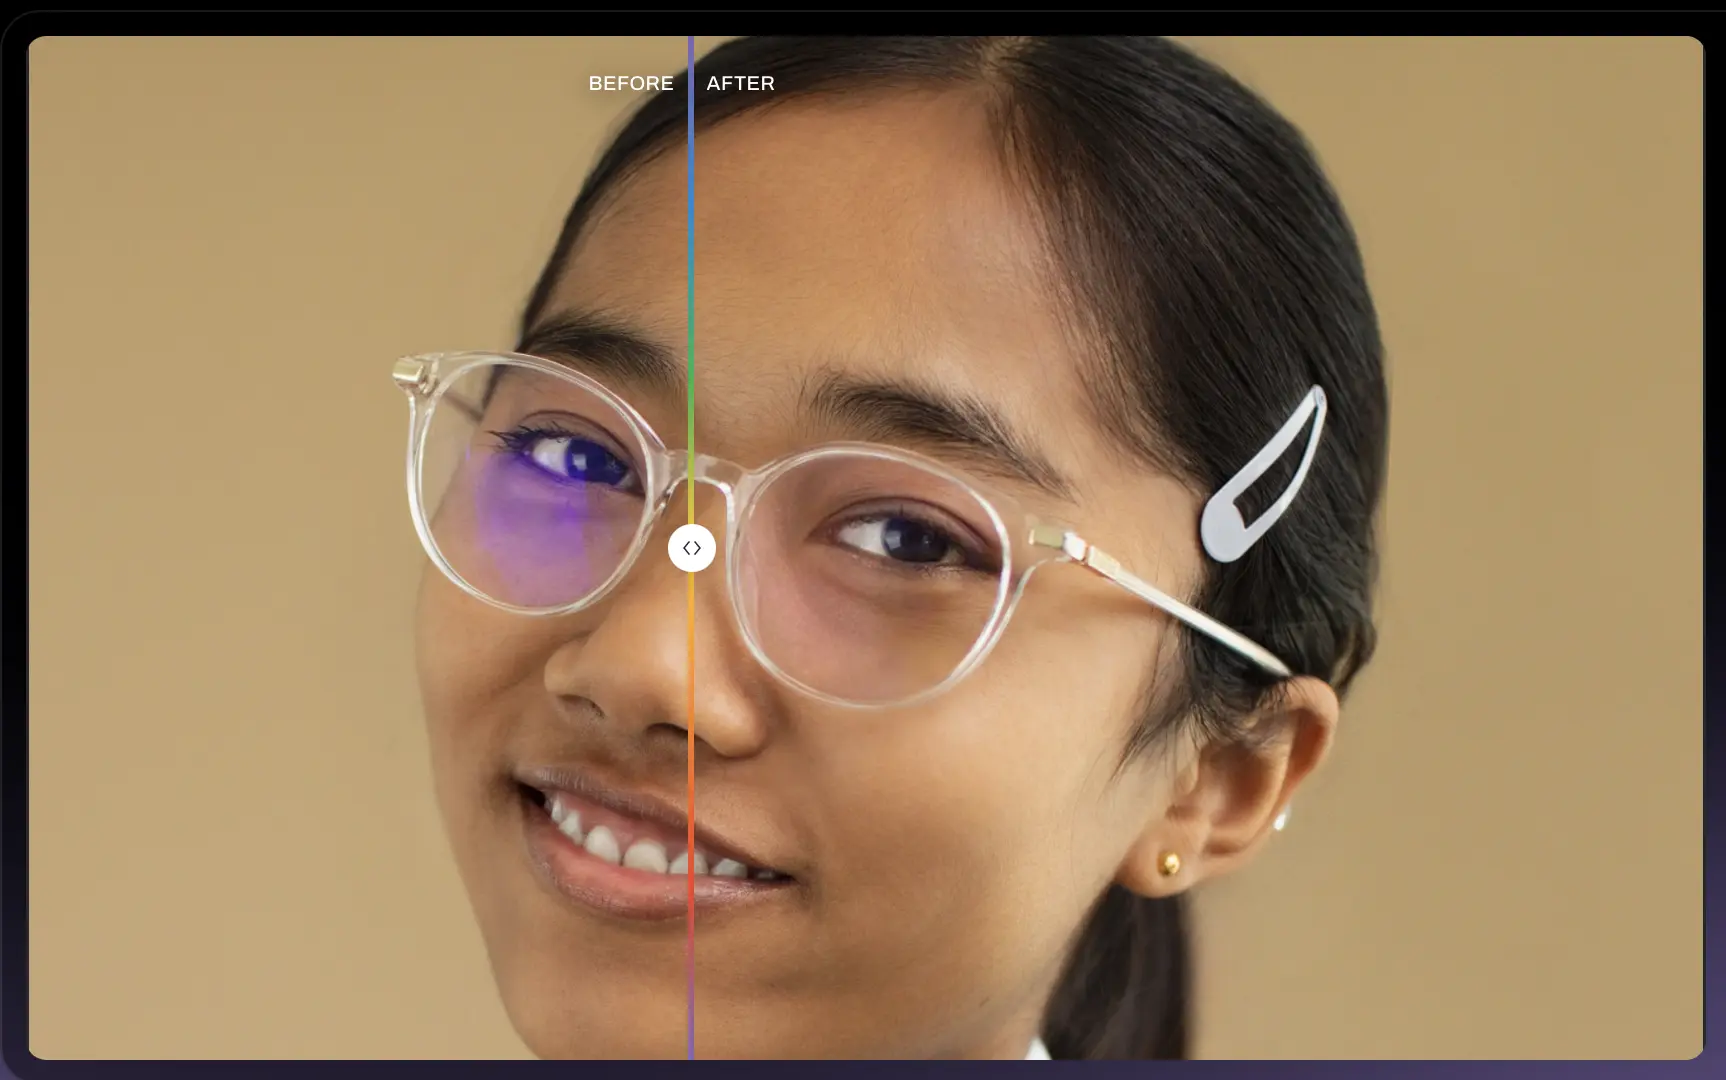
Those were the steps that’ll help you get rid of glass glare with Aftershoot Retouch, without affecting any other aspects of your picture.
What’s more, you can also whiten teeth, fix blemishes, get rid of stray hair, remove face shine (and so much more) Aftershoot Retouch. But don’t just take my work for it, start your 30-day free trial and explore the features!
How to remove glasses glare from multiple photos?
If the same subject has glasses glare across several images, you can apply the setting to multiple photographs instead of correcting each one separately.
First, apply the Glass Glare slider to one image. Then hold CMD on macOS or CTRL on Windows and select the other images from the carousel. Click Sync to copy the slider setting to the selected photographs.
You can also use CMD/CTRL + C to copy the settings from one image and CMD/CTRL + V to paste them onto another.
Review the synced photographs individually before exporting them. The direction, intensity, and coverage of glare can change between frames, so one slider strength may not produce the same result across every image.
How to remove glasses glare from a group photo?
For a photograph containing several people, you can apply the adjustment to everyone or work on one person at a time.
- Use All Subjects when several people in the photograph have glasses glare and require a similar adjustment.
- Use Individual when the glare affects only one person or differs significantly between subjects.
When using Individual, select the relevant person and check the face frame to confirm that you are adjusting the correct subject. Then open Eyes and apply the Glass Glare slider.
Once you are happy with the result, export the retouched image to your system or back to Lightroom Classic if that is where you manage the rest of your workflow.
Still a little unclear about how Aftershoot Retouch really works? Here’s a quick 4-minute video explaining it all, right from Justin Benson, our co-founder, and a professional wedding photographer:
How to choose which glass glare removing platform is best for you?
If I had to give you just one criteria, I’d say, choose the approach based on volume.
A single anniversary portrait might be worth the extra time in Photoshop. A 500-image wedding gallery is where AI retouching earns its place in the workflow.
What to do when glare from glasses can’t be fully removed in your photos?
Retouching, manual or AI, works by reconstructing detail using nearby pixels or trained patterns. It can’t restore information the camera never captured.
If the glare completely covers the pupil and iris with no visible detail underneath, there’s nothing for any tool to rebuild accurately. Attempting to “paint in” eyes that were never photographed usually results in an unnatural, glassy look that experienced retouchers can spot immediately.
In these cases, the more reliable fix is a backup frame, either a second shot from the session with the glare gone, or a version without the glasses on. This is exactly why the prevention step earlier in this guide matters: no editing tool replaces a clean capture (as if you didn’t already know this!).
Getting a natural-looking result while removing the glasses glare
The goal isn’t to erase every trace of the glasses. It’s to remove the distracting reflection while keeping everything else about the photo believable.
A few things to watch for:
- Keep a faint, realistic reflection of the room or window if the original photo had one. Completely flat, reflection-free lenses can look artificial.
- Preserve the lens edge and frame color exactly as shot.
- Match skin texture and eye detail to the surrounding photo, not a generic “clean eye” template.
- Avoid over-brightening the eye area, which is a common tell that a photo has been heavily edited.
This is also where AI retouching has an advantage: because it’s trained to preserve texture rather than smooth it away, results tend to hold up under close inspection instead of looking obviously touched up.
…Or you could just let Aftershoot handle the glaring glass glare for you
If you’re spending your evenings zoomed in on eyes, cloning out reflections one photo at a time, that’s exactly the kind of repetitive work Aftershoot’s AI Retouching was built to take off your plate. It handles glasses glare, skin, stray hair, and background objects and distractions in the same pass, synced across your whole gallery, so you can spend more time on the shots that need your personal touch and less time on the ones that just need cleanup.
Try Aftershoot Retouch today. Start a Free Trial.
Once your galleries are retouched, you can deliver them straight through Aftershoot Galleries without switching platforms. Start free with the Starter plan: get 10 GB of photo storage and 1 GB video.
Not just that, you can cull, edit, retouch and deliver all your photos with one platform… Aftershoot.

FAQs for how to remove glare from glasses in photo
Q1. How do you remove glare from glasses in a picture without Photoshop?
You can use Lightroom or Capture One’s local adjustment tools to pull down highlights and whites over the glare, which softens it without full reconstruction. For a more automated option, AI retouching tools like Aftershoot detect and remove glasses glare directly, no manual masking required.
Q2. How do I take glare off glasses during the actual photo shoot?
Angle your key light 15–30 degrees off the camera’s lens axis, raise it slightly above eye level, or ask your subject to tilt their glasses or chin down a few degrees. A circular polarizing filter on your lens can also cut reflections significantly before you ever press the shutter.
Q3. Can AI actually remove glasses glare, or does it just blur the area?
Modern AI retouching tools reconstruct the eye area using detected detail from the surrounding image, rather than simply blurring or smoothing the reflection. Aftershoot’s AI Retouching, for example, preserves lens shape, frame color, and skin texture while removing the glare itself.
Q4. What if the glare completely covers the eyes in the photo?
If there’s no visible pupil or iris detail underneath the reflection, no editing tool can accurately recreate it. The most reliable fix is a backup photo from the same session, either with the glare gone or with the glasses removed.
Q5. Does removing glasses glare make a photo look edited or fake?
It can, if the retouching flattens the lens completely or over-brightens the eye. A natural result keeps a subtle reflection, matches surrounding skin texture, and avoids the “no-glasses” look that comes from over-processing.