Aftershoot and Lightroom Classic split post-production in two. Aftershoot handles the high-volume work (culling, AI editing and retouching) and writes its results as star ratings, colour labels and develop settings that Lightroom Classic can read. Lightroom stays where you make the final creative calls and export.
There isn’t one way to connect them, though. It depends on whether your photos are already in a Lightroom catalog, whether you want Aftershoot to edit as well as cull, and whether you’re retouching a whole gallery or a handful of frames. This guide covers all four workflows step by step, how to fix the most common sync problems, and how Aftershoot compares with Lightroom’s own Assisted Culling and other Lightroom-integrated AI tools.
In Aftershoot’s 2025 survey of more than 1,000 photographers using AI in their workflow, 81% said they’d reclaimed their work-life balance. Most of that comes down to getting the repetitive passes off your plate, which is what the workflows below are built for.
Quick Answer: How Aftershoot and Lightroom Work Together
- Prepare Lightroom Classic: turn on “Automatically write changes into XMP” in Catalog Settings so ratings and edits survive the round trip.
- Cull in Aftershoot: import your RAW folder, run an AI cull, then review and adjust the selections.
- Export to Lightroom Classic: your star ratings and colour labels arrive with the photos. If the photos were already in Lightroom, use Metadata → Read Metadata from Files instead.
- Edit (optional): bring the Lightroom catalog into Aftershoot’s Edit tab, apply your AI Profile, and click Review in Lightroom.
- Retouch (optional): in Lightroom Classic, right-click selected photos → Edit In → Edit in Aftershoot for skin, blemish and flyaway cleanup.
- Finish in Lightroom Classic: creative grading, final tweaks and export. Photoshop only for heavy compositing.
| Task | Aftershoot | Lightroom Classic |
|---|---|---|
| First-pass cull (blur, closed eyes, duplicates) | ✓ AI cull with your culling preferences | Assisted Culling or manual flags/stars |
| Batch base edit in your style | ✓ Professional or Instant AI Profiles | Presets and sync |
| Portrait retouching at scale | ✓ Retouch sliders, presets, batch sync | Manual brushes and Generative Remove |
| Creative grading and one-off fixes | – | Yes |
| Catalog management and export | – | Yes |
Before You Start: Set Up Lightroom Classic for Aftershoot
1. Turn On Automatic XMP Writing
Aftershoot and Lightroom Classic talk to each other through XMP sidecar files. Turn this on once per catalog:
- Mac: Lightroom Classic → Catalog Settings → Metadata
- Windows: Edit → Catalog Settings → Metadata
Tick Automatically write changes into XMP. Without it, edits you’ve already made in Lightroom can be lost when Aftershoot writes its ratings, and Lightroom won’t see Aftershoot’s changes without a manual read.
2. Build Smart Previews on Import
In the Import dialog, under File Handling, tick Build Smart Previews. Aftershoot uses them to edit catalog images faster, and they let it work on images whose originals are on a disconnected drive. Aftershoot recommends the smallest preview size for speed.
3. Decide Your Star and Colour System
Set your star and colour mapping in Aftershoot’s culling preferences before your first cull, so Aftershoot’s picks match how you already filter in Lightroom (for example, 3 stars + green = delivered, 2 stars + yellow = duplicates). You won’t have to relearn your Library filters.
4. Lightroom Classic vs Lightroom (Cloud)
Aftershoot can export finished images to Lightroom Classic, Lightroom, Bridge or Photoshop. The catalog-based workflows below (reading ratings back into a catalog, editing a catalog with AI Profiles, Edit In for retouching) are Lightroom Classic workflows.
Which Aftershoot Lightroom Workflow Should You Use?
| Your situation | Use this workflow | What you end up with in Lightroom Classic |
|---|---|---|
| Photos are still on the card or in a folder | Workflow 1: Cull in Aftershoot, then import | Only your selects, already rated and labelled |
| Photos are already imported into a catalog | Workflow 2: Cull photos already in Lightroom | Same catalog, ratings added via XMP |
| You want AI to apply your editing style | Workflow 3: Edit your catalog with AI Profiles | Edited catalog, ready for review |
| You only need to retouch some frames | Workflow 4: Retouch from Lightroom Classic | Retouched copies next to the originals |
Most wedding and event photographers run Workflow 1 → Workflow 3, then use Workflow 4 for hero portraits.
Workflow 1: Cull in Aftershoot, Then Import to Lightroom Classic
This is the cleanest setup, and it’s the order Aftershoot recommends: cull before anything touches your catalog, so Lightroom only ever sees the images you’ll actually deliver.
- Create an album. On Aftershoot’s home screen, click + Create Album (or + New Album) and import the RAW or JPEG folder from your shoot.
- Run the cull. Open the Cull tab, click Start Culling, choose your cull type and set your culling preferences, then click Start Culling again. Aftershoot offers two modes: AI-Automated, which makes the first selection based on your preferences and past culls, and AI-Assisted, where you make every pick and the AI groups duplicates, highlights key faces and scores images to speed you up.
- Review and adjust. Check the AI’s picks in Grid, Loupe or Survey view and swap any frames you disagree with. If you changed anything, click Save Changes.
- Export to Lightroom Classic. Click Export and choose Lightroom Classic. Export only your selected photos, or all photos if you prefer to keep rejects in the catalog.
- Import in Lightroom Classic. Lightroom opens with the Import dialog pointed at the right folder. Create a new catalog or add to an existing one, tick Build Smart Previews, and import.
- Filter and edit. Your Aftershoot star ratings and colour labels are already applied. Filter by them in the Library module and start editing, or move on to Workflow 3.
UK wedding photographer Paul Waring regularly comes home with 5,000–7,000 frames. He says Aftershoot gets him to roughly 500 selects in about 40 minutes, a job that used to take him three to four hours in Lightroom. (Source: Paul’s guide on how to cull photos in Lightroom)
Workflow 2: Cull Photos Already in Your Lightroom Catalog
Already imported the shoot into Lightroom Classic? You don’t need to start over. Aftershoot can cull the same files and hand the ratings back through XMP.
- Save your Lightroom changes to XMP. With automatic XMP writing on (see “Before You Start”), go to the Library module’s Grid view (G), select all (Cmd/Ctrl + A) and choose Metadata → Save Metadata to Files (Cmd/Ctrl + S). This protects any presets or edits you’ve already applied.
- Cull the same folder in Aftershoot. Create a new album, point it at the folder your catalog references, and run your cull as in Workflow 1. Review the picks and click Save Changes. Already culled this shoot in Aftershoot earlier? Open the culled album, go to the Edit tab and choose Rewrite Metadata to update the XMP files.
- Read the ratings back into Lightroom. Lightroom Classic shows a metadata warning icon on thumbnails whose files changed. Select all, then choose Metadata → Read Metadata from Files and confirm. Aftershoot’s star ratings and colour labels appear on your images.
Workflow 3: Edit Your Lightroom Catalog With Aftershoot AI Profiles
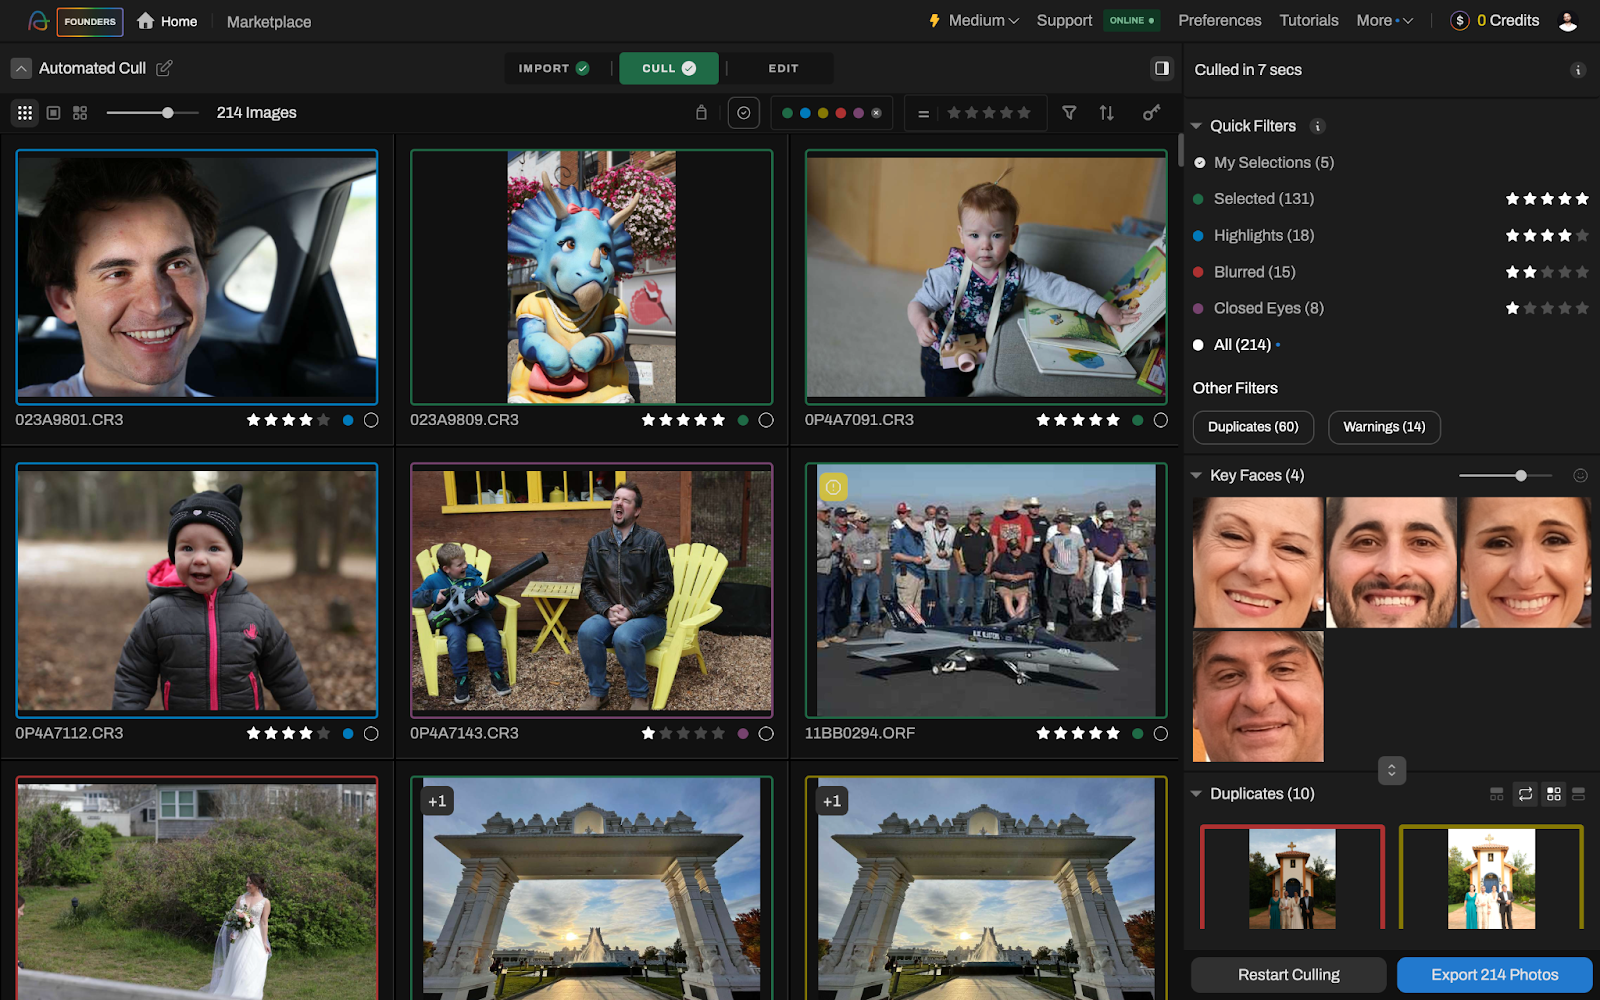
Once your selects are in Lightroom Classic, Aftershoot can read the catalog, apply your editing style to the images you choose, and hand the catalog back for review.
- Get your selects into a catalog using Workflow 1 or 2, with Smart Previews built.
- Import the catalog into Aftershoot. On the home screen, click + New Album, import the Lightroom catalog and open the Edit tab.
- Filter what gets edited. Use your star ratings and colour labels to select the images to edit. Aftershoot flags anything it can’t edit because the RAW file or Smart Preview is missing.
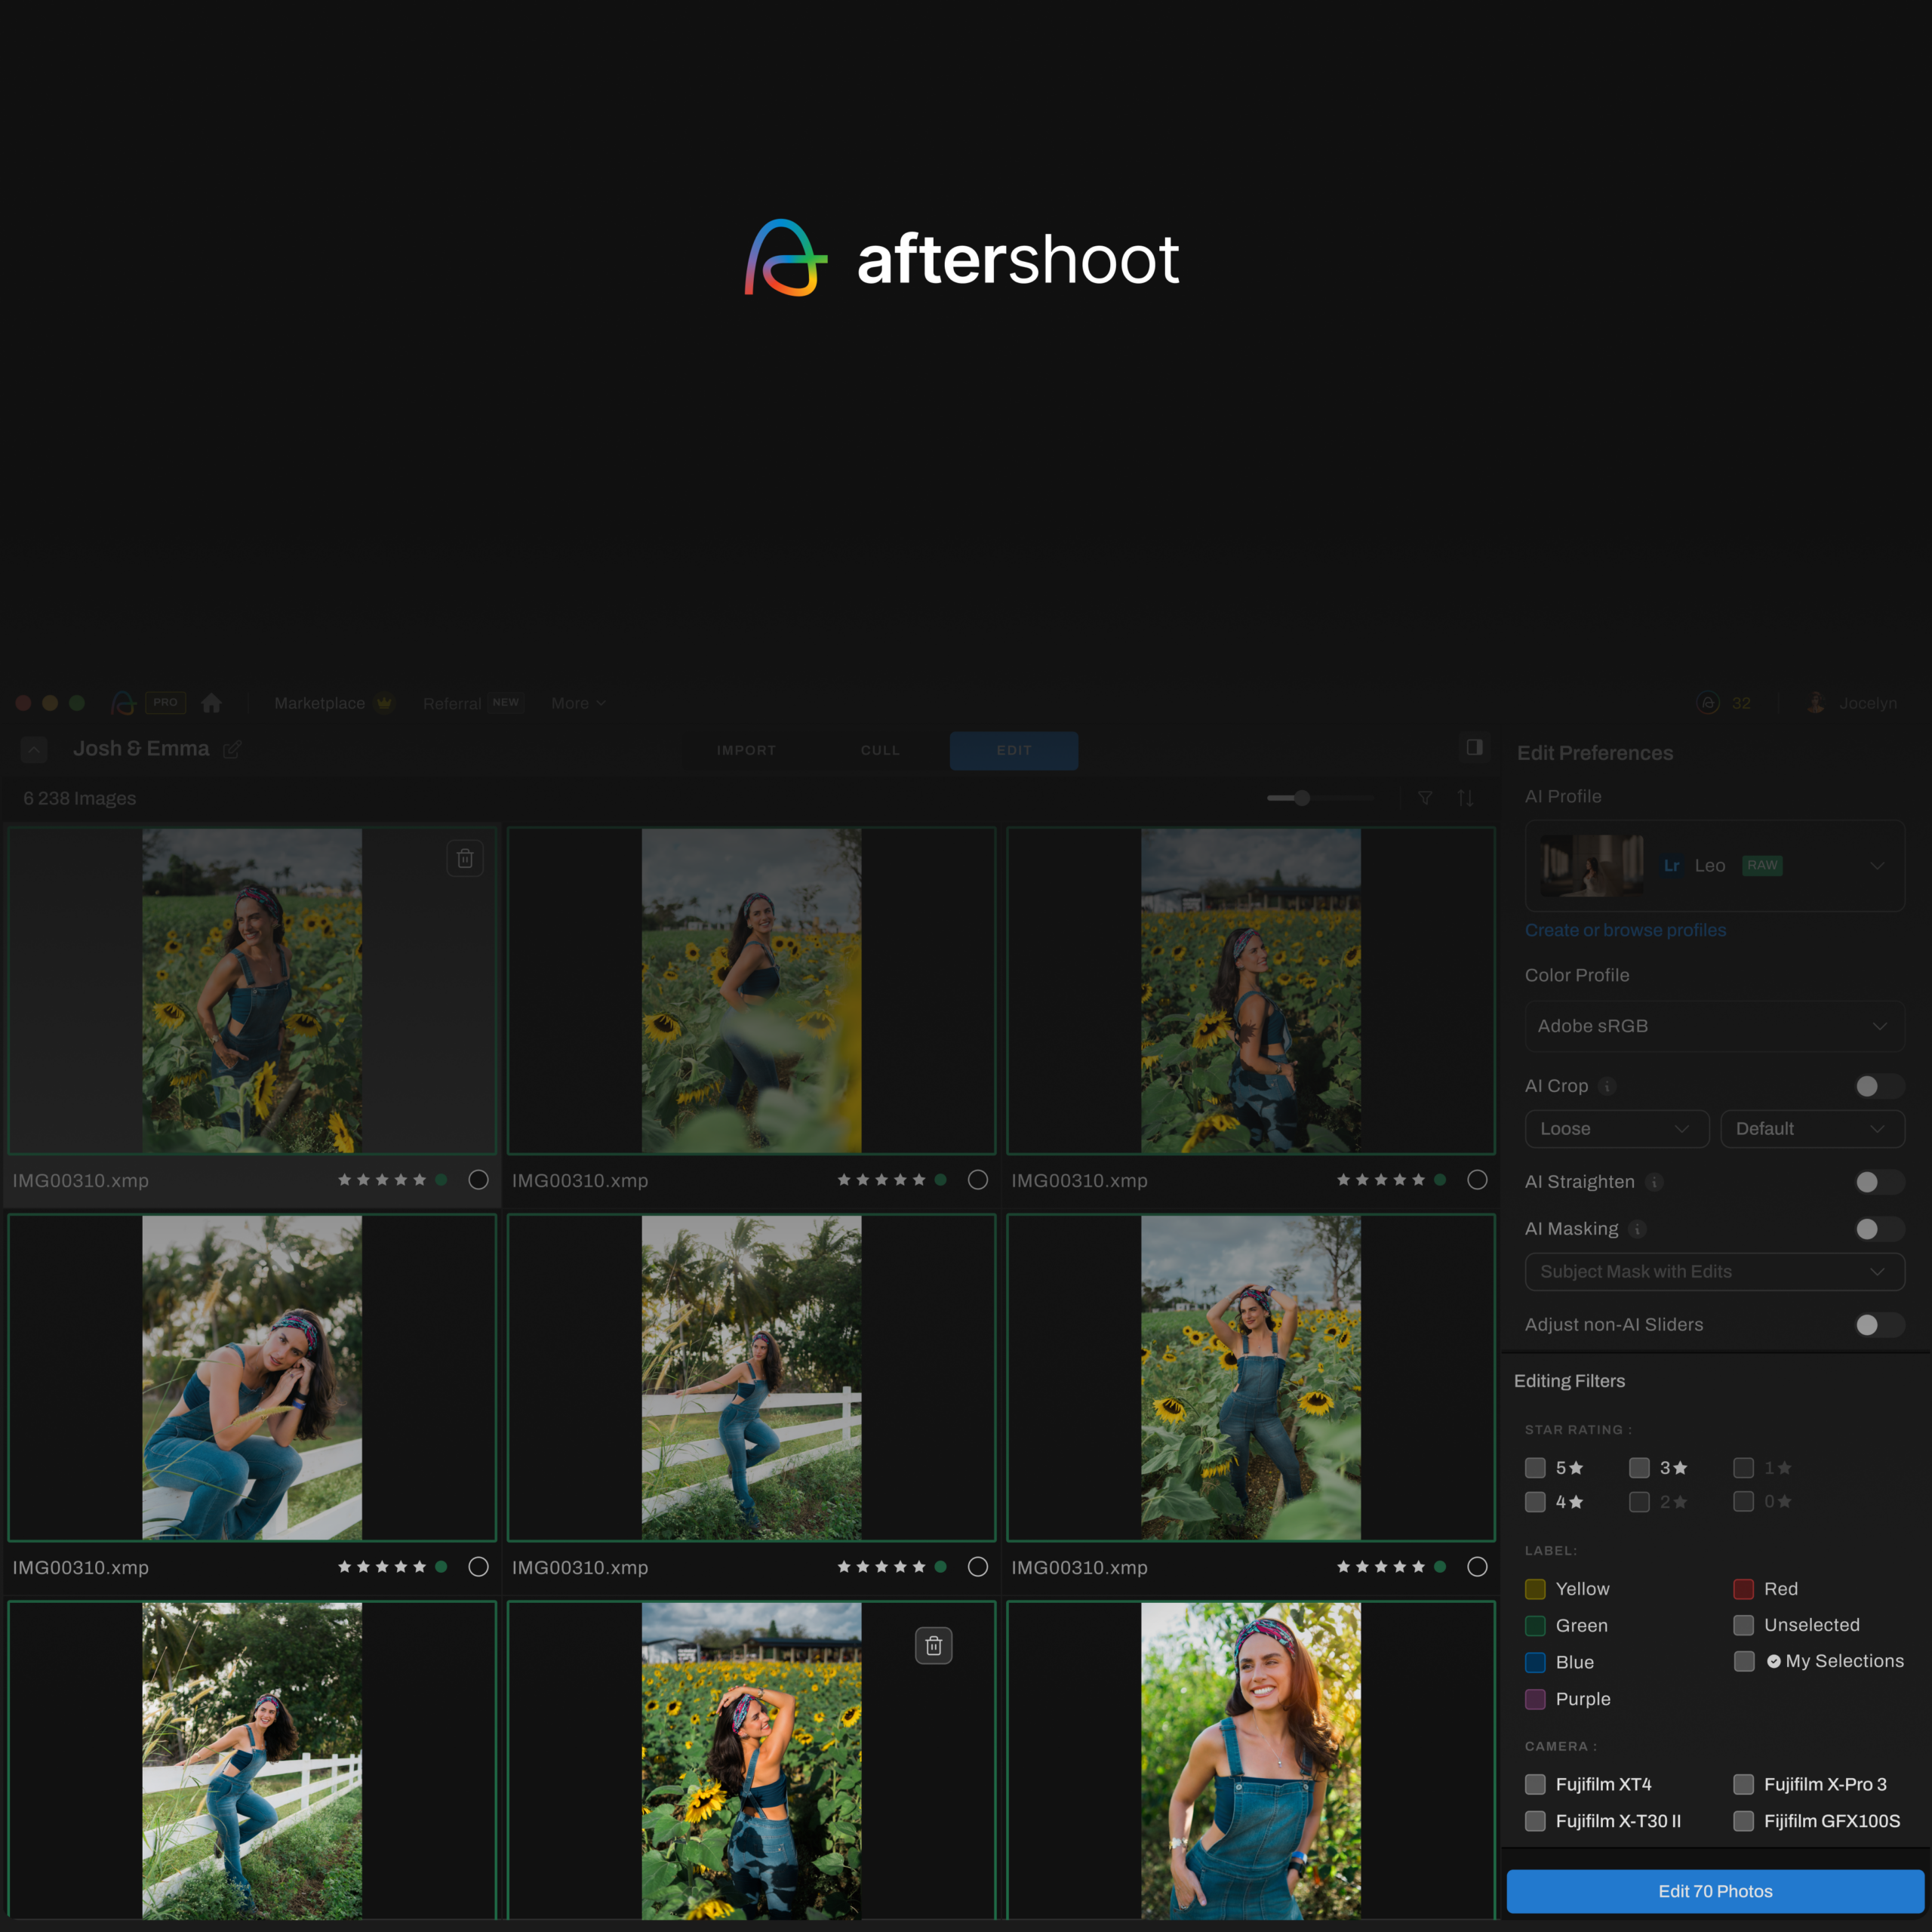
- Choose a profile. Pick a Professional AI Profile, an Instant AI Profile or an AI Style, choose your colour profile, and decide whether to auto-crop and straighten. (Choose Crop & Straighten only if you just want those two.)
- Start editing. Click Start Editing. Aftershoot notifies you in the app and by email when it’s done.
- Review in Lightroom Classic. Click Export → Review in Lightroom. The edited catalog opens in Lightroom, where you filter by rating or label and make your final adjustments.
Instant AI Profile vs Professional AI Profile
| Instant AI Profile | Professional AI Profile | |
|---|---|---|
| Built from | One of your Lightroom presets (.xmp) | Your previously edited images |
| Setup | Upload the preset, answer a short exposure, temperature and tint survey, click Generate | Train on 2,500+ consistently edited images (Aftershoot recommends 5,000) |
| Best for | Photographers who edit with presets and want adaptive results now | Photographers with a large, consistent edit history |
| How it edits | Adapts the preset per image for lighting and scene | Replicates your slider decisions per image |
If you’ve been editing with a preset for years, an Instant AI Profile is the fastest way into this workflow. You can move to a Professional AI Profile later as your edit history grows.
Prefer to skip catalogs? You can also cull and edit RAW/JPEG folders entirely inside Aftershoot, then click Export → Other Apps → Lightroom Classic to open the edited images directly.
Workflow 4: Retouch Selected Photos From Lightroom Classic
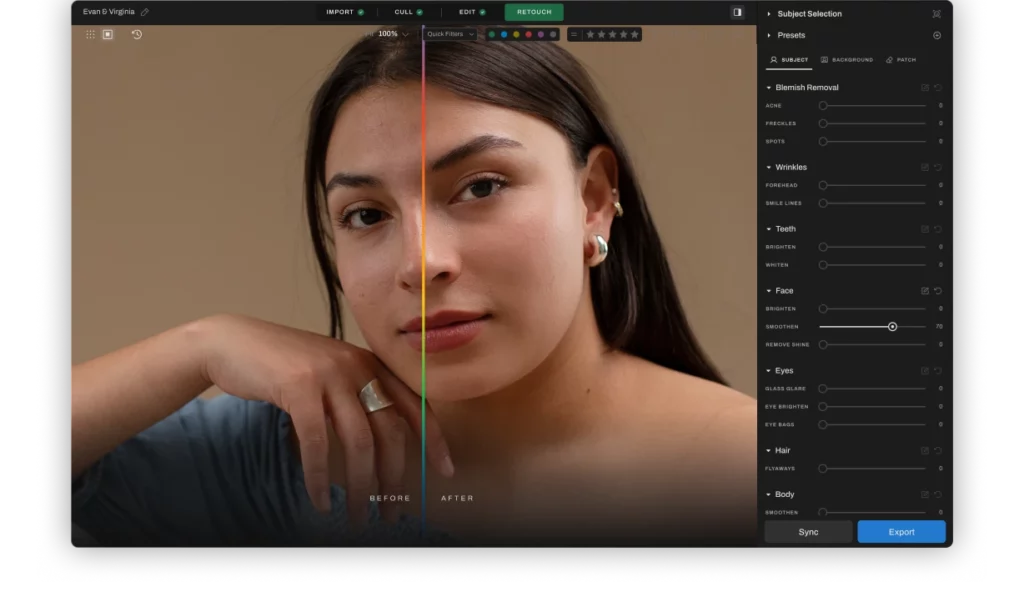
You don’t have to send a whole gallery through retouching. For portraits, couples’ hero shots or headshots, you can start directly from Lightroom Classic and retouch just those frames.
- Select the images in Lightroom Classic’s filmstrip.
- Right-click → Edit In → Edit in Aftershoot.
- In the pop-up, choose Edit a Copy with Lightroom Adjustments, then click Edit. Lightroom creates a copy, so your original stays untouched.
- Retouch in Aftershoot. Open the Retouch tab in Loupe view (L or Enter). Use the sliders (acne, blemishes, flyaways, eye bags, glasses glare, cloth wrinkles and more) or a retouching preset, then sync the settings across your other selected images.
- Export back to Lightroom Classic. The retouching is applied to the copy Lightroom created.
Tip: Give the retouched copies their own star rating or colour label straight away, so you don’t end up delivering both versions.
Aftershoot retouches JPEG, RAW and 8-bit TIFF files. Keep Photoshop for composites, heavy liquify or commercial beauty work.
Aftershoot to Lightroom Classic Walkthrough
Prefer to watch? Aftershoot co-founder Justin Benson walks through the full round trip: preparing your catalog, culling in Aftershoot and reading the results back into Lightroom Classic.
Troubleshooting the Aftershoot and Lightroom Round Trip
| Problem | Likely cause | Fix |
|---|---|---|
| Aftershoot stars and colours aren’t showing in Lightroom | Lightroom hasn’t read the updated XMP files | Select all → Metadata → Read Metadata from Files |
| Warning icons on thumbnails after culling | Files were changed outside Lightroom | Same fix: Read Metadata from Files |
| Lightroom edits disappeared after culling | Edits weren’t saved to XMP before Aftershoot wrote its ratings | Turn on automatic XMP writing and run Save Metadata to Files before culling |
| Some catalog images can’t be edited in Aftershoot | RAW originals are offline and there’s no Smart Preview | Reconnect the drive or build Smart Previews in Lightroom |
| Aftershoot edits don’t appear in Lightroom’s grid | Lightroom hasn’t refreshed the develop settings | Read Metadata from Files. If it persists, use Edit Again in Aftershoot, re-import, and read metadata again |
| Duplicate images after retouching | Edit In creates a copy of each photo | Label or rate the copies, or filter by file type/copy name before delivery |
Aftershoot vs Other Lightroom-Integrated AI Tools in 2026
How We Compared Them
We looked only at tools that connect directly to Lightroom Classic and appear when photographers research this workflow. Each was judged on five things:
- Lightroom Classic integration: how selections and edits get into your catalog, and how many manual steps that takes
- Workflow coverage: culling, editing, retouching, or some of the three
- Where processing happens: on your computer or in the cloud
- Pricing model at volume: flat subscription, usage-based or included
- Control: how easily you can review and override AI decisions
Pricing and features come from each company’s own pricing page and documentation, checked in October 2026. We didn’t run timed speed tests, so the table doesn’t rank tools on speed. Aftershoot is our product. We’ve kept the comparison to verifiable facts so you can judge for yourself.
| Tool | How it connects to Lightroom Classic | Culling | AI editing | AI retouching | Processing | Starting price* |
|---|---|---|---|---|---|---|
| Lightroom Assisted Culling | Built in (Library module and Import dialog) | ✓ First pass, tuned for people photography | Lightroom’s own tools | Lightroom’s own tools | On your computer | Included in Lightroom plans from US$11.99/mo (annual, billed monthly; includes Lightroom Classic) |
| Aftershoot | Standalone app; writes XMP ratings, reads catalogs, Edit In for retouching | ✓ AI-Automated or AI-Assisted | ✓ Professional/Instant AI Profiles, AI Styles | ✓ | On your computer | Select (culling) $10/mo billed annually or $15 monthly; Complete (cull + edit + retouch) $45/mo annually or $55 monthly; unlimited images |
| Imagen | Desktop app working with Lightroom Classic catalogs | ✓ (add-on on Pay-as-you-go, included in Limitless) | ✓ Personal and Talent AI Profiles | ✓ Per-photo tools on Pay-as-you-go, included in Limitless | Cloud | Pay-as-you-go per photo with a $7 monthly minimum; Limitless flat plan listed at US$179/mo |
| Narrative | Standalone app; “Ship to Lightroom” (also Photoshop, Capture One) | ✓ AI-assisted (you make final picks) | ✓ AI Presets (personal presets on Premium and Ultra) | — | On your computer | Lite $10/mo billed annually or $15 monthly; Standard $20/$29; Premium $40/$59; Ultra $60/$79 |
| FilterPixel | Standalone app with Lightroom and Capture One integration | ✓ Unlimited basic cull + capped “DeepCull” genre shoots | ✓ Built-in profiles; custom profiles on Pro and Studio | — | Cloud | Standard $14.99/mo billed annually ($180/yr); Pro $34.99/mo; Studio $64.99/mo |
*Prices in USD from first-party pricing pages, October 2026. Prices change and promotions run often, so check each pricing page before you buy.
Which Option Fits Your Workflow?
- You shoot smaller portrait sessions and want to stay inside Lightroom: Lightroom’s Assisted Culling is included in your subscription and is a reasonable first pass. It’s tuned for people-focused work, and early user feedback in Adobe’s community forums mentions slowdowns on very large catalogs.
- You shoot weddings or events at volume and want culling, editing and retouching on one flat fee: Aftershoot. Processing is local, image counts are unlimited, and all four workflows above end in Lightroom Classic.
- You want everything launched from your Lightroom catalog and don’t mind cloud processing: Imagen. Pay-as-you-go suits irregular volume; the per-photo model gets expensive if you shoot a lot.
- You want AI to sort and rank but insist on making every final pick yourself: Narrative’s assisted culling is built around that idea. (Aftershoot’s AI-Assisted mode works the same way if you’d rather keep everything in one app.)
- You shoot sports, concerts or conferences under same-night deadlines: FilterPixel’s genre-specific DeepCull is built for that. Watch the yearly shoot caps on lower plans.
For a deeper side-by-side, see our Aftershoot vs Imagen comparison, or the broader guide to photography workflow software for every stage of post-production.
In a Nutshell: Build the Workflow Once, Reuse It Every Shoot
Set up XMP writing and Smart Previews once, pick the workflow that matches how your photos arrive, and the Aftershoot–Lightroom round trip becomes routine. Most photographers settle on culling first, editing their catalog with an AI Profile, and saving retouching for the frames that need it. Lightroom Classic stays where the final look gets decided.
Want to try it on your next shoot? Aftershoot’s 30-day free trial includes culling, editing and retouching, with no credit card required.

FAQs for Aftershoot Lightroom Workflow
Q1. Does Aftershoot have a Lightroom plugin?
Aftershoot is a standalone desktop app rather than a panel inside Lightroom. It connects to Lightroom Classic in three ways: it writes star ratings and colour labels to XMP files, it can import and hand back Lightroom catalogs for AI editing, and it appears in Lightroom Classic’s Edit In menu as “Edit in Aftershoot” for retouching.
Q2. Should I cull in Aftershoot before or after importing into Lightroom?
Before, if you can. Culling first means only your selects ever reach the catalog, which keeps it smaller and faster. If you’ve already imported, cull the same folder in Aftershoot and use Metadata → Read Metadata from Files in Lightroom Classic to pull the ratings in.
Q3. Why aren’t my Aftershoot star ratings showing in Lightroom?
Lightroom Classic hasn’t read the updated XMP files yet. Select the images, choose Metadata → Read Metadata from Files, and confirm. Turn on Automatically write changes into XMP in Catalog Settings so this round trip works reliably.
Q4. Will Aftershoot overwrite my Lightroom edits?
Not if your edits are saved to XMP first. Run Save Metadata to Files (Cmd/Ctrl + S) before culling photos that are already in Lightroom. For retouching, Edit in Aftershoot works on a copy, so the original and its Lightroom adjustments stay intact.
Q5. Is Lightroom’s assisted culling enough, or do I still need Aftershoot?
It depends on volume. Assisted Culling is included in Lightroom plans and works well as a first pass on people-focused shoots. Photographers culling thousands of frames a week usually want more control over duplicates, culling preferences that learn from their choices, and editing and retouching in the same flow. That’s the gap a dedicated tool like Aftershoot fills.
Q6. How much does the Aftershoot and Lightroom workflow cost?
You’ll need a Lightroom plan that includes Lightroom Classic (from US$11.99/month, annual, billed monthly) plus Aftershoot. Aftershoot culling starts at $10/month billed annually, and the Complete bundle (culling, editing and retouching) is $45/month billed annually or $55 billed monthly, with unlimited images. Both offer a free trial: 30 days for Aftershoot with no credit card, and 7 days for Lightroom. See current Aftershoot pricing.