TL;DR
- Most editing time isn’t lost on sliders. It goes to culling, re-editing inconsistent images, retouching one by one, and moving files between apps.
- Find your single biggest bottleneck before changing anything. Fixing the wrong stage saves very little.
- Batch edit by scene and lighting condition, not image by image. Syncing settings across similar frames is the fastest manual change you can make.
- AI-assisted culling and editing remove the repetitive first pass so you only spend time on refinement and creative decisions.
- Speed only costs quality when you skip review. Five quick guardrails (key moments, skin tones, reference images, retouch intensity, and a final grid scroll) keep your standard intact.
It’s Sunday night, the wedding was Saturday, and Lightroom is showing 3,000 images you haven’t touched yet. You already know how the week goes. Evenings disappear into culling, the gallery goes out later than you promised, and the sneak peek arrives a day after the couple started asking for it.
Most advice on how to reduce photo editing time is a list of shortcuts. Shortcuts help, but they shave seconds. The hours are lost in a few specific places, and they’re different for every photographer.
This guide helps you find where your editing time goes, fix the biggest bottleneck first, and use batch and AI-assisted editing to speed up the rest. It also covers the quality checks that keep a faster workflow from turning into a sloppier one.
Why Photo Editing Takes So Long (It’s Rarely the Sliders)
If you timed a full gallery from import to delivery, very little of it would be spent on the creative part of editing. Most of it goes to work that repeats every shoot:
- Scrolling through bursts and near-duplicates to pick one frame.
- Correcting the same white balance shift on hundreds of images from the same room.
- Re-editing images that don’t match the rest of the gallery.
- Retouching skin on every portrait, one at a time.
- Waiting on previews, exports, and uploads.
This is why editing faster isn’t really about working harder. It’s about removing the repetitive work that happens between the creative decisions.
How to Reduce Photo Editing Time: Find Your Bottleneck First
Before you buy a new tool or learn another shortcut, spend your next two shoots noting roughly how long each stage takes. You don’t need a spreadsheet. A note on your phone works.
Then match what you notice to the table below.
| If this sounds like you… | Your bottleneck is | Start with this fix |
| You spend an evening scrolling through bursts and near-identical frames | Culling | AI culling or duplicate grouping |
| Lightroom lags every time you move to the next image | Setup and performance | Smart previews and a fast cache drive |
| You make the same corrections on hundreds of images | Base editing | Batch editing by scene or an AI editing profile |
| Your galleries look inconsistent, so you go back and re-edit | Consistency | A trained style profile and a reference image |
| Every portrait needs skin and blemish cleanup | Retouching | Batch retouching with presets |
| Exporting, renaming, and uploading eat a full evening | Delivery | An edit-to-gallery workflow with no re-uploads |
| You keep tweaking the same hero image for an hour | Decision fatigue | Time-boxing hero edits |
Fix one row at a time. The biggest gain almost always comes from the first fix, because it’s the stage that’s been costing you the most.
How to Reduce Photo Editing Time at Every Stage of Your Workflow
Once you know where the time goes, here’s what to change at each stage of your photo editing workflow.
Stage 1: Shoot With the Edit in Mind
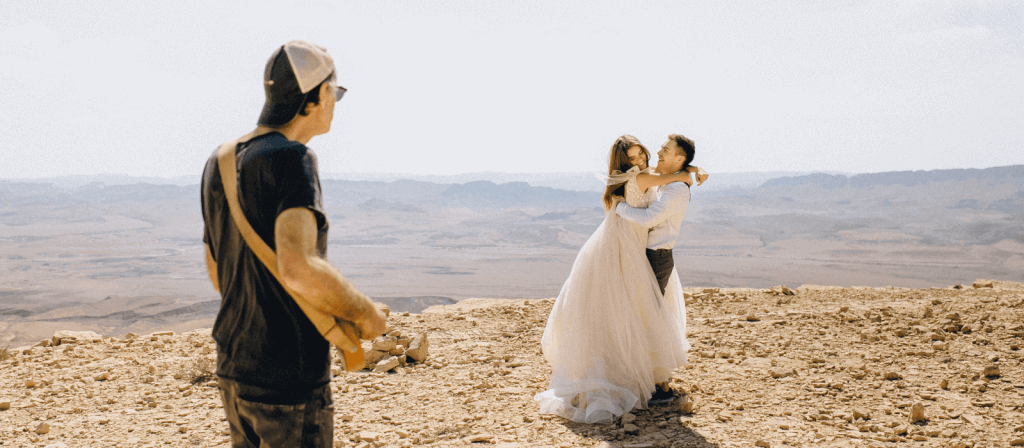
The fastest edit is the one you never have to make.
- Lock your exposure and white balance per scene. Shooting in manual mode with a fixed white balance keeps frames from the same scene consistent. That makes them easy to batch edit later.
- Set flash power manually. Automatic flash output changes brightness shot to shot, which means more individual corrections.
- Burst with purpose. Bursts are useful for fast moments, but every extra frame is one more decision during culling.
Stage 2: Import and Set Up for Speed
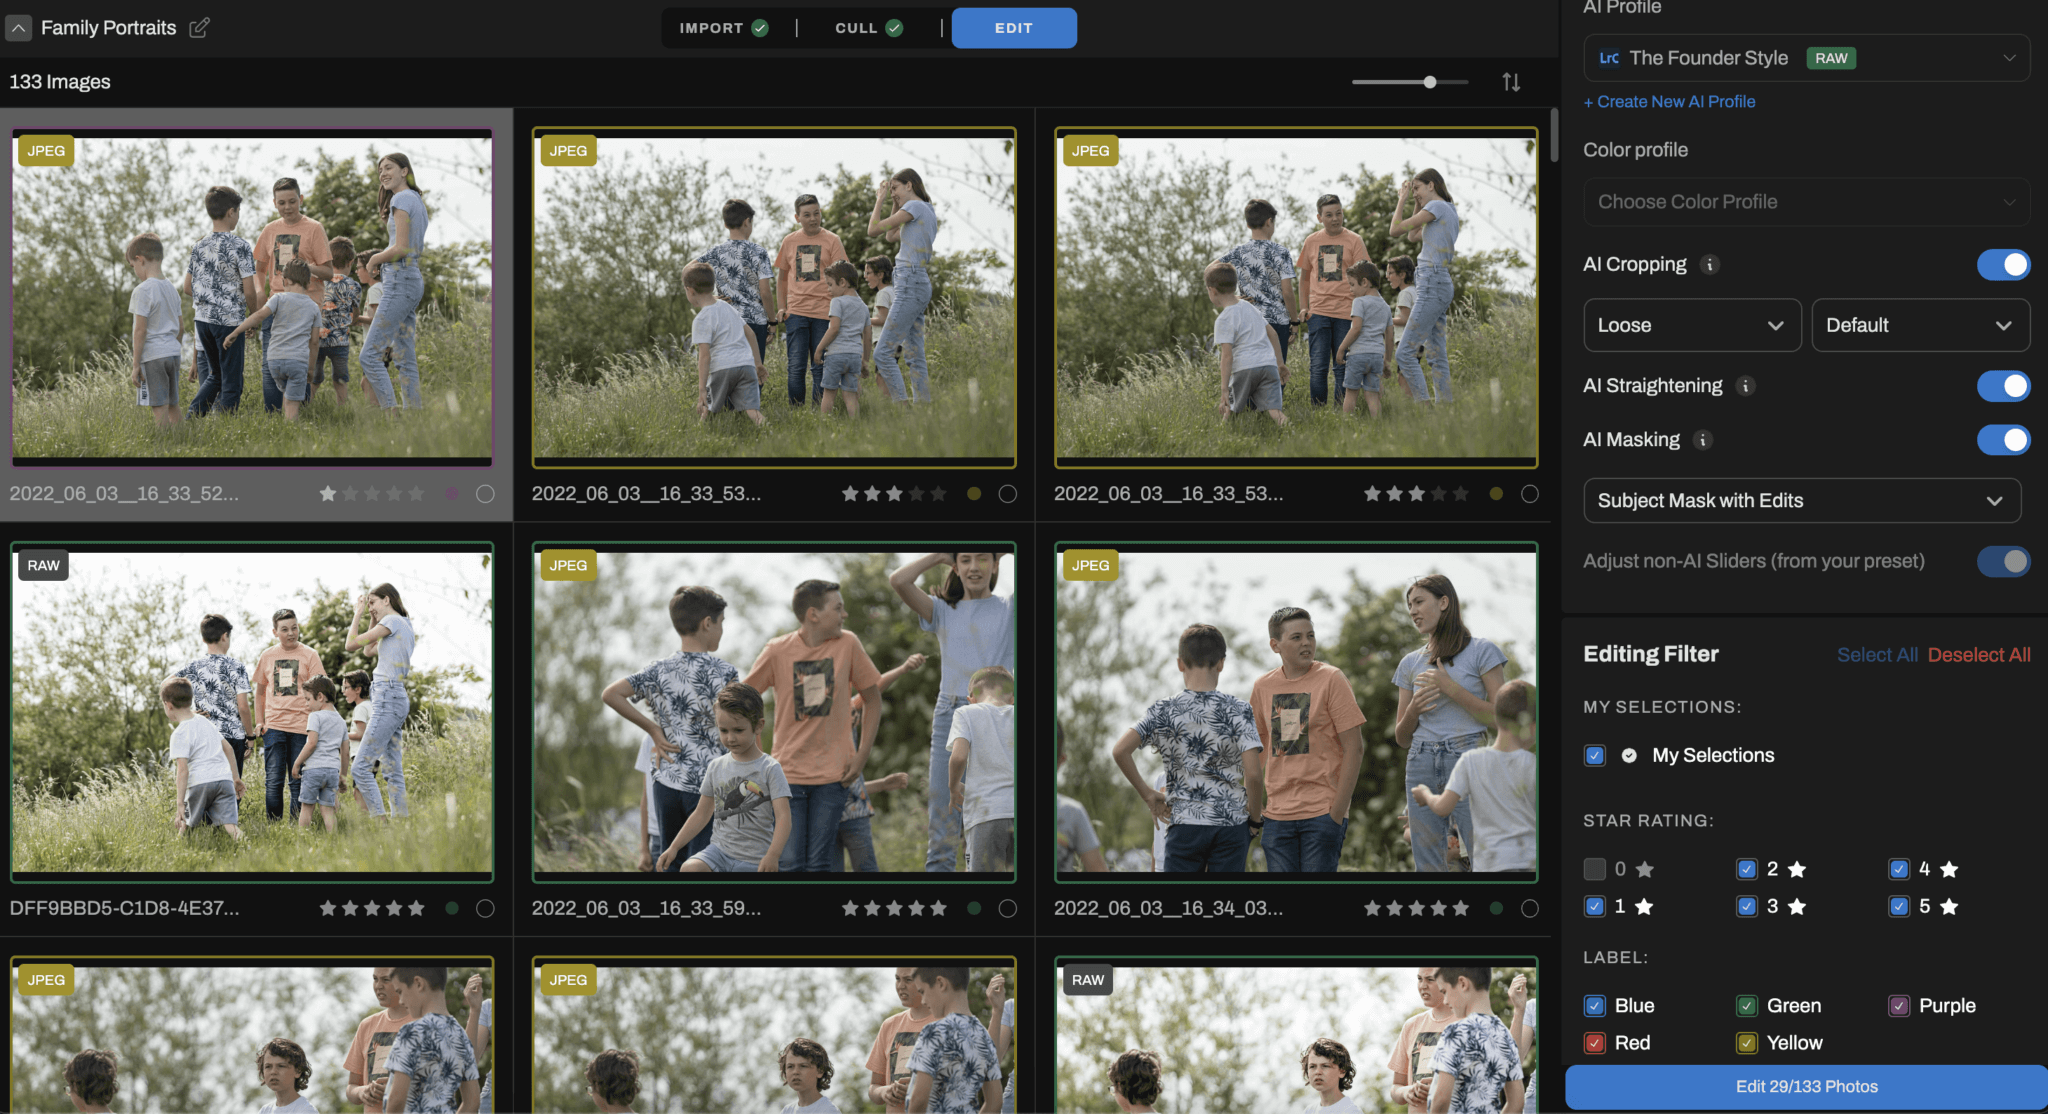
A slow catalog makes every step slower. A few one-time settings help you edit photos faster in Lightroom:
- Build Smart Previews on import. They’re much lighter than full RAW files, so moving between images feels quicker.
- Put your Camera Raw cache on your fastest SSD and give it plenty of space (Preferences > Performance).
- Apply a base preset on import with your lens corrections, profile, and copyright metadata so you’re not adding them later.
- Optimize your catalog regularly (File > Optimize Catalog) to keep it responsive.
Stage 3: Cull Before You Touch a Slider
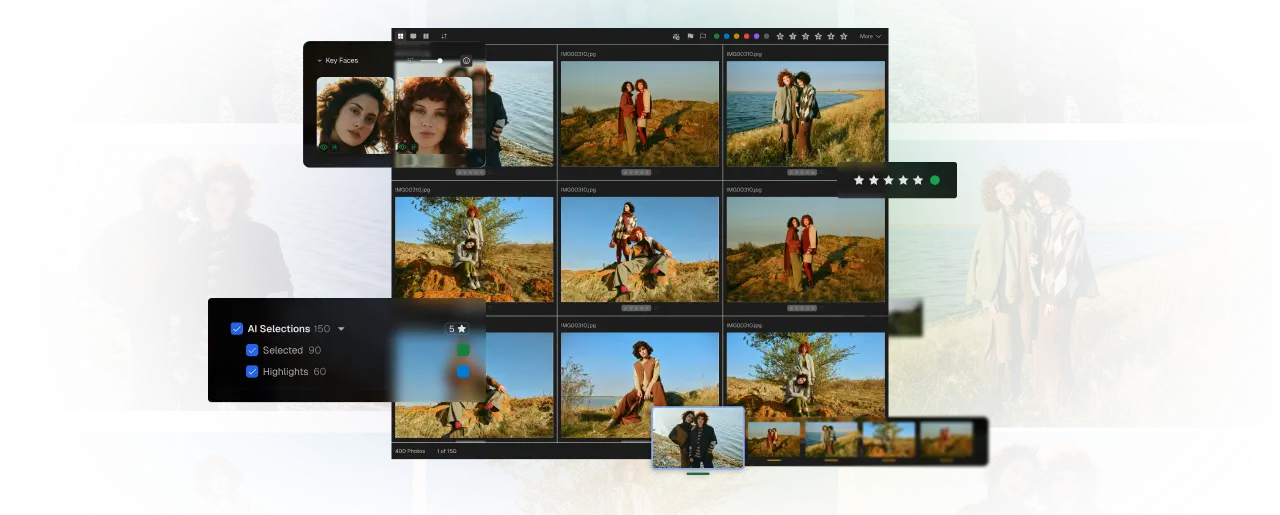
Every image you keep is an image you have to edit. Photo culling is where the most time hides, especially for wedding and event photographers.
- Cull positively. Pick what you want to keep instead of rejecting what you don’t. It’s faster and leads to tighter galleries.
- Decide your delivery count before you start. If you promise around 600 images, cull toward that number instead of over-keeping and trimming later. Aftershoot’s guide on reaching your wedding gallery count with fewer culling passes walks through this approach.
- Let AI handle the first pass. AI culling in Aftershoot Selects flags blur and closed eyes, groups duplicates, and surfaces the best frame from each set. You review the picks instead of sorting every frame yourself.
Stage 4: Batch Edit by Scene, Not by Image
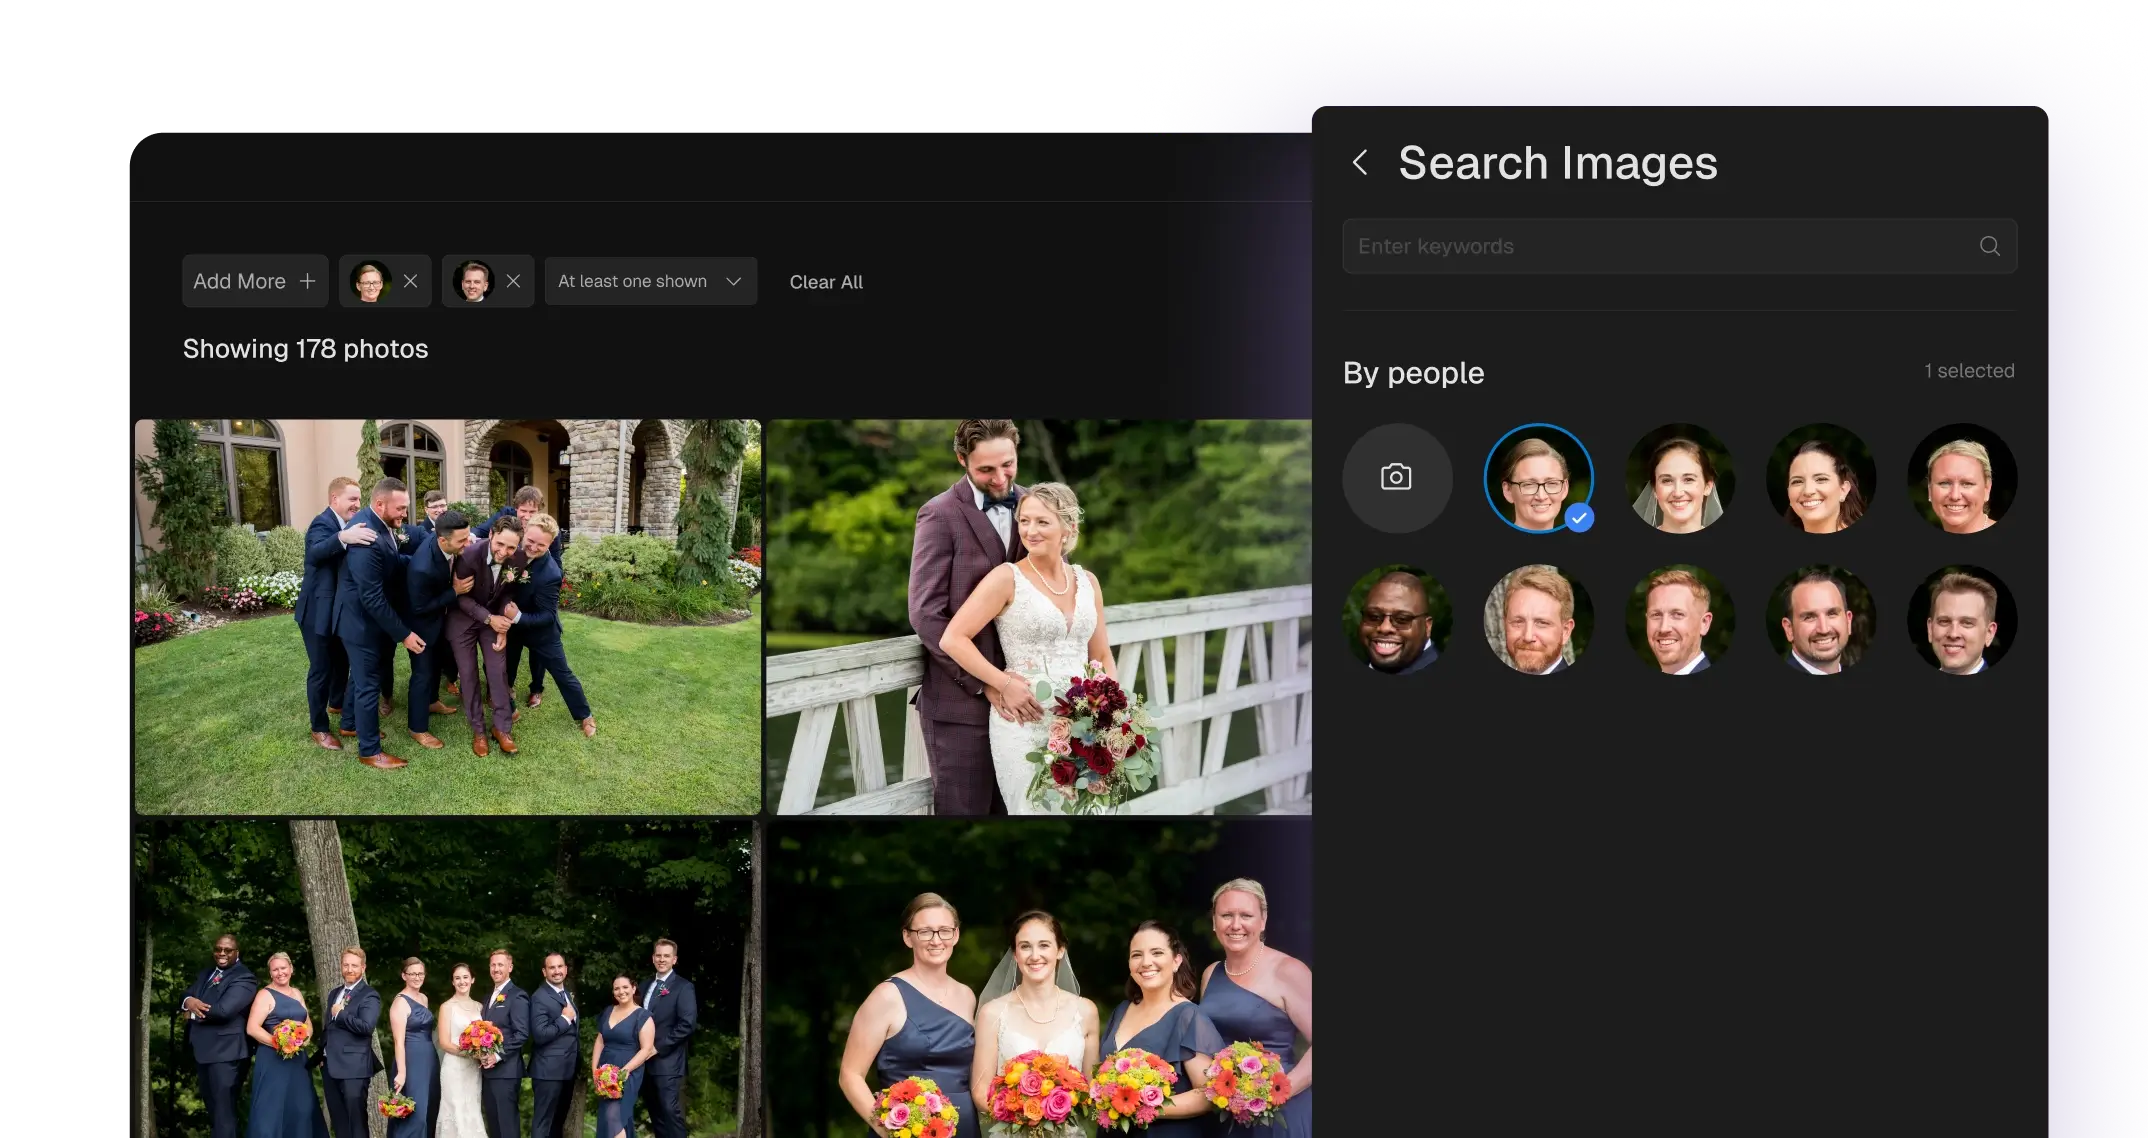
Batch editing photos is the biggest manual time-saver available, as long as you batch the right images together.
Use Sync Instead of Editing Image by Image
Edit one image from a scene, select every image shot in the same light, and sync the settings (Ctrl/Cmd + Shift + S in Lightroom Classic). Then move to the next scene: ceremony, golden hour, reception, and so on.
Build Presets for Lighting, Not Just for Looks
A single “signature” preset rarely works across a full wedding. Build a small set for the conditions you shoot most, such as bright outdoor, window light, tungsten reception, and flash. Your look stays consistent while each preset handles its own light.
Group Before You Sync
Sort by capture time, then group by scene before editing. Syncing across a lighting change is one of the most common ways speed hurts quality, and it creates the re-editing you were trying to avoid.
Stage 5: Let AI Handle the First Pass
Batch editing still requires you to edit a starting image for every scene and fix the frames that don’t sync cleanly. AI photo editing removes that step by adjusting each image on its own.
With Aftershoot’s AI editing, you can train a personal AI profile on your past Lightroom or Capture One edits, and the AI applies your style image by image across the gallery, adapting to each lighting condition. If you don’t have thousands of edited images to train on yet, Instant AI Profiles turn a Lightroom preset you already use into an AI editing style.
Your role changes from editor to reviewer. You spend your time refining the images that matter, not repeating the same exposure and white balance fixes.
Stage 6: Retouch in Batches
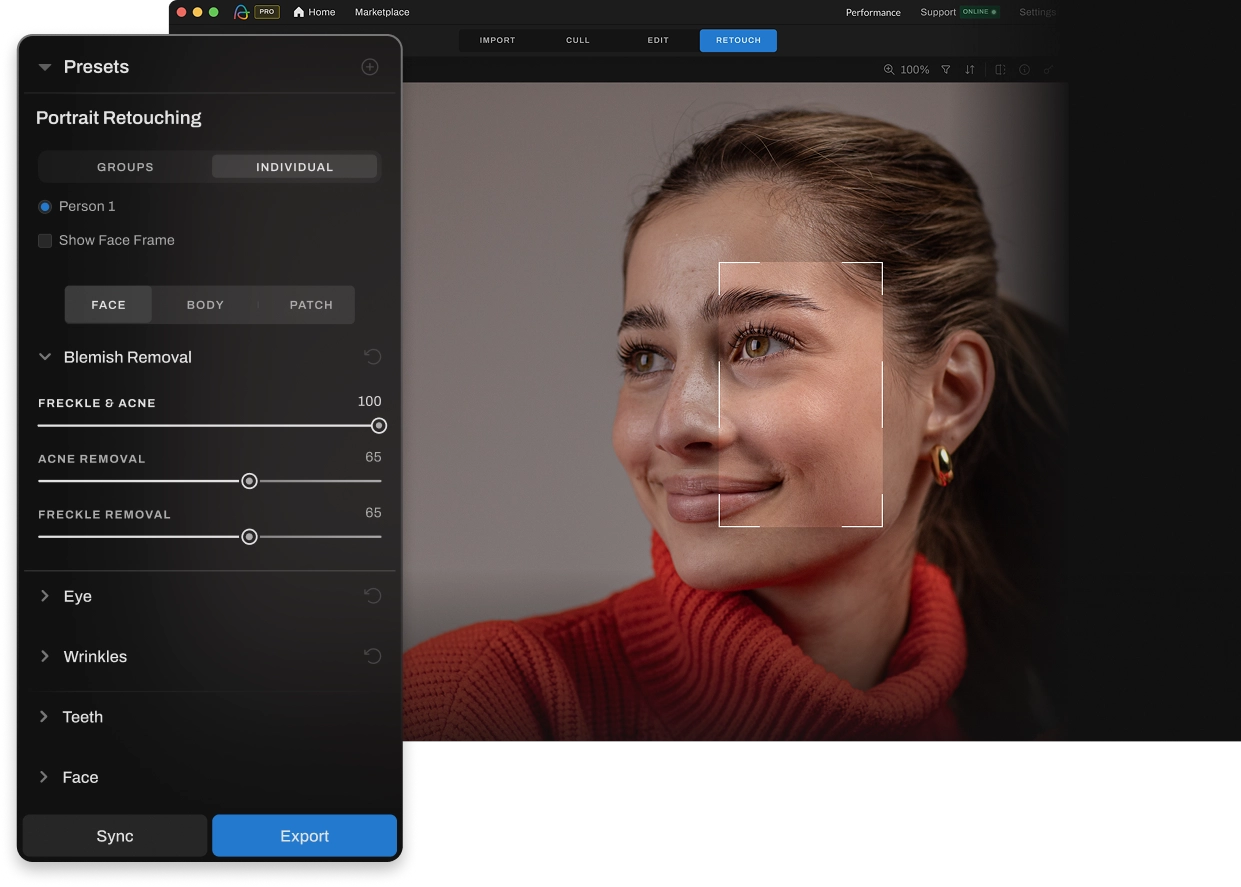
Retouching one portrait at a time is where family, newborn, and headshot photographers lose the most time.
- Separate retouch-worthy images from the rest. Not every candid needs skin work. Flag the portraits, album picks, and print images.
- Retouch with presets and sync. Set your skin smoothing, blemish removal, and eye and teeth settings once, then apply them across the selected set.
- Use AI for the repetitive layer. Aftershoot Retouch handles skin, blemishes, eyes, teeth, stray hairs, and glare consistently across the album, so detailed manual retouching is saved for the few images that need it.
Stage 7: Export and Deliver Without the Re-Upload
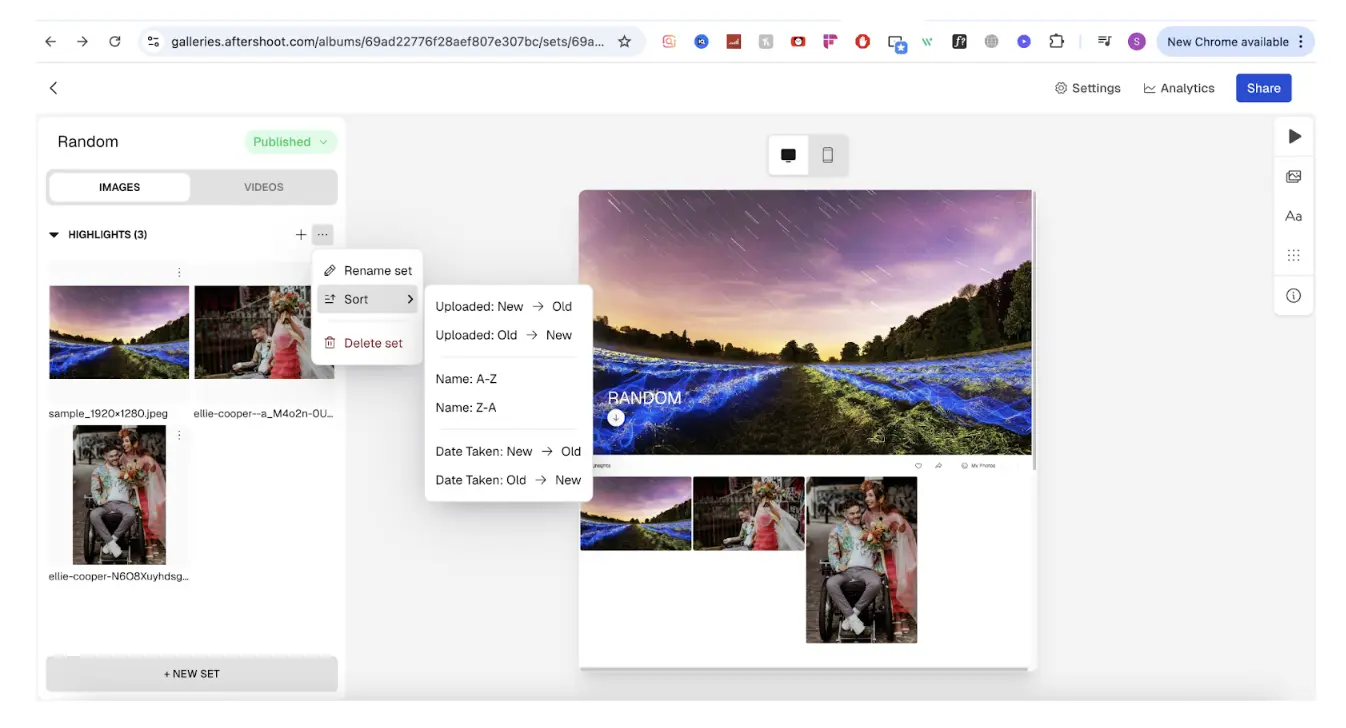
The final hour of many workflows is exporting, renaming, uploading to a gallery platform, and then answering “which ones should we print?” emails.
- Save export presets for web, print, and social so you’re never choosing settings from scratch.
- Deliver from the same place you edit whenever possible. Aftershoot Galleries lets you create and share client galleries directly from Aftershoot, without exporting and re-uploading. Start free with the Starter plan; get 10 GB of photo storage & 1 GB video. Premium and Unlimited plans are available for photographers who need more storage.
- Build proofing into the gallery so clients select favorites without long email threads. Here’s how to send photo proofs to clients without endless back-and-forth.
Manual vs. Batch vs. AI-Assisted Editing: What Actually Changes
Each approach saves time in a different place. Here’s what changes at each stage.
| Workflow stage | Manual editing | Batch editing | AI-assisted editing |
| Culling | You review every frame | You review every frame | AI flags blur, closed eyes, and duplicates; you review picks |
| Base edits | Each image edited individually | One edit per scene, synced to similar images | AI applies your style to each image individually |
| Mixed lighting | Every image adjusted by hand | Needs a separate edit per lighting condition | AI adapts per image; you fine-tune outliers |
| Consistency | Depends on your energy that day | Good within a scene, weaker across scenes | Your profile is applied the same way every time |
| Retouching | One image at a time | Presets synced across similar portraits | AI retouches the full set; you refine key images |
| Your role | Doing every step | Setting up scenes and fixing outliers | Reviewing and making the creative calls |
Batch editing is a big step up from editing every image by hand. AI-assisted editing goes further because it doesn’t depend on grouping images perfectly before you start. For a closer look at which tools cover each stage, see our guide to the best photography workflow software for each stage of post-production.
How to Reduce Photo Editing Time Without Sacrificing Quality: 5 Guardrails
Faster editing only costs quality when you skip the review. These five checks take minutes and catch nearly everything that goes wrong in a sped-up workflow.
- Protect the Moments That Can’t Be Missed
Automation should never have the final say on the ceremony kiss, the first look, or family formals. Review the rejects from these scenes before you move on, even if you trust your culling tool everywhere else.
- Spot-Check Skin Tones at Every Lighting Change
Check the first, middle, and last image of each scene. Skin tones are the first thing clients notice, and they drift most when the light changes from window light to tungsten or from daylight to flash.
- Keep a Reference Image Next to You
Pick one finished image that represents your style and compare against it while reviewing. It’s the fastest way to spot a scene that has drifted warmer, flatter, or brighter than the rest of your work.
- Retouch to Your Standard, Not to the Maximum
Batch retouching works best at a lighter intensity. Check album and print images at 100% zoom to make sure skin texture still looks natural, and save heavier retouching for the few images that need it.
- Do a Final Scroll in Grid View
Before delivering, scroll through the gallery in grid view at the speed a client would. Outliers in exposure, color, or crop stand out immediately when you see images side by side.
What a Faster Wedding Editing Workflow Looks Like in Practice
Here’s how the stages come together for a typical 3,000-image wedding.
- Import with Smart Previews and your base preset applied.
- Cull toward your delivery count, letting AI group duplicates and flag technical misses. Then review the key moments yourself.
- Apply your AI profile (or sync by scene if you’re batch editing manually) across the selects.
- Review by scene, using the first, middle, and last image check and your reference image.
- Fine-tune outliers such as mixed light, backlit portraits, and creative shots.
- Batch retouch the portraits and album picks.
- Time-box hero images. Give your sneak peeks and album cover candidates a fixed amount of time, then stop.
- Scroll the grid, export, and deliver straight to the client gallery.
The creative decisions stay yours: which moments make the gallery, how your hero images look, and what goes in the album. The repetitive work around them gets faster.
Where Aftershoot Fits Into a Faster Editing Workflow
Aftershoot is designed to take repetitive post-production work off your plate while your editing style stays yours. Culling, editing, and retouching run locally on your computer, and every plan includes unlimited images.
You can build a plan around your real bottleneck:
| Plan | Best for | Price (billed annually) | Price (billed monthly) |
| Select | Photographers whose biggest time sink is culling | $10/mo | $15/mo |
| Edit | Photographers who want AI edits in their own style | $30/mo | $35/mo |
| Retouch | Portrait, family, and newborn photographers | $20/mo | $25/mo |
| Complete (Select + Edit + Retouch) | High-volume photographers who want the full workflow | 45/mo(540/year) | $55/mo |
Every plan starts with a 30-day free trial, and no credit card is required.
Wedding photographer Ashlee Weaver, who shot 20 weddings and hundreds of sessions in a year, describes Aftershoot as being “like my very reliable assistant that takes care of 70% of my workload.”
You can also see what other photographers say about editing consistency and time saved in Aftershoot’s reviews on G2.
In a Nutshell: Spend Your Editing Time Where It Counts
Learning how to reduce photo editing time isn’t about rushing through your galleries. It’s about spending less time on the work that repeats every shoot, so more of your time goes to the choices only you can make.
Start with your single biggest bottleneck. Batch edit by scene, let AI handle the first pass, and use the five quality guardrails before you deliver. Try it on your next gallery, and you’ll probably find you get galleries out sooner and get your evenings back, without delivering work that looks any less like yours.
FAQs for How to Reduce Photo Editing Time
Q1. How long should it take to edit a wedding gallery?
It depends on the number of images, your turnaround promise, and how much retouching your style needs. Rather than aiming for a universal number, track your own time per delivered image across a few weddings. Once you know your baseline, it’s easier to see which stage is slowing you down and whether a change, such as AI culling or batch editing, actually made a difference.
Q2. Does batch editing lower the quality of my photos?
Not if you batch the right images together. Quality drops when settings are synced across different lighting conditions, such as copying a window-light edit onto tungsten reception images. Group images by scene and lighting before syncing, then spot-check the first, middle, and last frame of each scene. That keeps batch editing fast and consistent.
Q3. Can AI edit photos in my own style?
Yes. AI editing tools like Aftershoot can learn your style from your past Lightroom or Capture One edits. Aftershoot needs at least 2,500 edited images to train a personal AI profile and recommends 5,000 for the best results. If you don’t have that many, you can turn an existing Lightroom preset into an Instant AI Profile or start with a pre-built style.
Q4. What’s the fastest way to edit photos in Lightroom?
Build Smart Previews on import, apply a base preset automatically, and edit by scene using Sync (Ctrl/Cmd + Shift + S) instead of editing images one by one. Creating presets for your most common lighting conditions helps too. For large galleries, pairing Lightroom with AI culling and AI editing removes most of the repetitive first pass.
Q5. How do I stop over-editing my photos?
Time-box your hero images and keep one reference image nearby while you edit. If an image already matches your reference, it’s done. Over-editing usually happens when there’s no clear finish line, so decide in advance how long sneak peeks and album images get, and move on when that time is up.
Q6. Do I need a faster computer to edit photos faster?
A faster SSD and more RAM make Lightroom feel more responsive, especially with high-megapixel files. But hardware only speeds up each step. It doesn’t remove steps. Reducing the number of images you edit and automating repetitive corrections usually saves more time than an upgrade. Aftershoot’s minimum requirements are 8 GB of RAM and a relatively recent CPU on Windows or macOS.