TL;DR
- The time saved using a photo culling app in workflow depends mainly on shoot size, your current review speed, how many passes you make, and how much of the AI-generated selection you review.
- In our conservative model, a 3,000-image job drops from about 3.5 hours of manual culling to 1 hour and 15 minutes of active AI-assisted work.
- The biggest gains usually come from eliminating the repetitive first pass through every image, not from removing the photographer from the selection process.
- Small shoots may save only a few minutes. High-volume weddings, events, sports, and school photography have much more room for meaningful time savings.
- Don’t judge ROI only by processing speed. Measure active photographer time saved per shoot × number of shoots per month.
- AI can help surface technically strong images and group similar frames, but you should still make the final decisions around storytelling, emotion, and client relevance. Aftershoot, for example, supports both automated and AI-assisted culling approaches.
You finish a shoot with 3,000 photos. Before you can edit a single keeper, you still need to work through blinks, missed focus, duplicates, bursts, near-identical expressions, and all the perfectly usable frames that simply don’t belong in the final gallery.
The question isn’t really whether a photo culling software or app is faster than reviewing everything manually. It’s how much time you can save using a photo culling app in your workflow, and whether that saving is meaningful enough to justify changing the way you cull.
For a 3,000-image shoot, a conservative workflow model puts the potential saving at roughly 2 hours and 15 minutes of active culling time per shoot. At 6,000 images, that grows to around 4 hours and 45 minutes.
Those aren’t guarantees or product benchmarks. They’re calculated examples based on clearly stated assumptions, which we’ll break down below so you can replace them with your own numbers.
This keeps the primary keyword very close to its exact form without making the sentence sound like it was written for a crawler. That also lines up with Aftershoot’s SEO standard of using keywords naturally rather than forcing exact-match phrasing.
How Much Time Can Be Saved Using A Photo Culling App In Workflow?

If I’m being honest, there’s no one useful universal answer such as “AI culling saves three hours.”
A photographer making decisive keep/reject choices on 800 portraits has a very different baseline from someone comparing thousands of burst sequences from a wedding or sporting event.
A better way to estimate photo culling app time savings is to calculate three things:
Manual culling time, active automated workflow time = time saved per shoot
Then:
Time saved per shoot × shoots per month = monthly time saved
Let’s build a conservative example.
The assumptions behind our culling time model
For the scenarios below, we’ll assume:
- Manual first pass: 3 seconds per image
- 30% of the original gallery reaches a more considered second pass
- Second-pass review: 4 seconds per image
- Automated workflow setup and final checks: 15 minutes of active time
- Photographer manually reviews the 30% shortlist at 4 seconds per image
- Background processing time isn’t counted as photographer working time
Note: These are illustrative inputs, not industry averages or claims about a particular application.
In fact, the manual baseline is intentionally fairly quick. If you currently stop longer on each frame, compare multiple similar images, or make three or four passes through a gallery, your potential saving will be larger.
Manual vs. automated culling workflow time impact
| Original shoot size | Manual culling: estimated active time | Automated workflow: estimated active time | Estimated active time saved | Reduction in active culling time |
| 500 photos | 35 min | 25 min | 10 min | 29% |
| 1,500 photos | 1 hr 45 min | 45 min | 1 hr | 57% |
| 3,000 photos | 3 hr 30 min | 1 hr 15 min | 2 hr 15 min | 64% |
| 6,000 photos | 7 hr | 2 hr 15 min | 4 hr 45 min | 68% |
The interesting part here is that the automated workflow doesn’t require you to personally make an initial decision about every single frame.
At 500 images, that difference isn’t dramatic. At 6,000, it becomes a meaningful chunk of the working day.
And that’s why evaluating culling software based on a single “photos processed per minute” figure can be misleading. Processing speed matters, but active photographer time is usually the more useful ROI metric.
Why Does Culling Software Save More Time On Larger Shoots?
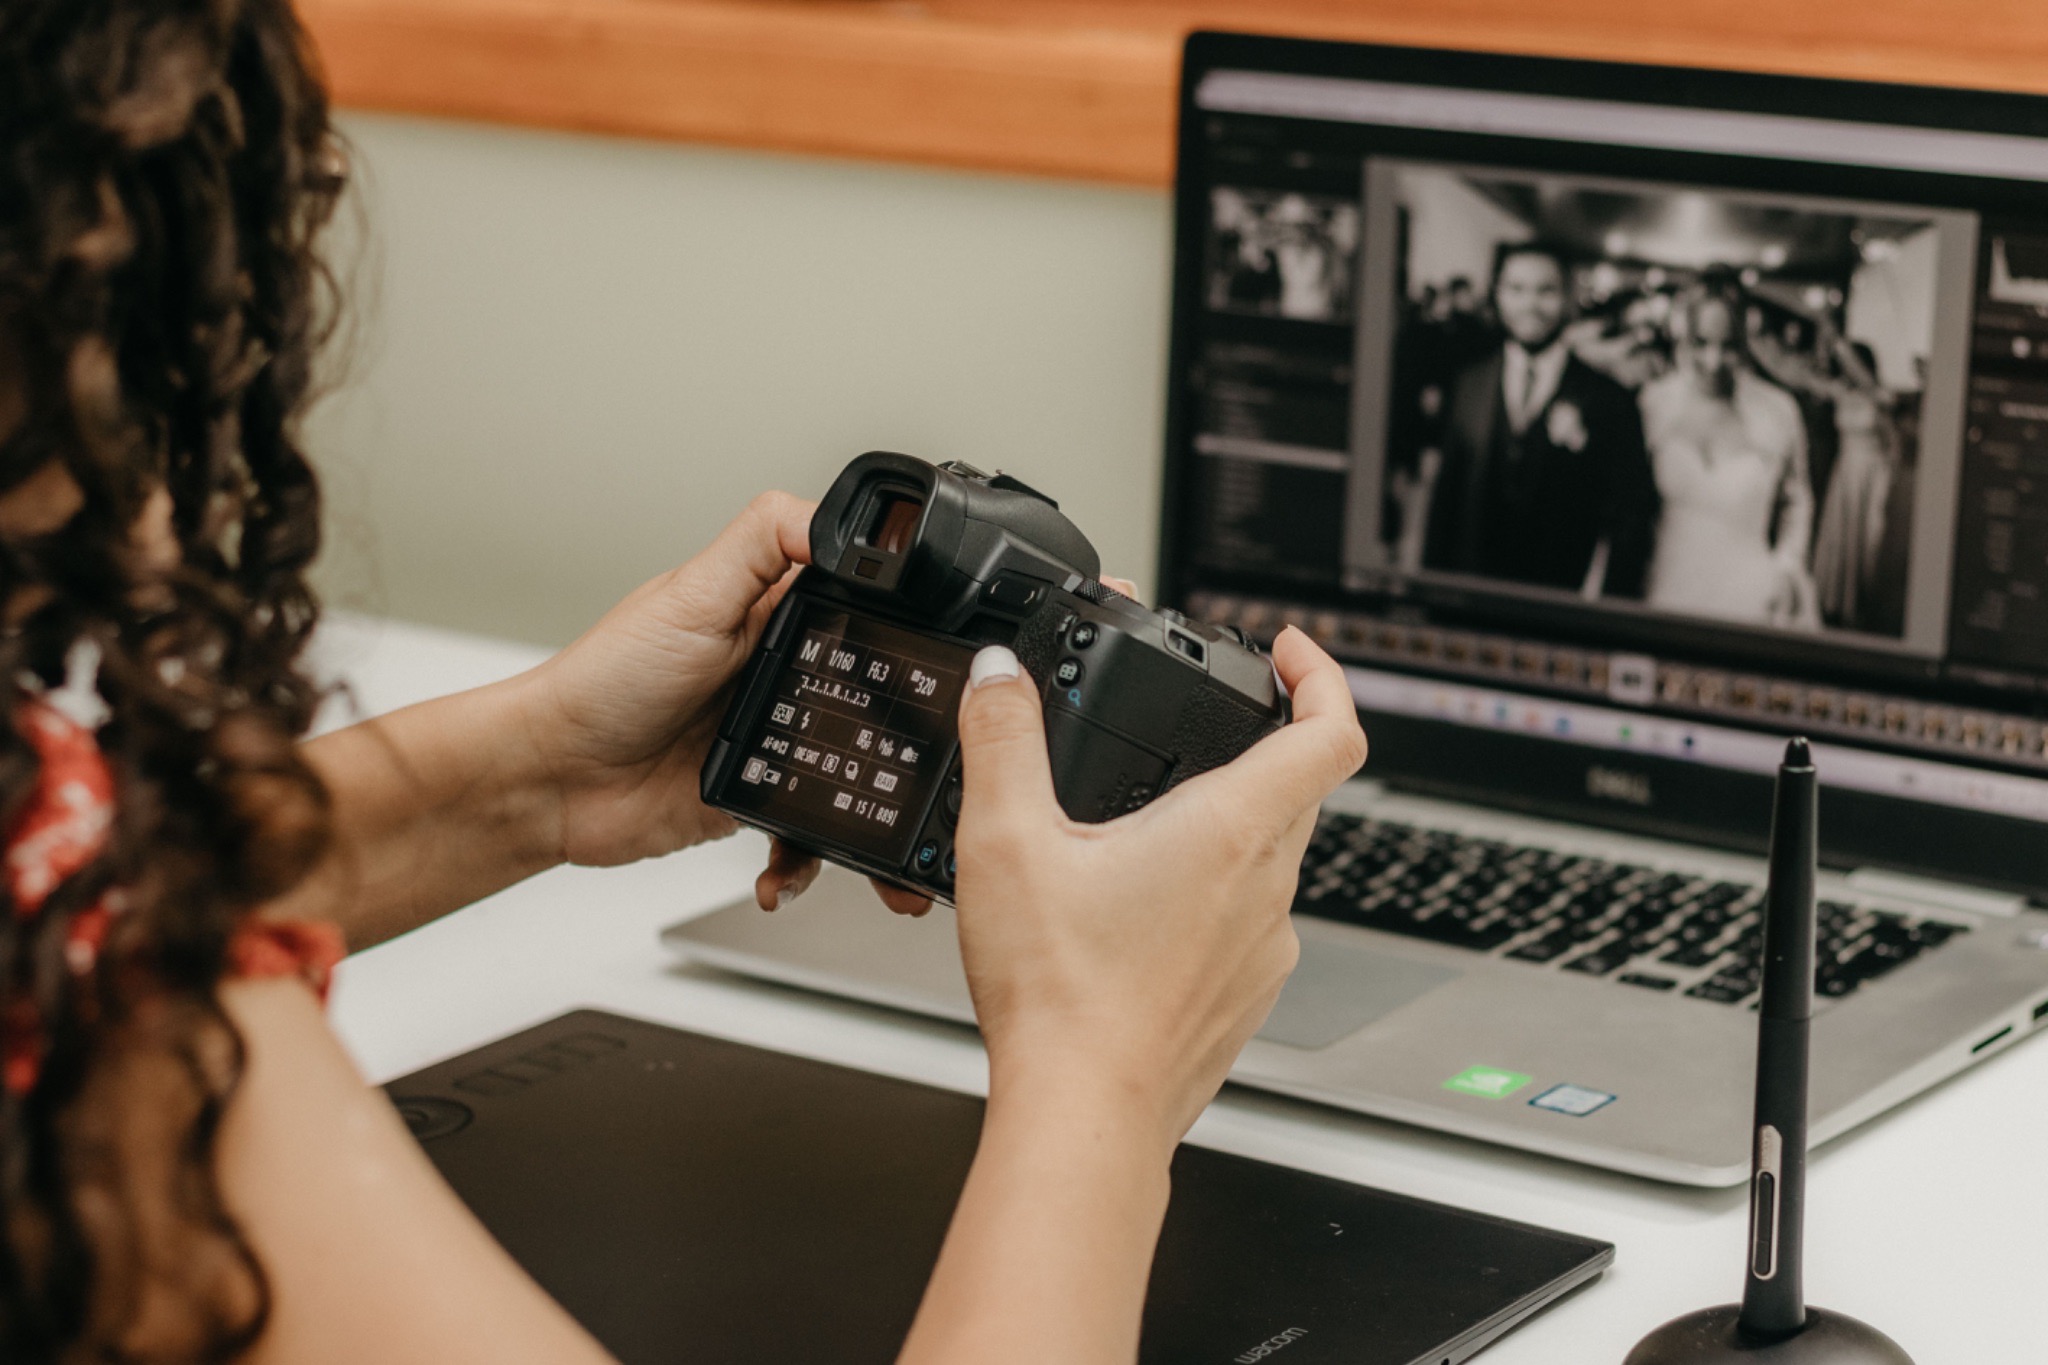
The first thing to know here is that culling has a scaling problem.
Double the number of images you shoot manually, and you’re roughly doubling the number of first-pass decisions you need to make. That’s why the time saved using a photo culling app or software in your workflow tends to become more noticeable as shoot volume increases.
With an automated workflow, your active involvement doesn’t necessarily grow at the same rate because the software can handle more of the repetitive filtering before you begin your review.
That difference becomes especially relevant when you’re dealing with:
- burst sequences
- multiple cameras or shooters
- repeated group photographs
- several versions of the same moment
- closed eyes or missed focus
- large stretches of similar images
Modern culling tools approach this in different ways. For example, Aftershoot AI Culling can review a shoot, group duplicate or similar images, and surface selections for the photographer to review rather than requiring every image to receive the same amount of attention.
If you want to see where that sits within the wider process, this AI photo culling workflow guide walks through the culling stage from import to final selection.
Here’s what Alex Leon from Weddings Unlimited shared about how Aftershoot Culling changed his team’s workflow and the time they’ve been able to get back:
“Weddings Unlimited is a photography company that has completed over 5000 weddings. We do 1000+ weddings per year and we use Aftershoot to take down the time of our culling and editing dramatically. We have over 60 photographers on staff and a team of 4 editors.”
Time Saved Using A Photo Culling App In Workflow: By Photography Genre
Shoot size matters way more than genre alone, so treat the numbers below as scenarios rather than ‘average’ shoot sizes.
Replace the image count with what you actually bring home.
| Example workflow | Example images captured | Manual active time* | Automated active time* | Example saving |
| Portrait session | 500 | 35 min | 25 min | 10 min |
| Larger portrait / family session | 1,000 | 1 hr 10 min | 35 min | 35 min |
| Event | 1,500 | 1 hr 45 min | 45 min | 1 hr |
| Wedding | 3,000 | 3 hr 30 min | 1 hr 15 min | 2 hr 15 min |
| High-volume wedding / event | 6,000 | 7 hr | 2 hr 15 min | 4 hr 45 min |
*Using the illustrative assumptions defined earlier.
1. Portrait photography: the ROI can be smaller per shoot
If you’re coming home with 300-500 photographs and already culling quickly, saving ten or twenty minutes may not transform your week.
But frequency matters.
Saving 15 minutes on one session isn’t much, but saving 15 minutes across 20 sessions is five hours.
For portrait businesses, therefore, the better question may be how frequently the same culling task repeats rather than how large an individual gallery is.
2. Wedding photography: volume makes the difference compound
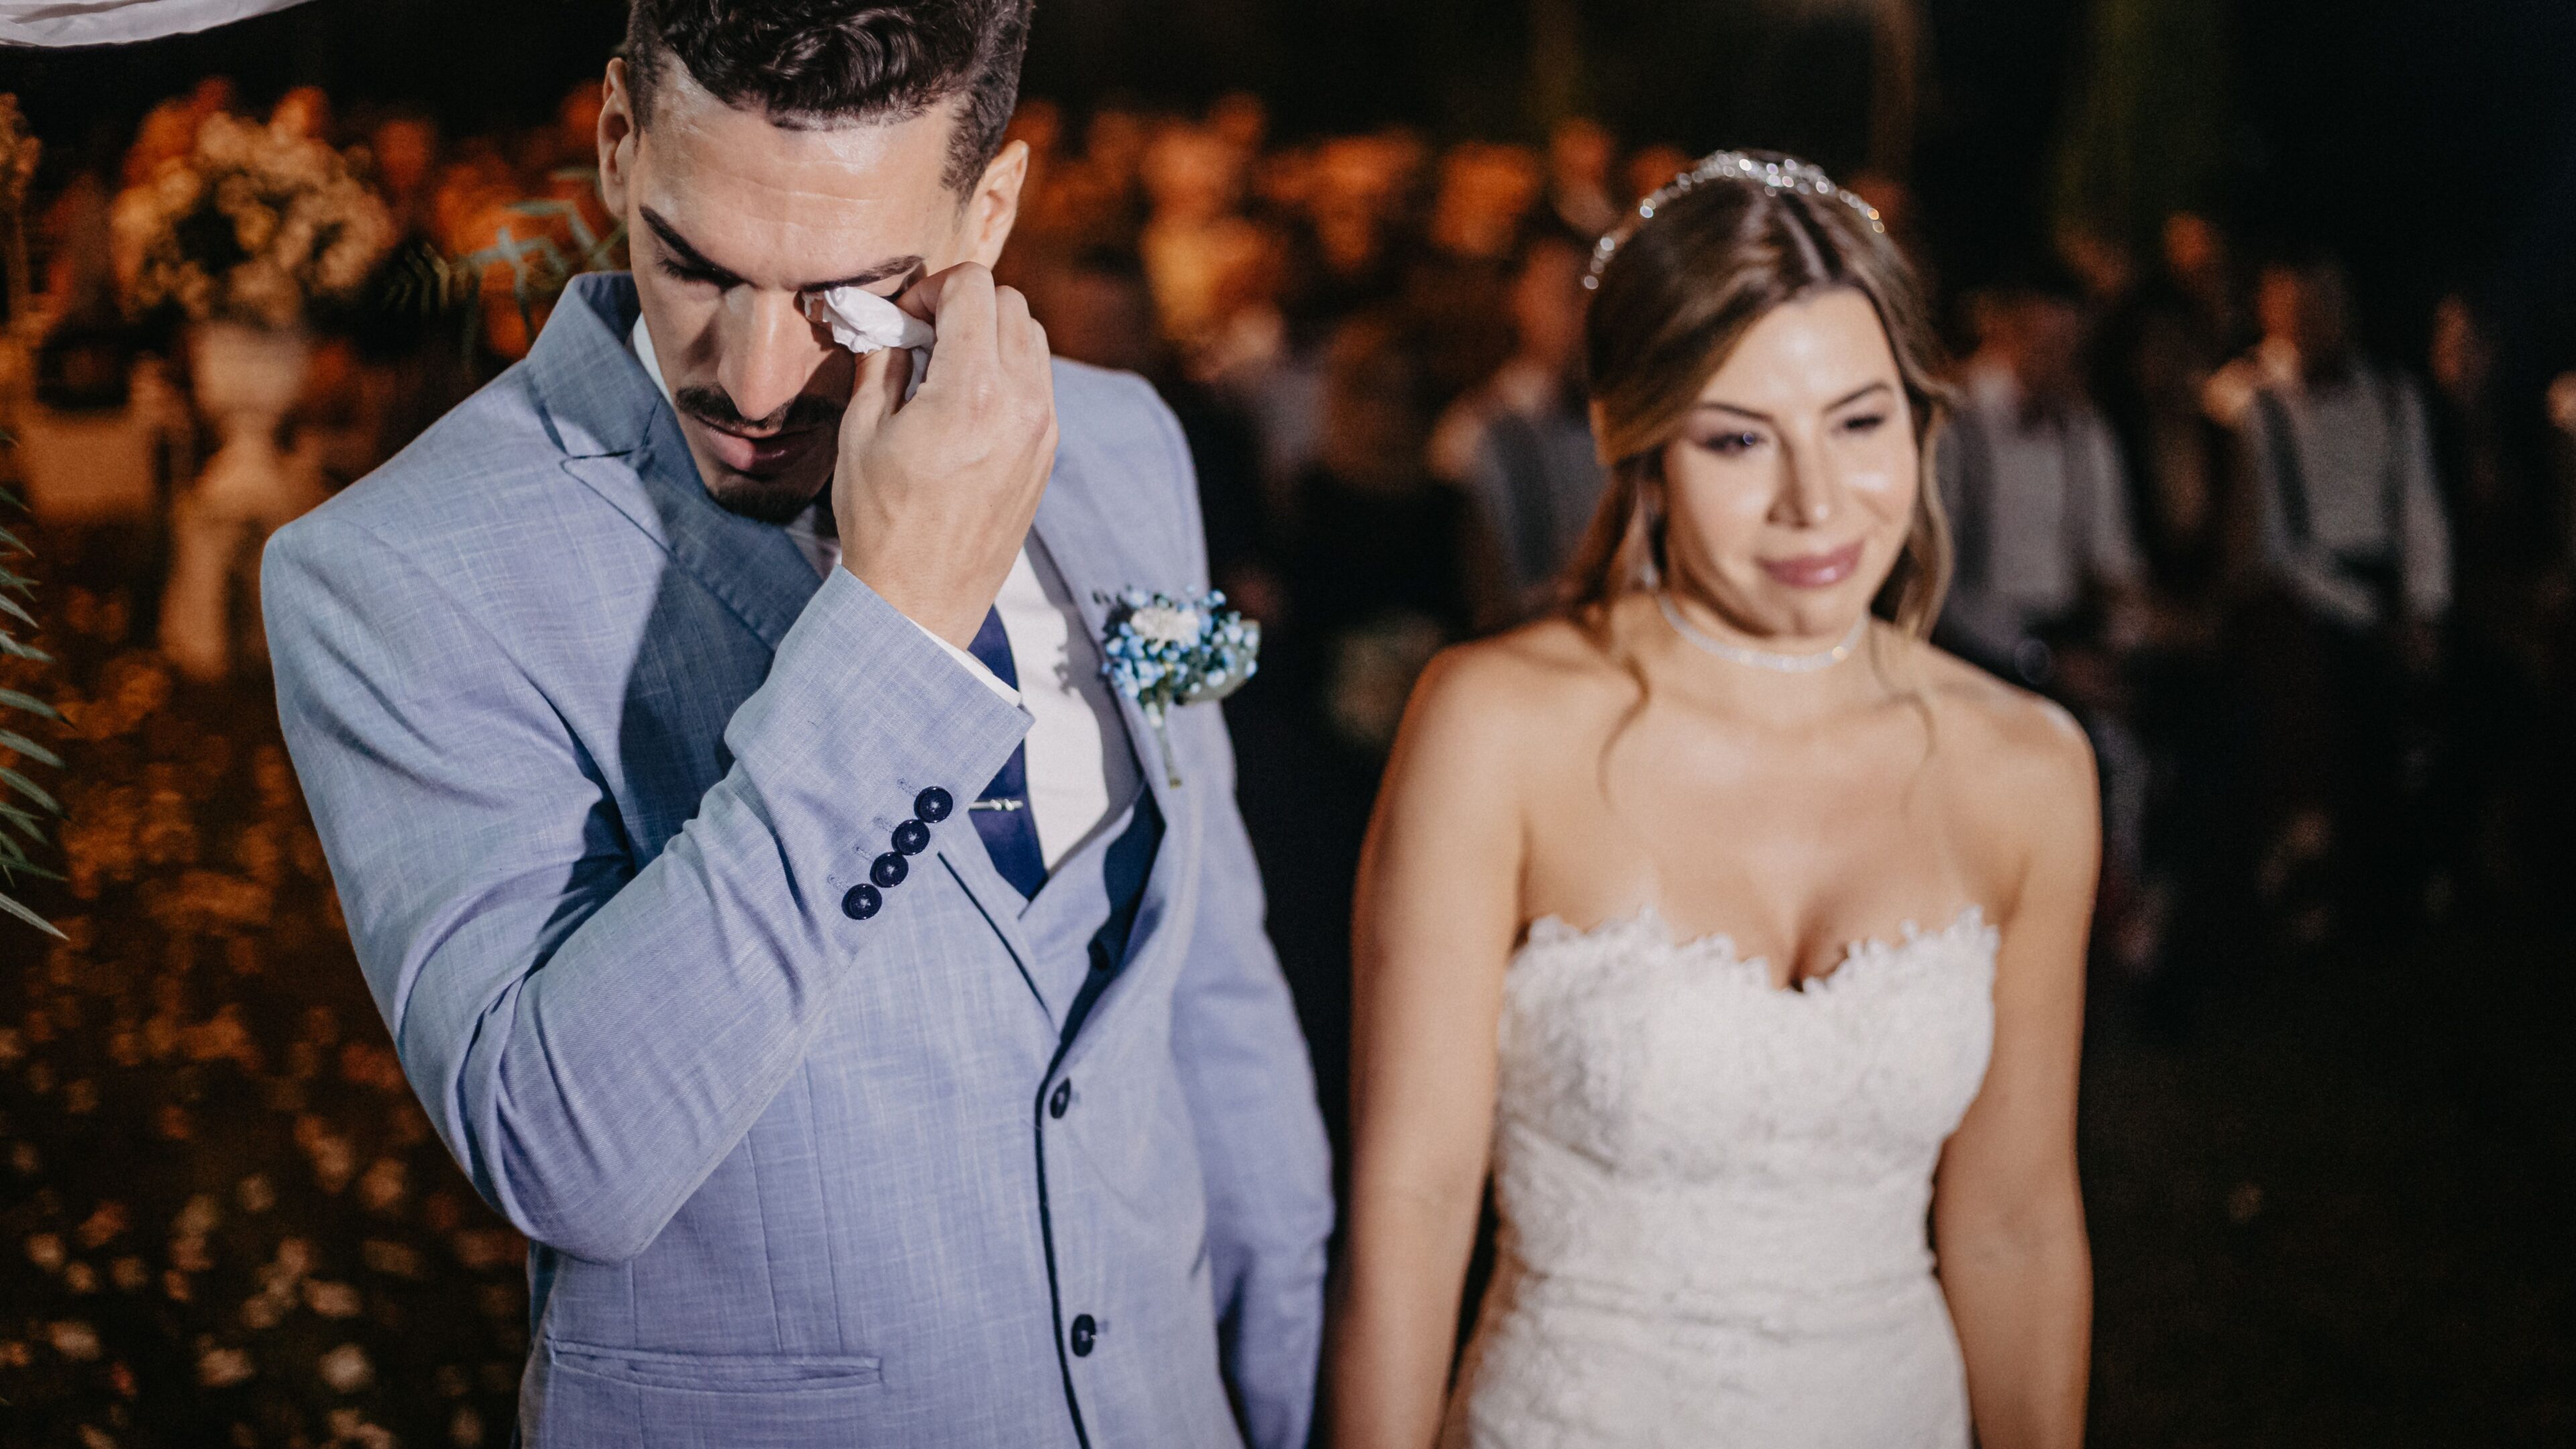
Wedding photographers often have to compare expressions, reactions and near-identical moments rather than simply reject technically poor frames.
That’s important because good culling isn’t just deletion. Knowing how to choose the best photos still requires judgment about the story of the day. A technically sharper frame isn’t automatically the frame that belongs in the gallery.
This is where software is most useful as a first layer of organization, rather than a replacement for the photographer.
Let the repetitive comparison become easier. Spend your attention on the decisions that actually need it.
👁️ Also Read: How to Cull Wedding Photos in Half the Time (and Deliver an Unforgettable Gallery)
3. Events and other high-volume work: minutes become hours quickly
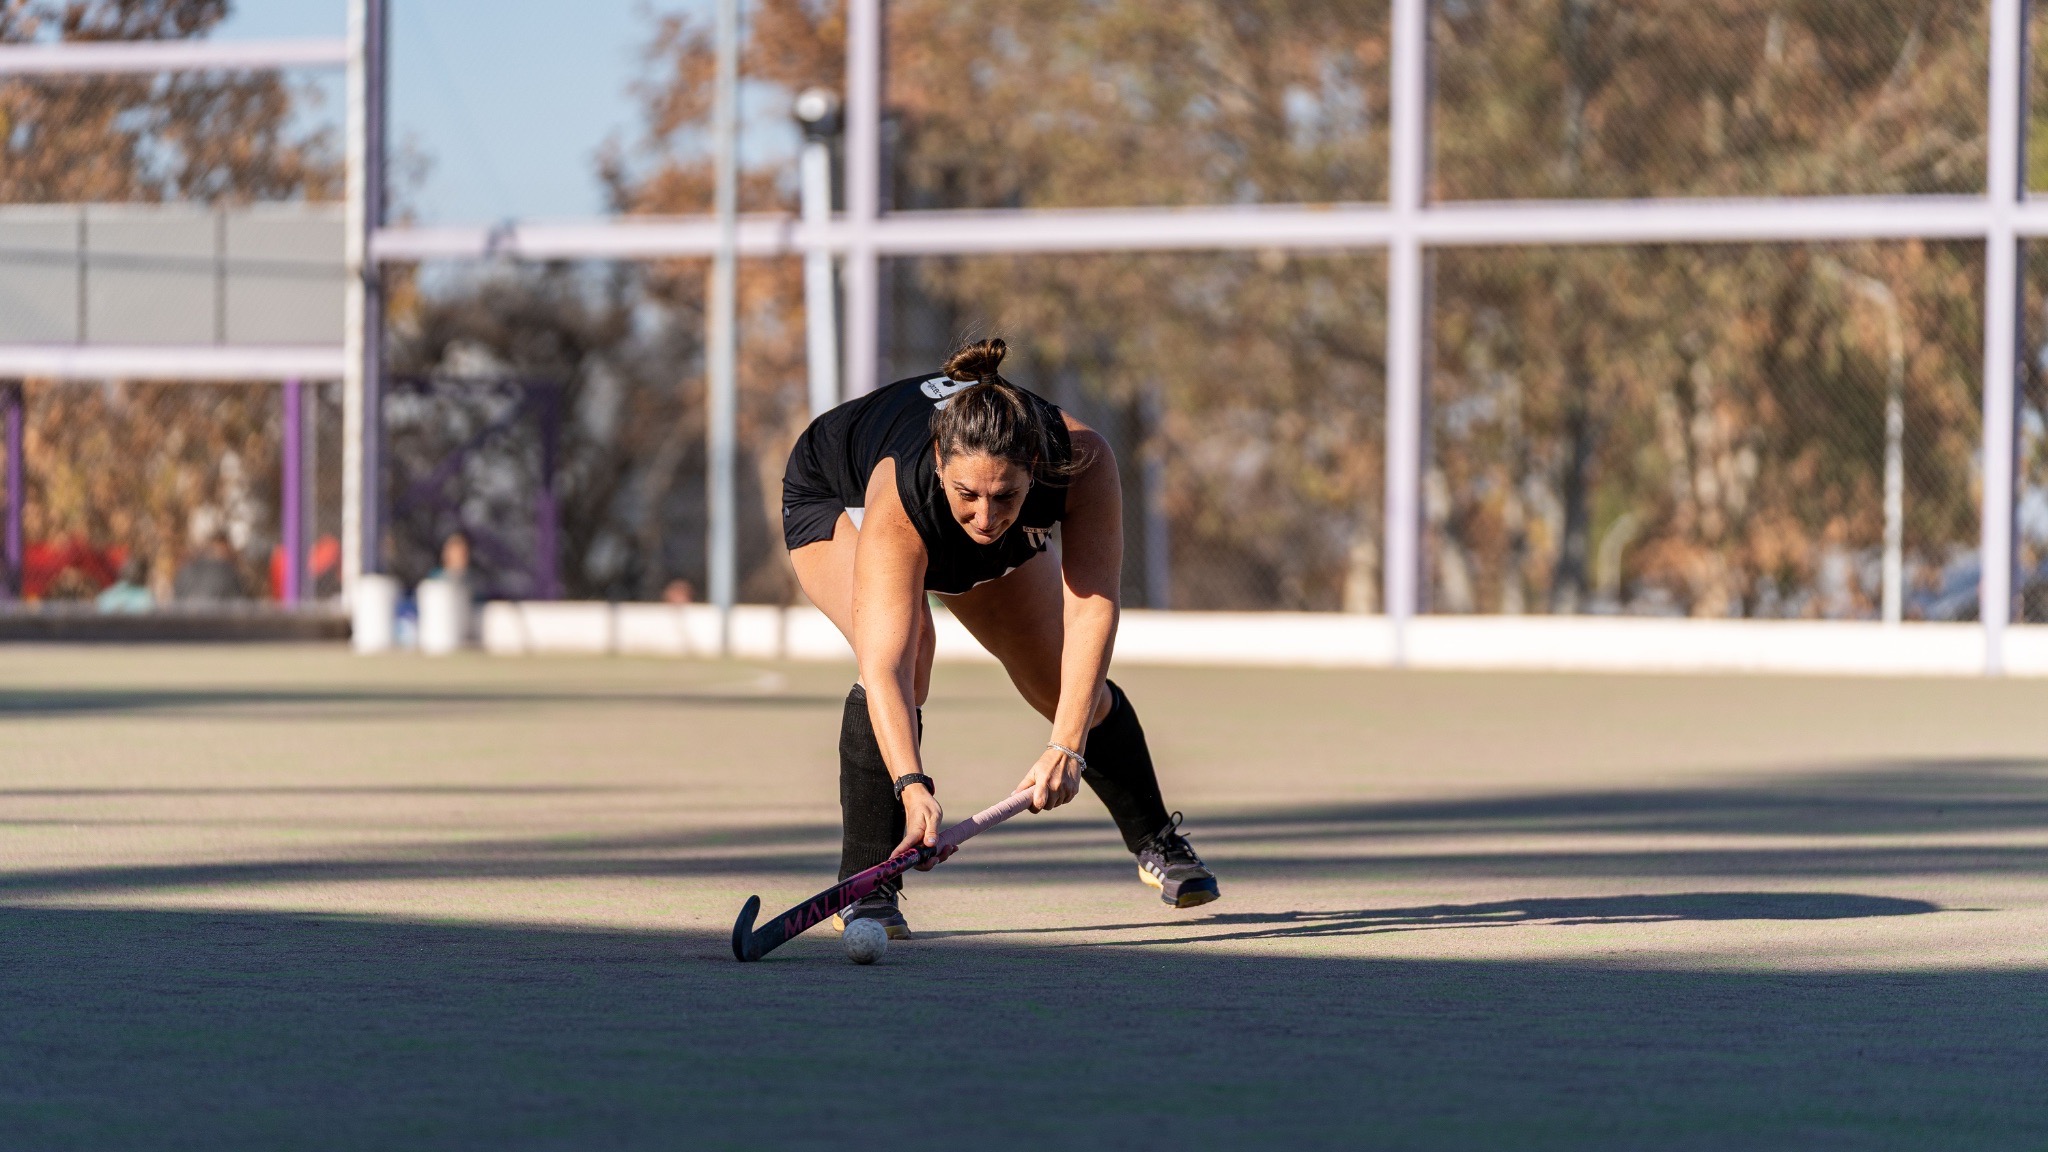
For events, sports, school photography, conferences, or any other workflow that creates thousands of files repeatedly, the volume equation becomes difficult to ignore.
Even shaving one second of active review from 5,000 images removes almost 84 minutes of work.
You don’t need a dramatic “90% faster” promise for automation to have a meaningful impact. Small reductions multiplied across thousands of photographs are enough.
Can a Photo Culling App Really Auto-Select The Best Photos?
Yes, but with an important caveat around what “best” means.
Culling software can help evaluate and organize photographs using signals such as focus, expressions, composition, duplicates, or similarity, depending on the application. Aftershoot’s current culling workflow, for example, supports automated AI culling as well as an AI-assisted approach where photographers remain more involved in selection.
That makes a huge difference when you’re calculating the time saved using a photo culling app in your workflow. The goal isn’t necessarily to hand over every creative decision. It’s to spend less time on repetitive comparisons so you can focus your attention on the photographs that need your judgment.
Because the strongest technical photograph isn’t always the photograph you should deliver.
Imagine two frames from a father-daughter dance:
- Frame A is perfectly sharp, with both subjects clearly visible.
- Frame B has a little motion blur, but catches an expression that changes the entire photograph.
The “best” technical frame may be A, but you may still choose B.
The same applies to intentional blur, unconventional composition, fleeting reactions, inside jokes, VIP guests, or photographs that matter because of context the software simply doesn’t have.
So, when evaluating an auto select best photos feature, ask what it’s actually doing for you:
- Is it replacing your final creative call?
- Or is it making the repetitive comparisons easier so your attention can go toward that final call?
The second is usually the healthier way to think about automated culling.
Which Photo Culling Software Actually Delivers These Savings?
The time-saving math above only holds up if the software you choose actually removes work instead of adding a new layer of review on top of it.
Not every “AI culling” tool works the same way. Some fully automate the first pass. Some assist your decisions without making them for you. And one popular option, Photo Mechanic, still has no AI at all, which matters if you’re comparing it against tools that do.
Here are the Top 5 Photo Culling Software
| Software | Culling approach | Starting price | Works offline | Best for |
| Aftershoot Selects | Fully automated AI culling, with an AI-assisted mode available | $10/month billed annually, unlimited images | Yes, processing happens locally | High-volume photographers who want the first pass done for them |
| Photo Mechanic | Manual browsing and rating, no AI | $14.99/month or $149/year | Yes | Photojournalists and sports shooters who cull by eye and just need speed |
| Narrative Select | AI-assisted: flags focus, eyes, and groups scenes, but you make every final call | $10/month billed annually | No, runs as a Lightroom Classic plugin | Photographers who want faster information, not faster decisions |
| FilterPixel | Cloud-based AI culling, with a genre-aware “DeepCull” mode for expressions | Free for 4 projects; paid plans from around $10/month | No, cloud-based | Photographers who want AI culling without installing local software |
| Imagen AI | Pay-per-photo AI editing, with culling as an add-on | $0.05/photo, $7/month minimum | No, cloud-based | Photographers who want variable, usage-based pricing over a flat fee |
What this means: if you’re chasing the time saved using a photo culling app in your workflow, the more useful comparison isn’t simply AI versus no AI. It’s automated culling versus assisted culling. Aftershoot and FilterPixel can take over much of the first-pass review, which is where a large share of the active-time savings in the earlier model comes from. Narrative Select still speeds up that first pass, but keeps you more involved in reviewing and choosing images, so the potential active-time saving is typically smaller. Photo Mechanic sits in a different category. It can make manual review faster, but it doesn’t automate the selection stage itself. So it may improve culling speed without removing the same amount of hands-on review time.
1. Aftershoot: built around removing the first pass, not just speeding it up

Aftershoot runs locally, so a shoot doesn’t need to leave your machine before culling starts. It groups bursts and near-duplicates into a single “moment,” flags closed eyes and blur, and surfaces its picks for you to review rather than requiring a decision on every frame. That’s the part of the workflow this article’s time model is actually measuring.
Aftershoot has also continued to build its culling workflow around one goal: reducing the amount of repetitive review photographers have to do without taking away their final say.
Within that:
- Features like Extreme Cull narrow a shoot down to a much smaller set of recommended images, while Selected and Maybe filters give photographers a faster way to review stronger and secondary options.
- One-Click Cull + Edit goes a step further by combining culling and editing into a single workflow, so photographers can import a shoot, apply their culling and editing preferences, and let the processing run in the background.
- Tools such as Survey Mode, which helps compare groups of similar images, and the Spray Can Tool, which supports faster sorting and categorization, are designed to make the review stage more efficient whether you prefer automated or AI-assisted culling.
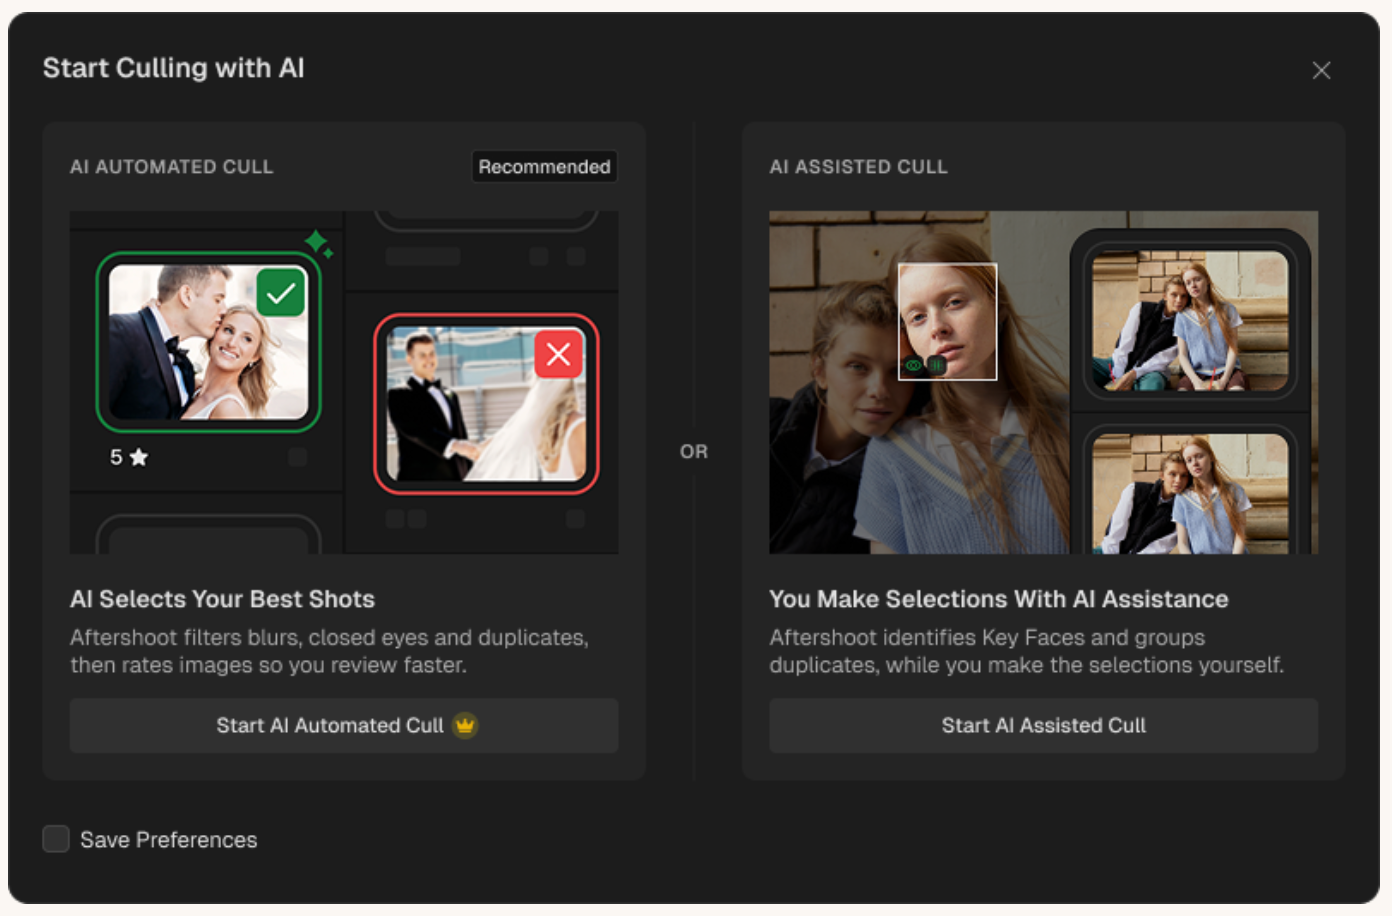
Together, these features are less about removing the photographer from the process and more about reducing the number of repetitive decisions standing between import and the final gallery.
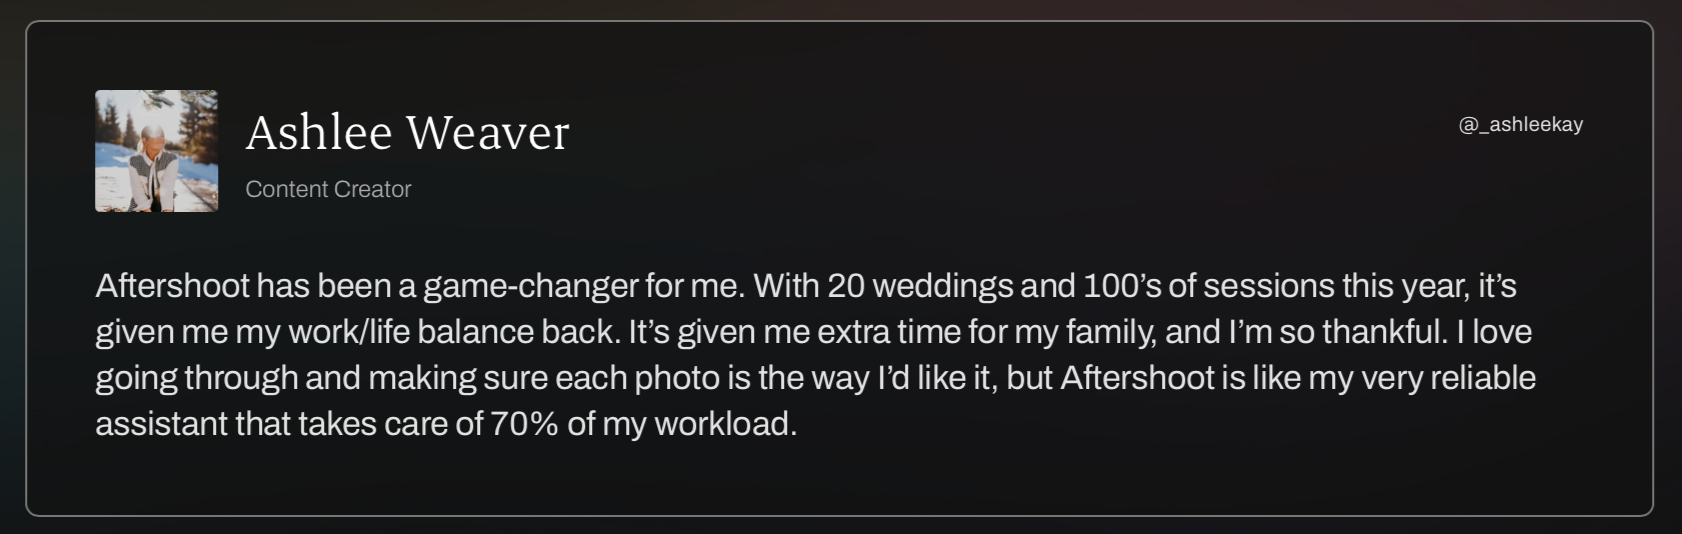
Don’t take our word for it, hear it from Ashlee Weaver:
Pricing is flat and unlimited rather than per-image, which will make a huge difference to your photo culling software choice if you’re running the ROI calculation above across a busy wedding season. Basically, your cost doesn’t climb with your shoot volume.
👁️ Also Read: How to cull photos quickly with Aftershoot
Watch this video to see how easy it is to cull with Aftershoot or read the full step-by-step guide on how to optimize your photo culling workflow with Aftershoot.
2. Photo Mechanic: fast browsing, but no AI culling in 2026
Photo Mechanic remains the fastest way to manually flip through RAW files, and plenty of photojournalists still swear by it for that reason alone. But it’s a browser and metadata tool, not a culling tool. It doesn’t detect blur, closed eyes, or duplicates, and it won’t reduce your active review time the way this article’s model assumes an “automated workflow” does.
If the speed of manual review is genuinely your bottleneck, and you don’t want the software making any selection calls, it’s worth considering. If you’re trying to cut the hours calculated earlier in this article, it won’t get you there on its own.
👁️ Also Read: Aftershoot vs Photo Mechanic
3. Narrative Select: keeps the final decision with you
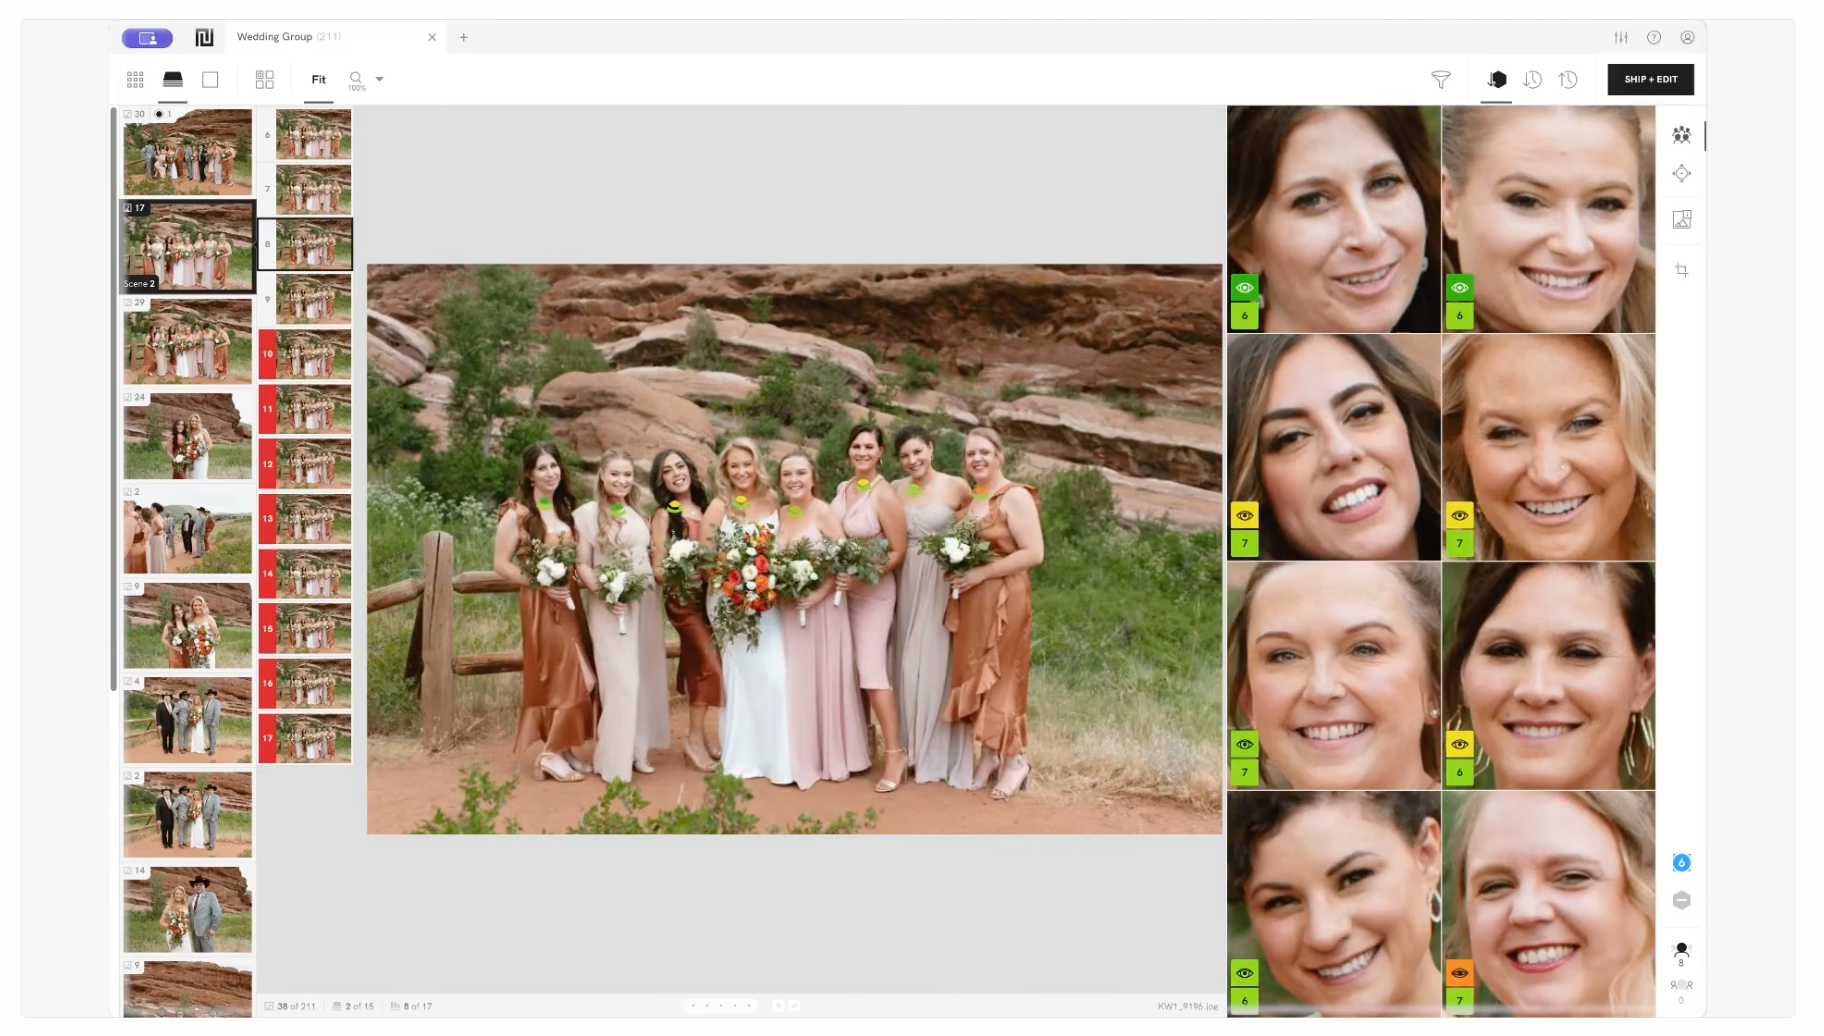
Narrative Select scores focus, flags eyes, and groups similar frames, but doesn’t select final images on your behalf. That’s a deliberate design choice: the AI hands you better information faster, and you still make every call.
That approach appeals to photographers who don’t want to hand over creative judgment, particularly around expression and storytelling. It also means the time saved sits closer to the lower end of this article’s estimates, since you’re still actively reviewing every frame, just with less friction.
👁️ Also Read: Aftershoot vs Narrative Select
4. FilterPixel and Imagen AI: Two cloud-based alternatives with different pricing logic
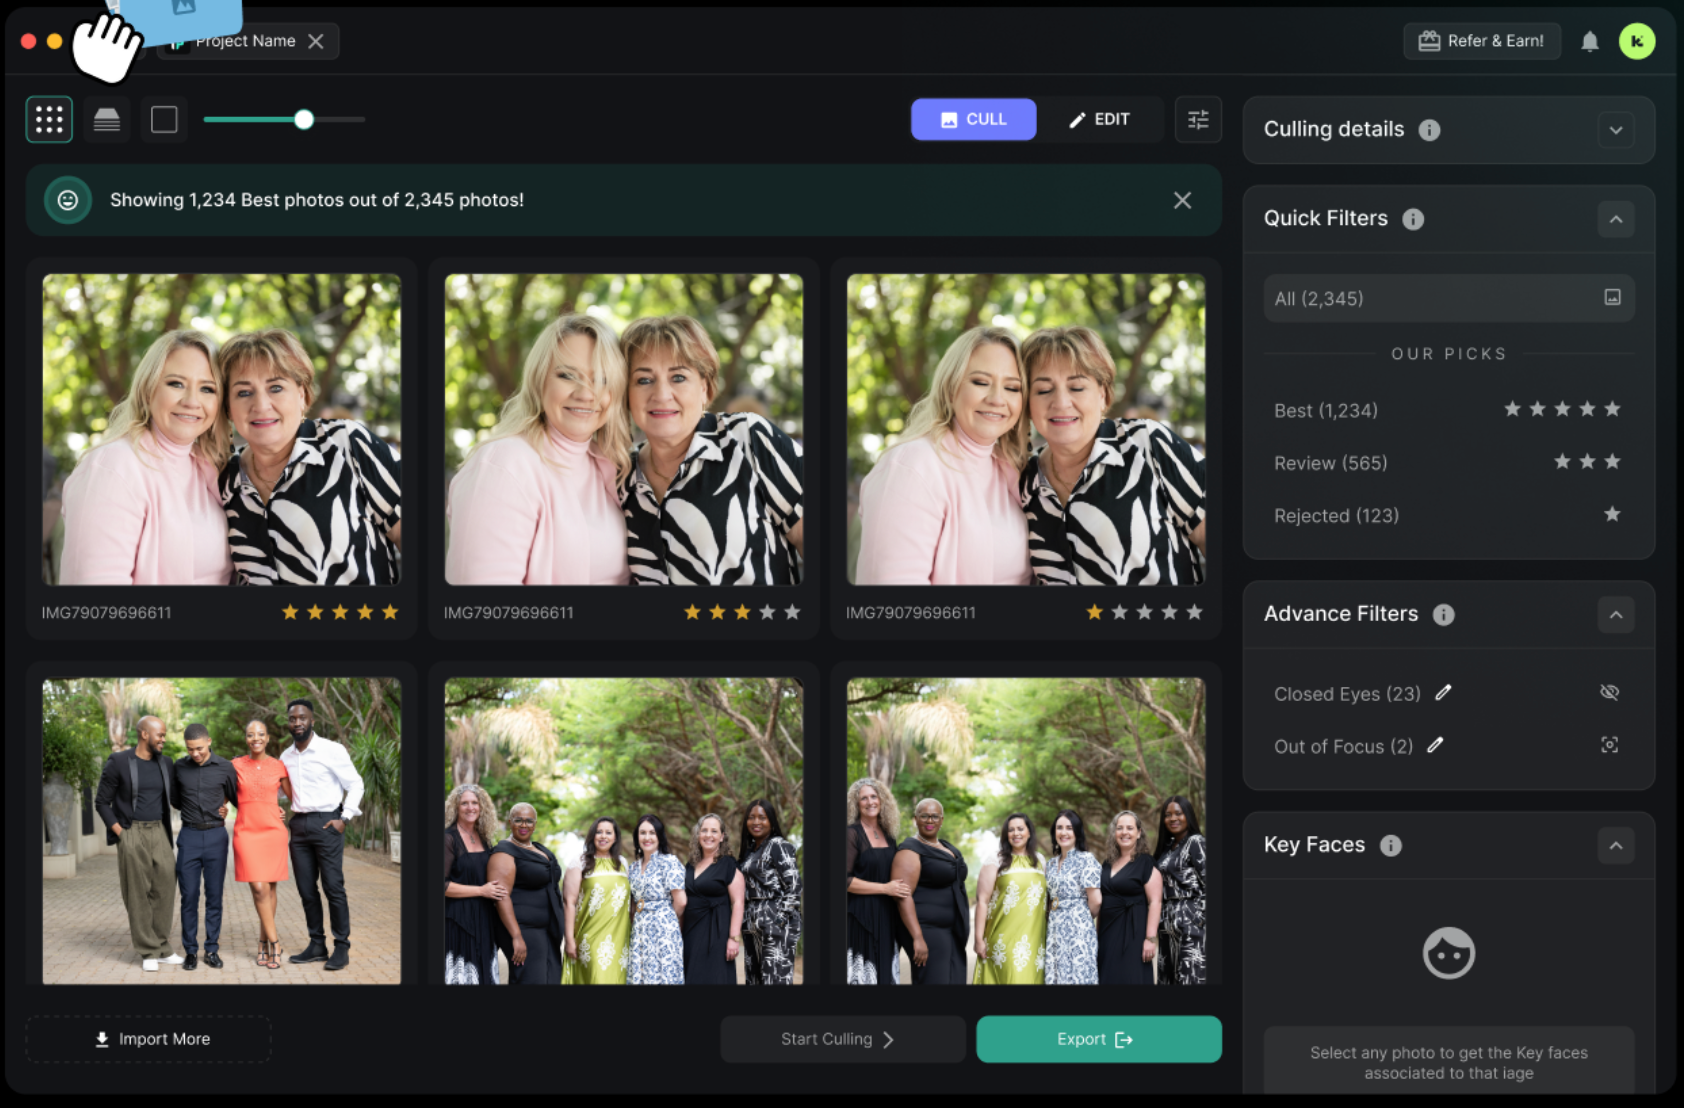
FilterPixel and Imagen AI both process images in the cloud rather than on your machine, which means shoots need to upload before culling starts, but also means you can start reviewing from a tablet or a different computer than the one that shot the images.
The bigger difference between them is the pricing structure. FilterPixel’s paid plans are flat and unlimited, similar to Aftershoot. Imagen AI charges per photo, which can work in your favor on lighter months and against you during a high-volume wedding season. Before choosing either, run the same monthly-image estimate you used in the ROI calculator against their per-photo cost, not just the advertised starting price.
How To Calculate Your Own Photo Culling App Time Savings?
Honestly, the best benchmark here isn’t ours… it’s yours.
Before you change your workflow, time one real manual cull from beginning to end.
Step 1: Measure your current manual culling time
For your next three representative shoots, record:
- Number of images captured
- Time you begin culling
- Time you finish
- Number of passes
- Number of final selects
Don’t use the unusually easy 300-photo session or the nightmare wedding where everything went sideways.
A few normal jobs will give you a better baseline.
Step 2: Measure active time, not just elapsed time
Suppose you start an automated cull at 7 p.m. and return to it at 8 p.m. That doesn’t necessarily mean the software “took an hour of your time.”
The better question to ask is:
How many minutes did I personally spend doing culling work?
If setup took five minutes, you answered emails while the software processed the job, and your review took 40 minutes, your active time was roughly 45 minutes.
Tracking this separately makes the automated culling workflow time impact much easier to evaluate.
Step 3: Run the same type of shoot through an automated workflow
Now record:
- Setup/import time
- Hands-off processing time
- Active review time
- Final selection time
- Any time spent correcting selections
Don’t conveniently ignore correction time. If you’re constantly digging through rejects because you don’t trust the shortlist, that’s part of the workflow too.
Step 4: Calculate time saved per job
If:
- Manual culling = 3.5 hours
- Automated active time = 1.25 hours
Then:
3.5 – 1.25 = 2.25 hours saved per shoot
That’s the number that’s useful to you, and it’s not about how quickly the AI analyzed the files or how many photographs it can process per minute.
It’s all about getting your time back.
Where Does Automated Culling Save Time Beyond The Cull Itself?
Saving time on culling has a knock-on effect: the sooner your selects are ready, the sooner everything else can move forward.
1. You start editing sooner
Editing 500 photographs isn’t much use when you haven’t decided which 500 photographs deserve to be edited.
The cull sits upstream of the rest of post-production. Remove time there, and your editing queue can start earlier.
If culling and editing are the two biggest bottlenecks in your current process, it may also make sense to look at them as one system rather than optimize them independently. Our guide to photography workflow software explains how culling, editing, retouching, and delivery fit together.
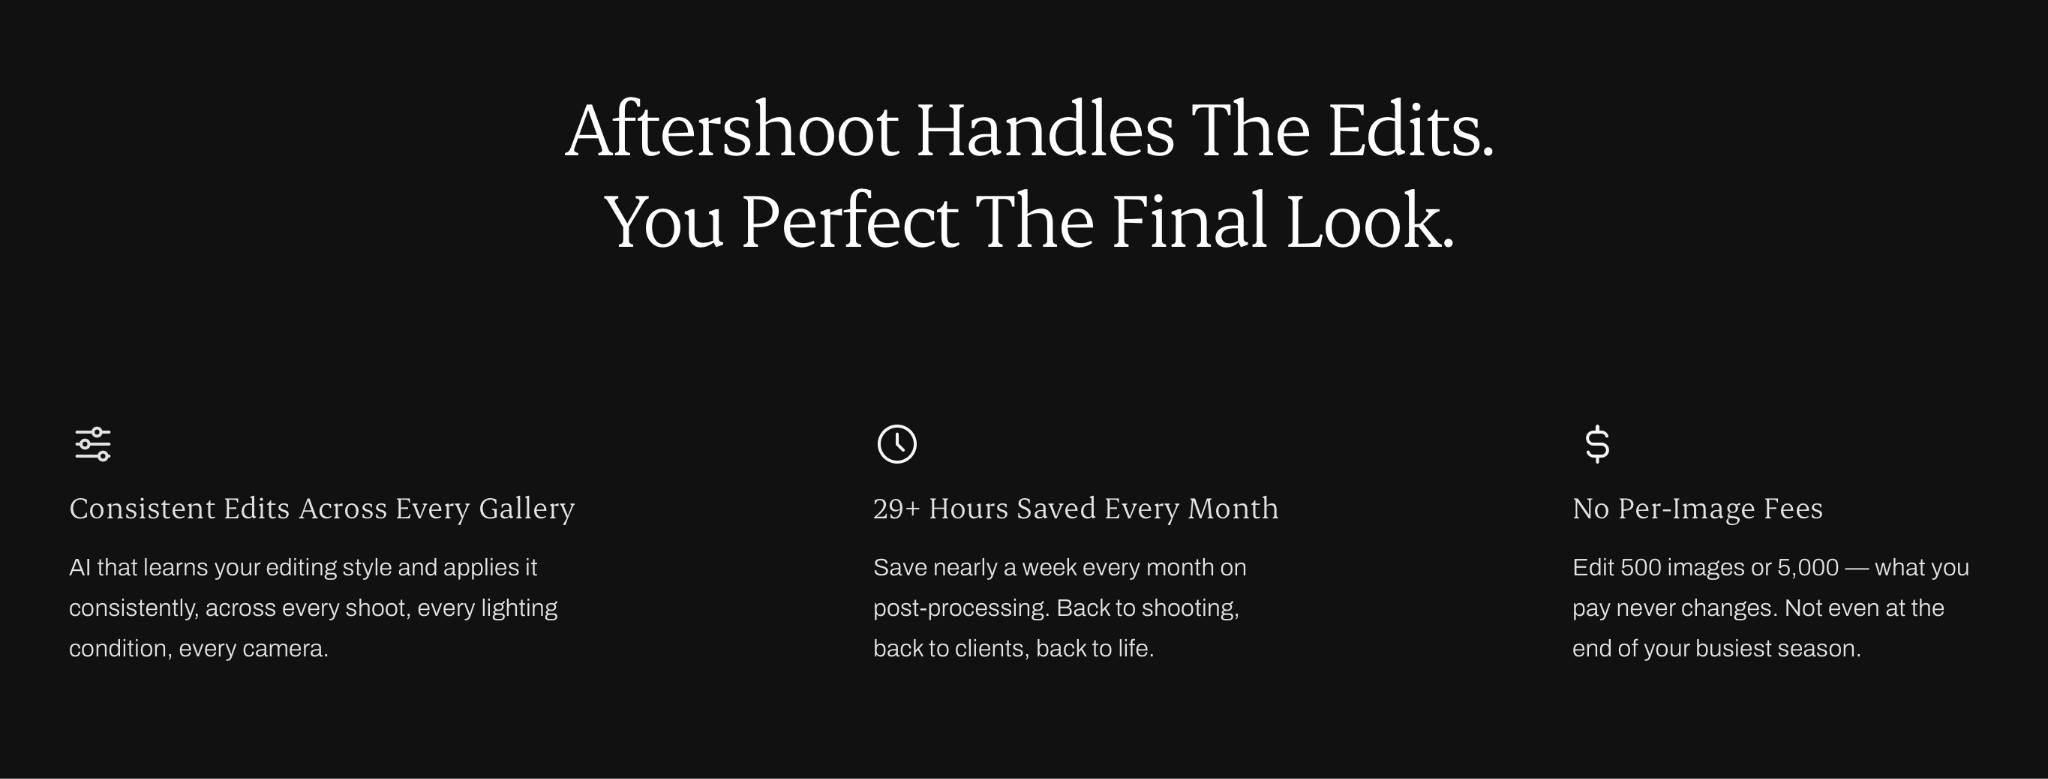
Here’s how Aftershoot helps you edit consistently (and quickly), so you can do what you’re best at… take the creative calls:
2. You reduce the amount of work reaching later stages
There’s another less obvious cost to a loose cull: every unnecessary keeper travels downstream.
Keep 100 extra images and you may also create:
- 100 extra edits to review
- more retouching decisions
- more files to export
- more photographs to upload
- a larger gallery for the client to navigate
So the quality of the culling decision affects more than culling time.
The earlier you remove work that doesn’t need to happen, the less work the rest of the workflow inherits.
3. You create more predictable post-production days
A two-hour manual cull that occasionally becomes four hours is harder to plan around than a more standardized review process.
For photographers balancing several shoots at once, predictability has its own value.
It’s easier to promise delivery dates, schedule editing blocks, and know how many jobs you can realistically handle before the backlog starts taking over.
That’s also why workflow changes can matter for preventing photographer burnout. The goal isn’t to turn every saved hour into another booking. Sometimes the useful outcome is simply having fewer repetitive tasks waiting for you at the end of an already long shooting week.
👁️ Also Read: AI Culling vs Lightroom Culling
When the time saved using a photo culling app may not be worth it
Automation doesn’t automatically make every workflow better, there are cases where manual culling can still make perfect sense.
1. Your shoots are already small
If you regularly return with 100 carefully captured photographs, adding another application to the workflow might save almost nothing.
Setup time can eat into the benefit.
2. You already cull exceptionally fast
A photographer who has spent years building an efficient Photo Mechanic or Lightroom culling system may have less repetitive work available to automate.
Benchmark the software against your actual workflow, not against somebody else’s five-hour cull.
3. You’re spending too long checking the software
Automation only saves time if you trust it enough to stop doing the entire job twice.
If you review every selected image, every rejected image and every duplicate group with the same level of attention you used before, you’ve added AI to the workflow without really removing anything.
4. The tool doesn’t fit what or how you shoot
The fastest application on paper isn’t the fastest application for you if it creates extra importing, exporting, catalog management, or file movement.
Time the whole workflow, that’s the number that matters.
How To Test Whether AI Culling Is Actually Saving You Time
Before committing to a new culling workflow, run a small controlled test.
Choose three recent shoots that represent the work you normally do, then evaluate:
- Active time: How many minutes did you personally spend?
- Selection quality: How many picks did you change?
- Misses: Were important photographs excluded?
- Over-selection: Did too many similar images survive?
- Workflow friction: How much importing, exporting, or file management was required?
- Creative confidence: Did you still feel in control of the final gallery?
Then compare the results against your manual baseline.
Aftershoot gives photographers the choice between AI-assisted and automated culling workflows, which makes it possible to test how much control you want to retain while still reducing repetitive review.
Try Aftershoot AI Culling on a recent shoot and time the workflow yourself. The useful benchmark isn’t how quickly software says it can cull, it’s how much less time you spend doing it.
What Happens When Culling Gives You Hours Back (Is What Answers All Your Questions)
The question “How much faster is automated culling?” sounds simple. But speed on its own isn’t the most useful measure.
The number worth tracking is: How much active photographer time disappears from the workflow without compromising the final selection?
For a small portrait session, that may be ten minutes. But for a high-volume wedding, it can be several hours under the same conservative model. And across a full month or busy season, those hours really compound.
You don’t have to use them to photograph more jobs. You can edit sooner, deliver earlier, work on the business, spend more attention on the images that deserve it, or close the laptop.
That’s the ROI a processing-speed statistic may not be able to tell you.
FAQs For Time Saved Using Photo Culling App In Workflow
Q1. How much time does photo culling software save?
There isn’t one fixed number. The saving depends on how many images you shoot, how quickly you currently cull, how many passes you make, and how much of the automated selection you review manually.
For a large 2,000-to-3,000-photo shoot like a wedding, a manual review that takes 3 to 6 hours is reduced to 5 to 10 minutes of automated processing, plus a quick 20-to-30-minute human check.
Q2. How long does it take to cull 3,000 photos with AI?
Separate software processing time from photographer working time.
Different tools, computers, files, and workflow settings can affect processing speed. For ROI, a better measurement is how much time you personally spend setting up the cull, reviewing the shortlist, correcting selections, and finalizing the gallery.
In our illustrative 3,000-image model, that active involvement is approximately 1 hour and 15 minutes, compared with 3 hours and 30 minutes manually.
Q3. Can AI automatically select the best photos from a shoot?
AI culling software can help surface stronger frames, identify technical issues, and group similar photographs depending on the tool. But “best” can also depend on storytelling, emotion, client relationships, and artistic intent.
The safest workflow is to use automation to reduce repetitive comparisons while keeping the photographer responsible for the final gallery.
Q4. How do professional photographers choose the best photo from similar images?
Start by removing frames that clearly don’t work, then compare similar photographs based on focus, expression, timing, composition, and how each image contributes to the final story.
Technical quality is only part of the decision. A photograph with slightly imperfect technique may still be the stronger choice if it captures the moment better.
Q5. Is AI photo culling worth paying for?
Calculate it rather than guessing.
Subtract your automated active culling time from your normal manual culling time, then multiply the saving by the number of shoots you complete each month.
If the value of that recovered time comfortably exceeds the cost of the software, and you’re happy with the selections and workflow, the tool is likely creating meaningful ROI for your business.
Q6. Does automated culling remove creative control from the photographer?
It doesn’t have to.
A good automated workflow can handle repetitive sorting and comparison while leaving the photographer responsible for the final creative decisions. You should still review the results, especially when emotion, storytelling, intentional blur, unusual composition, or client context influences which frame belongs in the gallery.