TL;DR
- Delivering a predictable number of photos matters for pricing, client expectations, and how long post-production actually takes.
- The real challenge isn’t picking good photos, it’s picking the right number of good photos without cutting the gallery down two or three times by hand.
- Cull to Target lets you set that number before the cull even starts, so the selection is built around your delivery count from the beginning, not trimmed down to it afterward.
- A target count applies to the whole gallery, not individual people, but it’s not just grabbing the highest-rated shots either.
- With Cull to Target, coverage and variety are weighed alongside quality, so hitting your number doesn’t mean losing important moments from parts of the day that scored lower.
- Highlights and People Filter both plug into this same workflow, one gets your sneak peeks out faster, the other lets you check coverage person by person after the cull.
- None of this replaces your judgment. The count gets you closer, faster. You still decide what actually makes the gallery.
You shot the wedding. Ceremony, first look, reception, the works, 3,000-something frames on the card by the time you packed up the gear at midnight. Somewhere in your contract, or maybe just in your head, you promised this couple a gallery of around 500 photos.
Now, let’s address the real hesitation a lot of photographers have here: does using AI photo culling mean handing over creative control? It doesn’t, it’s one of the best ways to save time while staying in charge of every decision. But one quick thing to note here is that when you start using culling software, it doesn’t know that number. It finds the best images, (however many that end up being), and hands you the rest to sort out. So you cull once. Count. Cull again. Count again. Trim, trim, trim until you land somewhere close to 500. It works, but it’s also a lot of manual math for something this repetitive.
That gap, between what your workflow spits out and what you actually promised to deliver, is where a chunk of your post-production time disappears like freshly-baked plum cakes on Christmas eve.
So, Why Do You Need a Predictable Photo Count in the First Place?
You’re not picking 500 because it sounds like a nice round number. It’s usually shaped by a few very real things:
- Package pricing
If your higher-tier package promises more images, your gallery size is part of what the couple paid for. - Client expectations
Couples talk to each other. Couples compare galleries. If one bride gets 800 photos and the next gets 400 for the same package, that inconsistency reads as a problem, even when your work didn’t actually get worse. - Your own time management
Knowing roughly where you’re headed helps you plan editing hours, especially in the thick of wedding season when three galleries are stacked up at once.
When your culling tool doesn’t know your number, you’re the one doing the counting. And counting (again), recounting, and re-cutting a gallery by hand; and that’s exactly the kind of task that eats into a Sunday you didn’t need to lose.
Selection Quality vs. Shoot Coverage (Picking Good Photos vs. Covering the Whole Day)
So, here’s what makes this harder than “just pick the best 500.” And this wedding gallery photo count isn’t the 500 sharpest, best-lit photos from the day, it has to actually represent the day.
If your selection leans too hard into ceremony shots and skips over getting-ready or the reception, you’ve hit your number on paper. But you haven’t delivered a gallery that tells the whole story. And that couple will notice what’s missing before they notice what’s there.
This is the tension every culling decision runs into: optimize purely for image quality, and coverage gets uneven. Optimize purely for coverage, and weaker shots sneak in, just to check a box.
A tool that simply ranks your best photos and stops once it hits your number doesn’t really solve for this. It just picks a cutoff point. What actually helps is a selection process that’s weighing quality and coverage together, so hitting 500 also means covering the day properly.
Meet the Feature Built Exactly for This: Cull to Target
If you found yourself hard-relating to all the above paras, Aftershoot’s Cull to Target was built to help you fix exactly this part of your workflow.
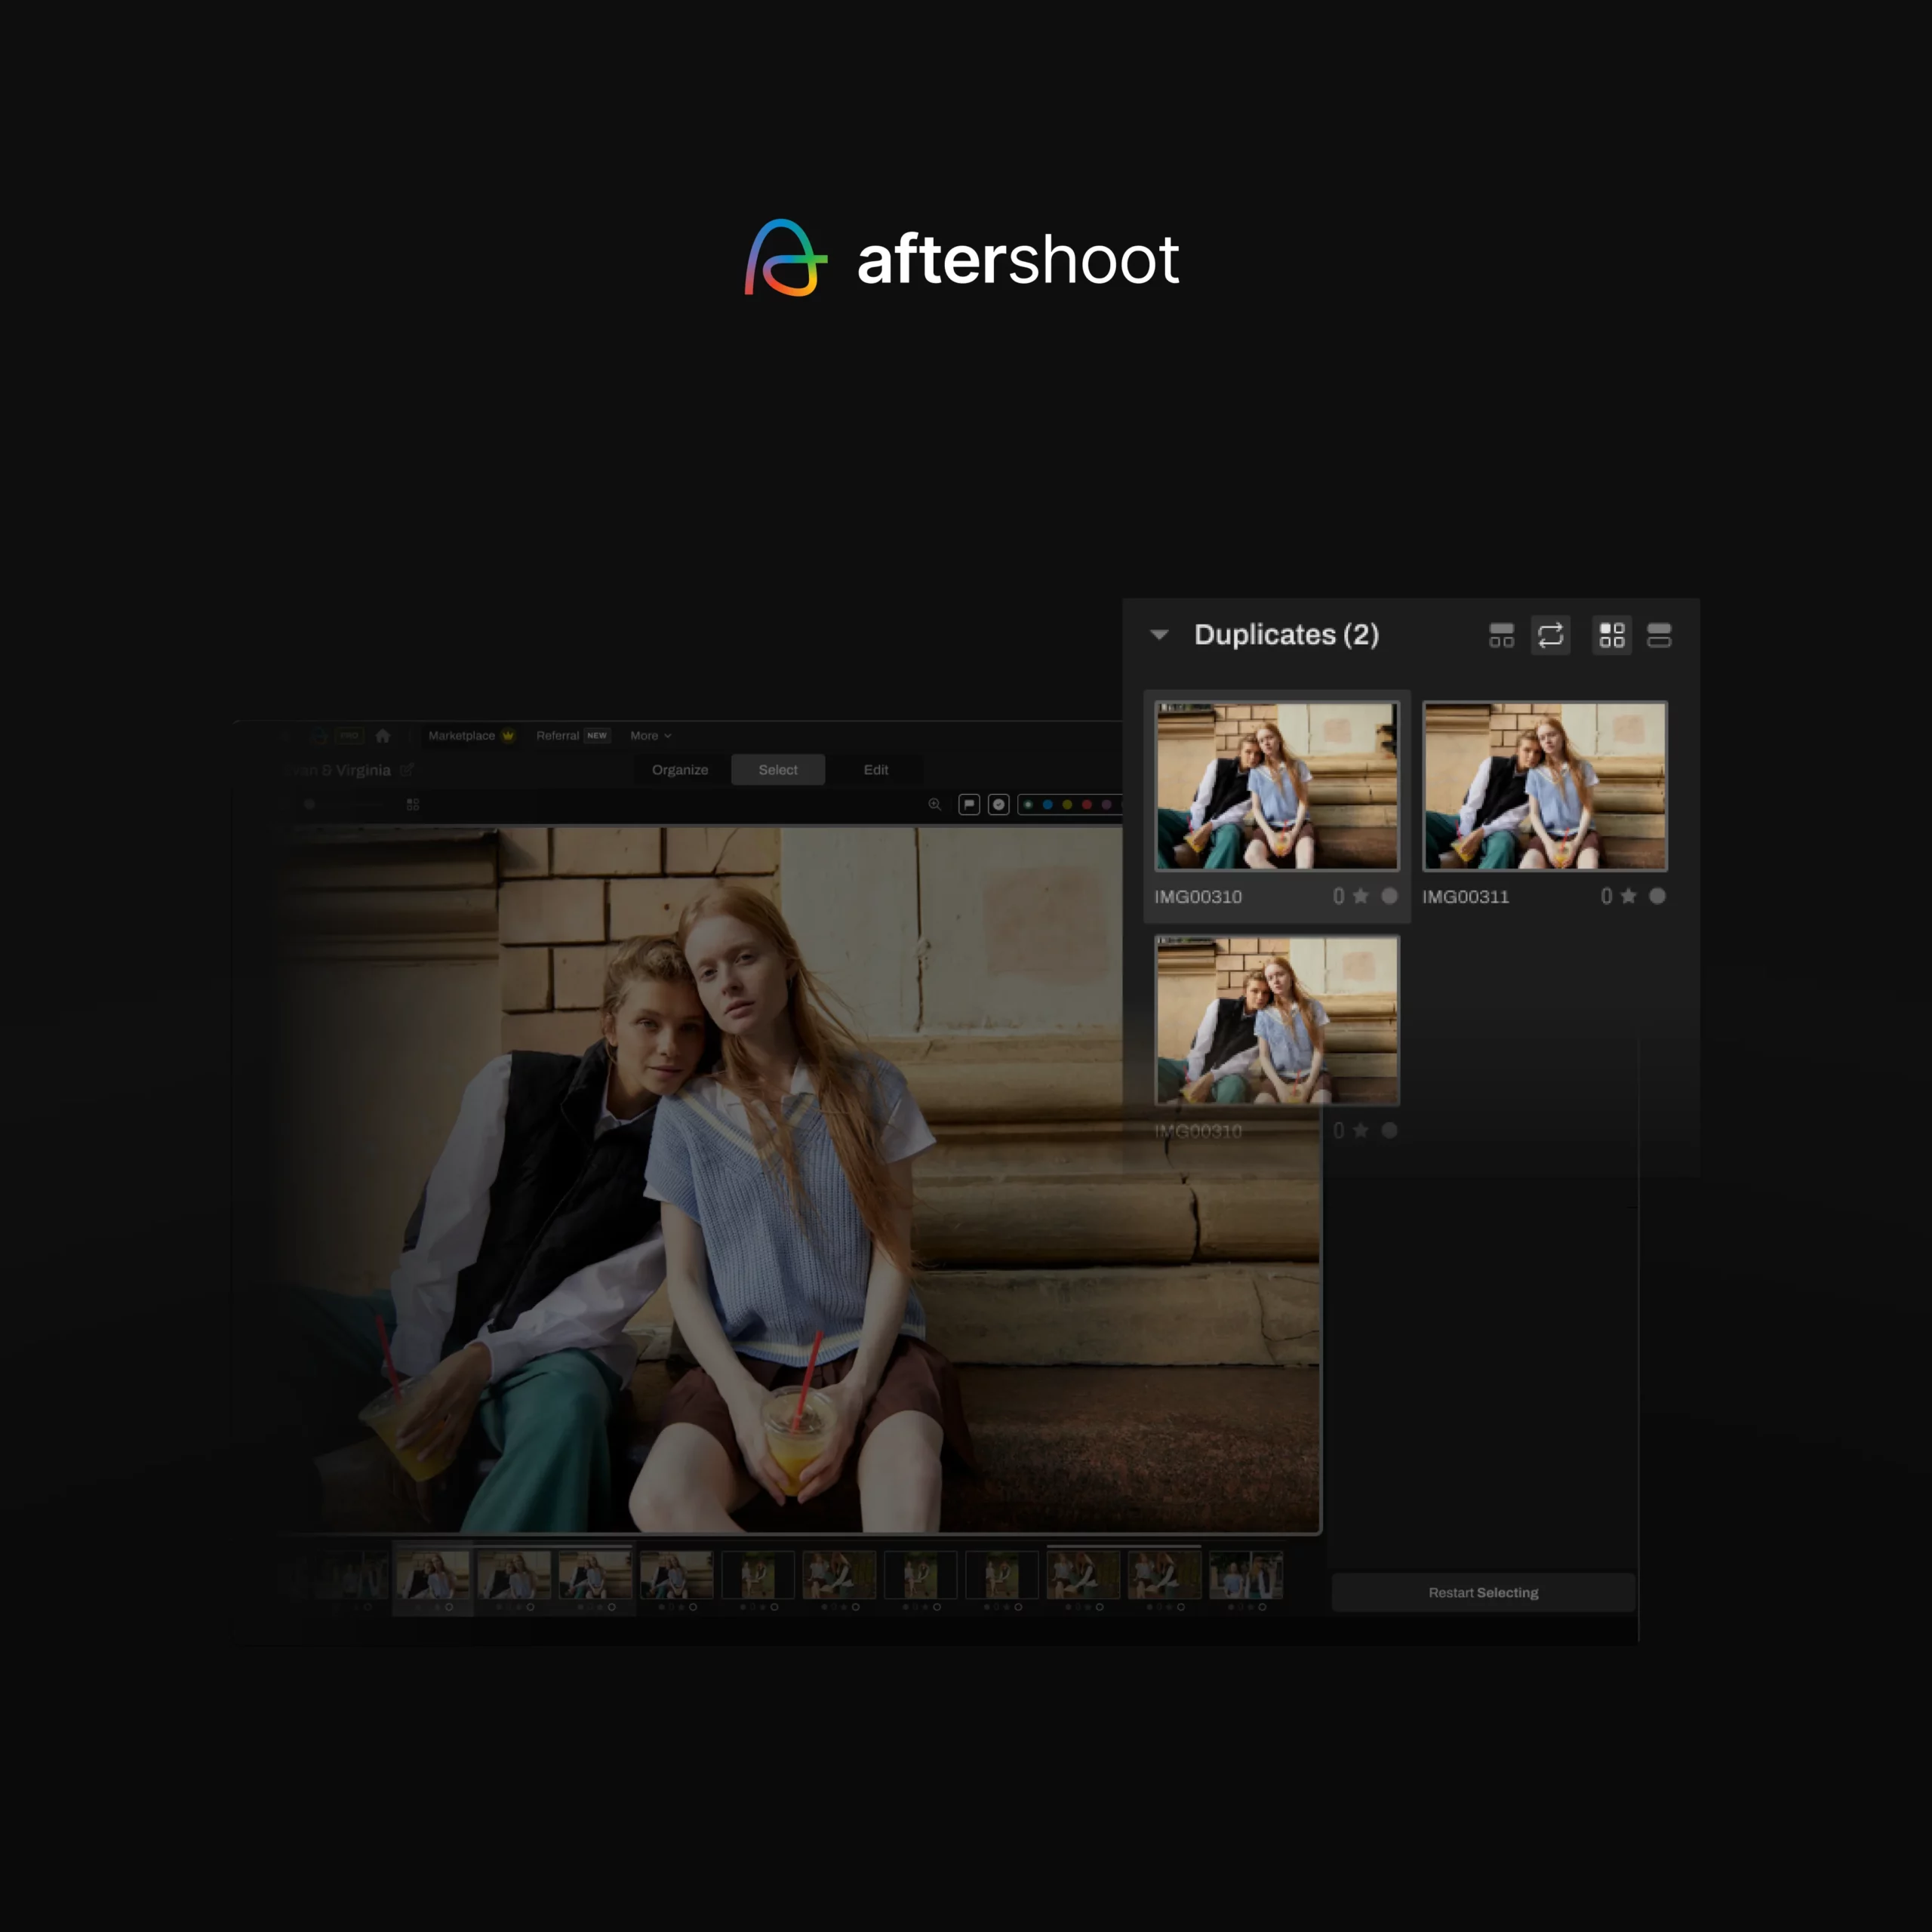
Instead of running a broad cull and cutting it down afterward, you tell Aftershoot upfront how many photos you’re aiming for, say, 500, for that wedding you just shot. From there, Cull to Target builds the selection around that number, weighing image quality, coverage across the day, and variety together, rather than just ranking every photo individually and chopping the list off once it hits 500.
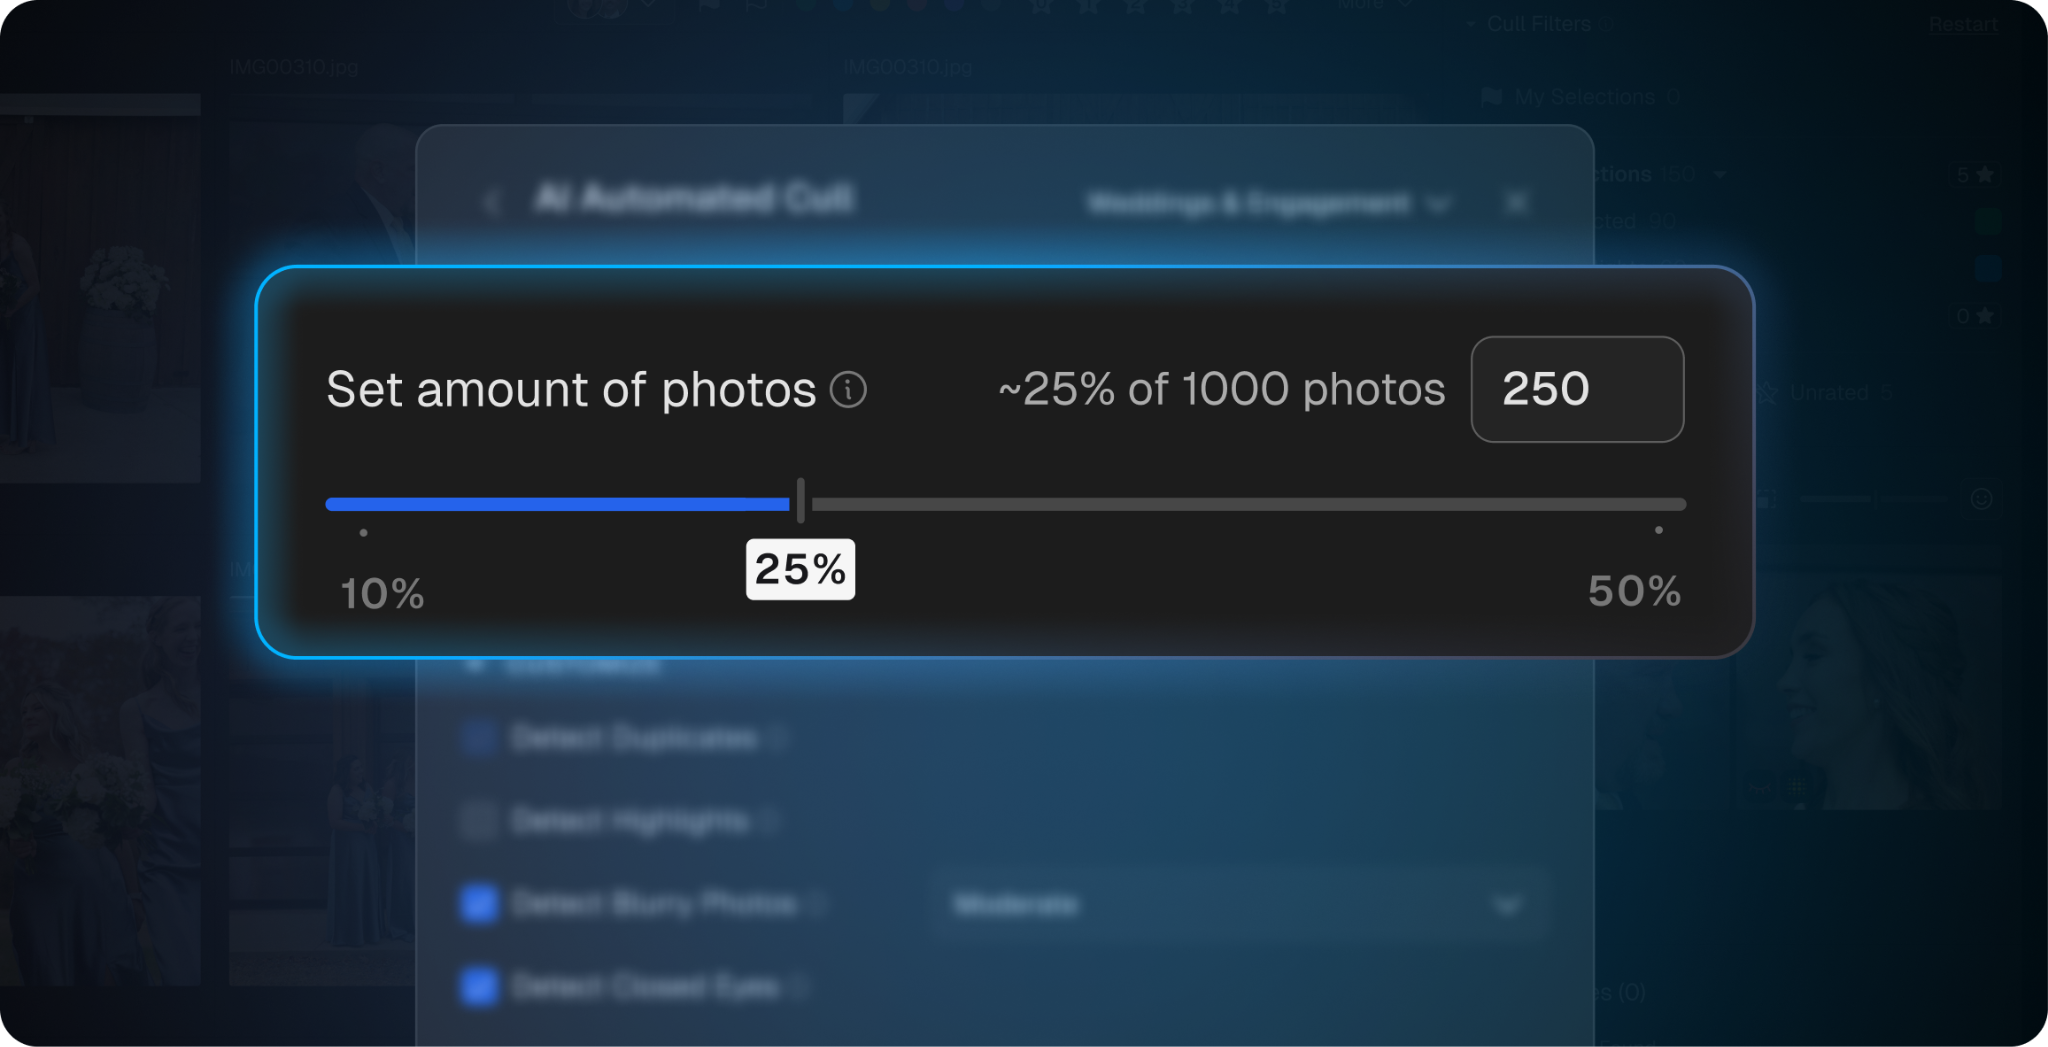
Cull to Target: The right photos AND the exact count
Choose how many photos you need from a shoot. Aftershoot selects exactly that number while maximizing quality, coverage and variety (in other words, a win-win).
Let’s go back to that 3,000-photo wedding for a second. Instead of culling broadly and then spending an evening cutting 800 down to 500, you’d set 500 as your target before the cull starts. Aftershoot shapes the initial selection around that number, factoring in coverage across ceremony, portraits, and reception, not just picking the 500 technically sharpest frames.
You still review the gallery afterward. That part doesn’t change, and it shouldn’t. What changes is how many rounds of manual trimming it takes to get there, and how you can speed up wedding photo culling, or culling for any other high-volume photo event (that usually leaves you sweating bullets).
| Factor | Culling Without a Target | Culling With Cull to Target |
| Starting point | Broad selection based on quality alone | Selection shaped around your delivery number from the start |
| Manual trimming | Usually requires multiple cutting passes | Fewer passes needed to reach your final count |
| Coverage risk | Can skew toward the highest-rated moments | Weighed against variety across the shoot |
| Consistency across weddings | Varies by shoot and photographer review time | More consistent, since the count is set upfront |
| Final review | Still required | Gives you the option to review |
Wait, We’ve Got More Updates: Highlights & People Filters
1. Highlights: Getting Sneak Peeks Out Faster
Once you’ve got your gallery shaped around a target count, the next thing on your plate is usually the sneak peek, that handful of photos the couple wants to see before you’ve finished editing everything.
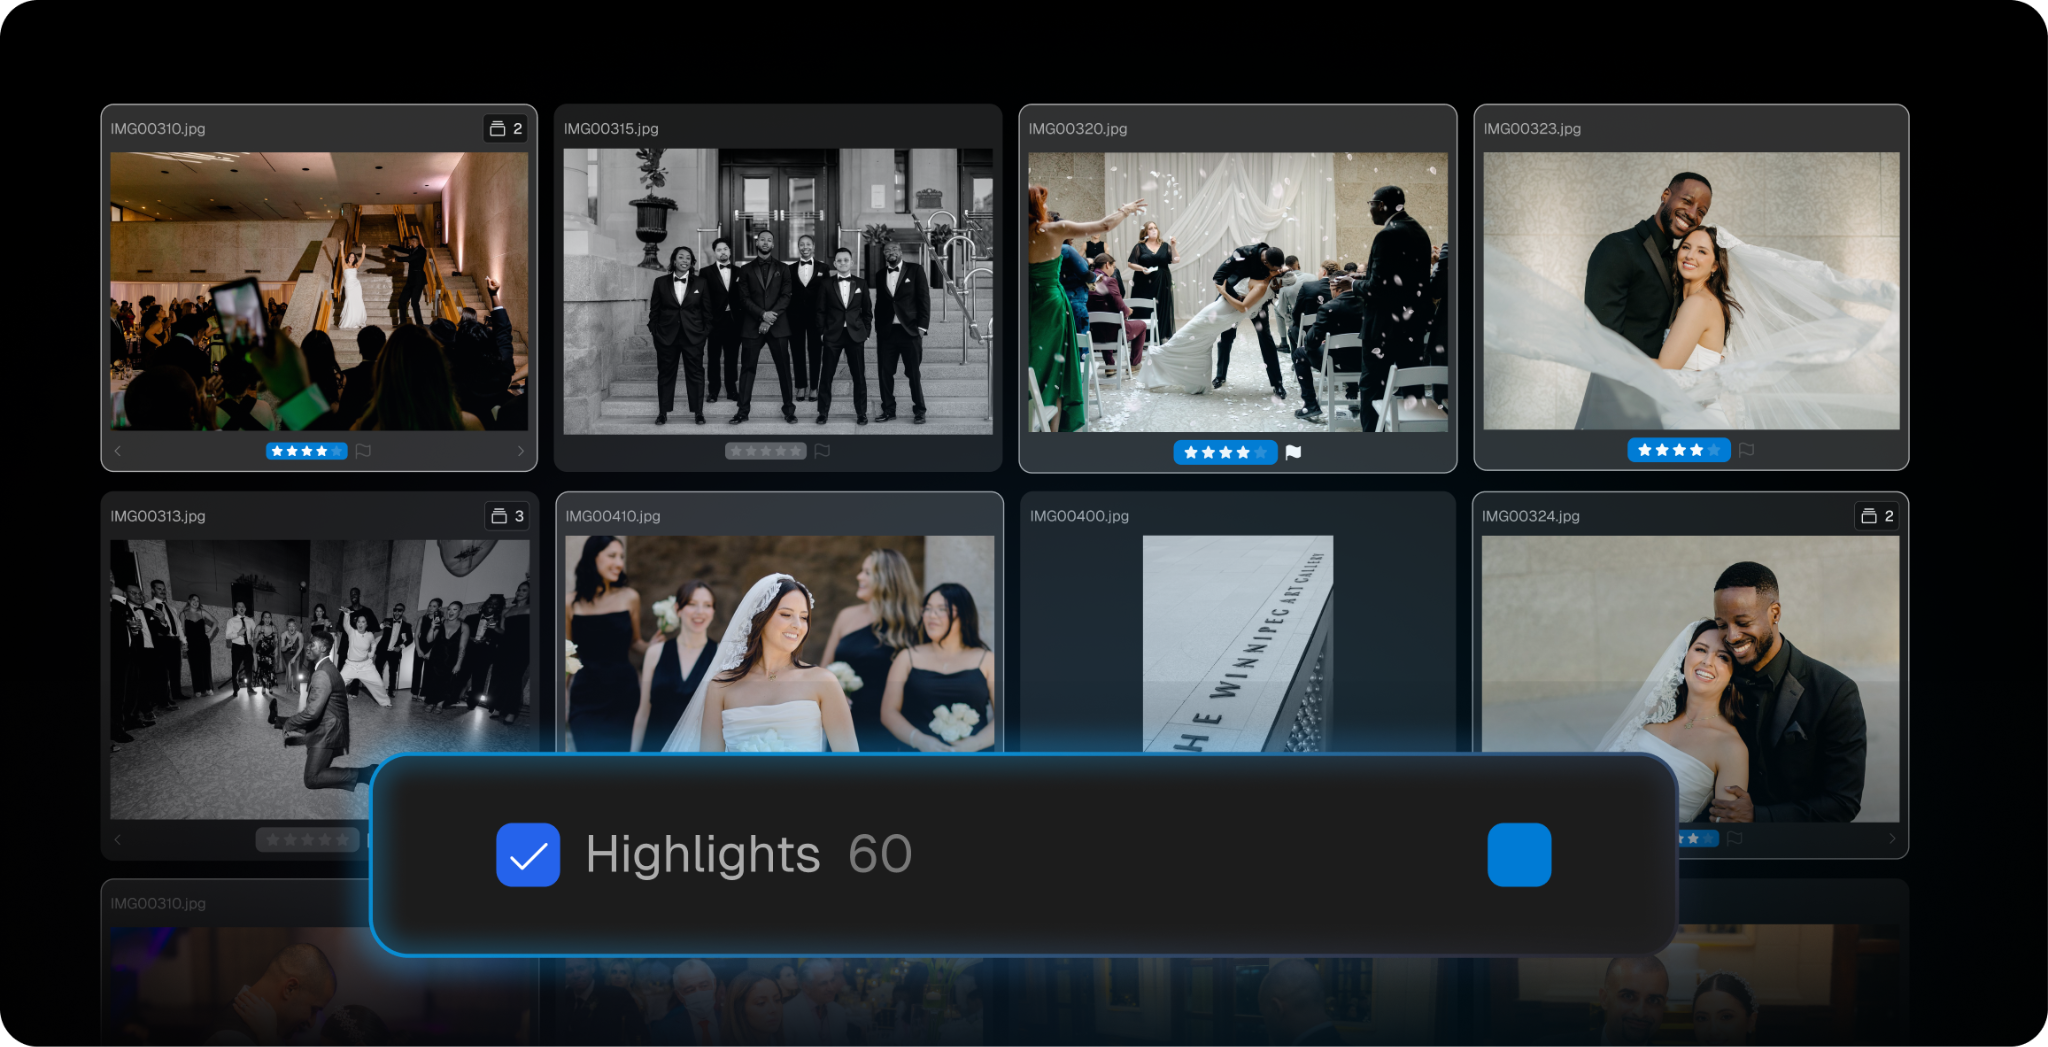
If you already use Highlights for this, nothing about how you use it has changed, same place in your workflow, no new steps to learn. What’s different is the algorithm behind it. Highlights now surface a stronger set of standout images from your selected photos, so from that same 500-photo gallery, you’re spending less time digging for the dozen shots worth sharing right after the ceremony.
A couple of things worth knowing before you build a shoot around it:
- Highlights works when you cull with Few, Standard, or More.
- It’s not available with Extreme or with Cull to Target, so if you’re using either of those settings on a particular gallery, you’ll be picking your sneak peeks manually for that one.
And to be clear from the get-go, Highlights still is not a substitute for your eye. It narrows down where to look first. It doesn’t hand you a finished, ready-to-send set. You’re still the one deciding what actually goes out to the couple.
| General Targets vs. Targeting by Person While we’re on this topic, it’s worth clarifying about what a target count does and doesn’t do. Right now, this kind of targeting works on the gallery as a whole. It doesn’t set a separate count for each guest or member of the wedding party.That distinction will matter to you if you’re trying to make sure every important person is well represented, not just the couple. A single overall number tells the tool how big the gallery should be. It doesn’t say, “make sure Grandma has at least ten usable photos.” For that kind of coverage check, you’re better off looking at the gallery by person after the cull is done, which is a separate part of the workflow.But we’ve got an answer for that, too (our version of, ‘I know someone’). |
2. People Filter: Ensuring the Right People Are in the Album
This is the bit a single target number can’t solve on its own. Say your photo album is done, it looks solid on a first pass. But did Grandma actually make it into enough of those photos? A single overall count tells the tool how big the gallery should be. It doesn’t know to check that one specific person is well represented.
A single overall count tells the tool how big the gallery should be. It doesn’t know to check that one specific person is well represented.
That’s what People Filter is for.
Once your gallery’s been through the AI cull, open the People tab and Aftershoot shows every face it detected. Here’s what you can do from there:
- See how often someone appears. Each detected face shows a count underneath it, and that count adjusts to whatever filter is already active. So if Grandma appears in 40 of the original 3,000 photos but only 12 made it into your Selected gallery, you’ll see 12 while Selected is applied.
- Pull up just her photos. Click her face to filter down to those 12 instantly, no scrolling back through the full shoot.
- Check a group at once. Select a few people together, choose “Any” to see photos with any of them, or “All” to see only the shots where they’re all present, handy for confirming a specific family group was captured well as a unit.
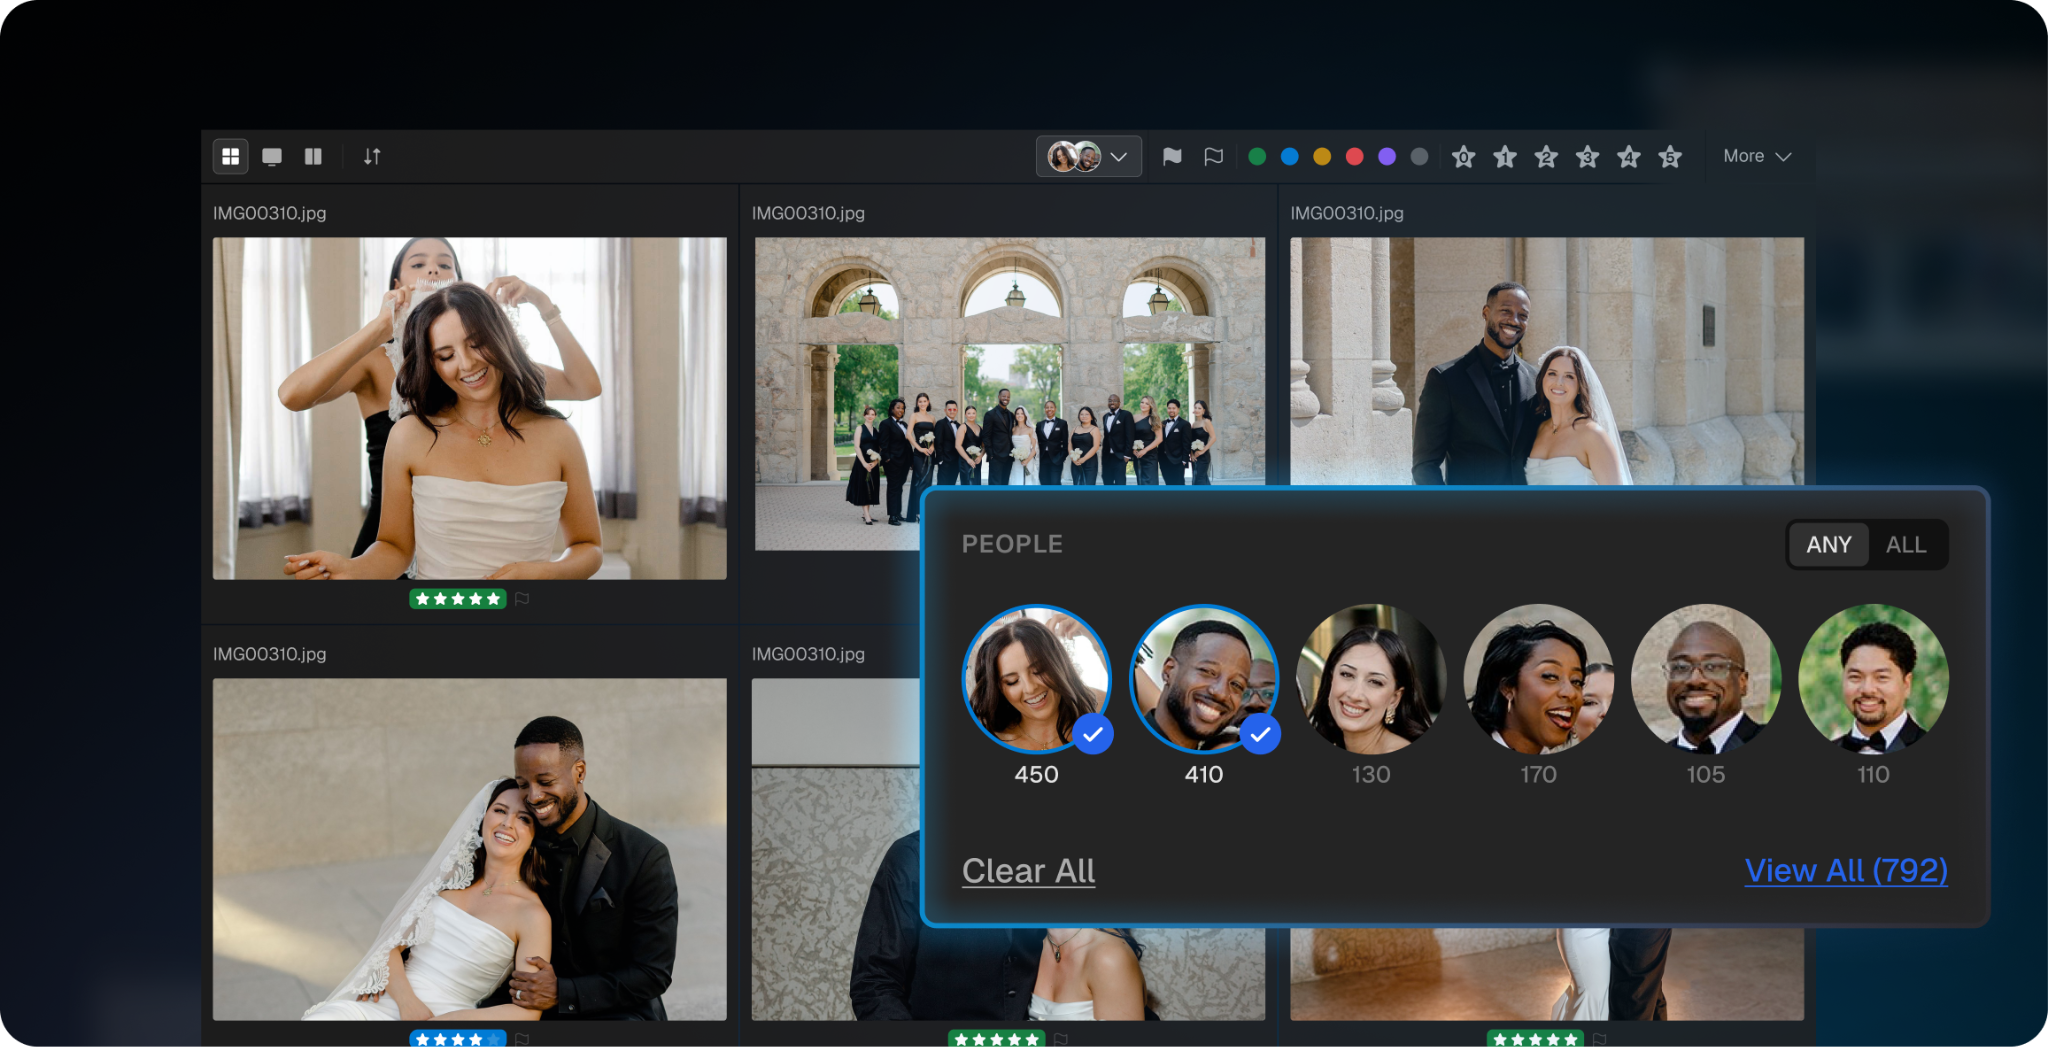
This is a review step, not a culling step. It runs after the cull, once faces have already been detected, and it’s most useful for exactly this kind of check: confirming someone who mattered actually made it into the gallery, then staying with their photos through editing and retouching without hunting through the whole shoot again.
And it doesn’t stop once you’ve confirmed Grandma made the cut.
Once you deliver that gallery, she doesn’t want to scroll through 500 photos to find the handful she’s actually in, she wants her photos. And when you deliver them through Aftershoot Galleries, she can use the Face Recognition feature to pull out her own photos, without you having to hunt them down and send them separately, (or her having to ask).
How to Actually Land on Your ‘Culling-Target’ Number?
So, how many photos should you deliver for a wedding? For a sports event? Or for any high-volume photo event? If I’m being honest, there’s no universal right answer, but you don’t have to guess either, here’s something that might help:
1. Start with your coverage hours
Across most published photographer benchmarks, full-day weddings land somewhere between 70 and 100 delivered photos per hour of coverage. Shorter elopements trend lower, longer, event-heavy days trend higher.
| Coverage Length | Typical Delivered Range | Approx. Photos per Hour |
| 2–4 hours (elopement/micro wedding) | 150–350 | 50–75 |
| 6–8 hours (full day) | 500–800 | 70–100 |
| 10+ hours (extended coverage) | 800–1,200+ | 80–100 |
For that 8-hour wedding we’ve been using as an example, 500 sits comfortably inside the typical range, which is exactly why it’s a realistic number to build a gallery around, not an arbitrary one.
2. Account for event complexity (not just length)
Two eight-hour weddings can need different counts. A day with a first look, a full bridal party, multiple family formal combinations, and a long reception naturally produces more distinct moments worth keeping than a shorter guest list with a simpler timeline.
3. Match it to the package tier
If your higher-tier packages promise bigger galleries, your target count needs to reflect that clearly enough that a couple who paid more actually sees more.
4. Check your own delivery history
Pull your last three to five galleries in the same category, similar length, similar package, and see what actually got a strong response. That’s more reliable than any published benchmark, because it reflects what’s worked for your style and your clients.
5. Weigh the editing cost of going bigger
Every extra 100 photos in your target is another 100 photos to review, edit, and deliver at a consistent standard. Before rounding your number up “to be safe,” it’s worth asking whether that extra volume is actually improving the gallery, or just adding editing hours without adding value for the client.
Where Does This Fit Into Your Workflow?
None of this changes what you’re responsible for. You’re still the one deciding what makes the final gallery, what represents your eye, and what this specific couple needs to see. Cull to Target, Highlights, and People Filter all sit around that same job, they take the repetitive counting, re-cutting, and re-scanning off your plate, so more of your time goes toward the parts of the work that actually need your judgment.
That 3,000-photo wedding from the start of this? Same shoot, same promise of 500 photos. The difference is how many hours it takes you to get there, and how confident you are, without doing math on a Sunday night, that the gallery you deliver is the one you actually meant to deliver.
In a Nutshell…
Getting to a specific photo count has always been possible with enough manual passes. The difference now is you don’t have to do all that trimming yourself, and you don’t have to choose between hitting your number and covering the whole day properly. Set the count you’re aiming for, let Cull to Target build around it, use Highlights when you need sneak peeks fast, and check coverage by person with People Filter where it actually matters. The gallery still comes down to your eye. It just takes fewer rounds to get there.
FAQs for Cull to Target
Q1. How do I decide how many photos to deliver from a wedding?
Base it on the event itself: total hours shot, number of key moments (ceremony, portraits, reception), and what similar past galleries have delivered well for your clients. Reviewing your last few galleries in the same package tier is usually a better guide than a generic number, since it reflects what’s actually worked for your style and your clients.
Q2. Does setting a target photo count reduce image quality?
No. A target count is meant to shape the size of the selection, not lower the bar for what qualifies. The goal is a gallery that hits your number while still weighing image quality and coverage across the shoot, not simply filling out a quota with weaker shots.
Q3. Can I set a different photo count for specific people in the wedding party?
Not currently. A target count applies to the gallery as a whole, not to individual guests or family members. If you need to check how well a specific person is represented, that’s a separate step using People Filter after the cull, not something the target count itself controls.
Q4. Do I still need to review the gallery after culling to a target count?
Yes. Culling to a target reduces how many manual passes you need to reach your delivery number, but it doesn’t remove the review step. You’re still the one confirming the final selection reflects the day accurately and matches your creative judgment.
Q5. How does People Filter help with photo culling?
It lets you filter an already-culled gallery down to photos of a specific person, so you can check their representation or continue editing their images without searching through the entire shoot. It works after the AI cull is complete, not as a way to influence the cull itself.
Q6. What if my gallery was culled before People Filter was available?
You’ll need to run the album through the AI cull again. Face detection is generated as part of that cull process, so older selections won’t have the data needed for the filter to work.