TL;DR
- Stop staring at single frames too long; step away and use before/after comparisons to ensure contrast, texture, and clarity additions actually improve the image.
- Avoid jarring temperature shifts across similar shots by editing in lighting-based batches, syncing settings, or using baseline AI profiles.
- Ultra-warm, trendy color grades age poorly; use a physical white balance card or sync reference settings to maintain a timeless look.
- Never sacrifice accurate skin tones to force a specific color palette onto a photograph.
- Don’t force light-and-airy edits onto moody scenes (or vice-versa), edit according to the actual ambient lighting captured.
- Presets aren’t one-size-fits-all fixes; leverage them as starting baselines, then fine-tune using calibrated monitors or AI editing workflows.
It’s 3 a.m. You’re in the middle of what feels like an endless editing session. Your eyes get heavier with every click, every adjustment, every image, but you tell yourself you’ll finish just one more before finally going to bed.
Then you close your eyes for what feels like two seconds.
Suddenly it’s morning. You open your computer, start scrolling through the images you edited half-asleep, and immediately realize something: you’re going to have to edit them all over again.
Hi. This was me for years.
I used to stay up way too late editing, convinced that pushing through for another hour or two would help me get ahead. Instead, I’d wake up the next morning, look at what I’d done, and think, “Why did I even stay up if I’m just going to have to edit all of these images again?”
That was the problem. I thought the solution was spending more time editing, when what I actually needed was a better editing process.
So today, I’m going to list some of the most common editing mistakes photographers make and how to fix them. So, without further ado, let’s get to it!
Five Common Photo Editing Mistakes (and how to fix them)
- Overediting
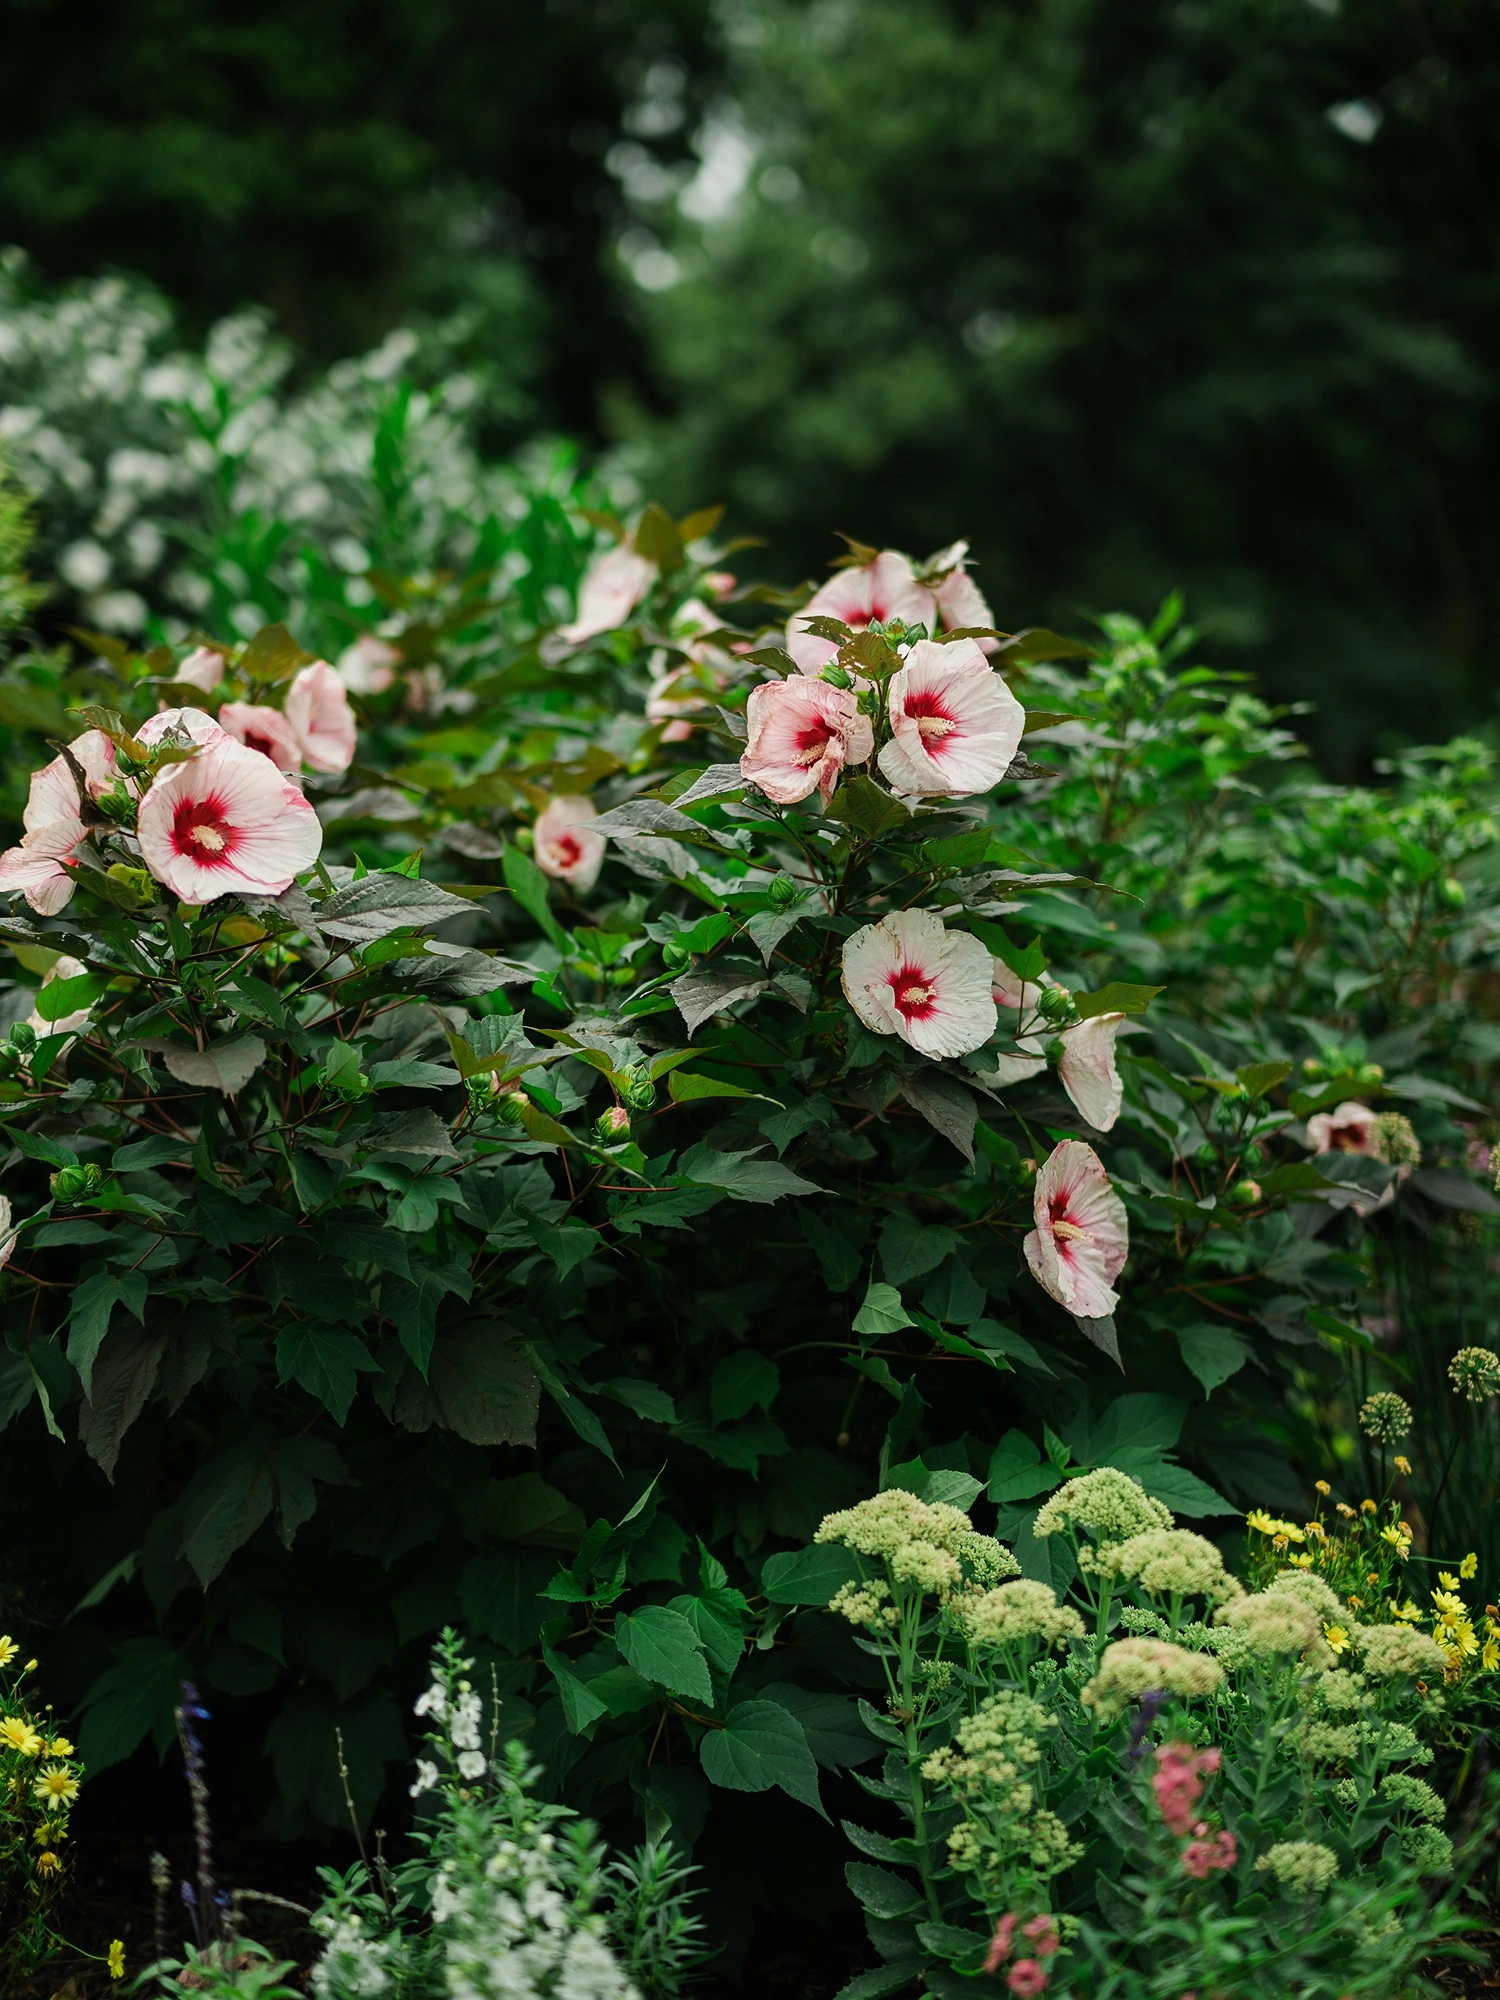
One of the easiest traps to fall into is the whole “the more I edit this image, the better it will look” mentality. Too much contrast, too much texture, or too much clarity, these are things that can easily be overdone and can really affect an image in a negative way.
As a quick solution, I’d suggest not spending too much time staring at one particular image. Get the image to where you think it looks great, step away from the computer for even just a minute or two, and then come back to it. Once you have it in front of you again, look at the before and after to get a better sense of how “over-edited” it might be. Ask yourself whether the adjustments you’ve made are actually improving the image, or if they’re just making it look overly edited. When it comes to editing, and depending on your shooting style, less is definitely going to be more.
- Inconsistent White Balance
Oh boy! Where do I even start with this? I have so much to say but I’ll keep it simple.
I’ve looked at hundreds of galleries from other photographers. As an educator, one of the most fun exercises is doing critiques with workshop or conference attendees, and one of the biggest things that gets brought up is white balance. I truly believe white balance can make or break a gallery.
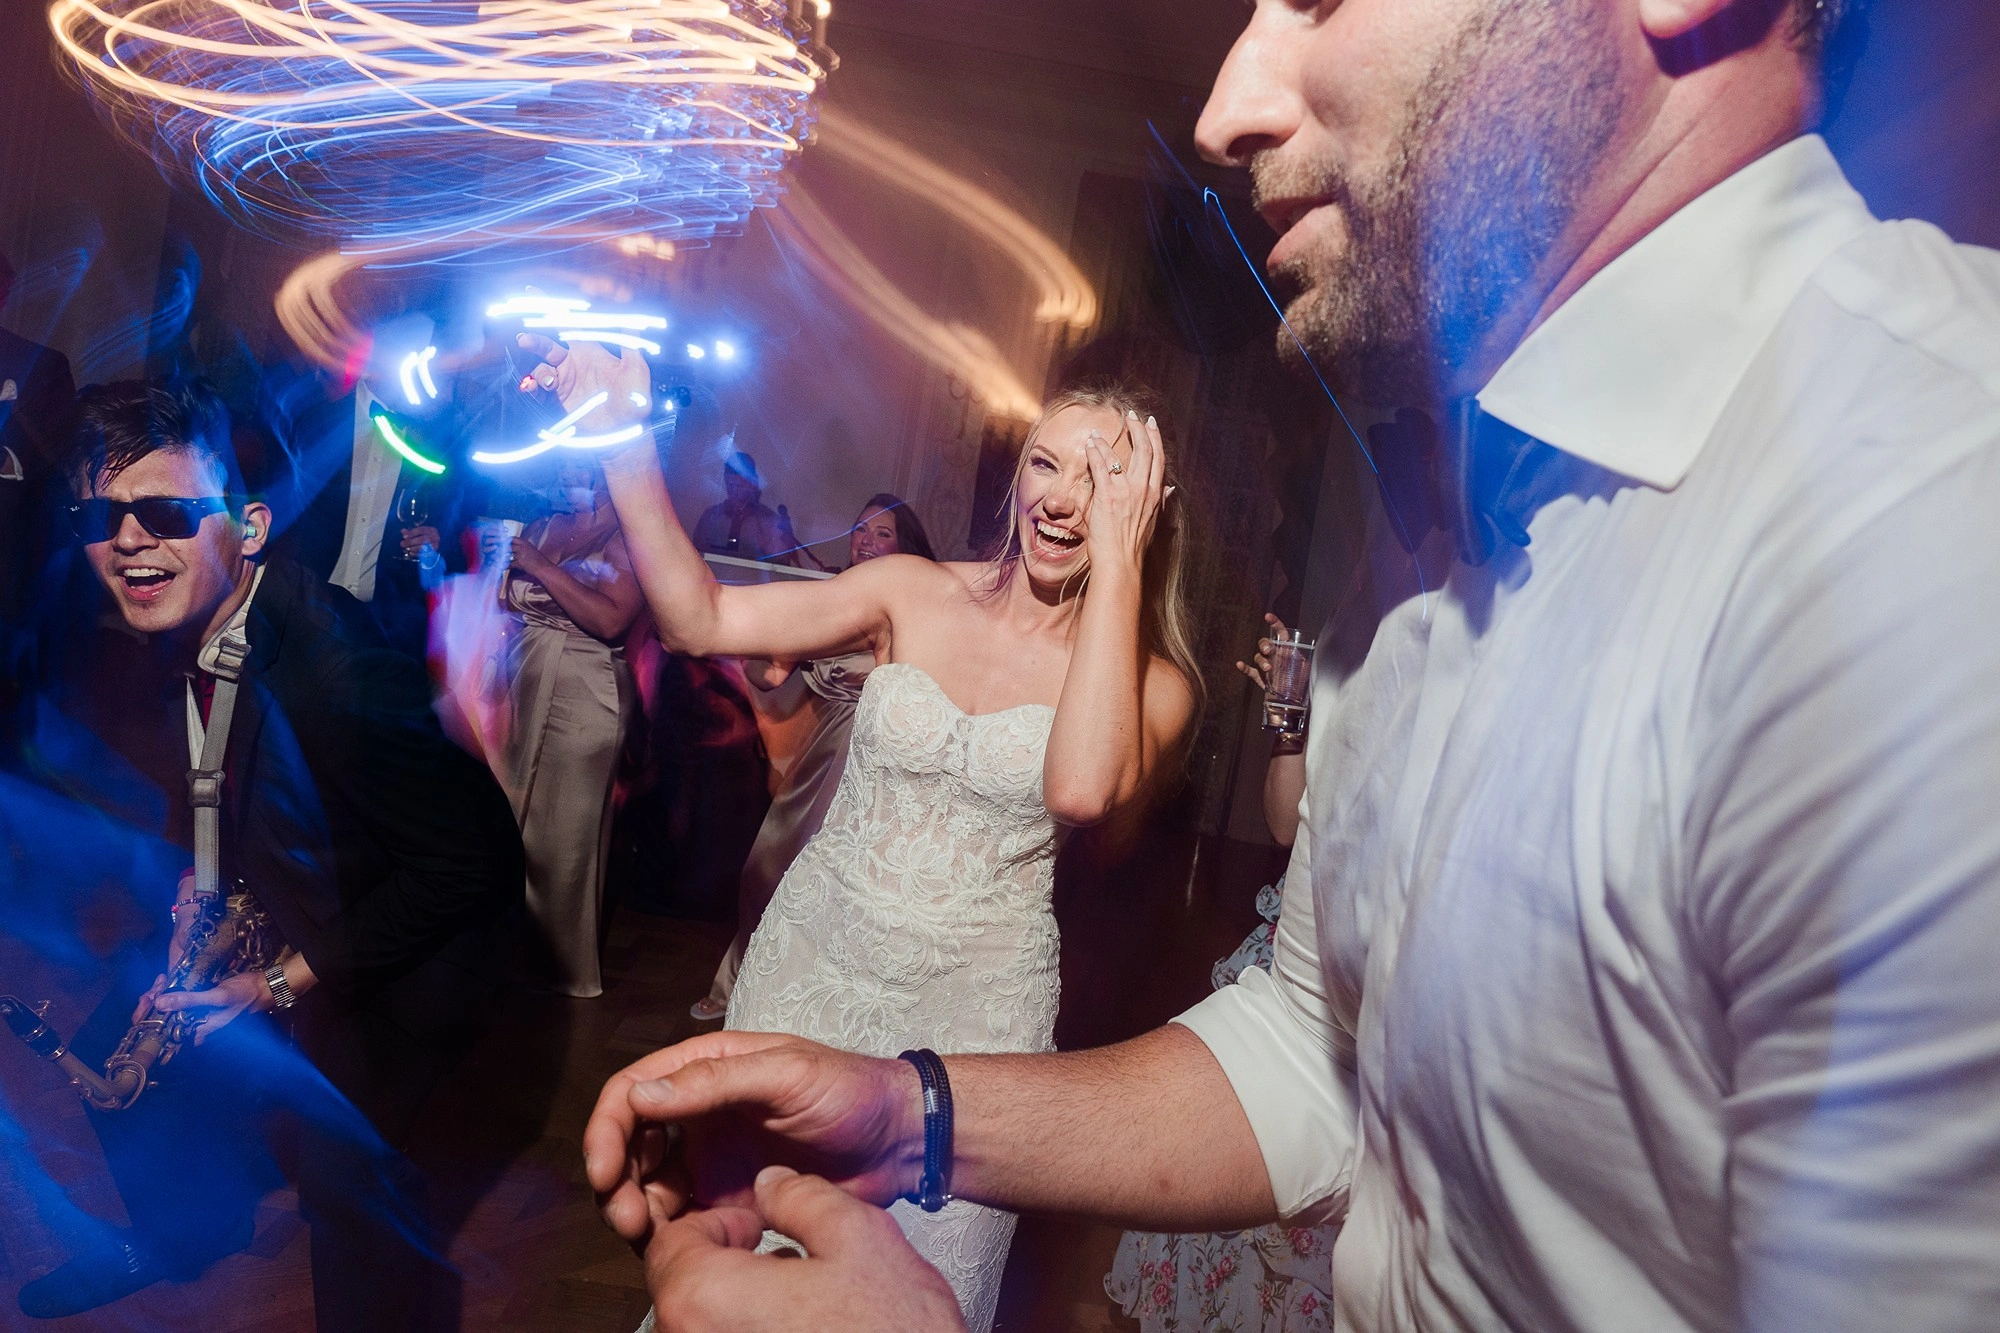
If your clients are looking at your gallery and seeing vastly different warm and cool white balance across the same set of images, it’s going to make you look unprofessional. It shows your client that you’re not paying attention to detail. Your galleries should wow your clients, not make them wonder why images taken seconds apart look completely different from each other.
Edit groups of images based on lighting conditions, and compare neighboring photographs as you work. Don’t judge every image completely independently.
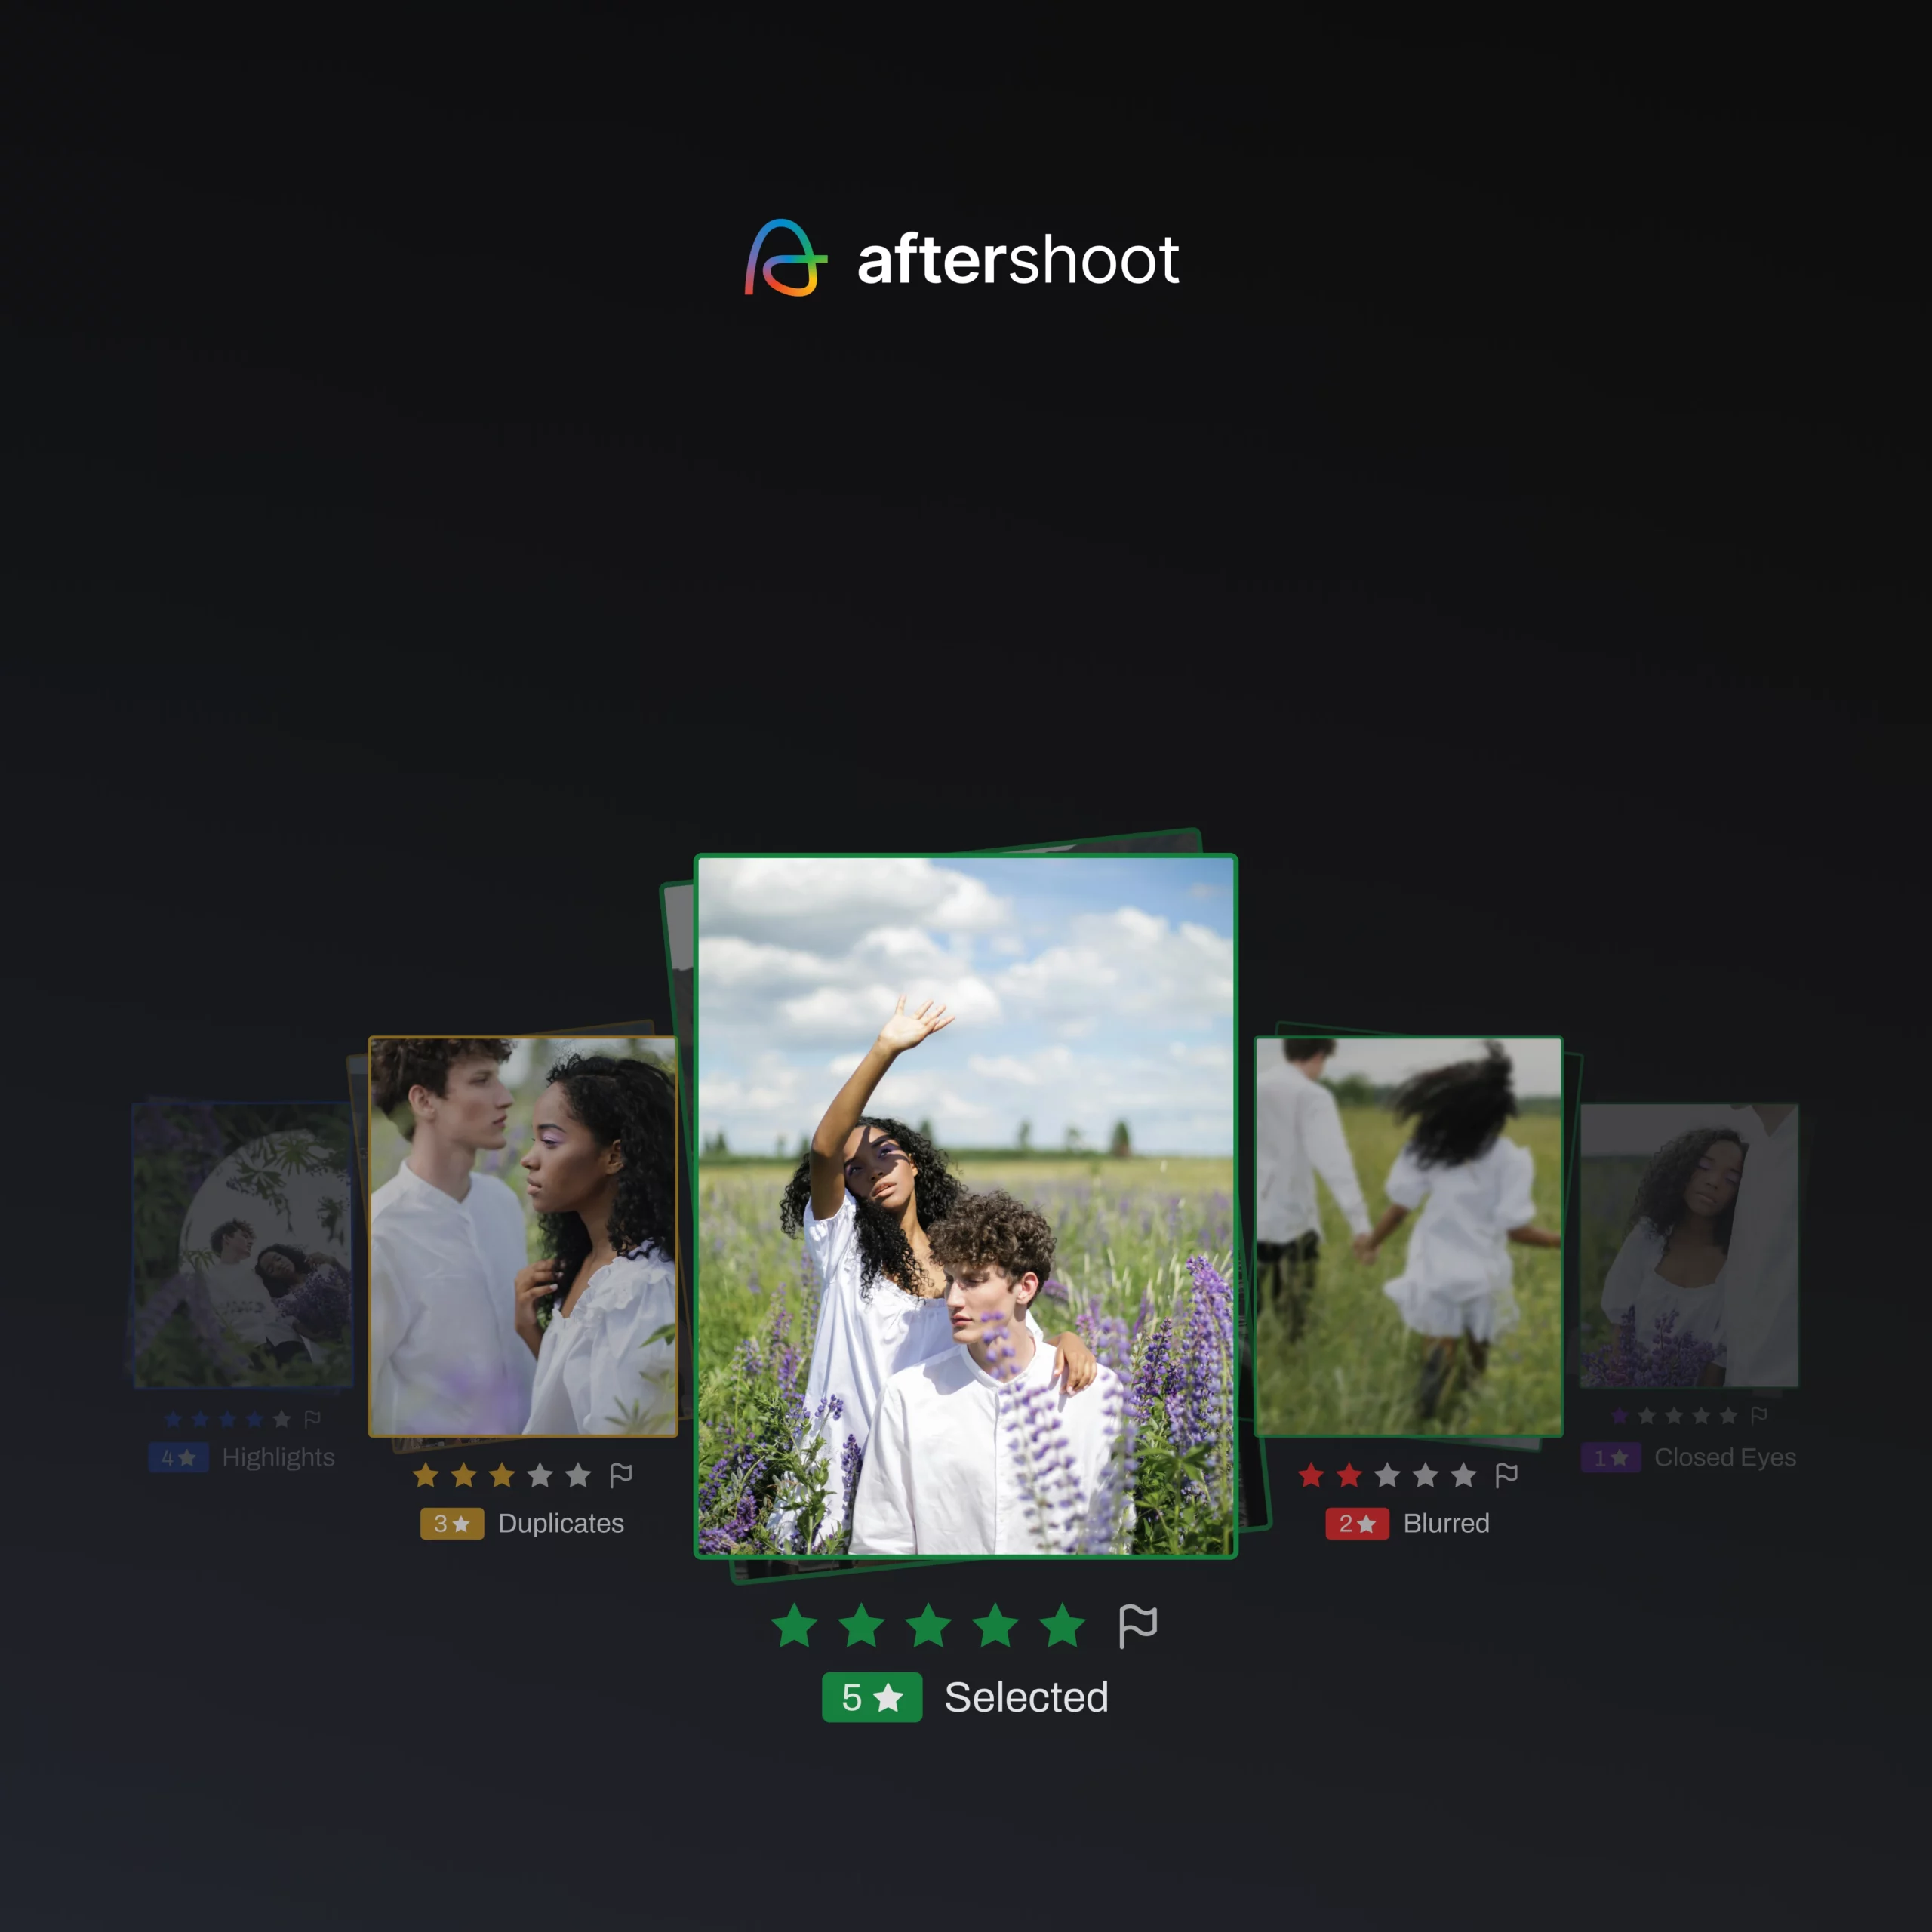
This is also where syncing edits, or using AI-assisted editing like Aftershoot’s Instant or Professional profiles, can help establish a stronger baseline before you fine-tune individual photographs.
- Yellow, Happy, and Trendy: A Warm Look That Won’t Age Well
Why are we, as an industry, so quick to chase trends? We tell clients that our work is timeless, that it’ll stand the test of time. But then delivery day comes, and the gallery looks like the wedding was styled straight out of an episode of Outer Banks, plastered in warm, golden tones like everything was shot at 50,000 Kelvin.
If you actually want your work to hold up over time, that trend is worth stepping away from. My way of avoiding it: I bring a white balance card to every wedding and use it as a base when I start editing.
If you’re forgetful like me and don’t always remember to shoot the card, try correcting the white balance on one image from a lighting condition and then sync the rest of the images taken in that same condition. This is another place where syncing edits, or using AI-assisted editing, can help establish a stronger baseline before you fine-tune individual images.
- Skin Tones That Don’t Look Natural
When it comes to most genres of photography, skin tones are usually the first place people notice a bad edit. Skin can easily become too red, too orange, or just overly saturated.
What to do? Pay attention to skin independently from the rest of the image. Don’t sacrifice accurate, flattering skin tones just because you’re trying to force the entire photograph into a specific color palette.
Photographing and editing people with a variety of skin tones is also an important part of developing a versatile editing style.
- Honor the Light Instead of Forcing a Style
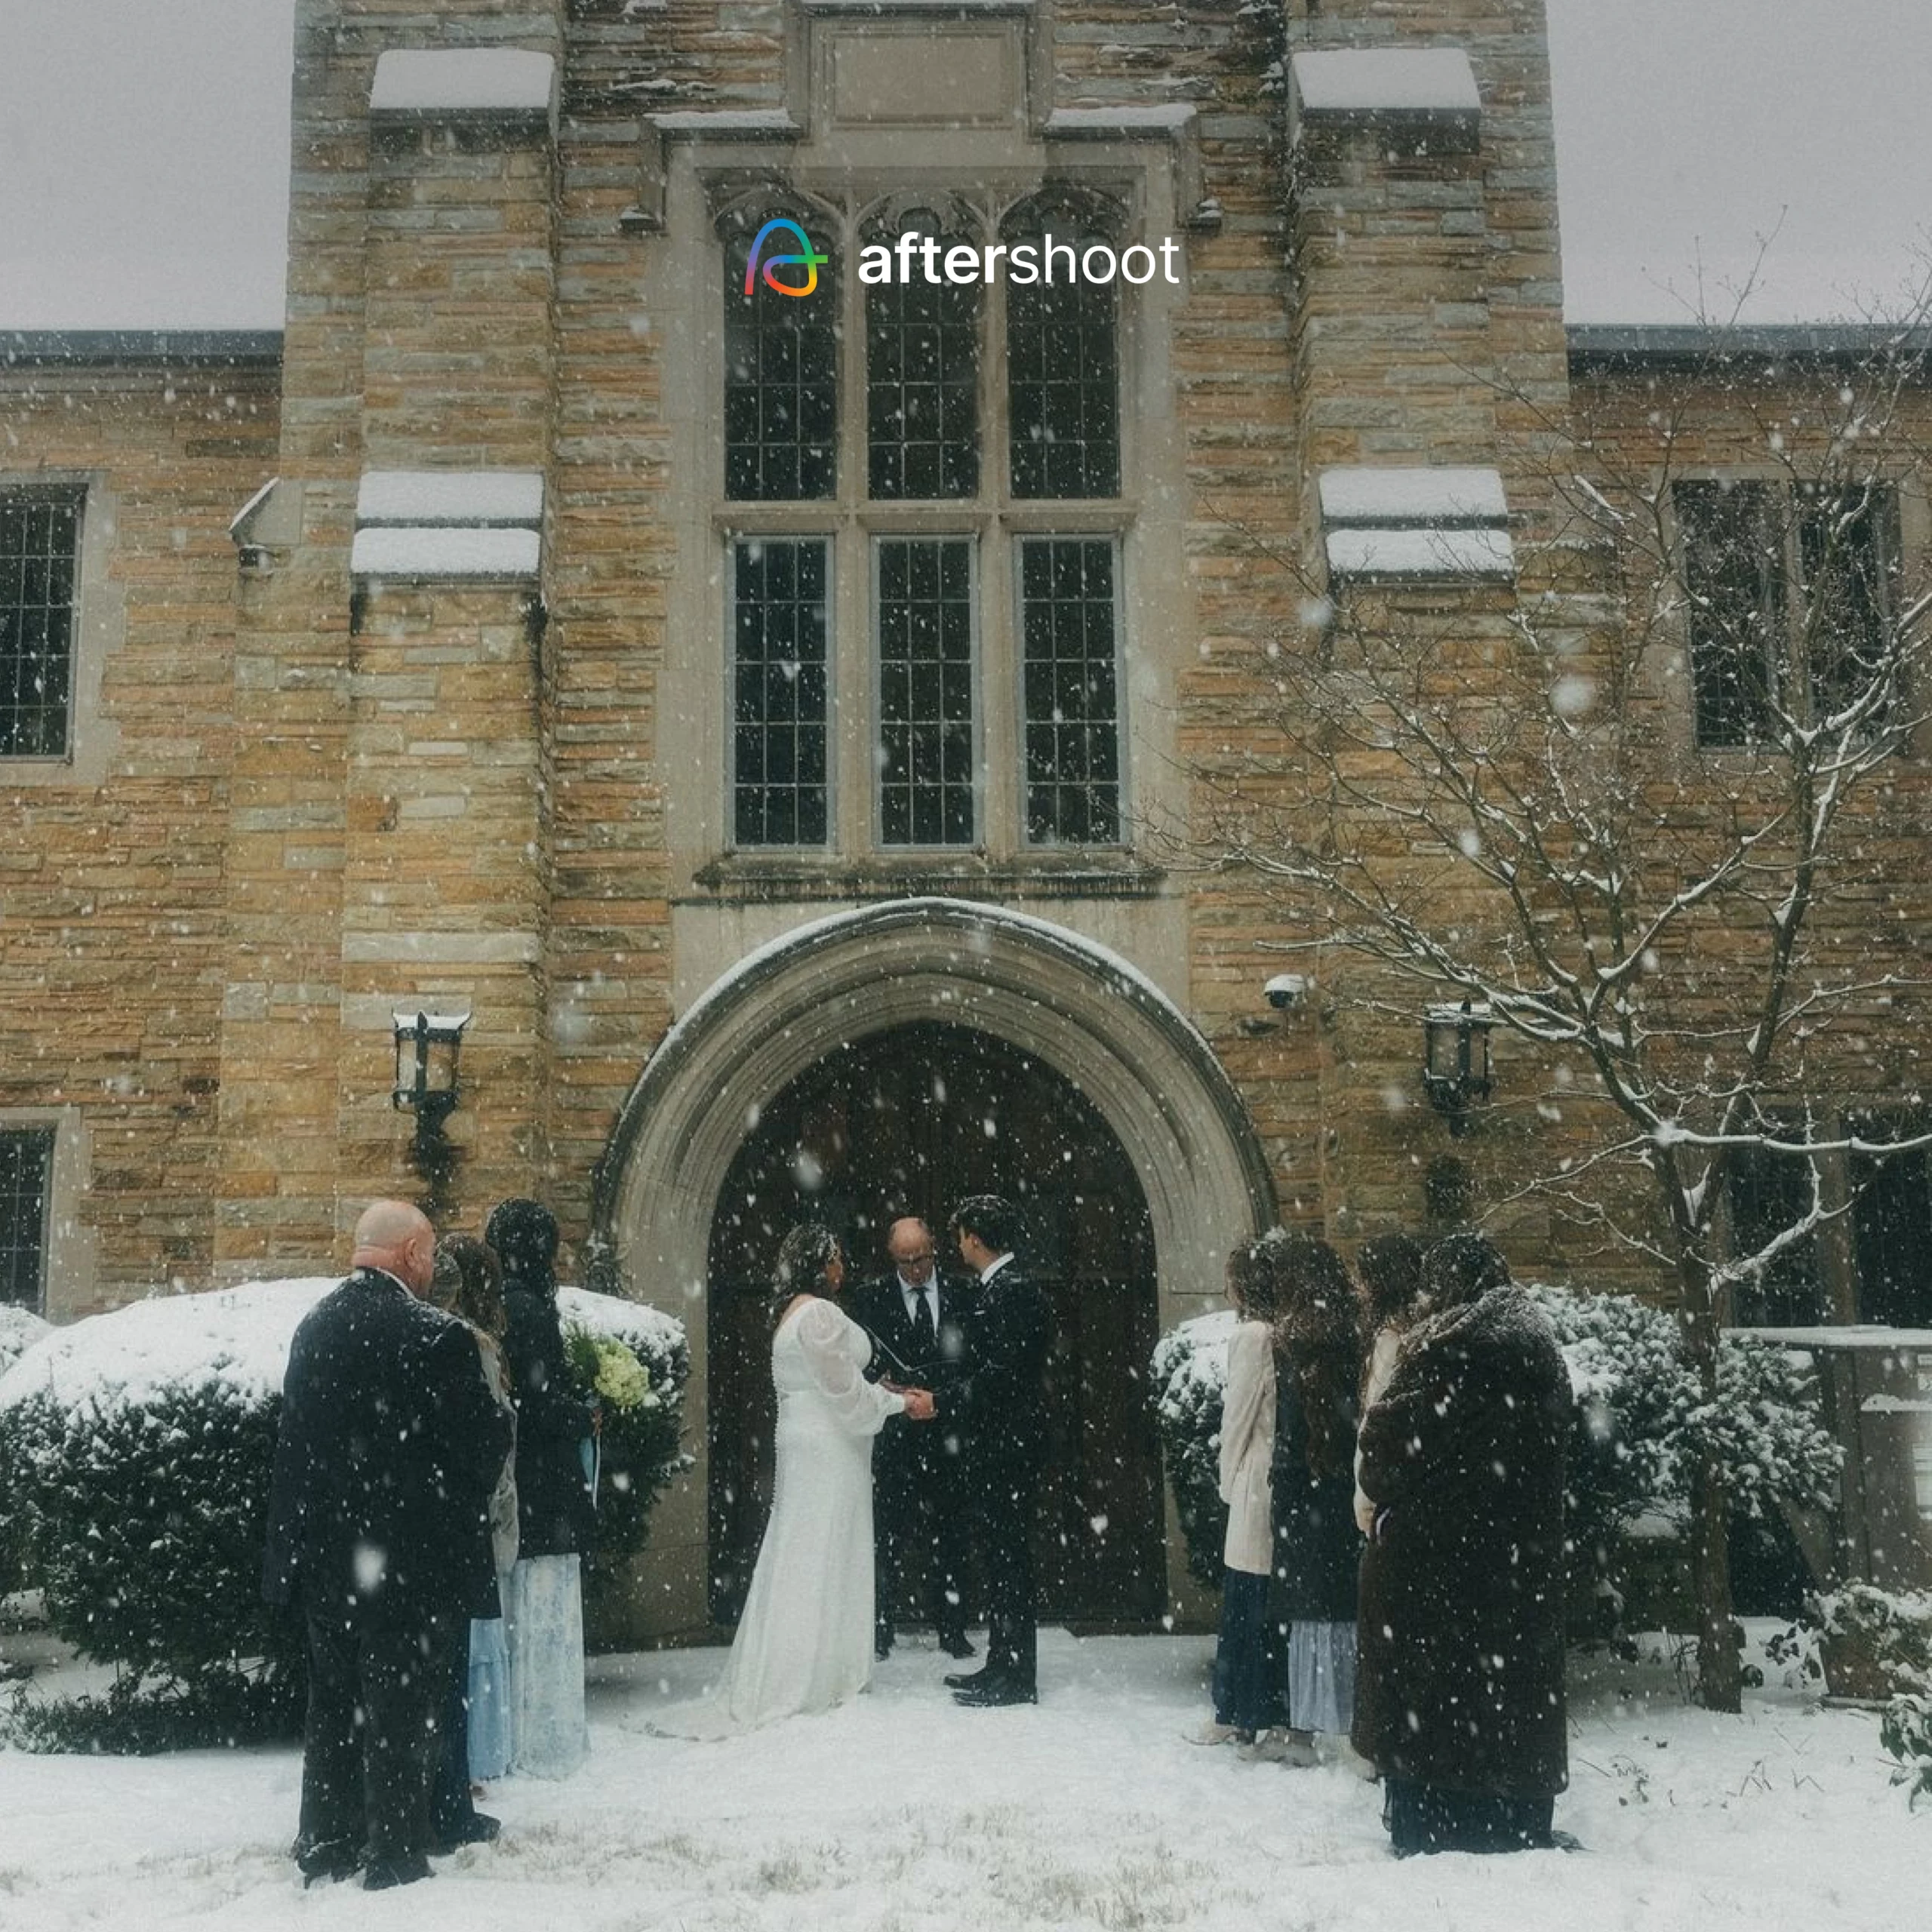
Going back to the overediting point,I’m a huge believer that you shouldn’t lock yourself into just one “style.” Focus on honoring the light that’s actually in front of you. Don’t force a specific style onto an image when it doesn’t fit. If you’re shooting in a bright, airy room, don’t force a moody edit onto it. The same goes in reverse: if you’re a light-and-airy photographer, don’t force a moody style in post just because it’s trending.
- Build a Consistent Editing Foundation
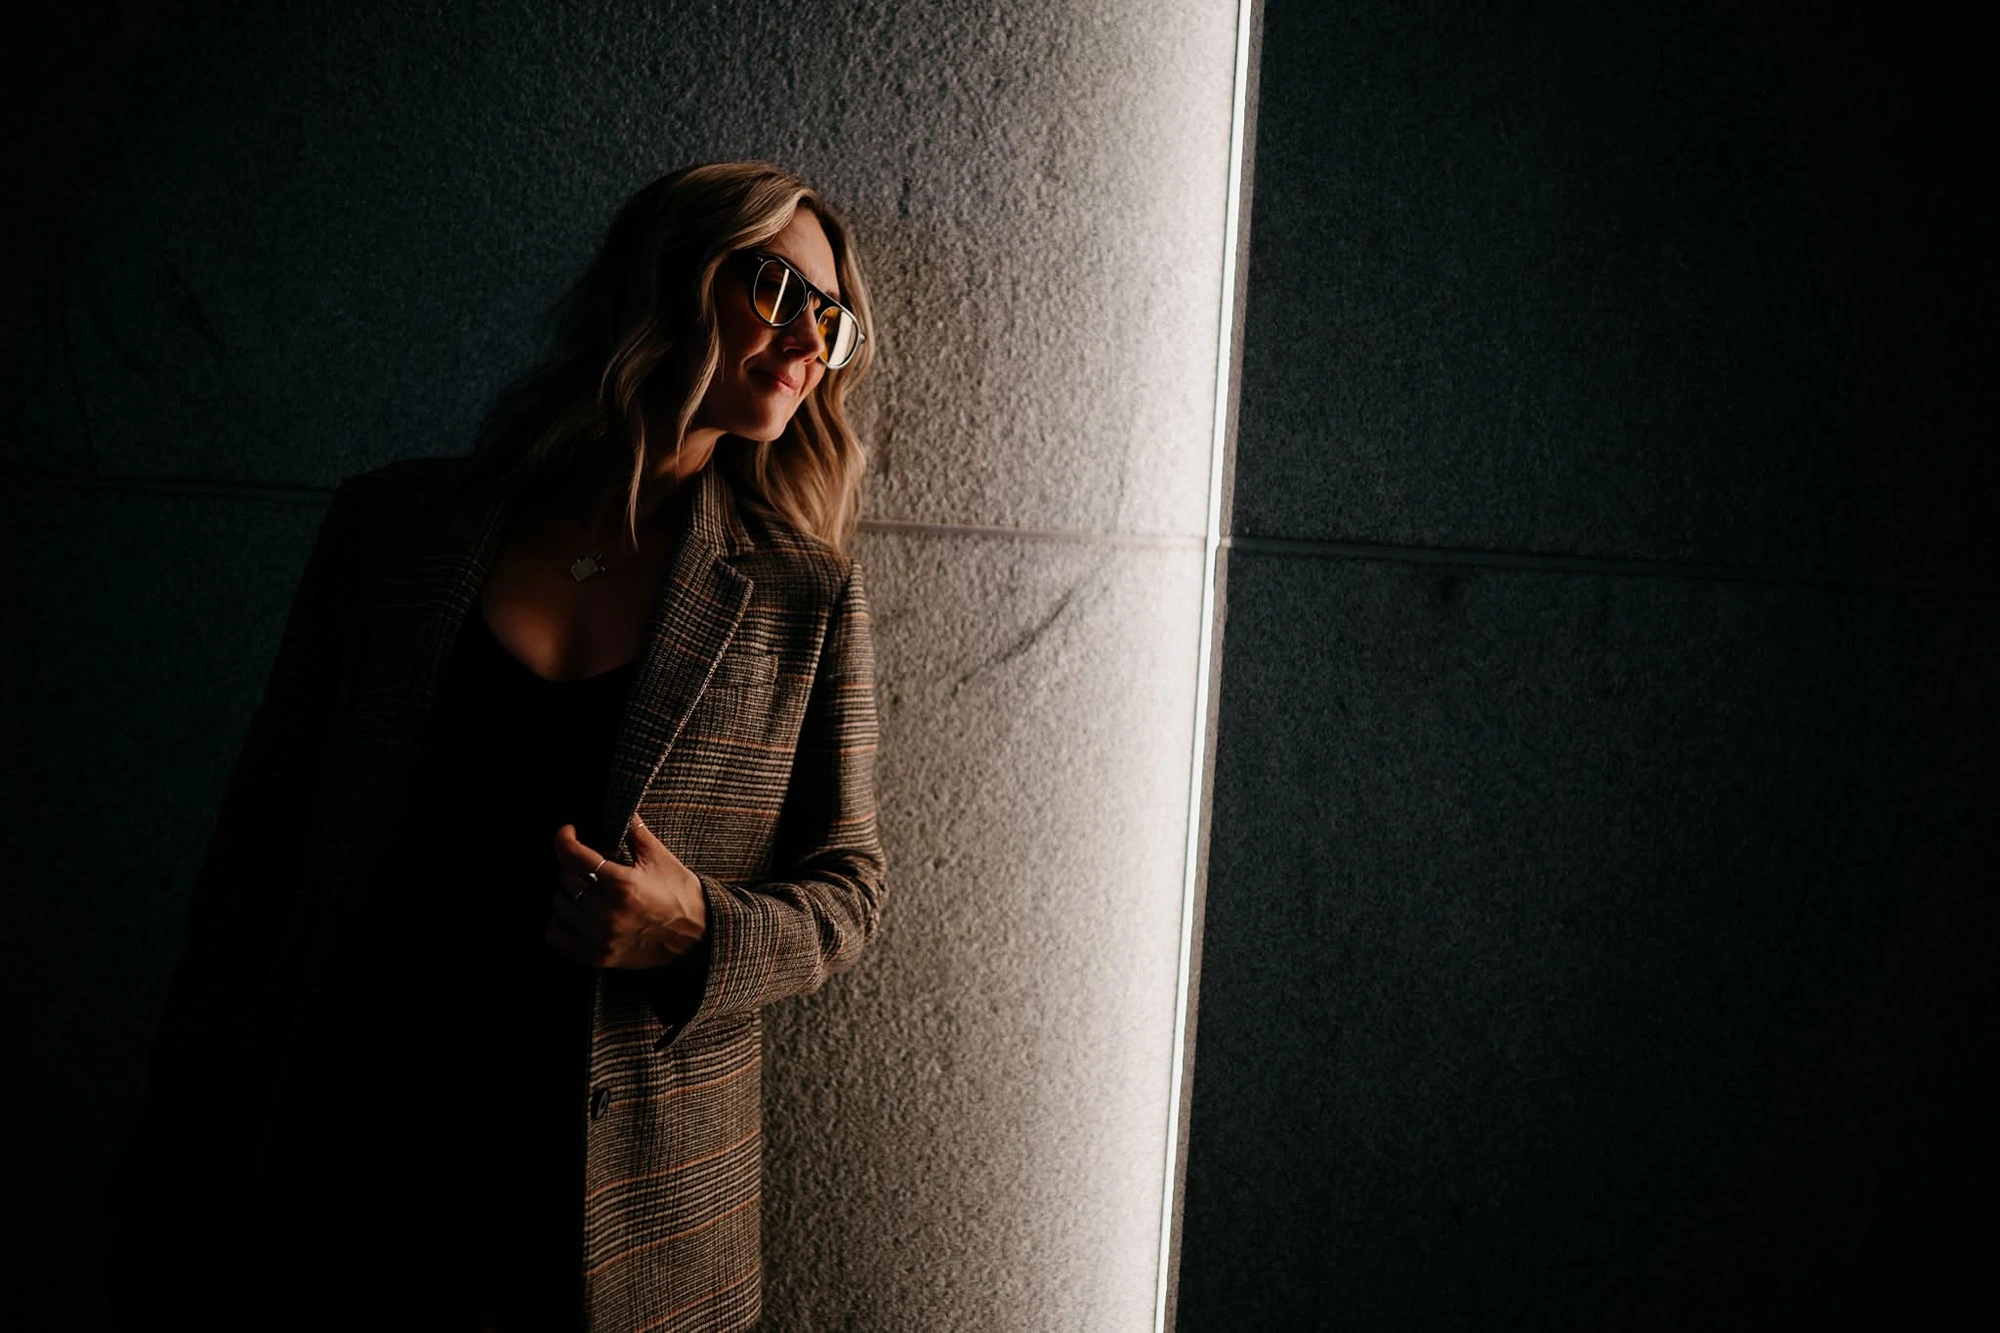
Presets can be an amazing starting point, but they’re not magic. A preset built around soft, outdoor light isn’t necessarily going to behave the same way inside a dark reception space full of DJ lights.
Treat presets as a foundation, not a finished edit. If you want to take things further, tools like Aftershoot Edit can help you build on that foundation more efficiently.
In a Nutshell
When your starting point isn’t consistent, you end up constantly correcting photographs one by one. That means more time editing, more rework, longer turnaround times, and potentially more client revision requests. A good workflow should help you establish consistency early, whether that’s through presets, synchronized adjustments, reference images, calibrated monitors, or AI-assisted editing tools. The goal is to reduce repetitive corrections while still maintaining creative control. The better you understand your own style and workflow, the less time you’ll spend fighting your photographs.
FAQs for Photo Editing Mistakes
Q1. What are the most common photo editing mistakes photographers make?
The most common mistakes include overediting (excessive contrast, clarity, or texture), inconsistent white balance across a single gallery, forcing unnatural skin tones, blindly following short-lived color trends, and trying to force a pre-set editing style onto light that doesn’t support it.
Q2. How can I tell if I am overediting my photos?
Take regular breaks while editing to reset your visual perception. Step away from your computer screen for a minute, then return and toggle the before-and-after view to check if your adjustments genuinely enhanced the photo or made it look artificial.
Q3. How do I keep white balance consistent across an entire photo gallery?
Group and edit your photos based on similar lighting conditions rather than working on every image independently. You can also photograph a physical white balance card during your shoot, sync settings across matching frames, or use AI-assisted tools like Aftershoot to establish a uniform starting point.
Q4. Why should I treat presets as a starting point rather than a finished edit?
Presets are designed around specific lighting setups. Applying a preset created for bright, open outdoor light onto a dark, indoor venue shot will produce drastically different results, requiring manual adjustments to achieve a polished image.
Q5. How do I fix unnatural skin tones in post-processing?
Isolate skin tones from the rest of the image when making color adjustments. Avoid over-saturating oranges and reds in your HSL panel, and ensure you do not sacrifice true-to-life skin tones just to force a background or overall scene into a trendy color grade.