TL;DR
- For most photographers, color accuracy and calibration matter more than chasing the highest possible resolution.
- If most of your work ends up online, strong sRGB coverage can be enough. Photographers producing fine-art prints or working in broader color-managed workflows should pay closer attention to Adobe RGB coverage.
- 4K at around 27 inches is a practical sweet spot for many professional editing setups: enough detail for retouching without requiring an enormous desk.
- Current strong options include the BenQ SW272U, ASUS ProArt PA279CRV, EIZO ColorEdge CG2700X, Dell UltraSharp U3226Q, and Apple Studio Display XDR, depending on your workflow and budget.
- Calibration isn’t a one-and-done setup step. Displays change over time, so build recalibration into your workflow.
- Don’t judge a monitor only by how beautiful one image looks. Think about the full shoot: culling, editing, retouching, print proofing, and final delivery.
You know that slightly horrifying moment when an image looked perfect while you were editing it, only to look too warm, too dark, or strangely flat somewhere else?
Your monitor may not be entirely to blame, clients’ screens vary too, but if you’re making color decisions on a display you can’t trust, you’re starting the workflow with a moving target.
For most professional photographers, the best monitor for photo editing isn’t automatically the one with the highest resolution or the biggest price tag. Look first for reliable color accuracy, enough color-gamut coverage for the way you deliver your work, good panel uniformity, and a calibration workflow you can realistically maintain.
And if you’re regularly editing hundreds or thousands of images at a time, there’s another factor worth considering: how comfortably that monitor fits into the rest of your post-production workflow.
Best Monitor for Photo Editing: 5 strong options for different workflows
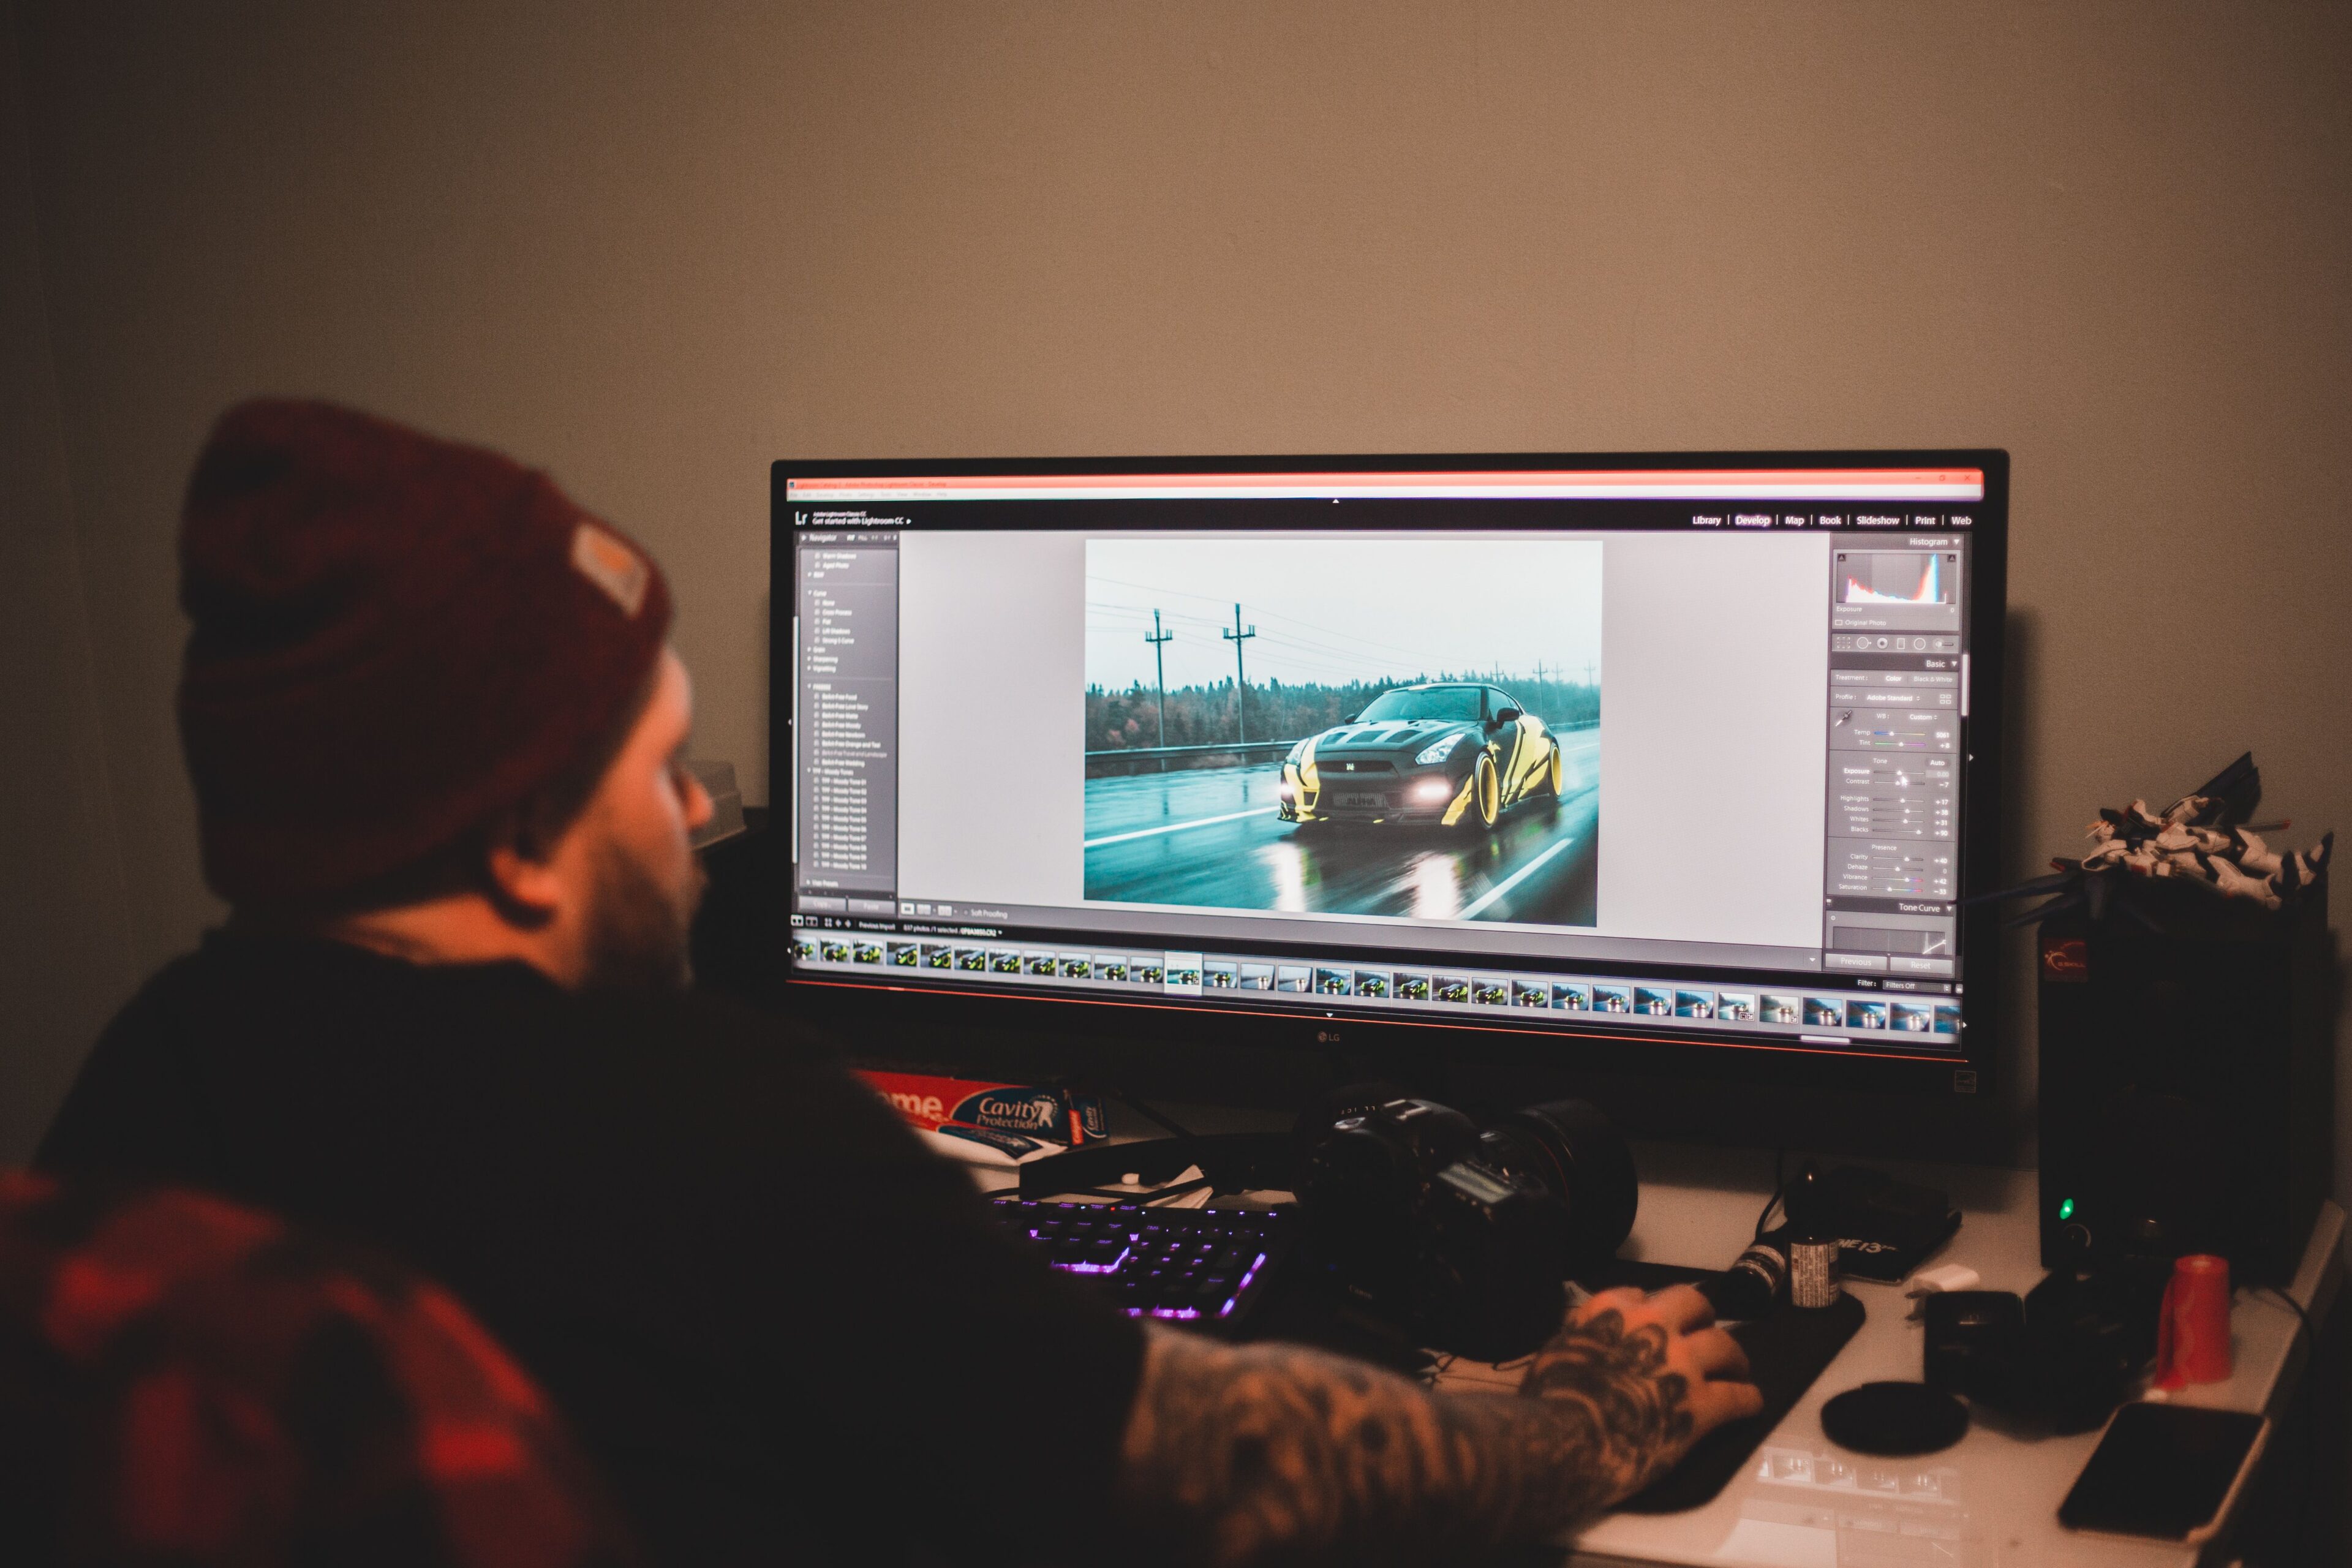
Just to clarify, there isn’t one universally “best” photo editing monitor.
A wedding photographer delivering mostly digital galleries doesn’t necessarily need the same display as a commercial photographer preparing files for print production. Someone editing on a MacBook also has different priorities from a studio running multiple calibrated displays.
Here’s a more useful way to shortlist your options.
| Monitor | Key specs | Price | Best for | What to know |
|---|---|---|---|---|
| BenQ SW272U | 27-inch, 4K, 99% Adobe RGB, hardware calibration | $1,499 | Best all-around option for serious photography work | Strong mix of wide-gamut coverage, 4K resolution, and photography-focused color management |
| ASUS ProArt PA279CRV | 27-inch, 4K IPS, 99% Adobe RGB, 99% DCI-P3, factory calibrated to Delta E <2 | $469 | Best value for wide-gamut editing | Strong specifications without moving into the highest professional price tier |
| EIZO ColorEdge CG2700X | 27-inch, 4K, 99% Adobe RGB, built-in calibration sensor | $3,499 | Best for color-critical professional work | Designed for photographers and other creatives who need highly repeatable color |
| Dell UltraSharp U3226Q | 31.5-inch, 4K QD-OLED, 99% DCI-P3, 94% Adobe RGB, built-in colorimeter | $2,599 (street prices range $2,600-$3,000) | Best large-screen option for mixed creative work | Excellent contrast and extensive color-management features, but likely more monitor than a photography-only workflow needs |
| Apple Studio Display | 27-inch, 5K IPS, P3 wide gamut, 600 nits | $1,599 (standard glass) / $1,899 (nano-texture glass) | Best premium option for Mac-centric workflows | Particularly compelling for photographers who also work with video and want a tightly integrated Mac setup |
Note: Specs above have been checked against the manufacturers’ current documentation for the BenQ SW272U, ASUS ProArt PA279CRV, EIZO ColorEdge CG2700X, Dell UltraSharp U3226Q, and Apple Studio Display XDR.
The important thing here is to understand which specifications actually affect your photography, and which ones mostly make a monitor easier to market.
1. BenQ SW272U: Best all-around option for serious photography work
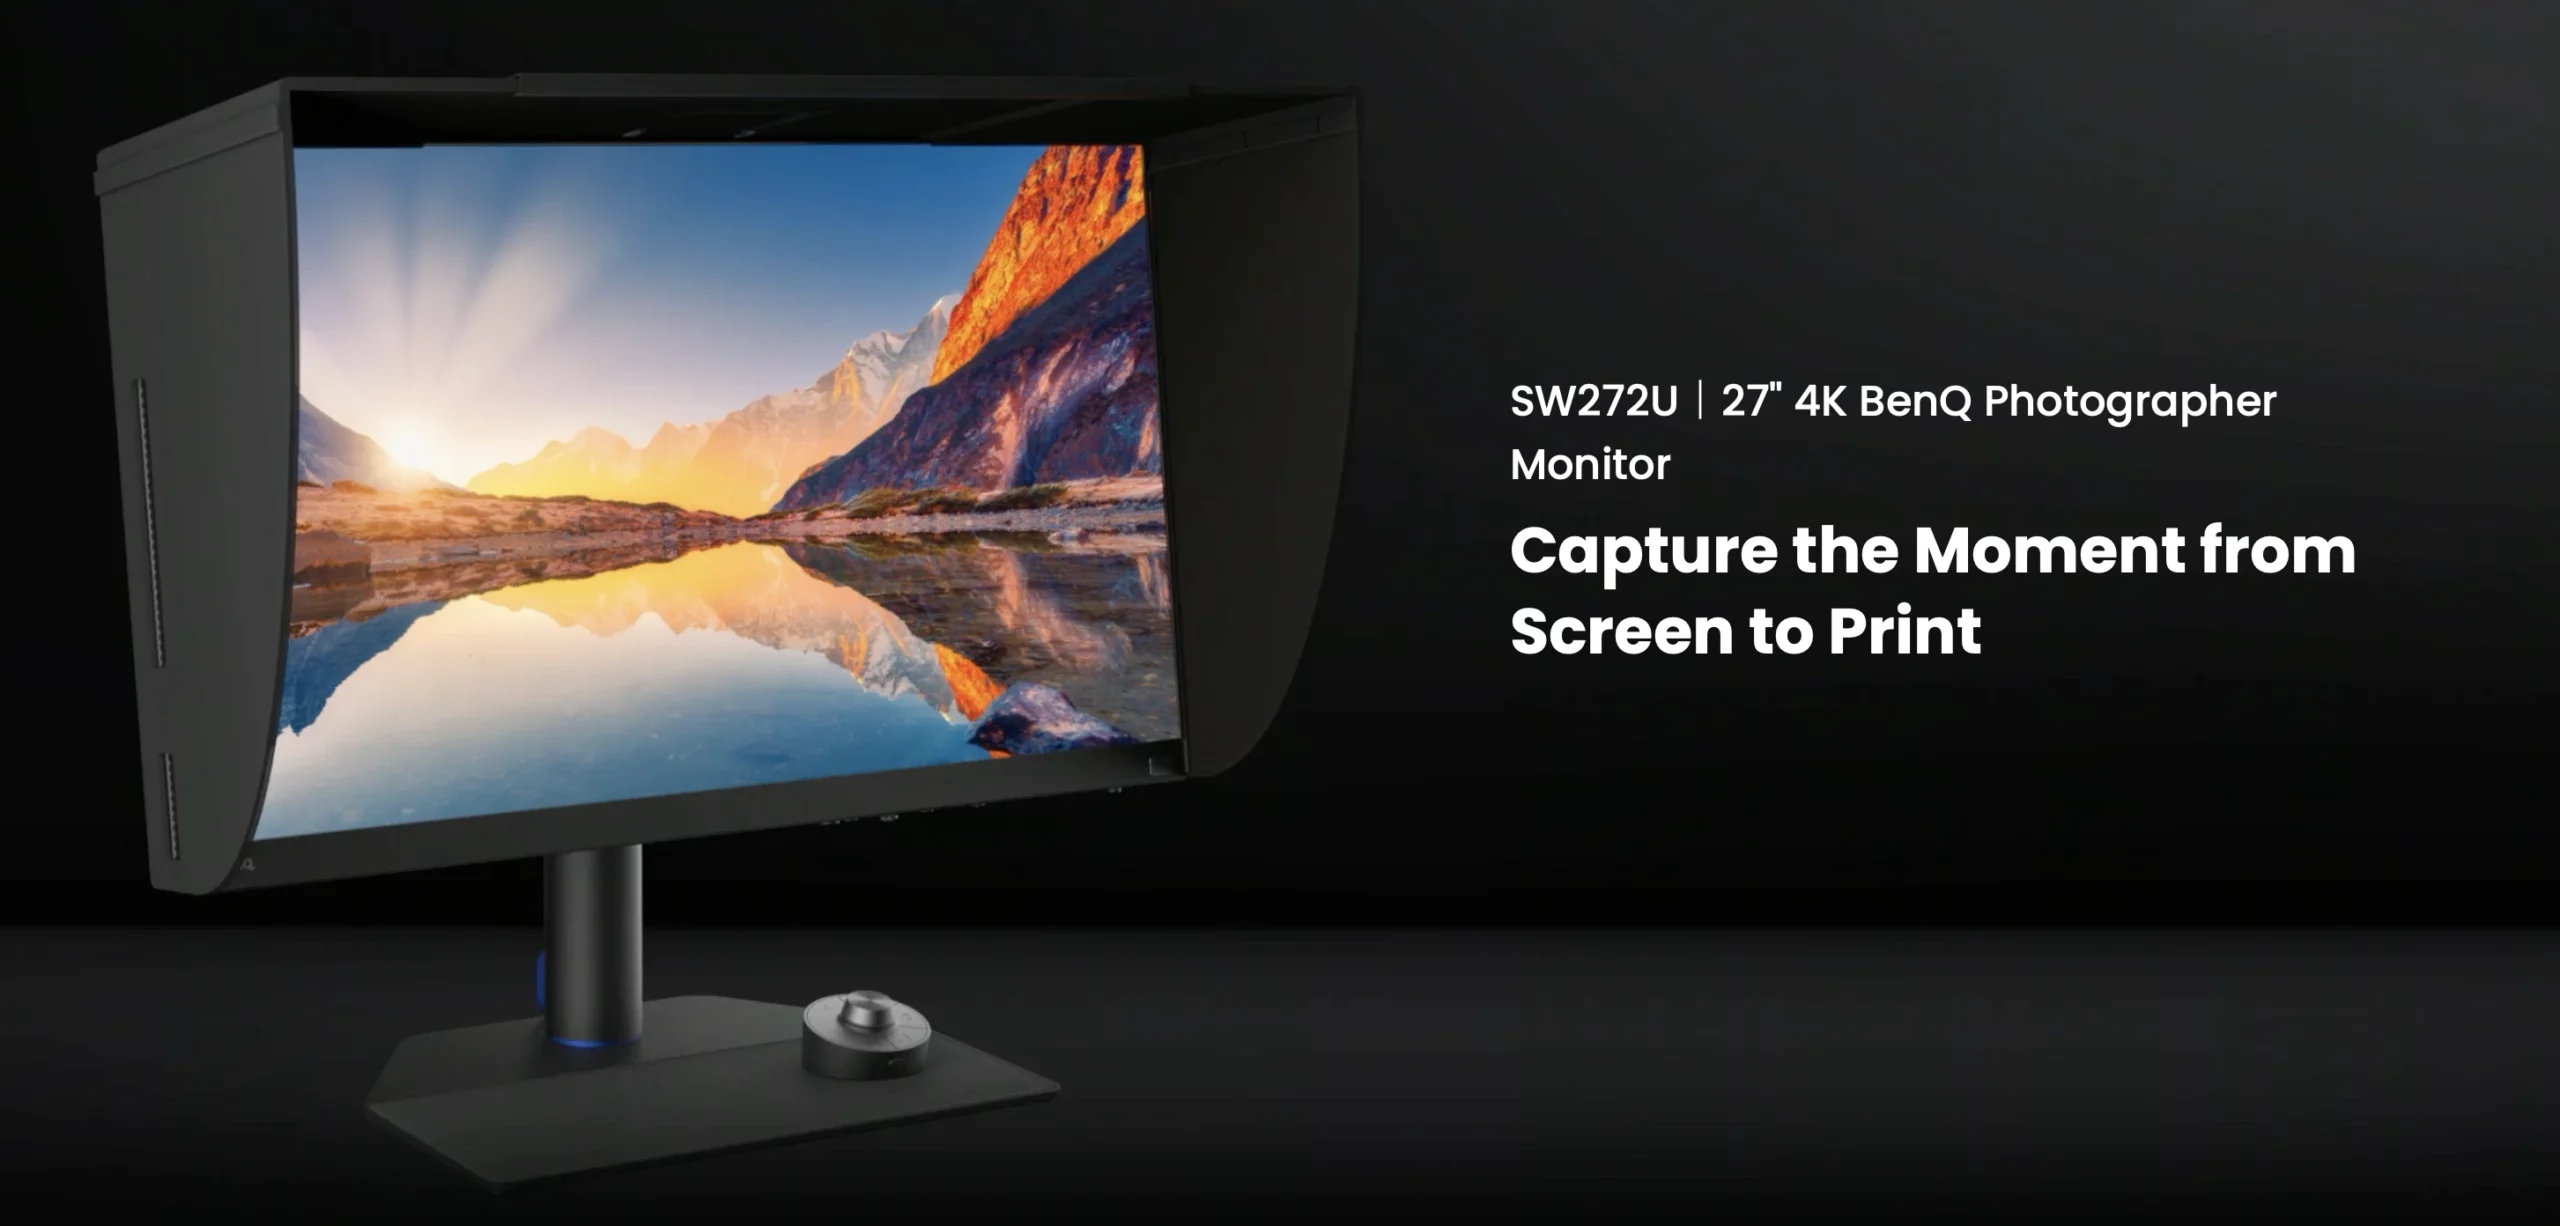
The SW272U is built specifically for photo and video editors, not adapted from a general-purpose panel. It covers 99% Adobe RGB and 100% sRGB, with a factory calibration report shipped in the box so you’re not starting from a guess.
What sets it apart is the Fine-Coated matte panel, which simulates how a printed photo diffuses light, making it easier to judge how an edit will actually look once printed instead of guessing based on a glossy screen. It also ships with a physical shading hood to block glare and ambient light, along with a Hotkey Puck for switching between color modes without digging through on-screen menus.
The tradeoff is a fairly modest 1000:1 contrast ratio, so if you shoot a lot of high-contrast scenes or want deep, punchy blacks, this isn’t the panel for that.
This makes sense: For photographers who deliver client galleries and prints regularly, this is the most complete package without stepping into the professional price tier.
2. ASUS ProArt PA279CRV: Best value for wide-gamut editing
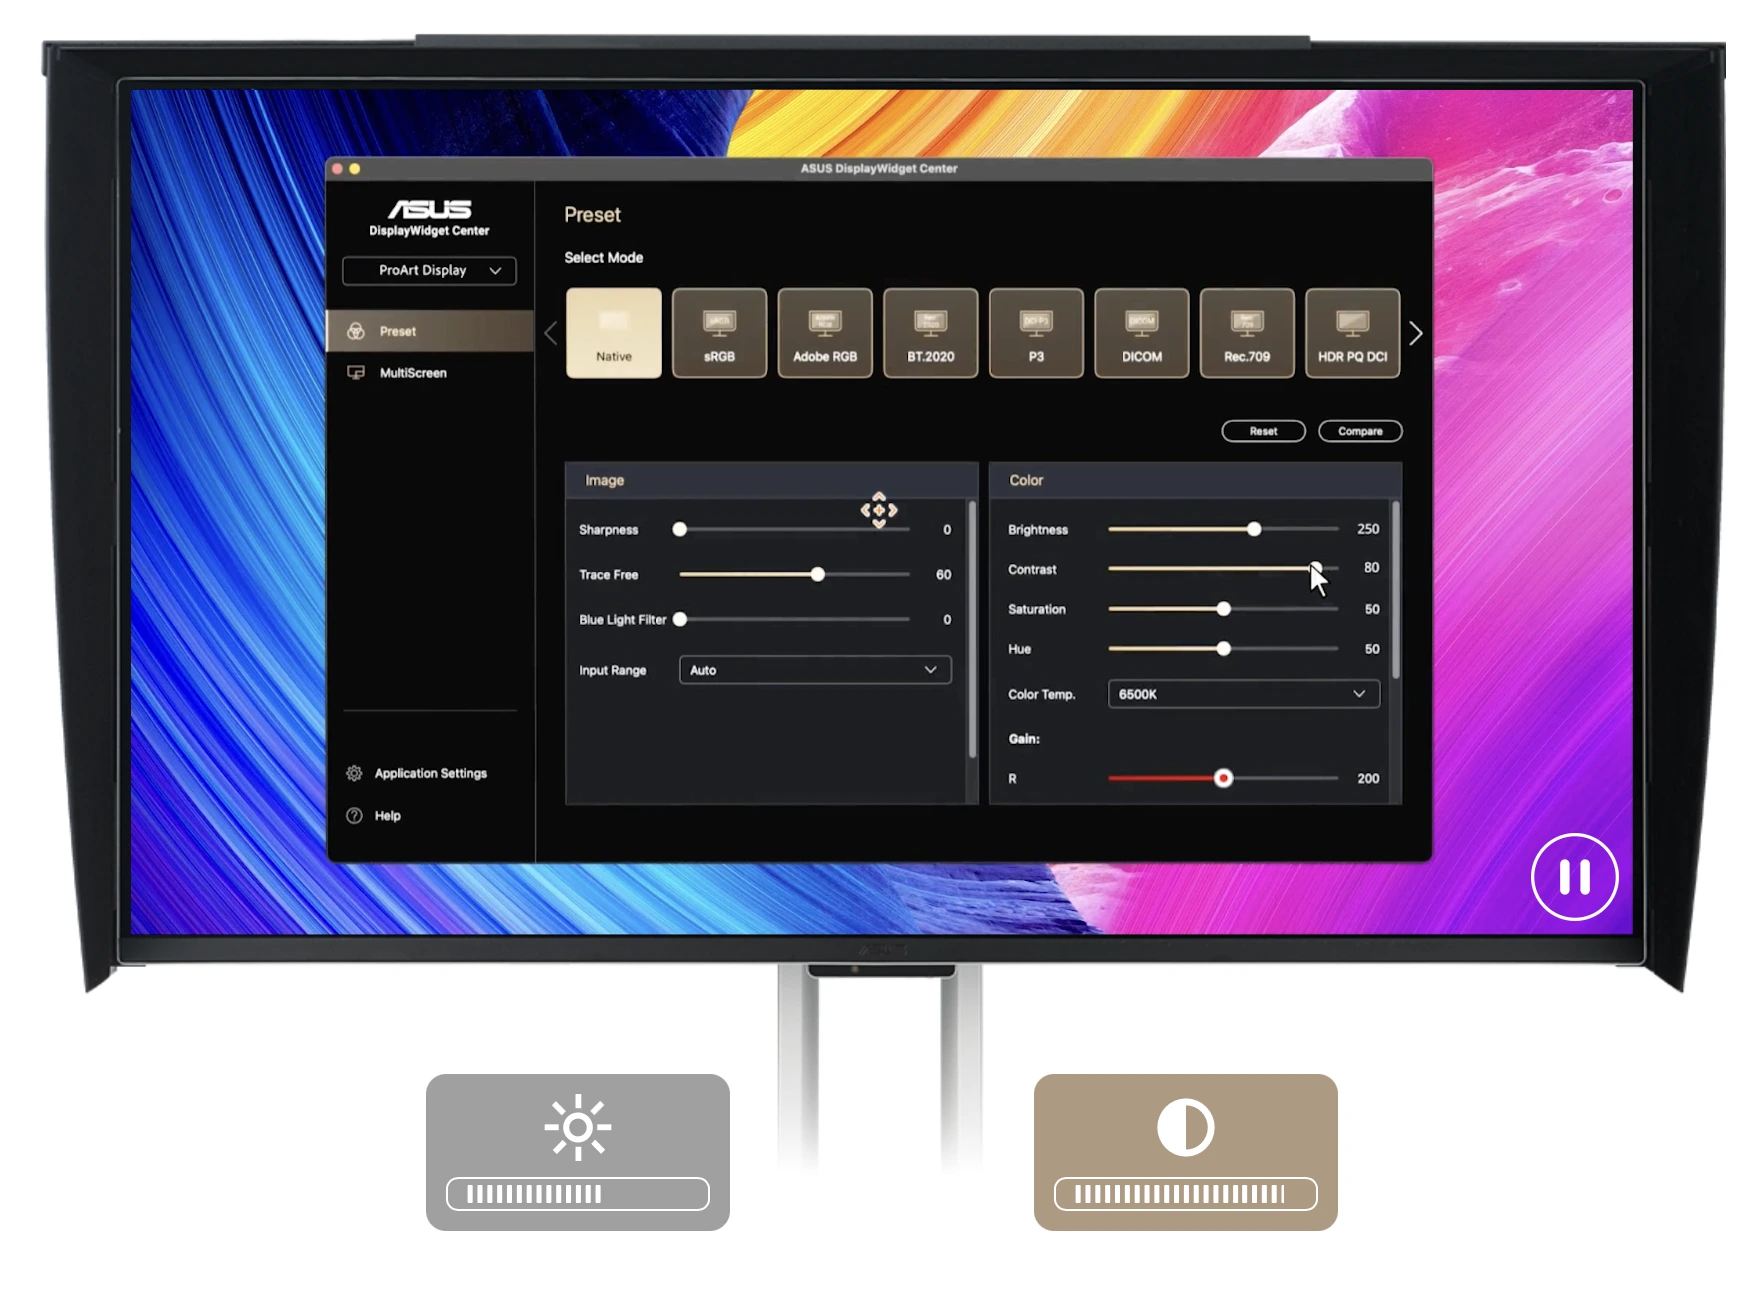
This is the monitor for photographers who want real color accuracy without the professional-tier price. It covers 99% DCI-P3 and 99% Adobe RGB, and it’s factory calibrated to Delta E under 2, meaning it’s genuinely accurate out of the box, not just accurate after you spend hours in the settings menu.
It’s Calman Verified, which is a third-party accuracy certification worth looking for regardless of brand, and it supports USB-C with 96W power delivery, so a single cable can drive the display and charge a laptop.
The catch is what you’d expect at this price: contrast and peak brightness are unremarkable, and it lacks the built-in hardware calibration sensor you’ll find on the Eizo or Dell.
This makes sense: For someone starting out or working part-time who needs trustworthy color without a $1,500+ commitment, this is the realistic starting point.
3. Eizo ColorEdge CG2700X: Best for color-critical professional work
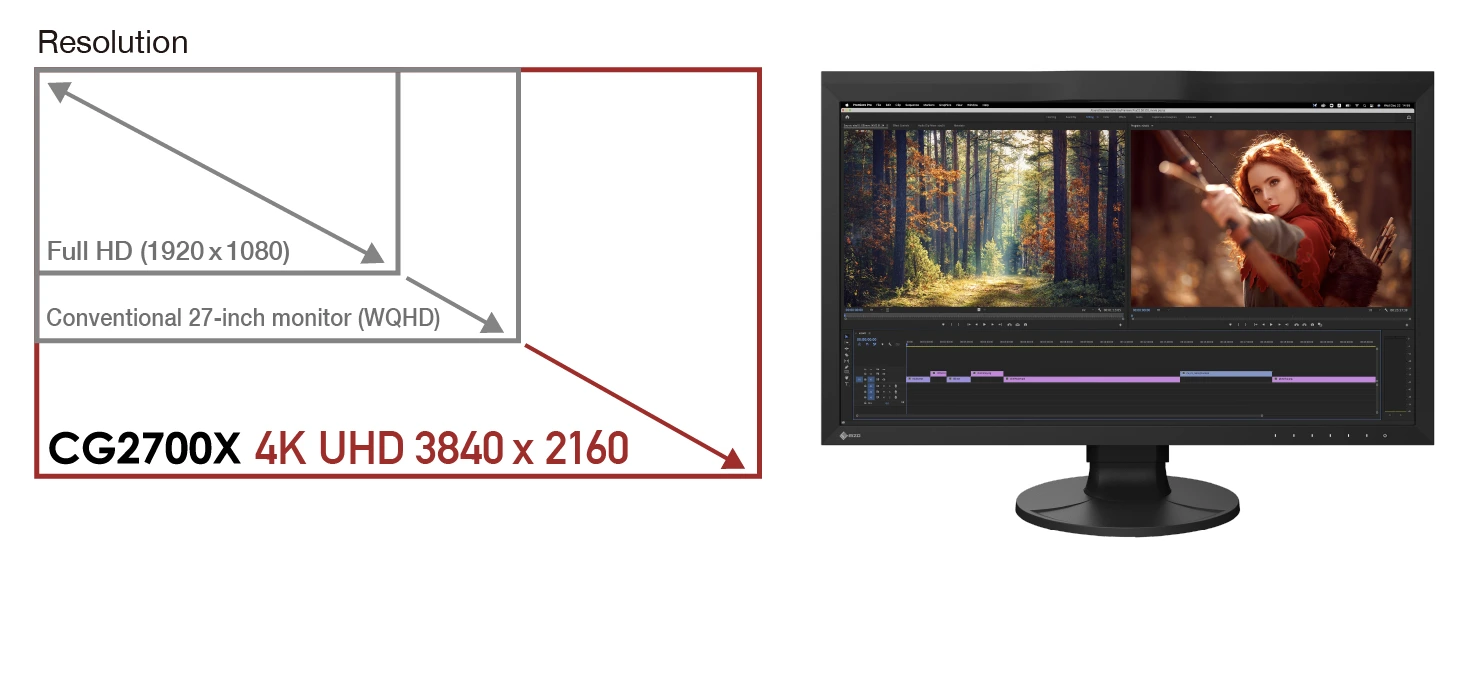
Eizo built its reputation on repeatability, and the CG2700X is the clearest example of that. It has a built-in calibration sensor, meaning the monitor can self-calibrate on a schedule you set, without needing an external colorimeter every time. That matters if you’re editing daily and want to know your monitor hasn’t quietly drifted since last week. It covers 99% Adobe RGB and 98% DCI-P3, runs a 10-bit LUT for smoother tonal gradation, and comes with a 5-year warranty plus a “Zero Bright Pixels” guarantee, which is Eizo’s way of saying they’ll replace the panel if even a single pixel misbehaves.
The response time (13ms) is slow by gaming standards, but that’s irrelevant for static photo editing.
This makes sense: For photographers who edit high volumes weekly and can’t afford a color shift between what they see and what they deliver, and the price reflects that level of reliability.
4. Dell UltraSharp U3226Q: Best large-screen option for mixed creative work
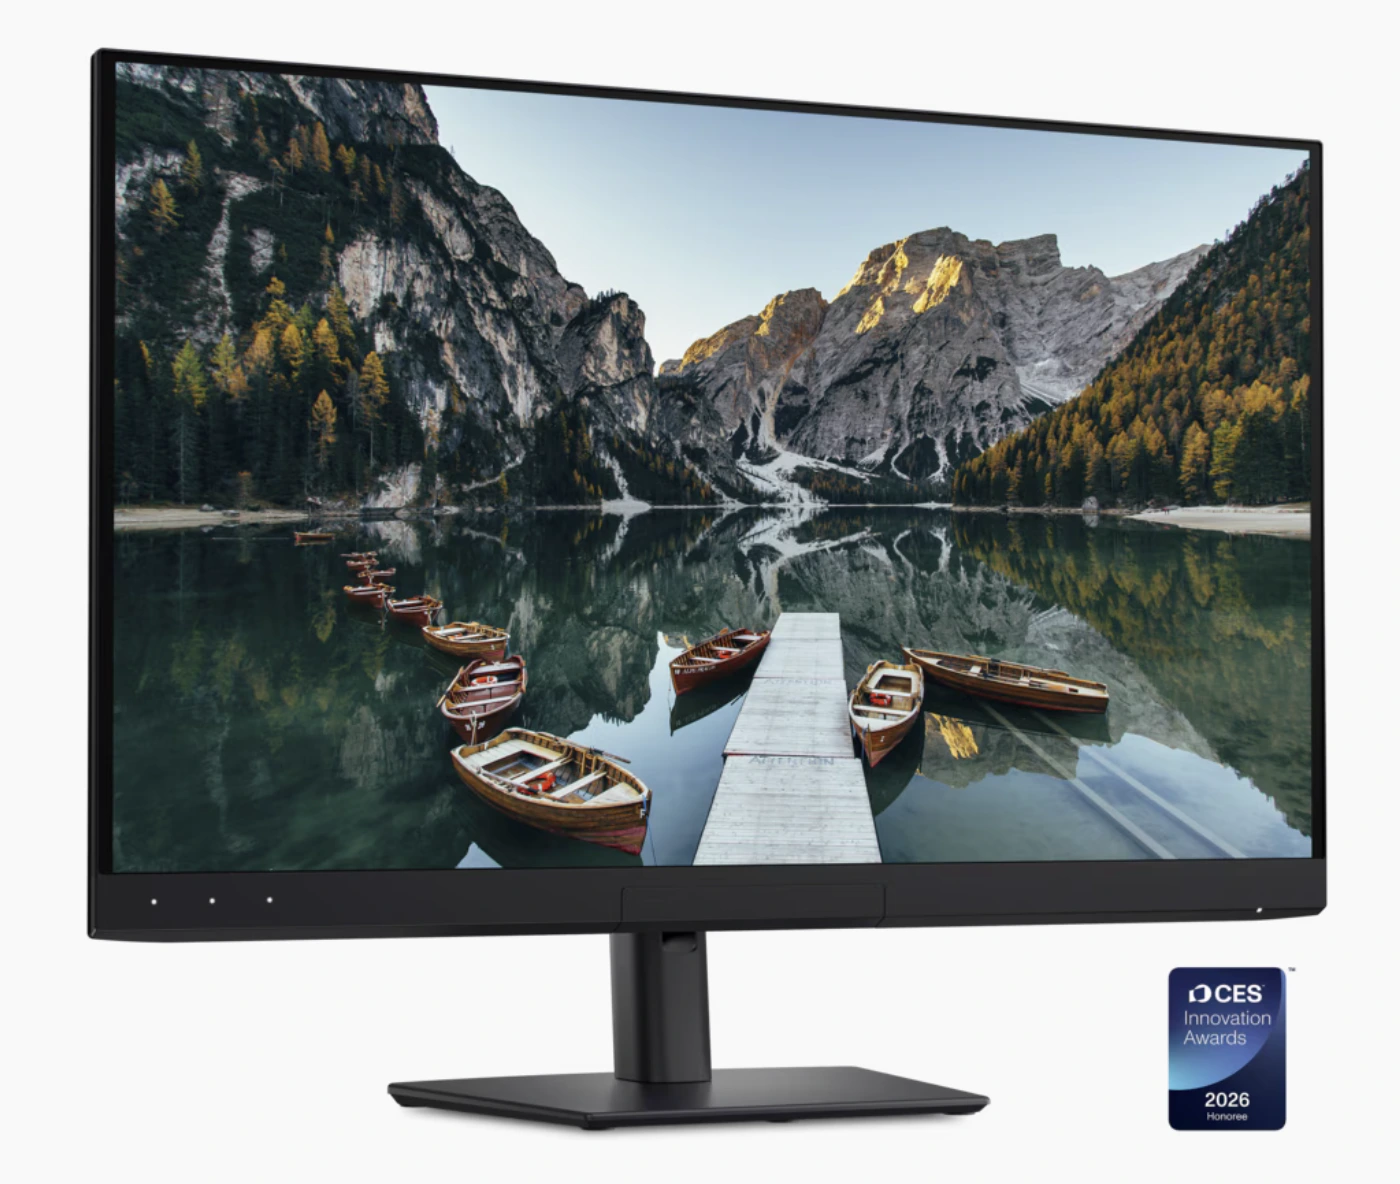
The U3226Q is a QD-OLED panel, which means genuinely deep blacks and high contrast that IPS panels can’t match, plus a built-in colorimeter for on-device calibration and a Thunderbolt 4 hub that can single-handedly replace a separate dock. It covers 99% DCI-P3 with a Delta E under 1 out of the box, which is excellent.
Worth knowing before you buy: OLED panels carry some risk of burn-in with static on-screen elements over long periods, and photo editing software tends to have exactly that, fixed toolbars, panels, and menus that stay in the same place for hours at a time. Dell includes panel-refresh technology to mitigate this, but it’s a real consideration if you leave the monitor on for long editing sessions daily, in a way it simply isn’t for an IPS panel.
This makes sense: For photographers who also edit video or do other mixed creative work where OLED’s contrast pays off, rather than someone doing stills-only editing.
5. Apple Studio Display: Best premium option for Mac-centric workflows
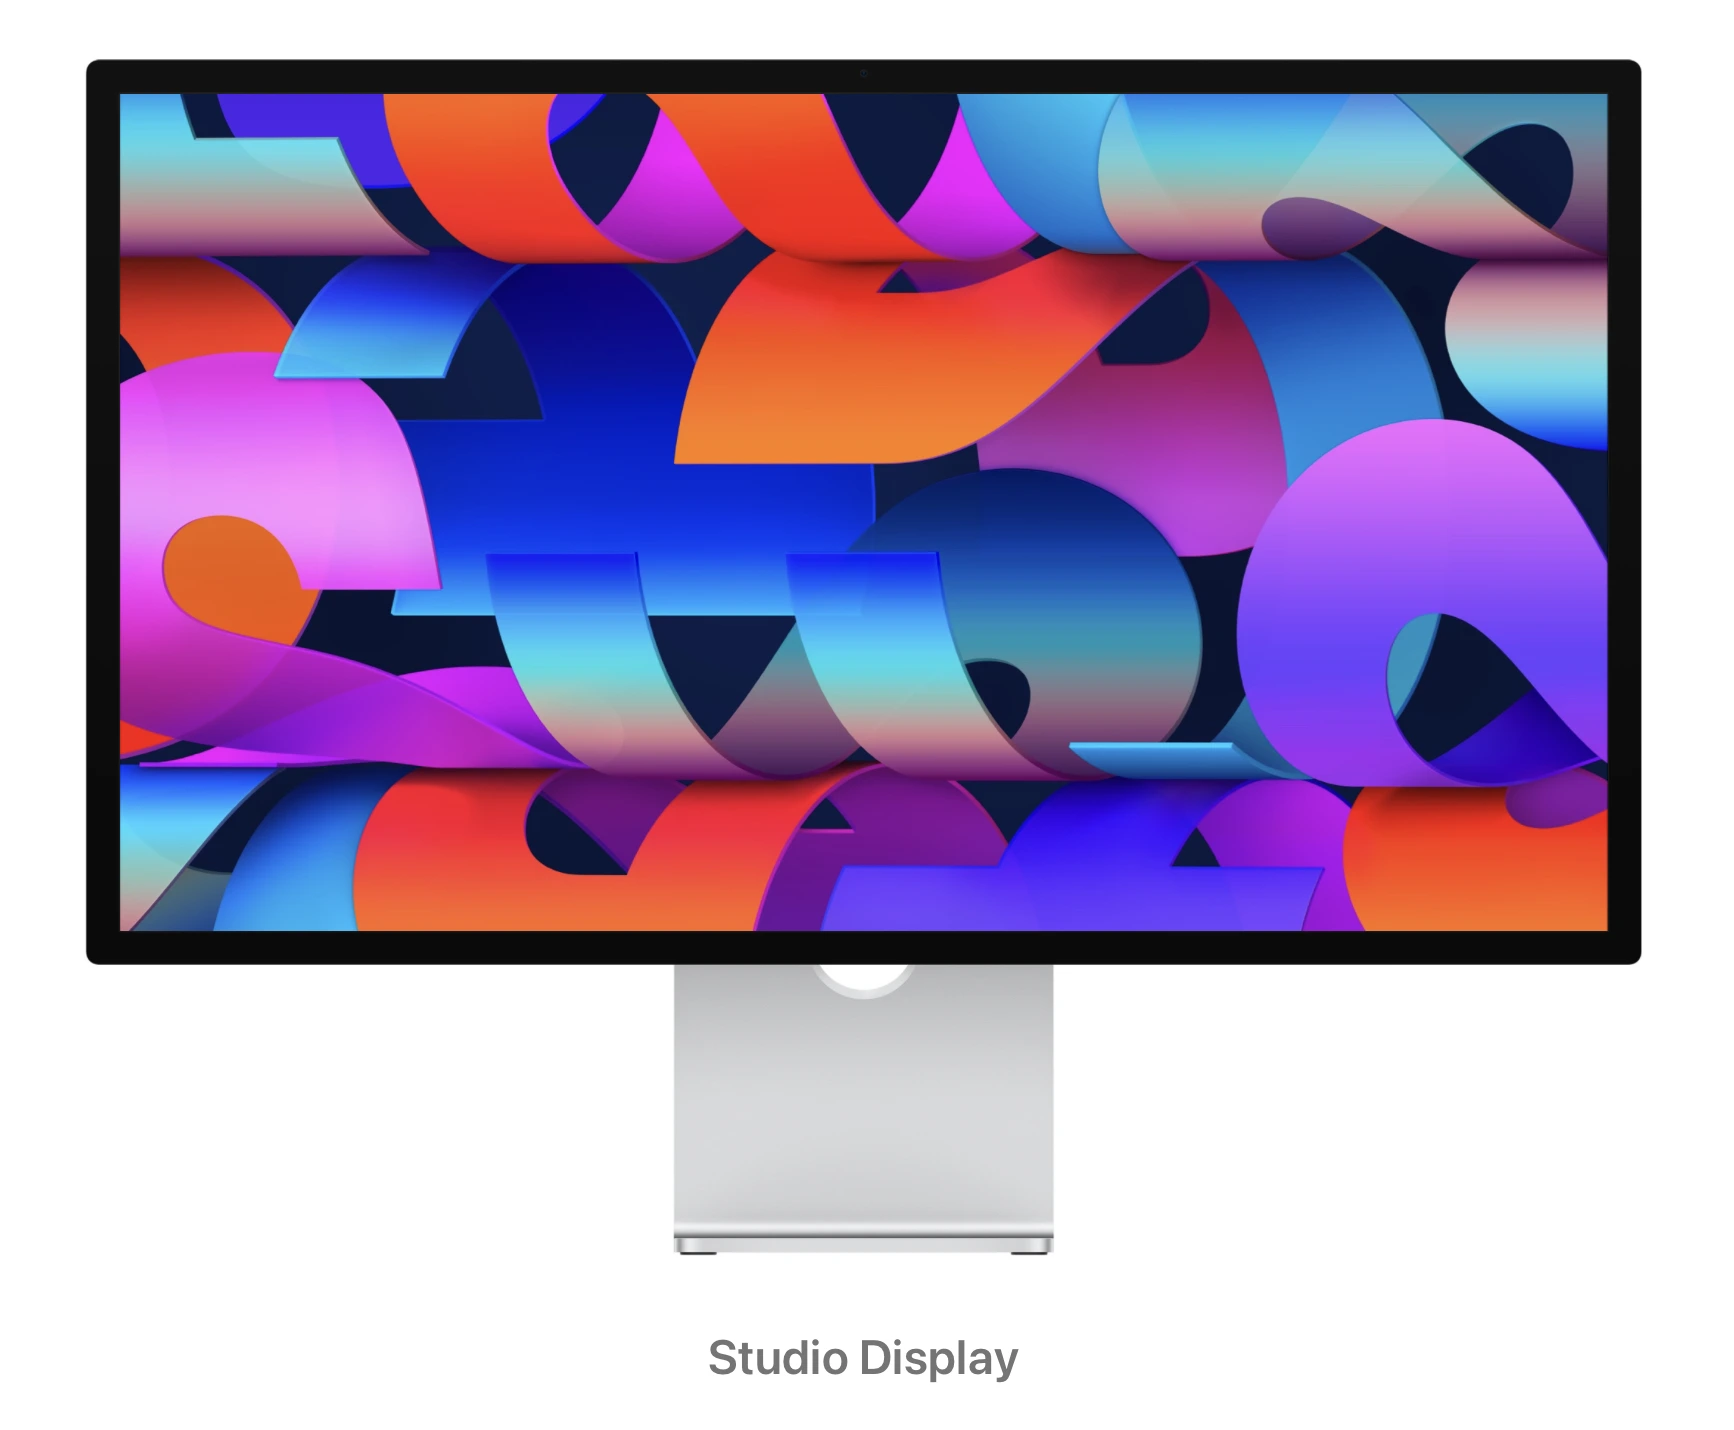
This is less about raw color-accuracy specs and more about workflow integration. The Studio Display covers the P3 wide gamut at 600 nits with True Tone, which handles ambient light adjustment automatically, and it’s designed to pair seamlessly with a Mac, no separate calibration software or driver hunting required.
It’s not a wide-gamut Adobe RGB monitor in the way the BenQ or Eizo are, so if you print regularly or need to match a specific press profile, it’s not the strongest technical choice on this list. Where it earns its place is for photographers already inside the Apple ecosystem who want one clean, reliable screen without managing a separate calibration routine, plus the built-in camera and speakers if video calls with clients are part of your workflow.
This makes sense: If you edit in a bright room, since the nano-texture glass option (add $300) meaningfully cuts glare compared to the standard glass.
What should you look for in the best monitor for photo editing?
If you’re comparing two monitors and one has 6K splashed across the product page while the other talks about calibration, it’s very easy to assume more pixels equals a better editing screen.
But that’s not… necessary.
For photography, I’d look at these in roughly this order:
- Color accuracy
- Color gamut
- Calibration options
- Panel uniformity
- Resolution and screen size
- Connectivity and ergonomics
- HDR performance, if your work actually requires it
Here’s what those specifications mean in practice.
1. Color accuracy: start here, not with resolution
Color accuracy tells you how closely the color displayed by your monitor matches the intended reference color.
You’ll often see this expressed as Delta E (ΔE). Lower numbers indicate a smaller difference between the displayed and reference color.
Don’t treat Delta E as a magic pass/fail number, though. Claims such as “anything below 2 is completely invisible to the human eye” oversimplify color perception.
For context, BenQ describes a Delta E value of 3 or below as a level intended to avoid clearly visible color distortion for creative work, while many professional monitors are factory calibrated to tighter tolerances. The ASUS ProArt PA279CRV, for example, is specified at Delta E <2.
The practical takeaway? Look for a monitor with documented factory calibration from a manufacturer that actually publishes its color specifications. Don’t buy based on a vague “vivid color” claim.
And remember that factory calibration tells you how the monitor performed when it left the factory. It doesn’t remove the need for ongoing color management.
2. Color gamut: choose it based on where your photographs end up
Color gamut describes the range of colors your display can reproduce.
For photographers, three spaces come up constantly:
| Color space | When it matters |
| sRGB | Websites, online galleries, social media, and much everyday digital delivery |
| Adobe RGB | Wide-gamut photography workflows, soft proofing, and many print-focused workflows |
| Display P3 / DCI-P3 | Wide-gamut displays and especially mixed photo/video workflows |
If you’re primarily delivering JPEG galleries that clients will view on phones and browsers, buying a monitor solely because it covers almost all of Adobe RGB may not transform your work.
If you routinely prepare images for print, however, broader Adobe RGB coverage becomes more useful. EIZO specifically notes that an Adobe RGB-capable monitor can improve soft-proofing workflows when working with Adobe RGB image data and print output.
So rather than asking, Which monitor has the biggest gamut?, ask: Where will my final photographs actually be seen? That’s a much better buying question.
3. Calibration: factory calibrated isn’t the same as permanently calibrated
This is where a lot of monitor advice gets muddy.
Factory calibration means the display was measured and adjusted before it was shipped.
Hardware calibration allows compatible calibration software and measurement hardware to adjust the display more directly, often through the monitor’s own lookup table rather than relying solely on corrections applied by the computer’s graphics pipeline.
And some professional displays go a step further with a built-in calibration sensor. The EIZO CG2700X, for example, can automatically perform scheduled calibration with its integrated sensor. Dell’s U3226Q also includes an integrated colorimeter.
Do you need that? Not necessarily.
For plenty of photographers, a good monitor paired with an external calibration device is completely reasonable. Built-in self-calibration becomes more appealing when color consistency is business-critical or you’re managing a studio where forgetting to recalibrate is not an option.
4. Panel uniformity matters more as your screen gets larger
Your monitor can measure accurately at its center while displaying slightly different brightness or color toward its edges.
That’s uniformity, and it’s easy to ignore until you start working across a large screen.
Imagine dodging a dark corner, correcting a background color cast, or comparing two portraits side by side. You want the difference you’re seeing to come from the photographs, not because one part of your display is behaving differently from another.
Professional displays often include uniformity compensation specifically to reduce these inconsistencies. ASUS, for example, documents uniformity compensation on several ProArt models, while independent monitor testing also looks at uniformity rather than relying only on a center-screen color measurement.
It’s one reason a huge cheap monitor isn’t automatically an upgrade over a smaller, better-controlled display.
Is 4K necessary for photo editing?
No. But for many photographers buying a new monitor today, 4K is a very sensible target.
Resolution affects how much fine detail you can see and how densely information fits on screen. That can help when checking focus, retouching skin, cleaning up distractions, or working with several editing panels open.
But resolution doesn’t determine color accuracy.
A high-resolution display with poor color performance can show you an extremely detailed version of the wrong color.
For many desktop photography setups, 27-inch 4K is a particularly comfortable combination because it gives you useful pixel density without taking over the desk. If you prefer more physical workspace for toolbars, side-by-side images, or several applications, 31–32 inches can make sense.
Higher resolutions such as 5K and 6K become more appealing when you want very high pixel density, spend long hours with detailed retouching, or simply prefer more desktop space.
Just don’t use resolution as shorthand for “professional.”
IPS vs OLED: Which panel is better for photo editing?
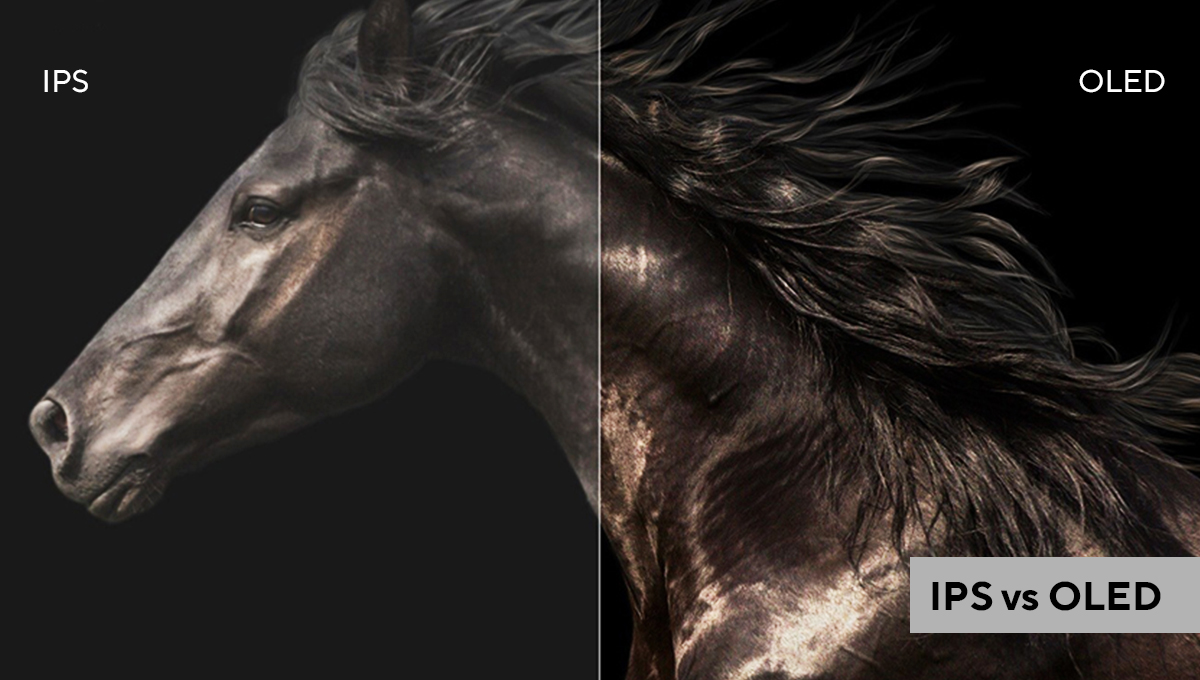
IPS has traditionally been a popular choice for photography because of its wide viewing angles, mature color-management options, and the large number of professional monitors built around the technology.
But OLED and QD-OLED change the conversation.
OLED can deliver extremely deep blacks and very high contrast, which makes images look fantastic and can be useful for mixed photo, video, and HDR workflows. New professional OLED displays such as Dell’s U3226Q pair that contrast performance with built-in color-management features.
But that doesn’t suddenly make IPS obsolete.
For a photographer primarily editing standard dynamic range stills and prints, a proven IPS photography monitor may still be the more straightforward tool. If your workflow increasingly includes video, HDR delivery, or other contrast-critical work, OLED becomes considerably more interesting.
If you think about it, the question leans more towards this: Which panel gives you the consistency, gamut, calibration, and output support your work requires?
How often should you calibrate a monitor for photo editing?
There isn’t a universal rule that every photographer must calibrate every seven days or every 30 days.
But “I calibrated it when I bought it two years ago” is definitely not a color-management strategy.
Calibrite recommends recalibrating roughly every 4–6 weeks, while EIZO’s professional calibration software supports user-defined recalibration intervals and even automatic schedules on compatible displays.
A sensible starting point for many photographers is therefore around once a month, adjusting the frequency depending on how color-critical your work is and how stable your display remains.
For especially demanding print or commercial workflows, you may choose to verify it more frequently.
Here’s a simple monitor calibration routine
For repeatable results, here’s what you can do:
- Keep the lighting in your editing environment consistent. Your perception of screen brightness and color changes with the light around you.
- Disable automatic display behaviors that fight your calibration when you’re doing color-critical work, such as adaptive color-temperature changes, unless your workflow specifically accounts for them.
- Use a proper measurement device rather than trying to judge subtle shifts by eye.
- Choose calibration targets appropriate to your output rather than copying somebody else’s brightness settings blindly.
- Recalibrate on a schedule and check the display again if your working environment changes significantly.
This is also why rigid advice like “every photo monitor must be set to exactly 100 cd/m²” isn’t particularly helpful. Appropriate luminance depends partly on your viewing environment and output conditions.
sRGB vs Adobe RGB: which matters more for photographers?
If you mostly create photographs for digital use, sRGB should be your baseline priority.
A client viewing an online wedding gallery, a prospective customer scrolling through your portfolio, and somebody opening a JPEG on a typical browser aren’t operating inside the same controlled setup you used to edit the photograph.
Print introduces a different problem.
If you’re creating fine-art prints, albums, commercial print assets, or regularly soft proofing, a wide-gamut display capable of reproducing most of Adobe RGB gives you more room to evaluate colors your output workflow may preserve.
But wider isn’t automatically better.
You still need a properly color-managed workflow. A monitor displaying a huge gamut doesn’t help if profiles are being ignored or your exports are going to the wrong color space.
For a deeper look at what happens after you’ve chosen the hardware, see our guide to building a more reliable photo editing workflow.
Also, don’t forget the room you’re editing in…
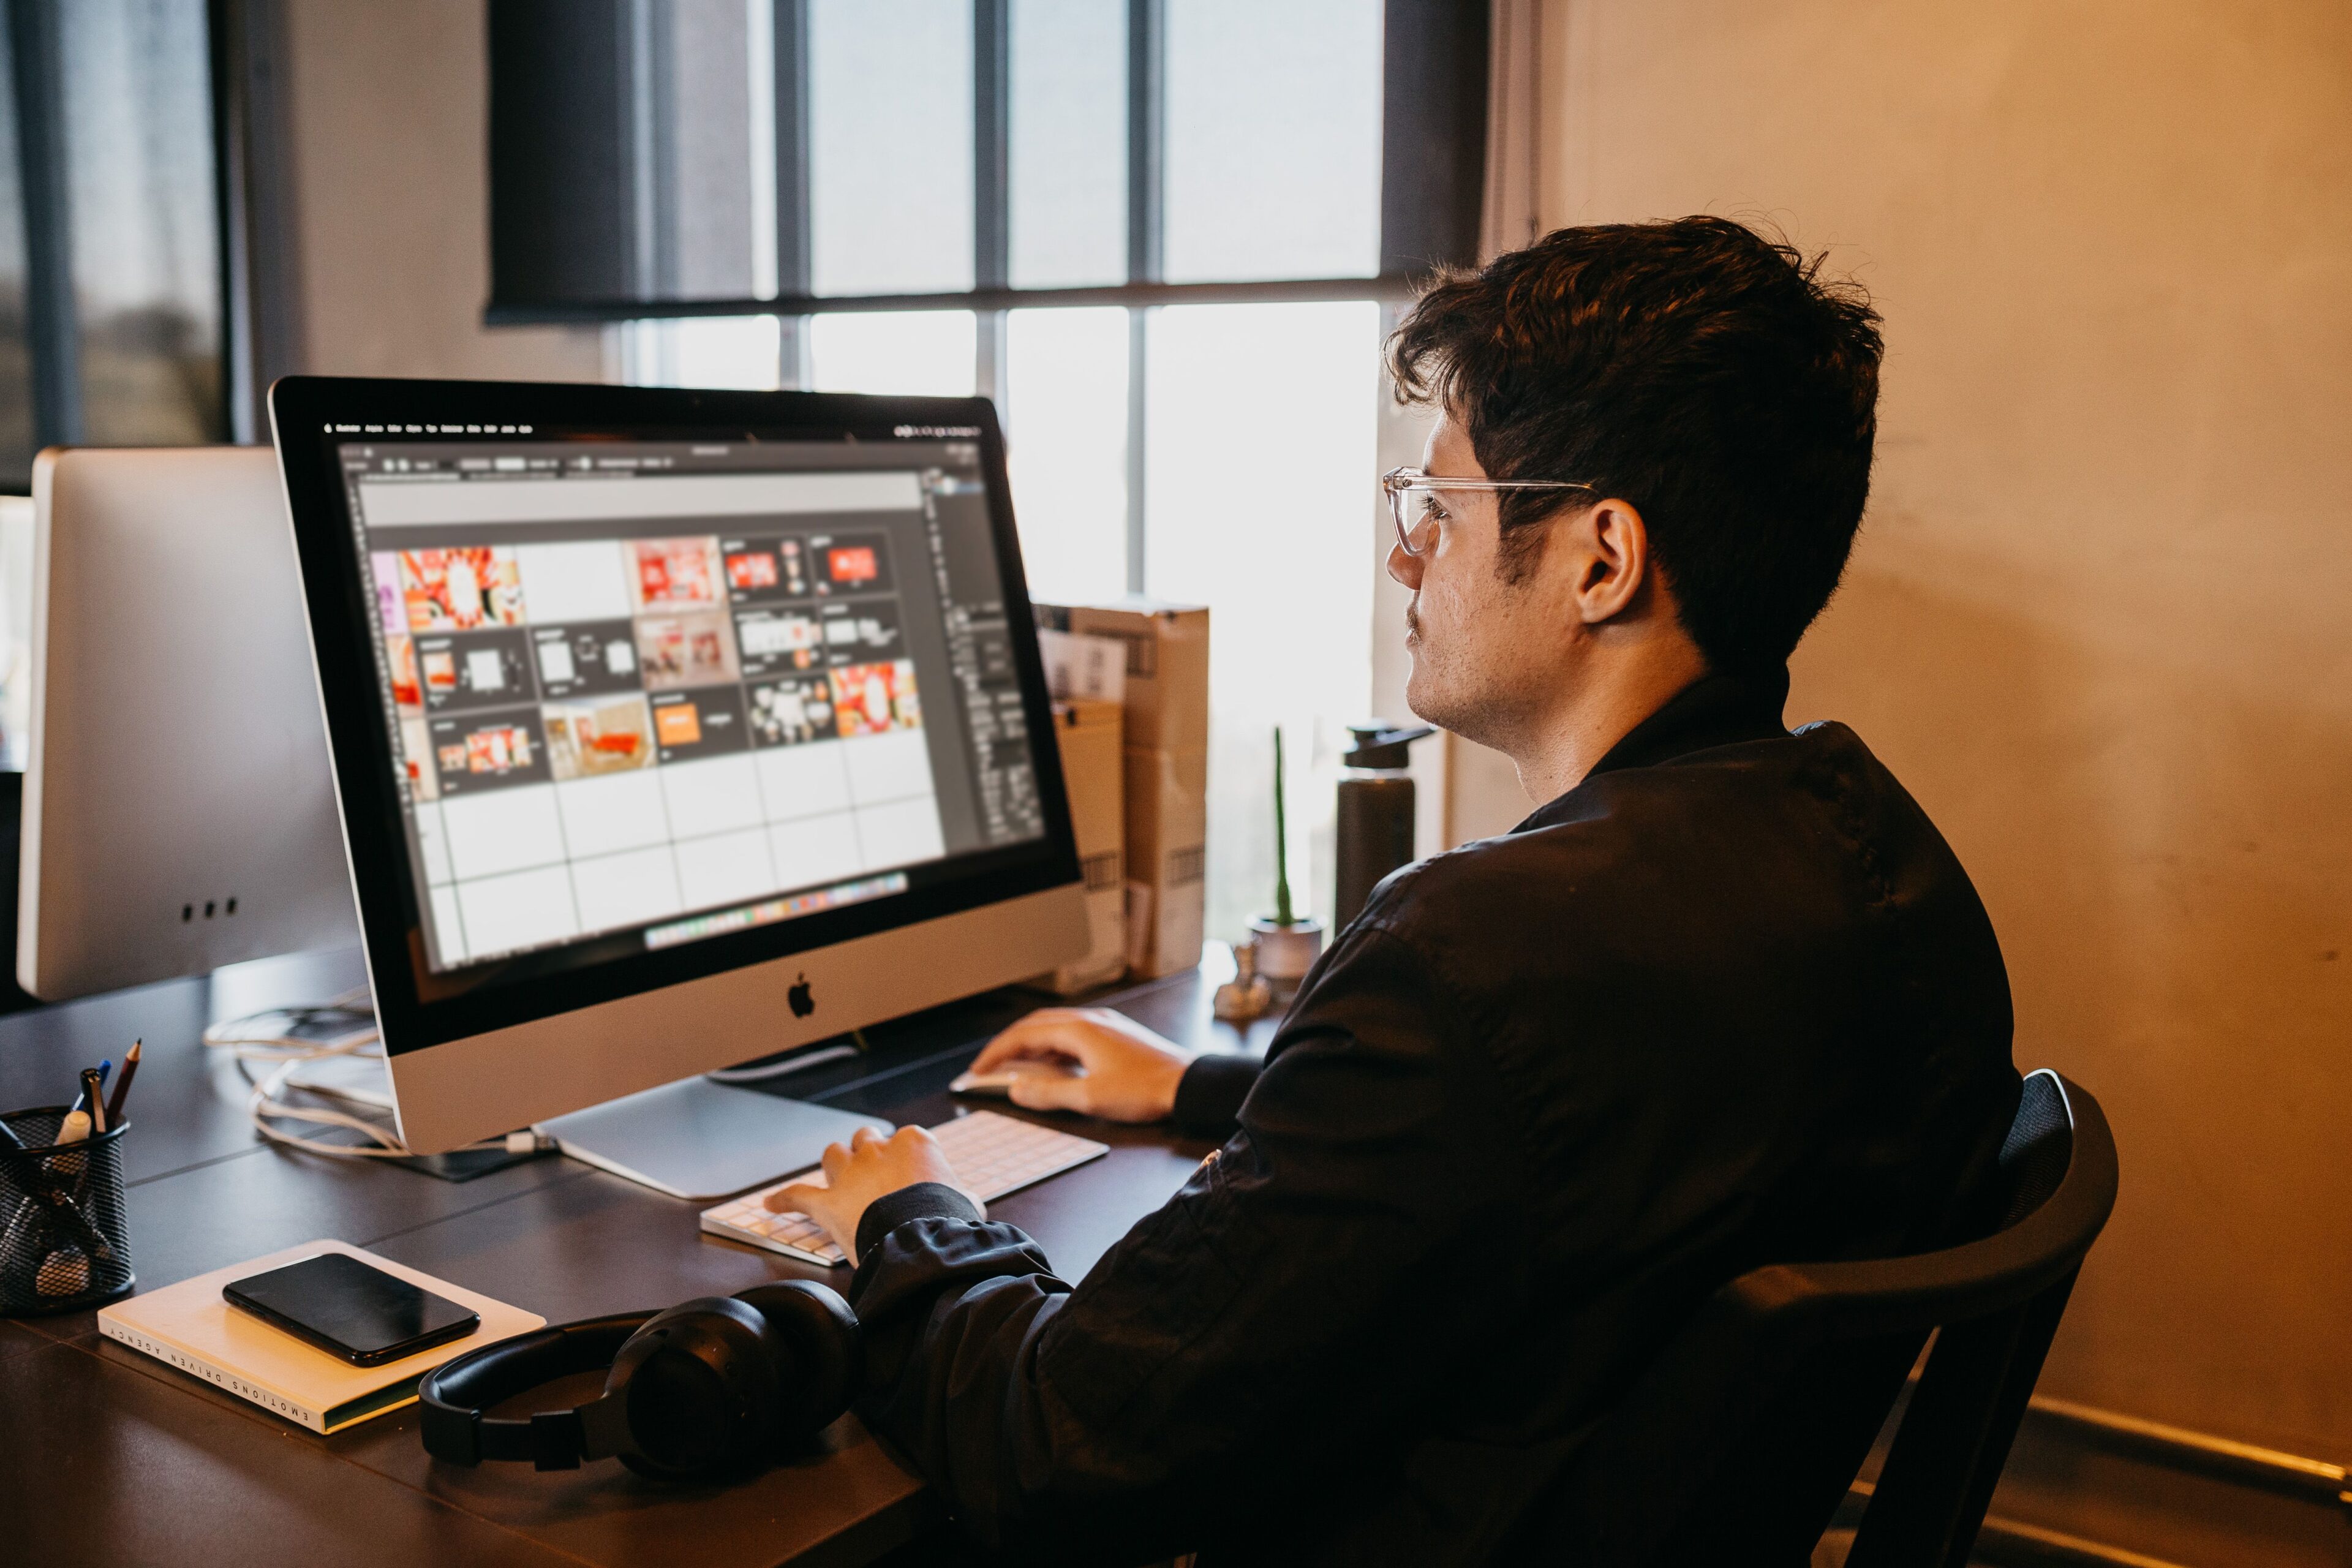
You could spend $2,000 on a monitor and still make poor color decisions if you’re editing beside a sunny window in the afternoon and under a warm desk lamp at night.
Your eyes adapt remarkably quickly to the light around you. That’s useful in real life, but slightly inconvenient when you’re trying to judge whether skin is actually too warm.
Try to keep your environment predictable:
- Avoid strong light falling directly onto the display.
- Be cautious with mixed warm and cool light sources.
- Keep your working conditions reasonably consistent from one editing session to another.
- Use a monitor hood when your environment makes stray light difficult to control.
- Don’t edit everything with the display cranked to maximum brightness and then wonder why your prints look dark.
For print-heavy workflows, your screen is only one part of the chain. Printer profiles, paper choice, viewing conditions, and soft proofing all affect the final result too.
That distinction matters: a calibrated monitor makes your editing decisions more trustworthy. It cannot guarantee that every uncontrolled screen or print will look identical.
How the best monitor for photo editing changes your post-shoot workflow
This is where I think monitor buying advice becomes more interesting than a list of gamut percentages.
A monitor isn’t just where the finished photograph appears.
It’s where you make hundreds (sometimes thousands) of small decisions after a shoot.
1. During culling: screen space helps, but it doesn’t solve decision fatigue
Take a wedding with 4,000 images.
A bigger display can give you more room for thumbnails and easier side-by-side comparisons. Higher resolution can make it easier to inspect sharpness and expressions without constantly rearranging your workspace.
But the monitor doesn’t change the fact that 4,000 photographs still need decisions. That’s why equipment and workflow have to be considered together.
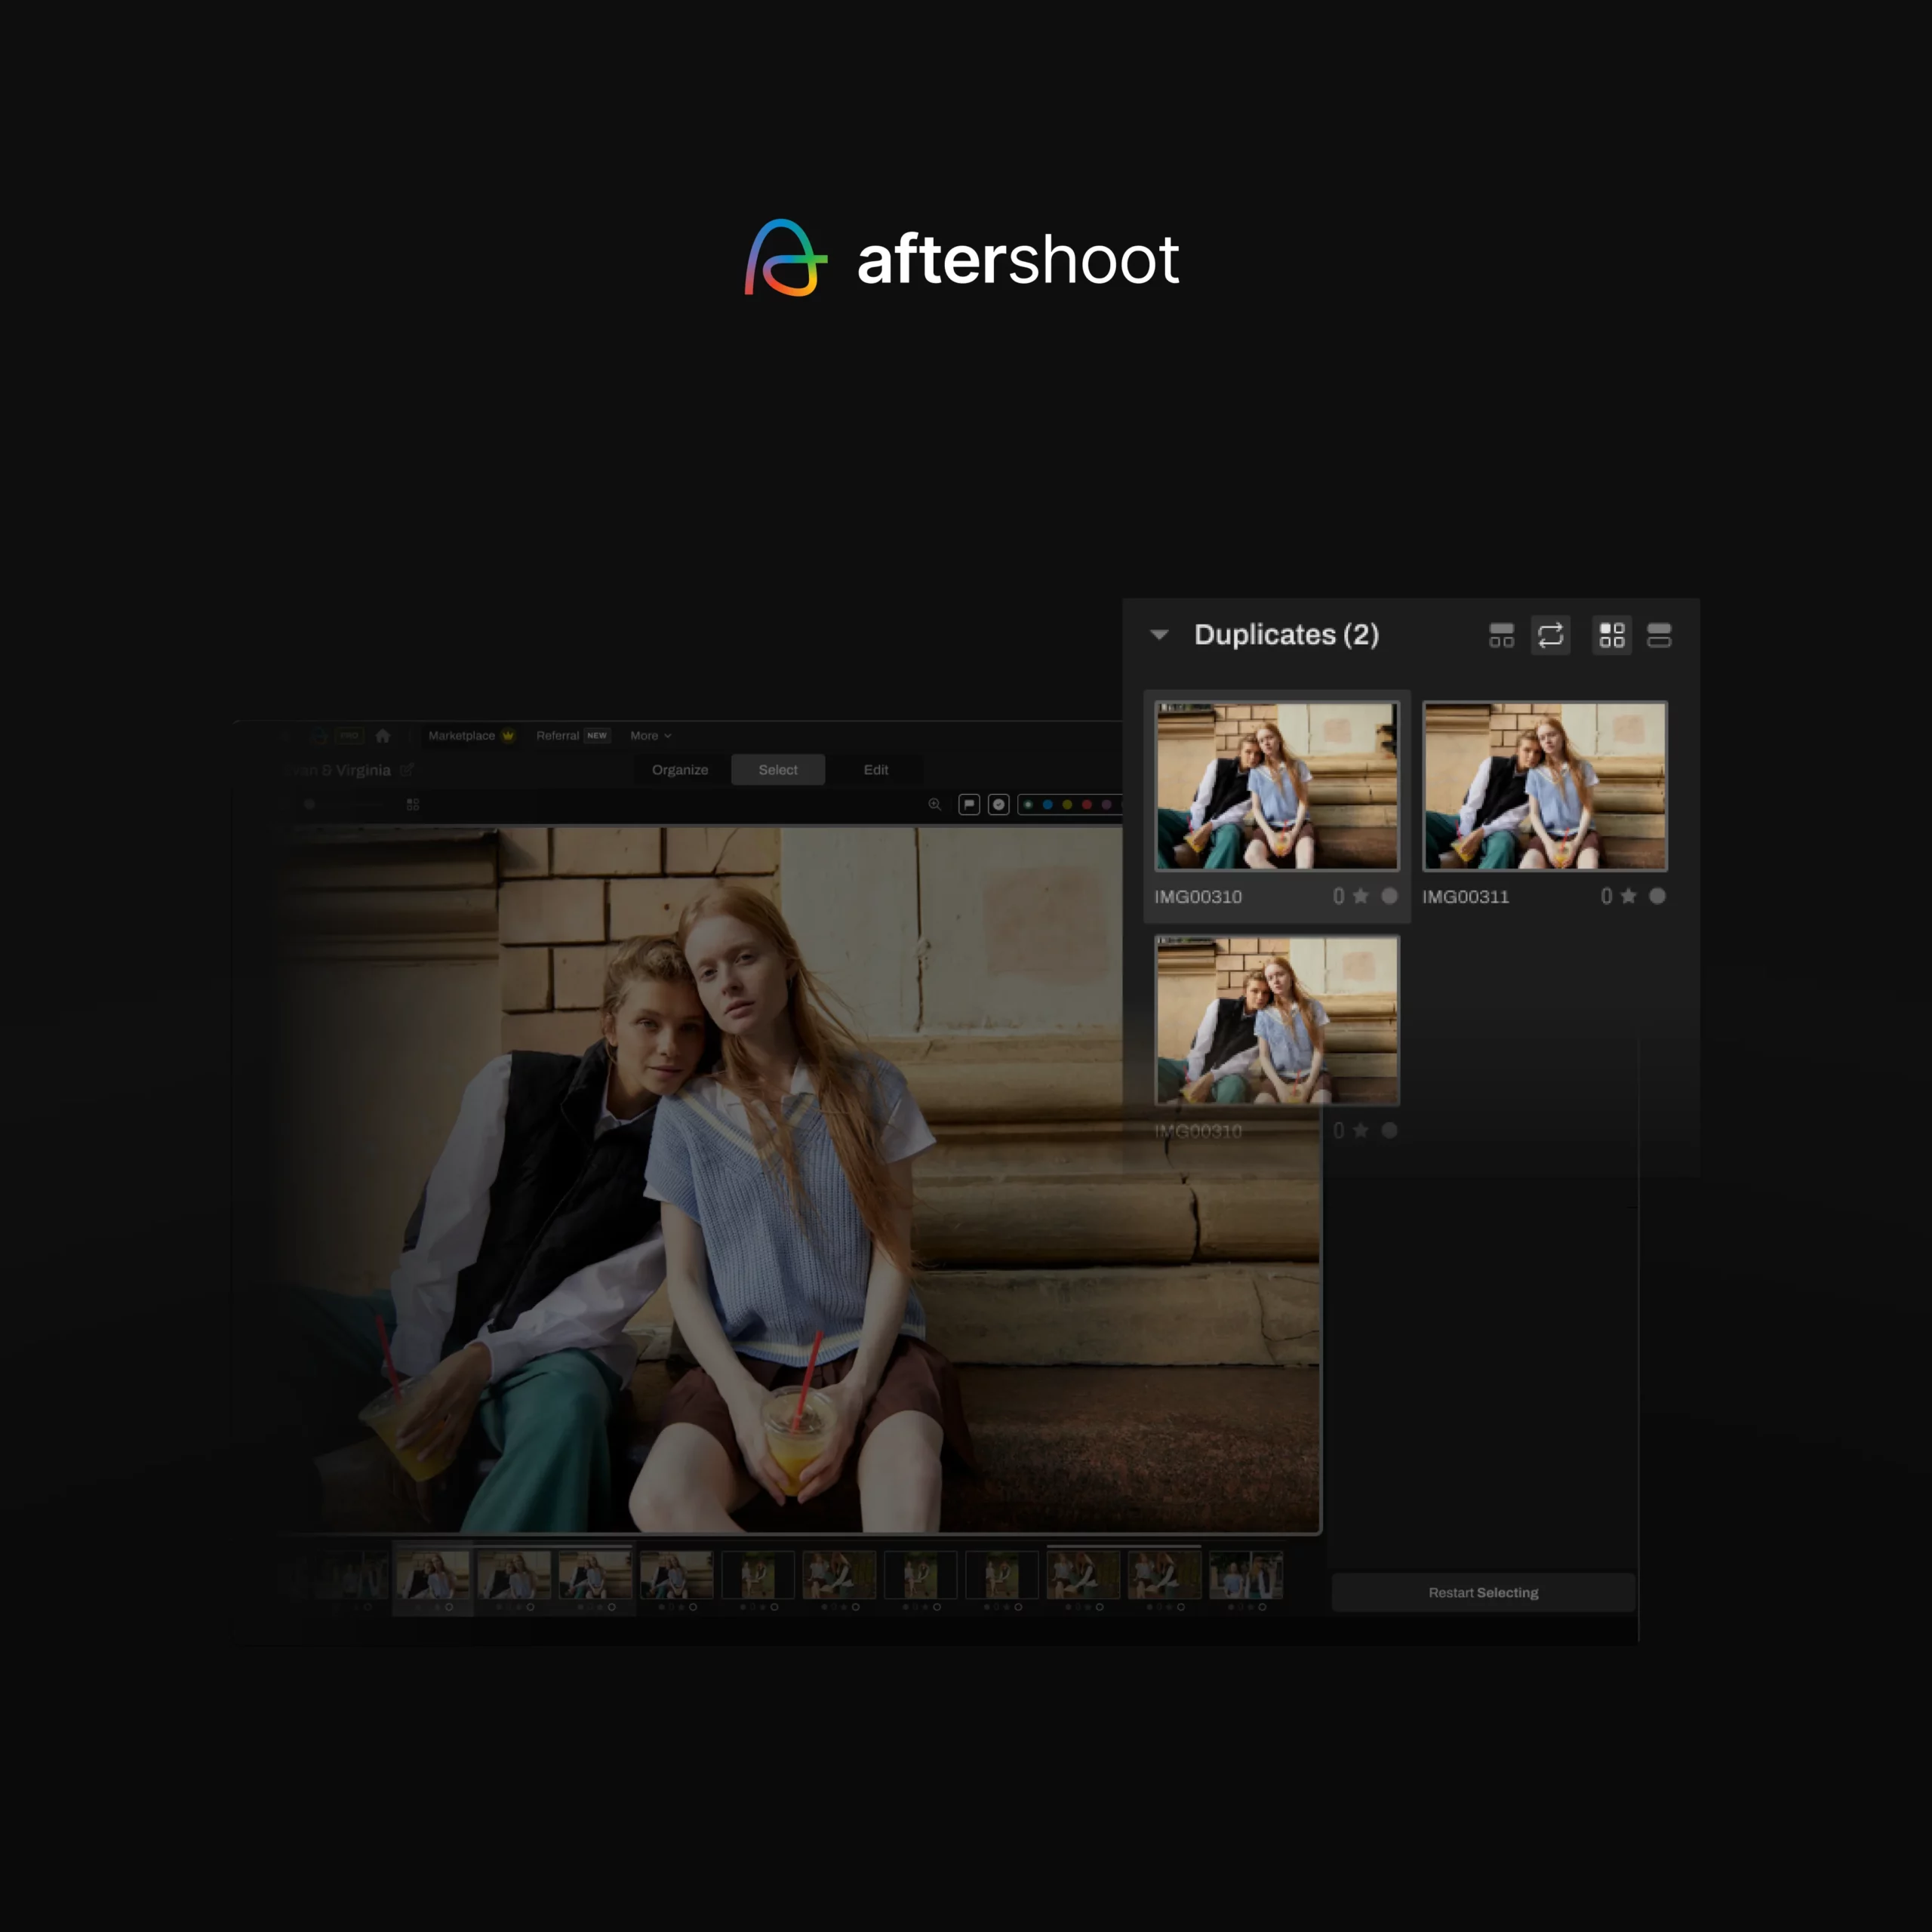
If reviewing near-duplicates is eating up the evening, Aftershoot AI Culling can group similar images and surface likely keepers before you spend time closely reviewing the final selection.
The useful combination isn’t “buy a bigger screen so you can cull faster.”
It’s reduce how much repetitive reviewing you need to do, then use the display for the decisions that actually deserve your attention.
2. During editing: a trustworthy display helps you stop second-guessing yourself
Color accuracy becomes more important once you’re adjusting white balance, skin tones, exposure, saturation, and local color.
If the display itself is shifting your perception, you can start compensating for problems that aren’t really in the file.
That becomes especially messy across a large gallery.
A reliable monitor gives you a better reference point. From there, a repeatable wedding photography editing workflow or batch-based process can help you maintain consistency across the full set instead of treating every frame like an entirely new project.
And if you already have a recognizable look, tools like AI batch editing can handle repetitive adjustments across large albums while you retain control over the final creative decisions.
The monitor’s job is to help make sure the corrections you’re approving are corrections you actually intended to make.
3. During retouching: resolution becomes more valuable
Retouching is where those extra pixels start earning their keep.
Checking skin texture, stray hairs, fabric details, reflections, dust spots, or tiny background distractions is simply more comfortable when you can see fine detail clearly.
If retouching is a significant part of your work, prioritize enough resolution and screen space to inspect details without spending the entire session zooming in and out. That doesn’t mean you need an 8K display.
It means resolution should match the work you actually do.
4. During delivery: you can’t control the client’s screen
This is one of the most important limitations to understand.
You can edit on a calibrated professional monitor. Your client can then open the gallery on a five-year-old phone at maximum brightness with Night Shift turned on.
You don’t control that.
What you can control is your end of the chain: consistent edits, sensible output profiles, and a delivery workflow that presents those photographs properly.
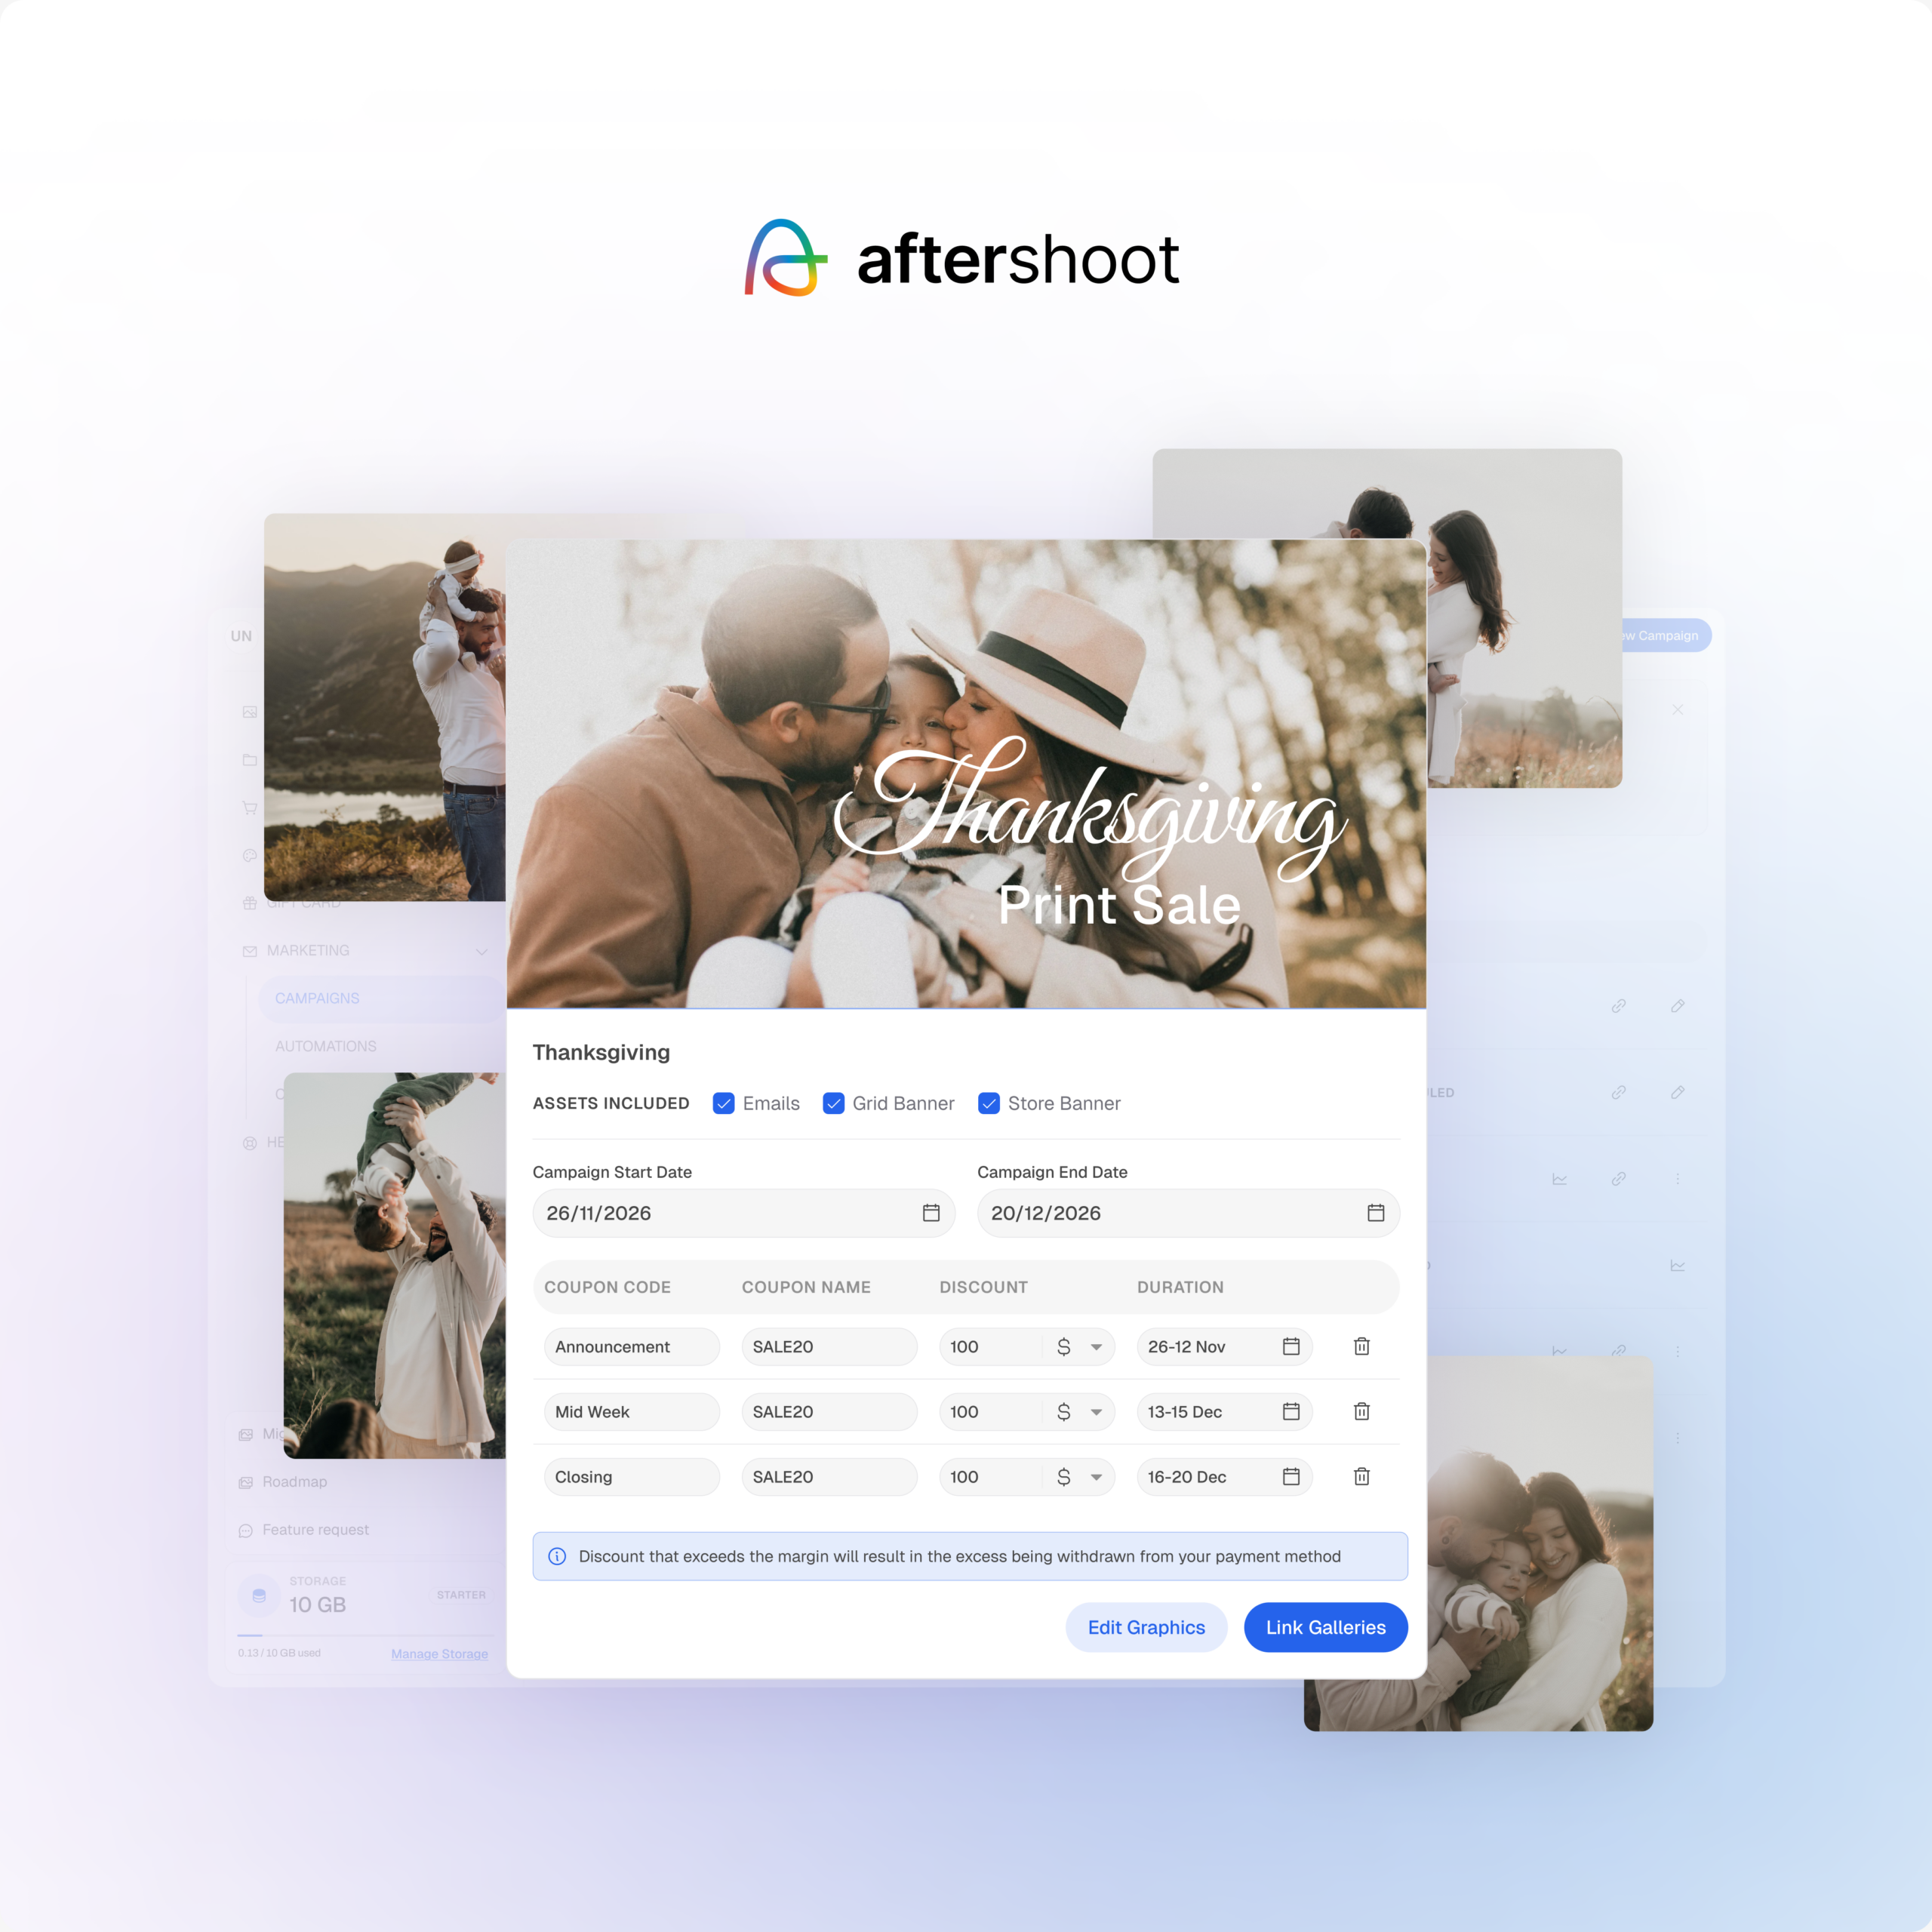
If you deliver digitally, Aftershoot Galleries lets you bring photo and video delivery, client proofing, and print sales into the same post-shoot workflow. Start free with the Starter plan, and get 10 GB of photo storage and 1 GB video storage.
The monitor gives you confidence in what you’re sending, and the gallery gives the client a proper place to experience it.
Common photo editing monitor mistakes worth avoiding
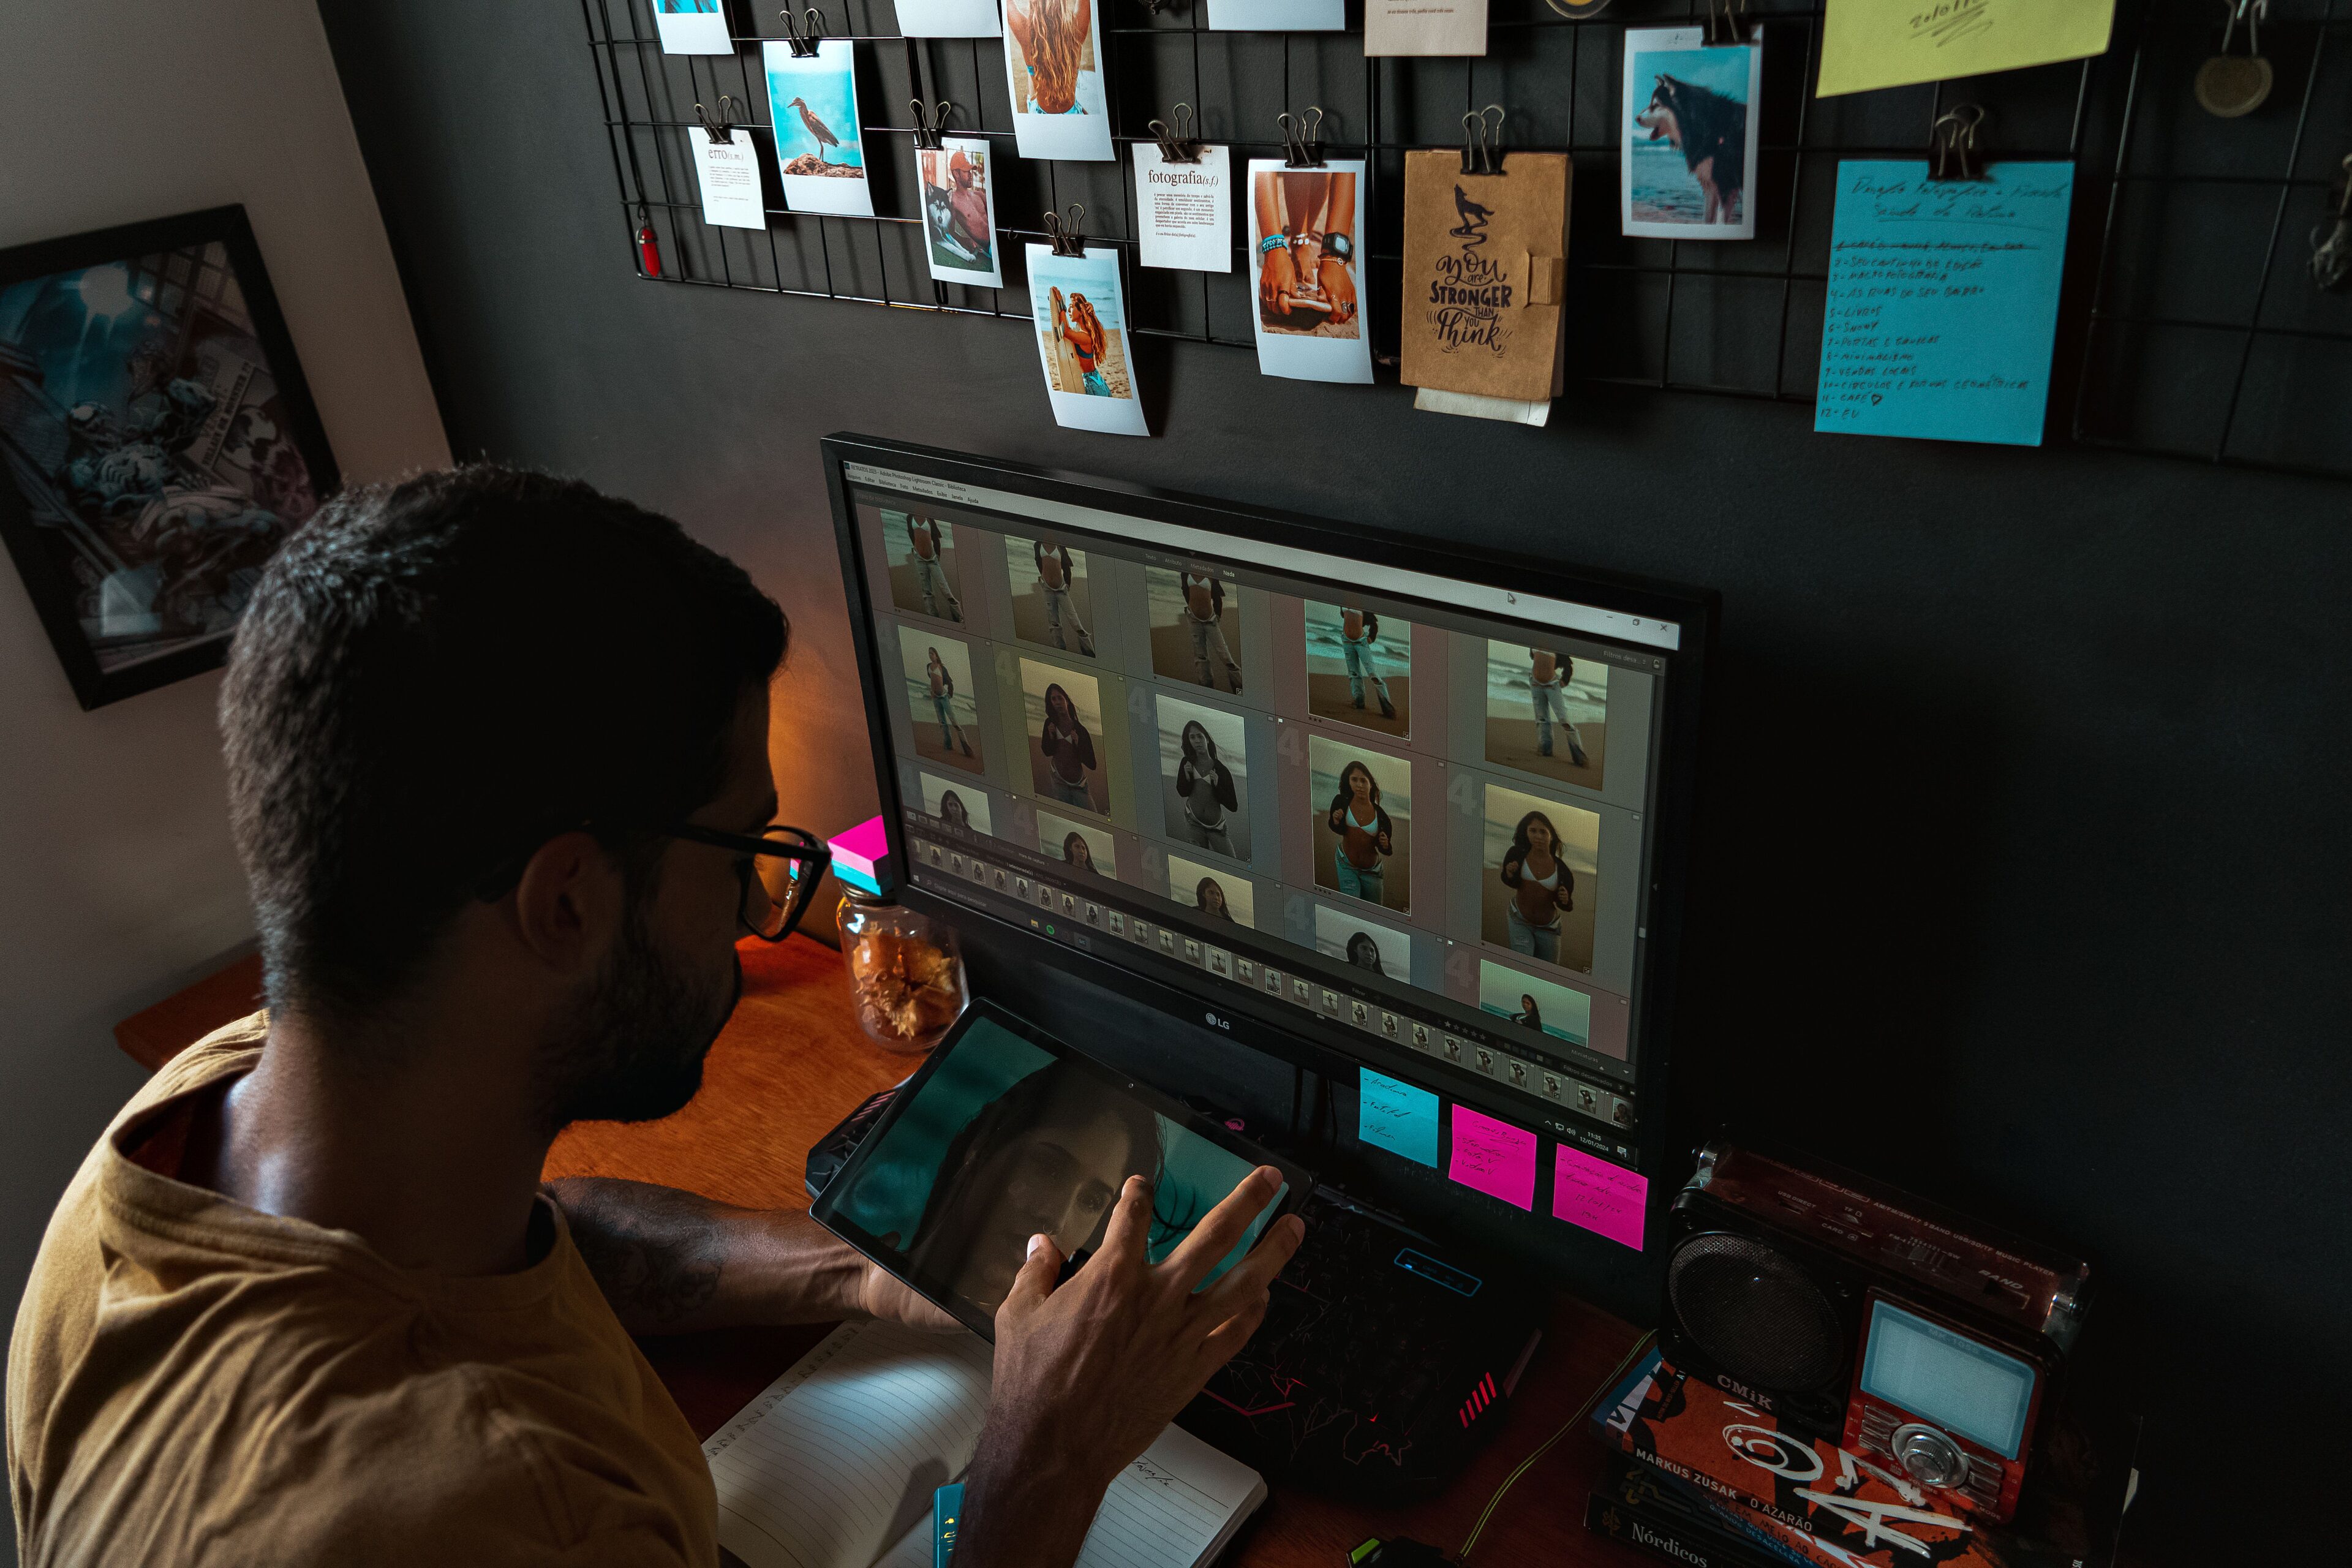
Buying a better display doesn’t help much if the setup around it undermines the benefit.
1. Buying resolution instead of color performance
A 5K or 6K badge looks fantastic on a product page. But if your work is color-critical, check gamut, accuracy, uniformity, and calibration support before resolution.
2. Assuming factory calibration lasts forever
Factory calibration is a strong starting point, not lifetime immunity from display drift. Build recalibration into the workflow.
3. Copying somebody else’s calibration settings exactly
You’ll often see photographers sharing one magic brightness level, white point, or preset. Calibration targets should reflect your viewing environment and output. What works in someone’s dark retouching studio isn’t automatically right beside your window.
4. Buying Adobe RGB coverage you never use
Wide gamut is useful when your workflow needs it. If every photograph is ultimately exported for standard web delivery, paying considerably more only for extra Adobe RGB coverage may not make much sense. Spend based on your output, not the biggest percentage on the box.
5. Ignoring ergonomics and connectivity
This sounds boring until you’re editing for eight hours.
Check:
- Height and tilt adjustment
- USB-C or Thunderbolt support
- Power delivery if you use a laptop
- Number and type of ports
- Display hood support
- VESA mounting
- Whether you need one large screen or a dual-monitor setup
The best monitor is still irritating if your laptop needs three dongles and the top of the screen sits at shoulder height.
6. Expecting your monitor to fix the entire workflow
A more accurate display can prevent poor color decisions.
It cannot organize your files, reduce near-duplicates, batch repetitive edits, clean up an inconsistent folder system, or shorten a delivery process with six manual handoffs.
If you’re spending far more time in post-production than you’d like, zoom out from the screen itself.
Our guide to photography workflow software covers the rest of that system — from culling and editing through retouching and delivery.
So, which photo editing monitor should you actually buy?
Start with your output.
- If you mostly deliver digital galleries: prioritize excellent sRGB performance, reliable calibration, and a comfortable 4K workspace. You don’t necessarily need the most expensive wide-gamut reference display.
- If you regularly print: move Adobe RGB coverage, hardware calibration, and uniformity higher up your list. The BenQ SW272U is particularly compelling here.
- If color is mission-critical to your commercial work: a self-calibrating professional display such as the EIZO ColorEdge CG2700X starts making more sense.
- If you split your time between photography, video, and HDR: look more closely at newer OLED or mini-LED options such as the Dell U3226Q or Apple Studio Display XDR.
- If you’re trying to get the strongest specs without entering the highest professional tier: the ASUS ProArt PA279CRV offers a useful combination of 4K resolution, wide-gamut coverage, and factory calibration.
Ultimately, the best monitor for photo editing is the one you can trust, calibrate, and use comfortably throughout the kind of work you actually deliver.
Not the one with the longest spec sheet.
FAQs for Best Monitor for Photo Editing
Q1. What resolution is best for a photo editing monitor?
4K is a strong choice for most photographers buying a new desktop monitor because it provides plenty of detail for editing and retouching, particularly around the 27–32-inch range.
However, resolution shouldn’t take priority over color accuracy. A well-calibrated 4K monitor with strong color performance is generally more useful for photography than a higher-resolution display with poor or unpredictable color.
Q2. Is 100% sRGB enough for photo editing?
It can be.
If your photographs are primarily destined for websites, social media, and online client galleries, strong sRGB coverage may be enough for your workflow.
Photographers regularly preparing work for print or working with wide-gamut files may benefit from a display with strong Adobe RGB coverage as well.
Q3. Is Adobe RGB better than sRGB for photo editing?
Not automatically.
Adobe RGB covers a wider range of colors than sRGB, making it useful in certain print and color-managed photography workflows. But wider gamut doesn’t make every photograph look more accurate by default.
Choose your color space based on your output and make sure the entire workflow is color managed.
Q4. How often should photographers calibrate their monitors?
About once a month is a reasonable starting point for many photographers.
Calibrite recommends recalibrating displays roughly every 4–6 weeks, while professional calibration systems such as EIZO ColorNavigator allow photographers to set intervals based on their own workflow.
More color-critical environments may warrant more frequent verification.
Q5. Is IPS or OLED better for photo editing?
Both can be excellent.
IPS remains common in professional photography monitors because of its viewing angles, mature color-management ecosystem, and consistency. OLED provides exceptional black levels and contrast and is becoming increasingly compelling for photographers who also work with HDR and video.
Evaluate the complete monitor, color accuracy, gamut, uniformity, calibration, and workflow support, rather than choosing based on panel technology alone.
Q6. Can I professionally edit photos on a laptop screen?
Yes, provided the laptop display offers the color accuracy and gamut your workflow requires and you can properly color-manage it.
Modern professional laptops can have excellent displays, so an external monitor isn’t automatically more accurate simply because it’s larger.
An external display becomes especially useful when you want more workspace, easier calibration, larger image previews, or a dedicated editing setup.
Q7. Do professional photographers need a hardware-calibrated monitor?
Not every photographer does.
If most of your work is digital delivery, a quality factory-calibrated display paired with an external calibration device may be enough.
Hardware calibration and built-in calibration sensors become more valuable for print, commercial, studio, and other color-critical workflows where repeatability matters and display accuracy needs to be maintained over time.