TL;DR
- Stick to 24mm–35mm for tight spaces or a 50mm lens in open areas to avoid edge distortion and skewed subjects.
- Use wide apertures (f/1.2–f/1.8) for single rows, f/2.8–f/4.0 for two rows, and stop down to f/5.6–f/8 for three or more rows to keep everyone sharp.
- Use a two-light setup (softboxes or large umbrellas) placed at 45-degree angles to evenly illuminate large groups and blend with ambient light.
- Ditch flat, straight lines by arranging people into triangular compositions and using chairs to create different height levels.
- For high-impact editorial group shots, light each subject individually and merge the frames in Photoshop during post-production.
- Direct groups assertively with clear instructions, prepare a detailed shot list beforehand, and manage group energy to keep the shoot moving efficiently.
When I first started my photography journey, I slowly realized that one of the things I HATED the most was…
Drumroll!
Photographing groups. Family portraits. Extended families!
If it involved more than two people, I was sweating bullets, wondering how I could get out of doing such a tedious, overwhelming task.
Little did I know that a quick change in approach, paired with a set process and workflow, would make things far easier than I ever expected. These are techniques I’ve picked up over the years, and I can say without hesitation: the more you do something, the more comfortable you get with it. So take this as solid baseline advice, start practicing it, then adjust it to fit your own style as much as you need to.
Whether it’s an extended family session, a wedding party that decided a few shots of tequila wouldn’t hurt before the ceremony, or a corporate team, managing multiple people while handling the technical details is a real challenge. Many photographers get nervous facing a large crowd, especially when the energy’s high and people get harder to direct.
This guide breaks down the essentials: the gear, the settings and lighting, and how to manage your subjects and their expectations.
Technical Tips: Gear, Settings, and Lighting
Getting the technical side right is the foundation of a great group photo. So, what kind of lenses should you be using for large groups? Well, like everything else, there isn’t just a magical one and done lens.
- Everything else depends on a few things like:
- How much space you have.How many people you’re photographing.
- If you’re using flash or ambient light.
Among many other factors.
- Choosing the Right Lens
Your lens choice is crucial for avoiding distortion and capturing a pleasing image.
- Avoid Ultra-Wide Lenses: Lenses like a 12-16mm are too wide for large groups. People at the edges of the frame will appear skewed and distorted. Unless it’s absolutely necessary, I would steer away from these lenses because they can create a rather unpleasant image, if not done correctly.
- Find the Sweet Spot: A focal length between 24mm and 35mm is often ideal, in my opinion. They’re wide enough to fit everyone in without having to stand excessively far away, yet it minimizes distortion
- If you’re in an open area, a 50mm lens is an excellent choice. It offers beautiful compression and a very natural look, completely free of edge distortion, provided you have enough room to back up.
- Nailing Your Camera Settings
Your aperture is the most critical setting to consider, especially when your group has multiple rows.
Please for the love of everything, do not photograph a group of 20 family members at 1.2. This will not end well, I promise. I know from personal experience that you cannot defy physics. So, photographing a group of 20 people is never a good idea if your aperture is near, wide open.
Here’s what I generally think when photographing larger groups.
- Single Row of subject: If everyone is lined up in one straight line, they are all on the same focal plane. You can use a wide open aperture like f/1.2 or f/1.8.
- Two Rows: To ensure both rows are in focus, you’ll need a deeper depth of field. An aperture of around f/2.8-F4.0 is a good starting point.
- Three or More Rows: For larger, deeper groups, you need to close down your aperture even more. Aim for f/5.6 to f/8 to keep everyone sharp from front to back.
Pro-tip: Don’t be afraid to increase your ISO in low-light situations. It’s much better to have a photo where everyone is in focus with a little bit of grain than a clean, noiseless image where half the group is blurry.
- Lighting Your Group Evenly
For a balanced, professional-looking group shot, a single light source often isn’t enough.
- The Two Light Setup: The most reliable method is to use two lights. Place two tall light stands as high as you can, one on your left and one on your right. I generally place them about 5-10 feet on both my right and left side.
- Choosing Your Modifier: For even light distribution, use two large softboxes or two umbrellas. Umbrellas are pretty beginner friendly since they are designed to spread light over a wide area, making it easier to achieve even coverage. Simply point one umbrella at the left side of the group and the other at the right side.
- Flash Settings: When using off-camera flash, a good starting point is f/5.6, 1/125s shutter speed, and a low ISO (like 100) to minimize noise. My starting point for my flash is always 1/32. This is mostly because It’s a good starting point when not using a meter. 1/32 is generally fairly close to the center of the power range so, if you need to adjust, it should be fairly simple to do on your triggers.
If you’re shooting OFF camera flash, set your camera to expose for the ambient light in the room. Then, introduce your flashes to light your subjects. This creates a beautiful balance between the background and your perfectly-lit group.
- Creative Techniques and Posing
Once your techniques are set, it’s time to focus on the people. How you pose and interact with the group will make or break the final image.
- Posing with Dimension
A flat, straight line of people is rarely the most interesting composition. Instead, create depth and visual interest.
- Create Triangles: A classic composition rule is to arrange people to form triangles. This creates a more dynamic and connected look.
- Use Chairs and Levels: Don’t have everyone stand. Sit some people in chairs in the front row. This immediately creates different height levels and allows for more interesting interactions.
Having some people sit and others stand behind them naturally forms those pleasing triangular shapes. Posing people who are sitting can also feel more natural and lead to more genuine connections in the photo.
- The Compositing Technique
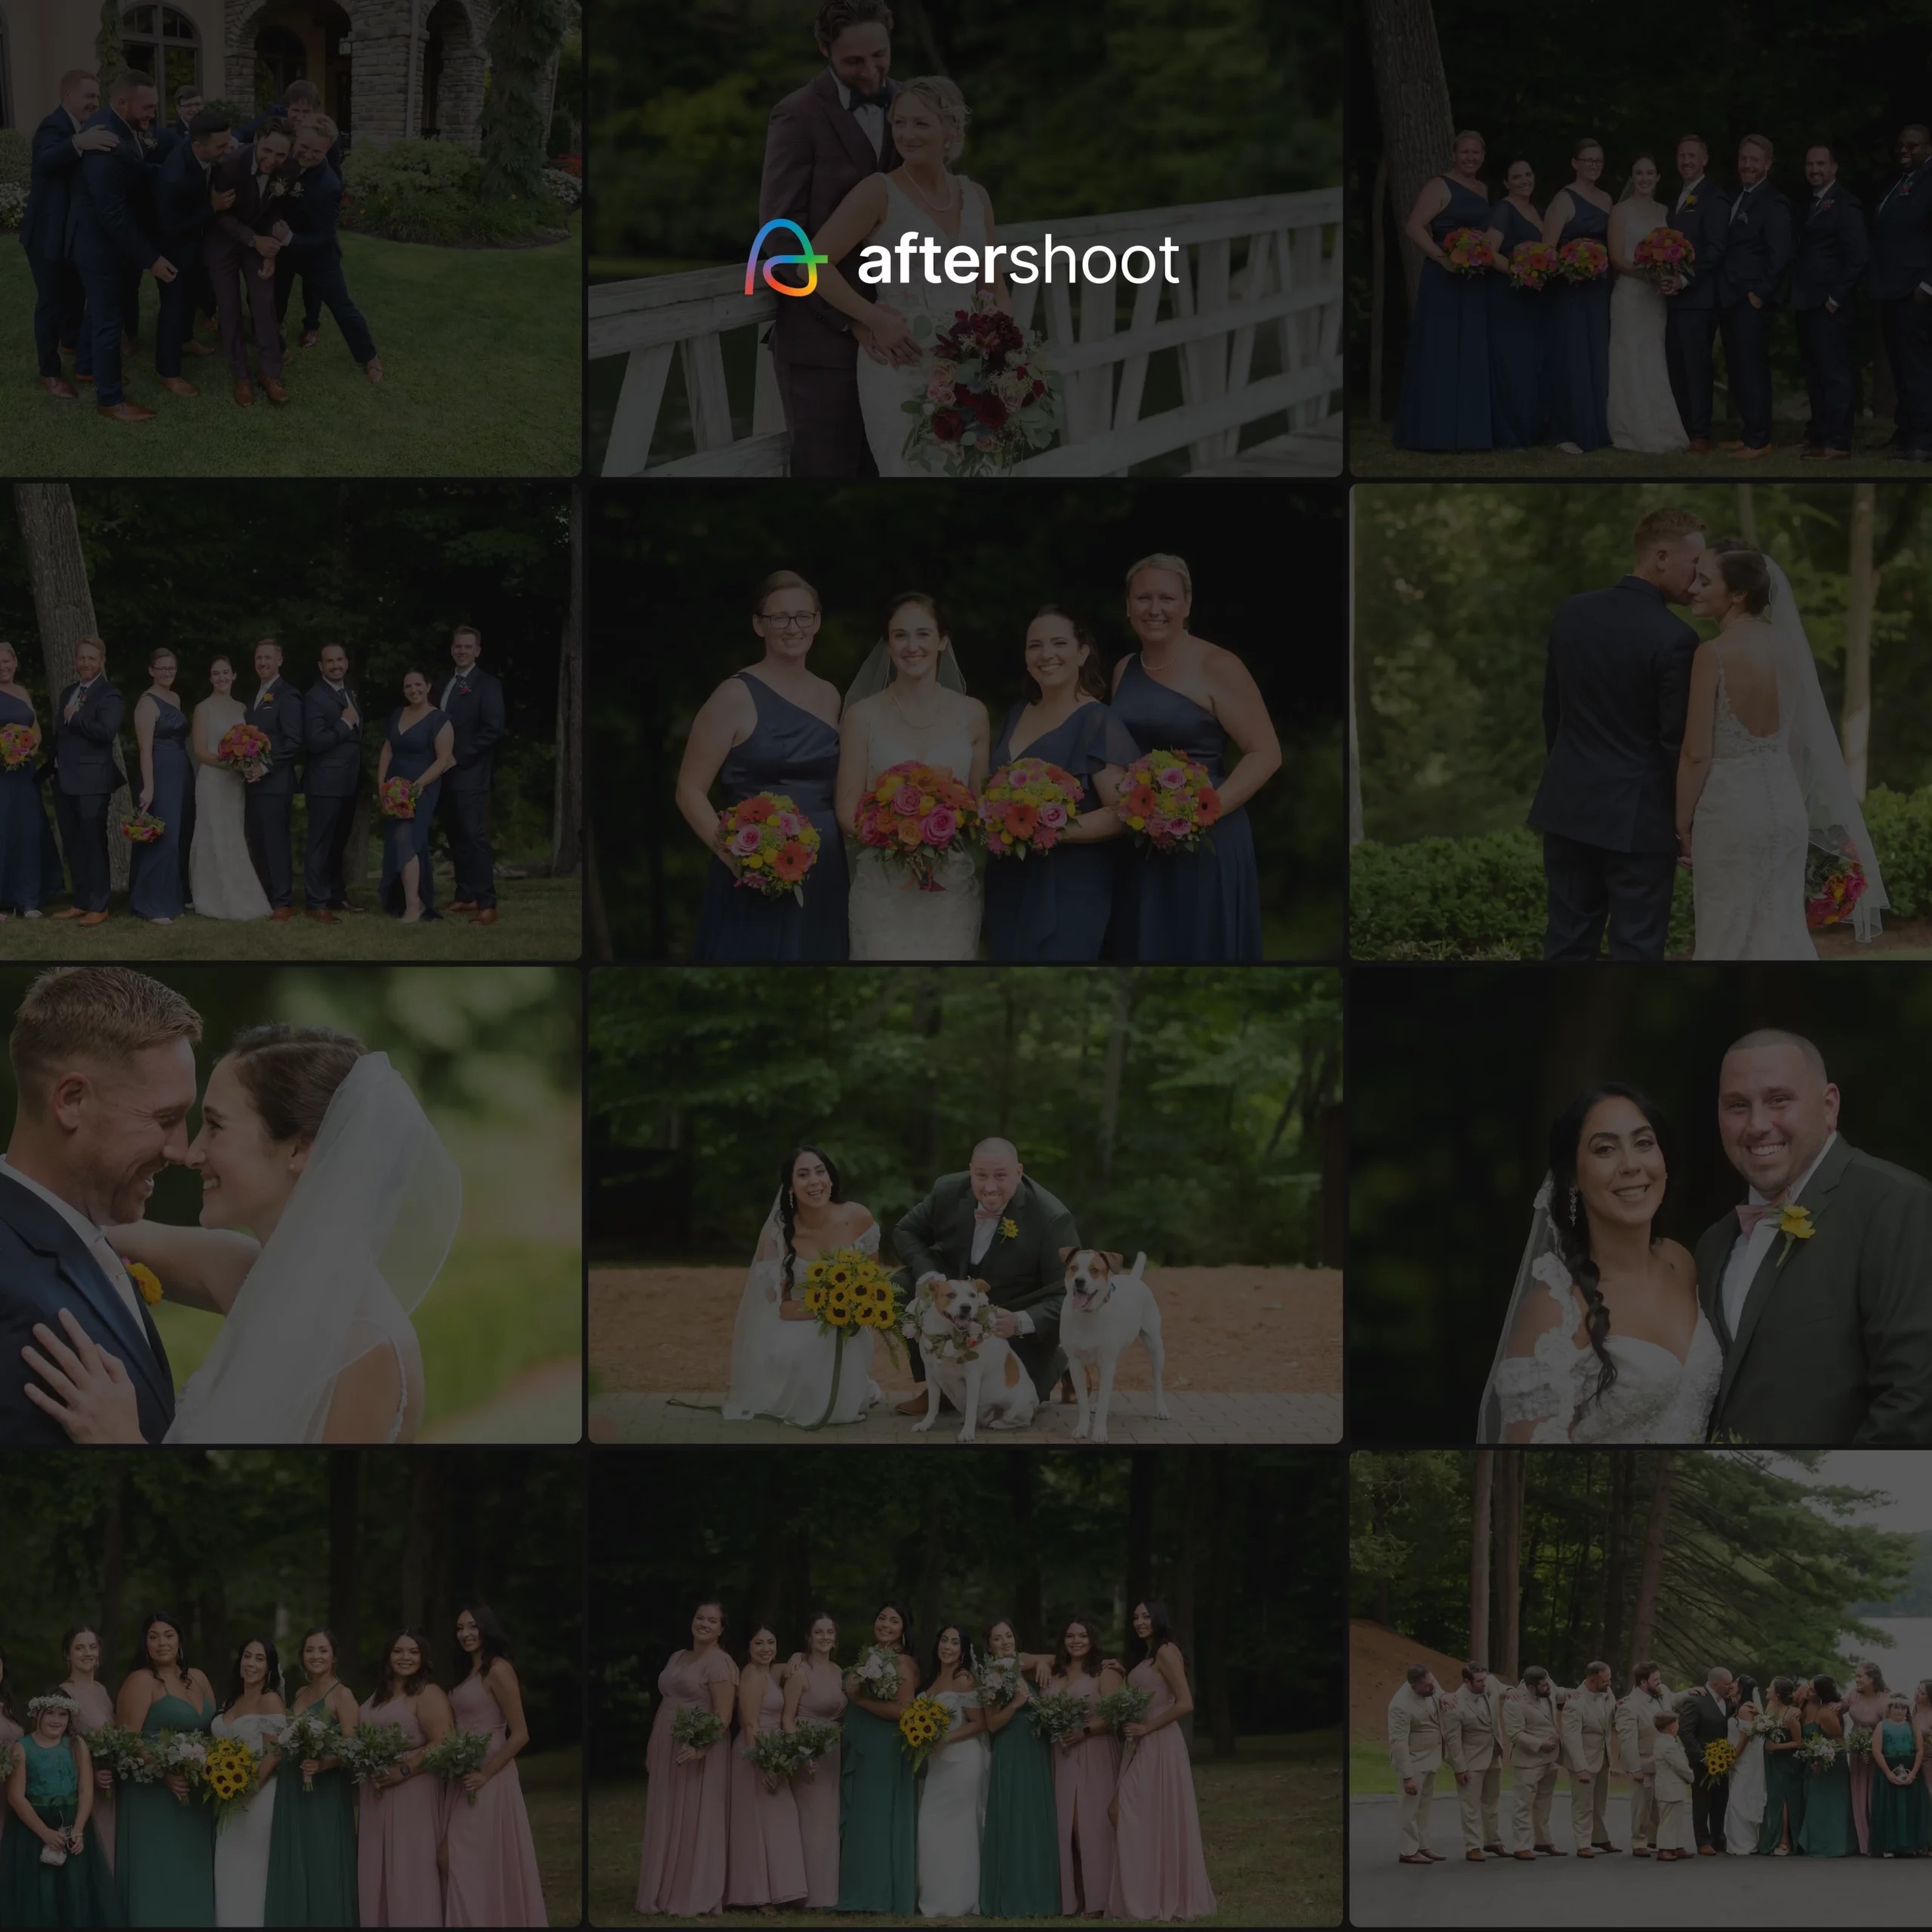
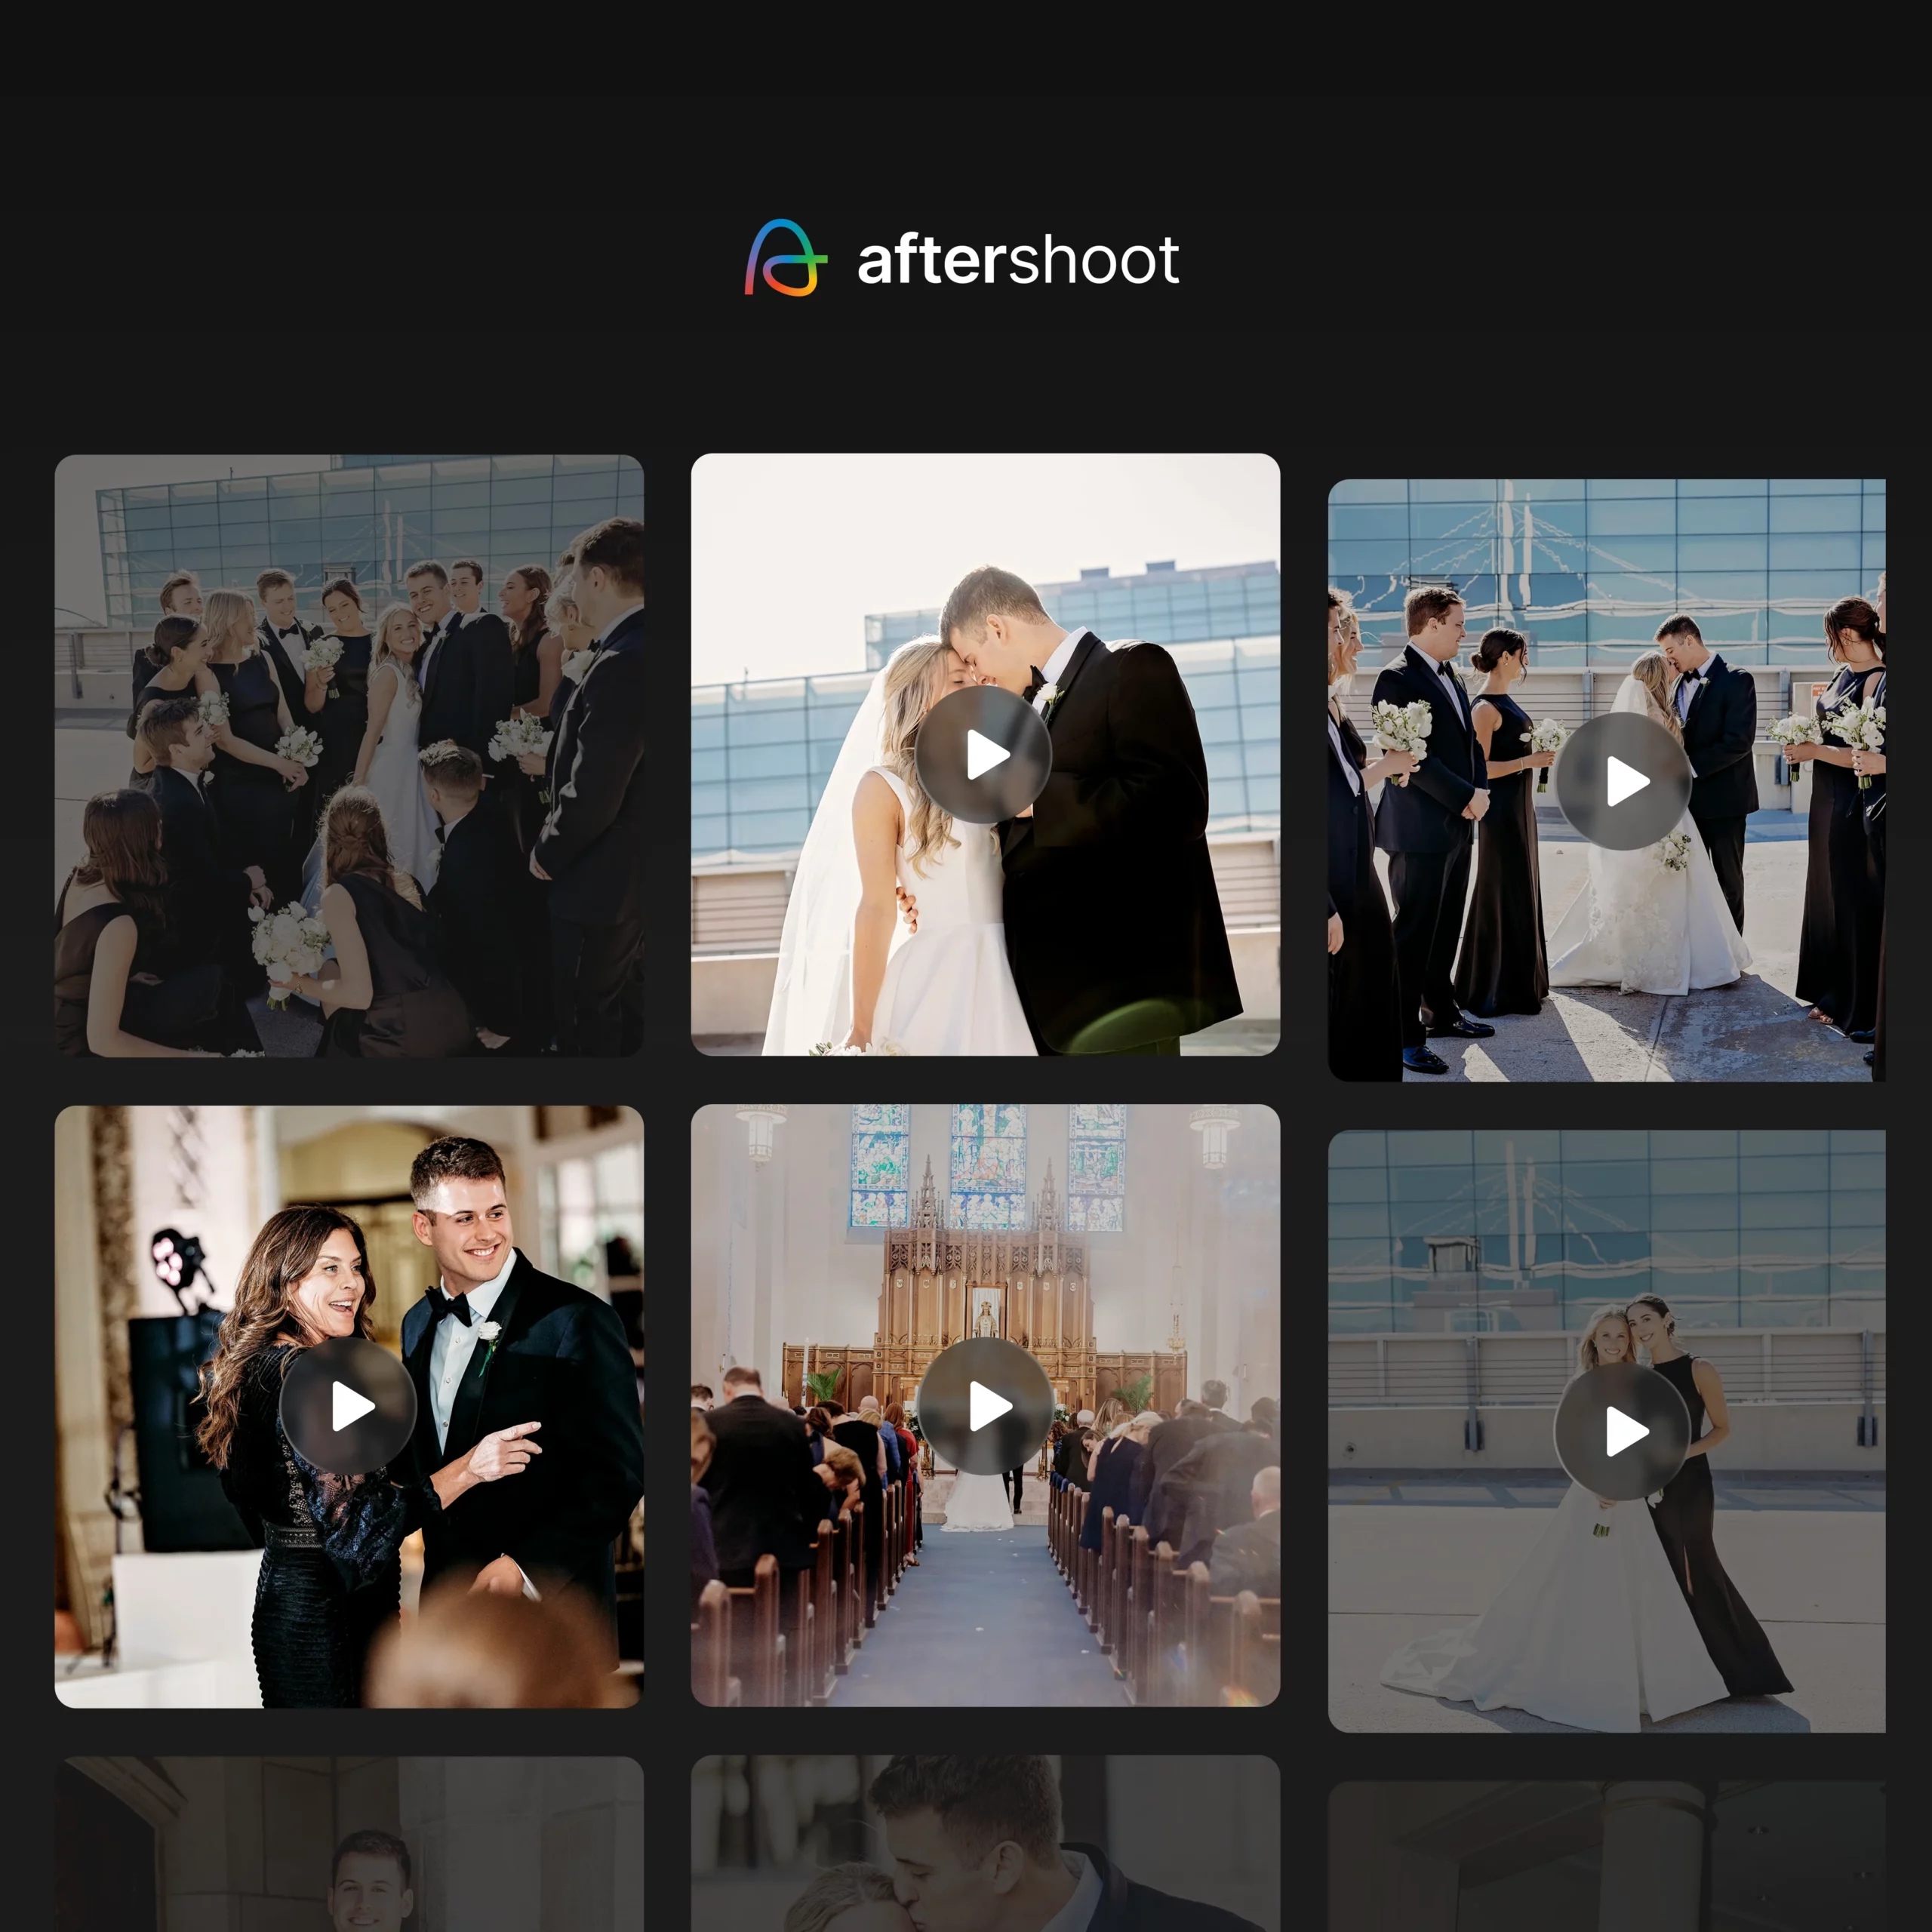
For a truly high impact, artistic photo, you can try compositing. This technique involves lighting each person individually and merging the photos in post production. It’s popular in commercial, sports, and corporate photography but can create a ‘wow factor,’ for wedding parties too! I’ll leave some samples in here for you to check out.
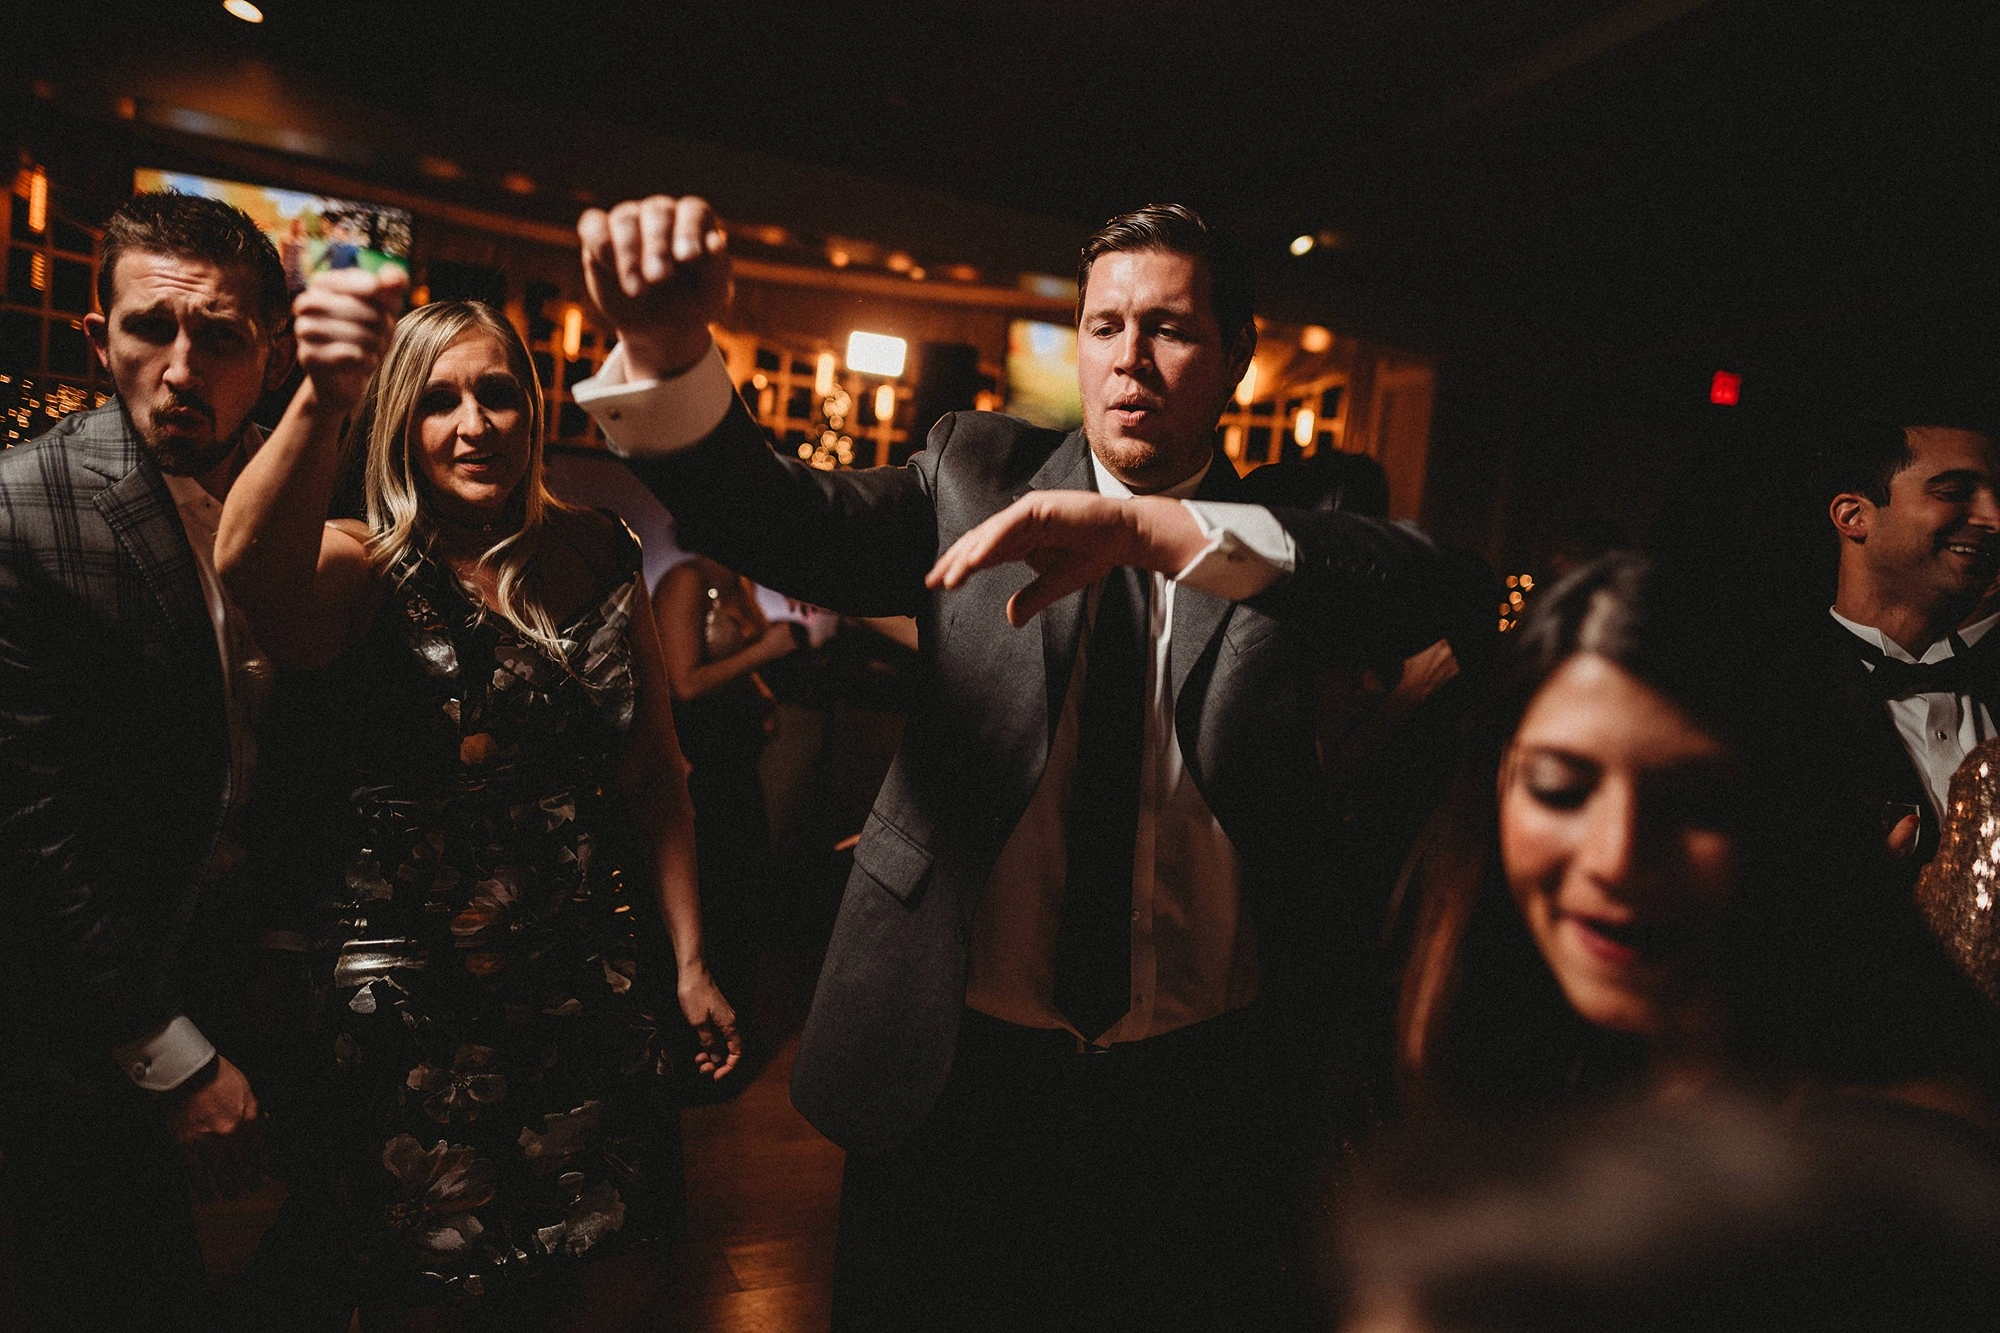
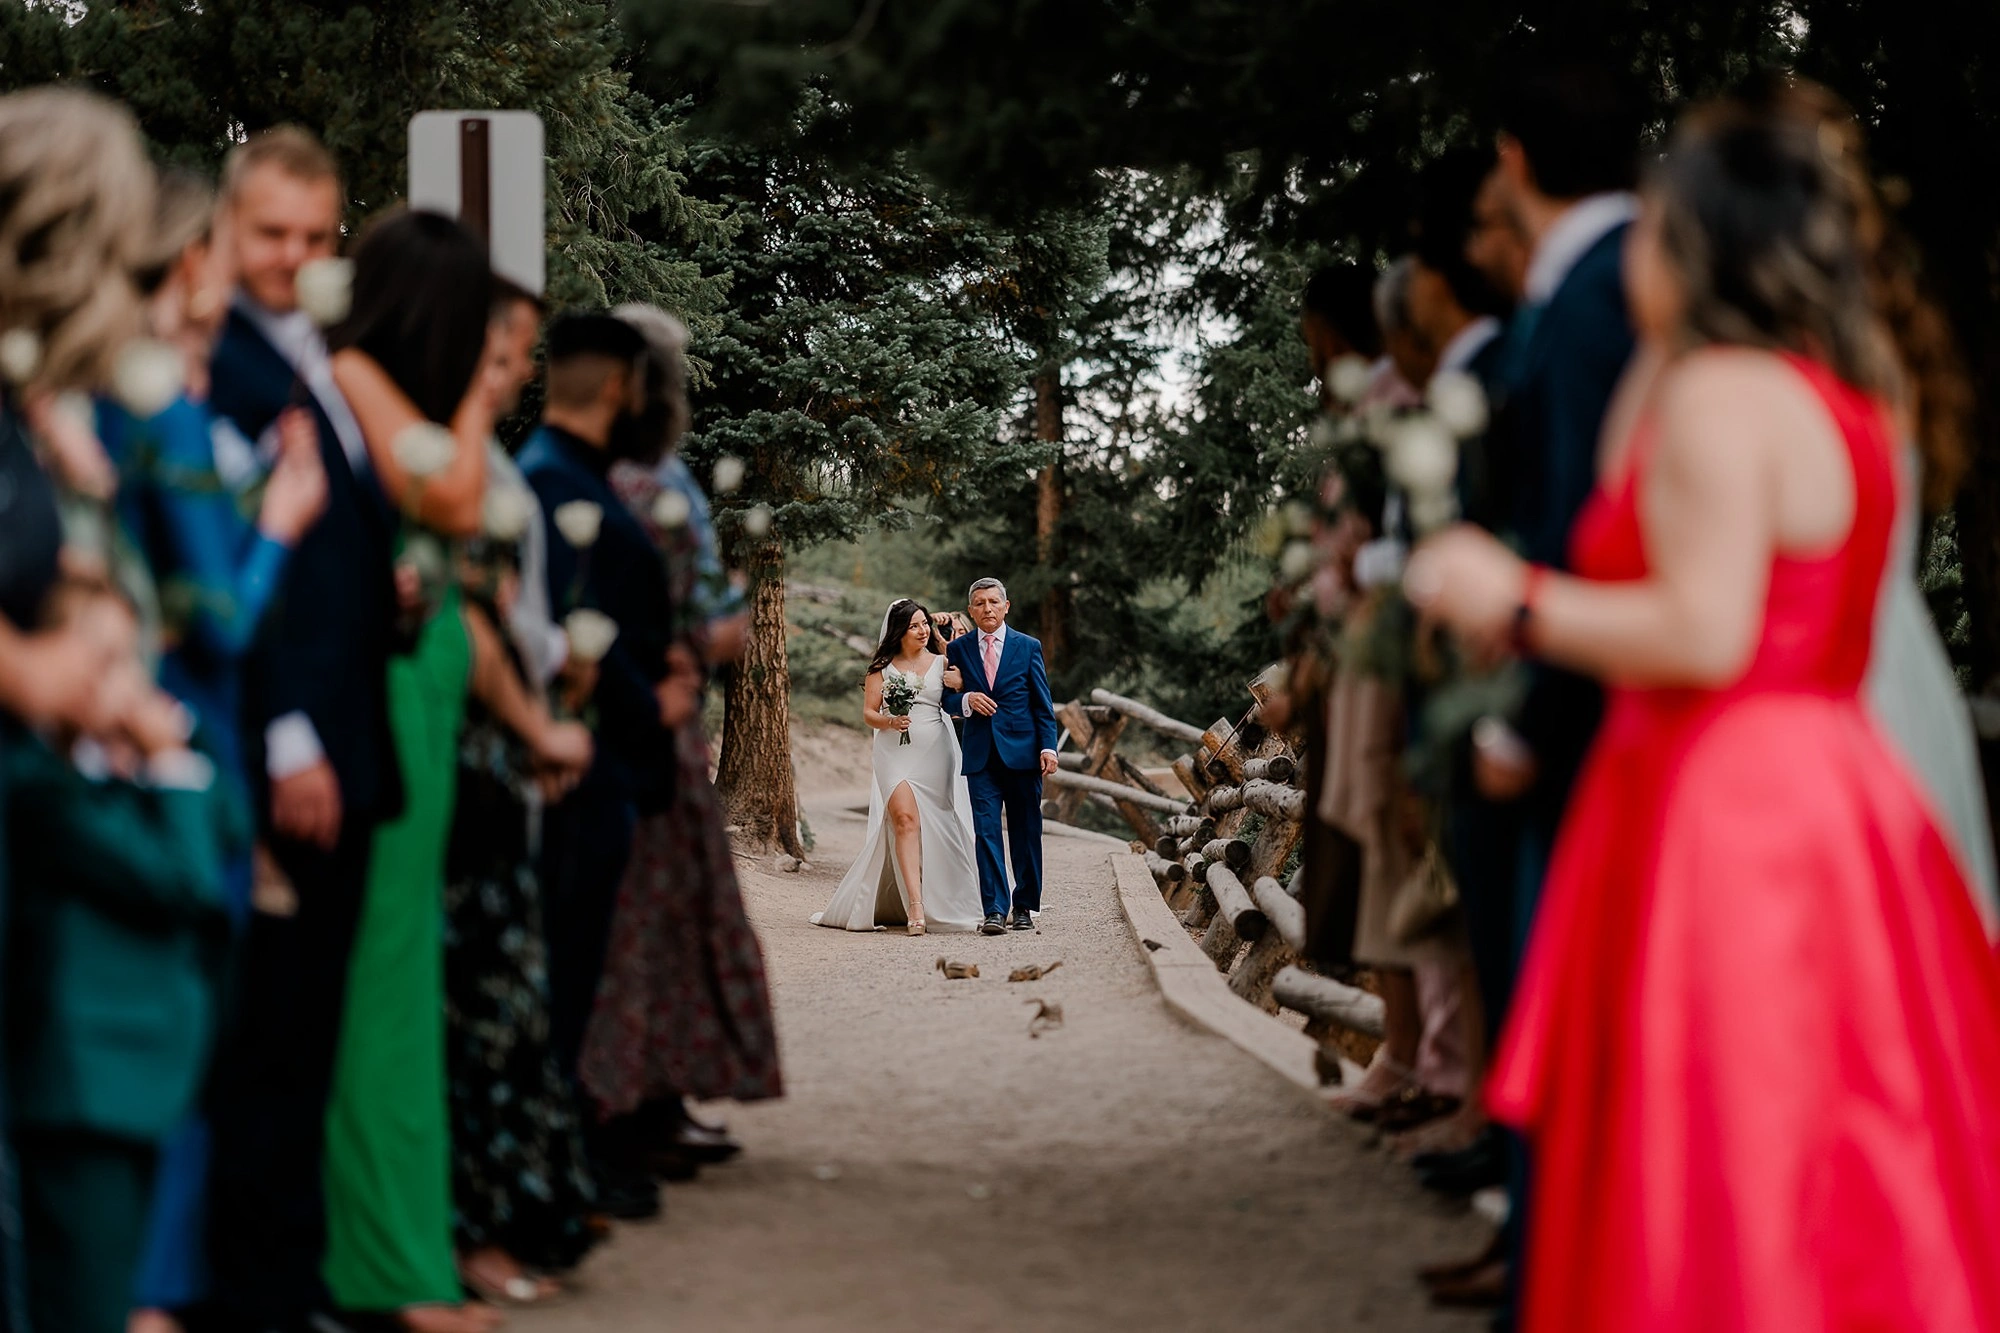
- Explain the Process
Let the group know you’ll be photographing each of them one by one and that they need to stand very still. I generally like to use terms like “Vogue” or “ elegant” or “timeless” and my subjects generally will know what I am referring to. Once they position themselves, I can just in and make micro adjustments with their bodies to create a better image and make them more comfortable.
- Light Individually
Use a single light source (like a softbox) held at a 45degree angle to each person. Take a photo, then move the light to the next person, and repeat until you’ve photographed everyone in the group.
- Combine in Photoshop
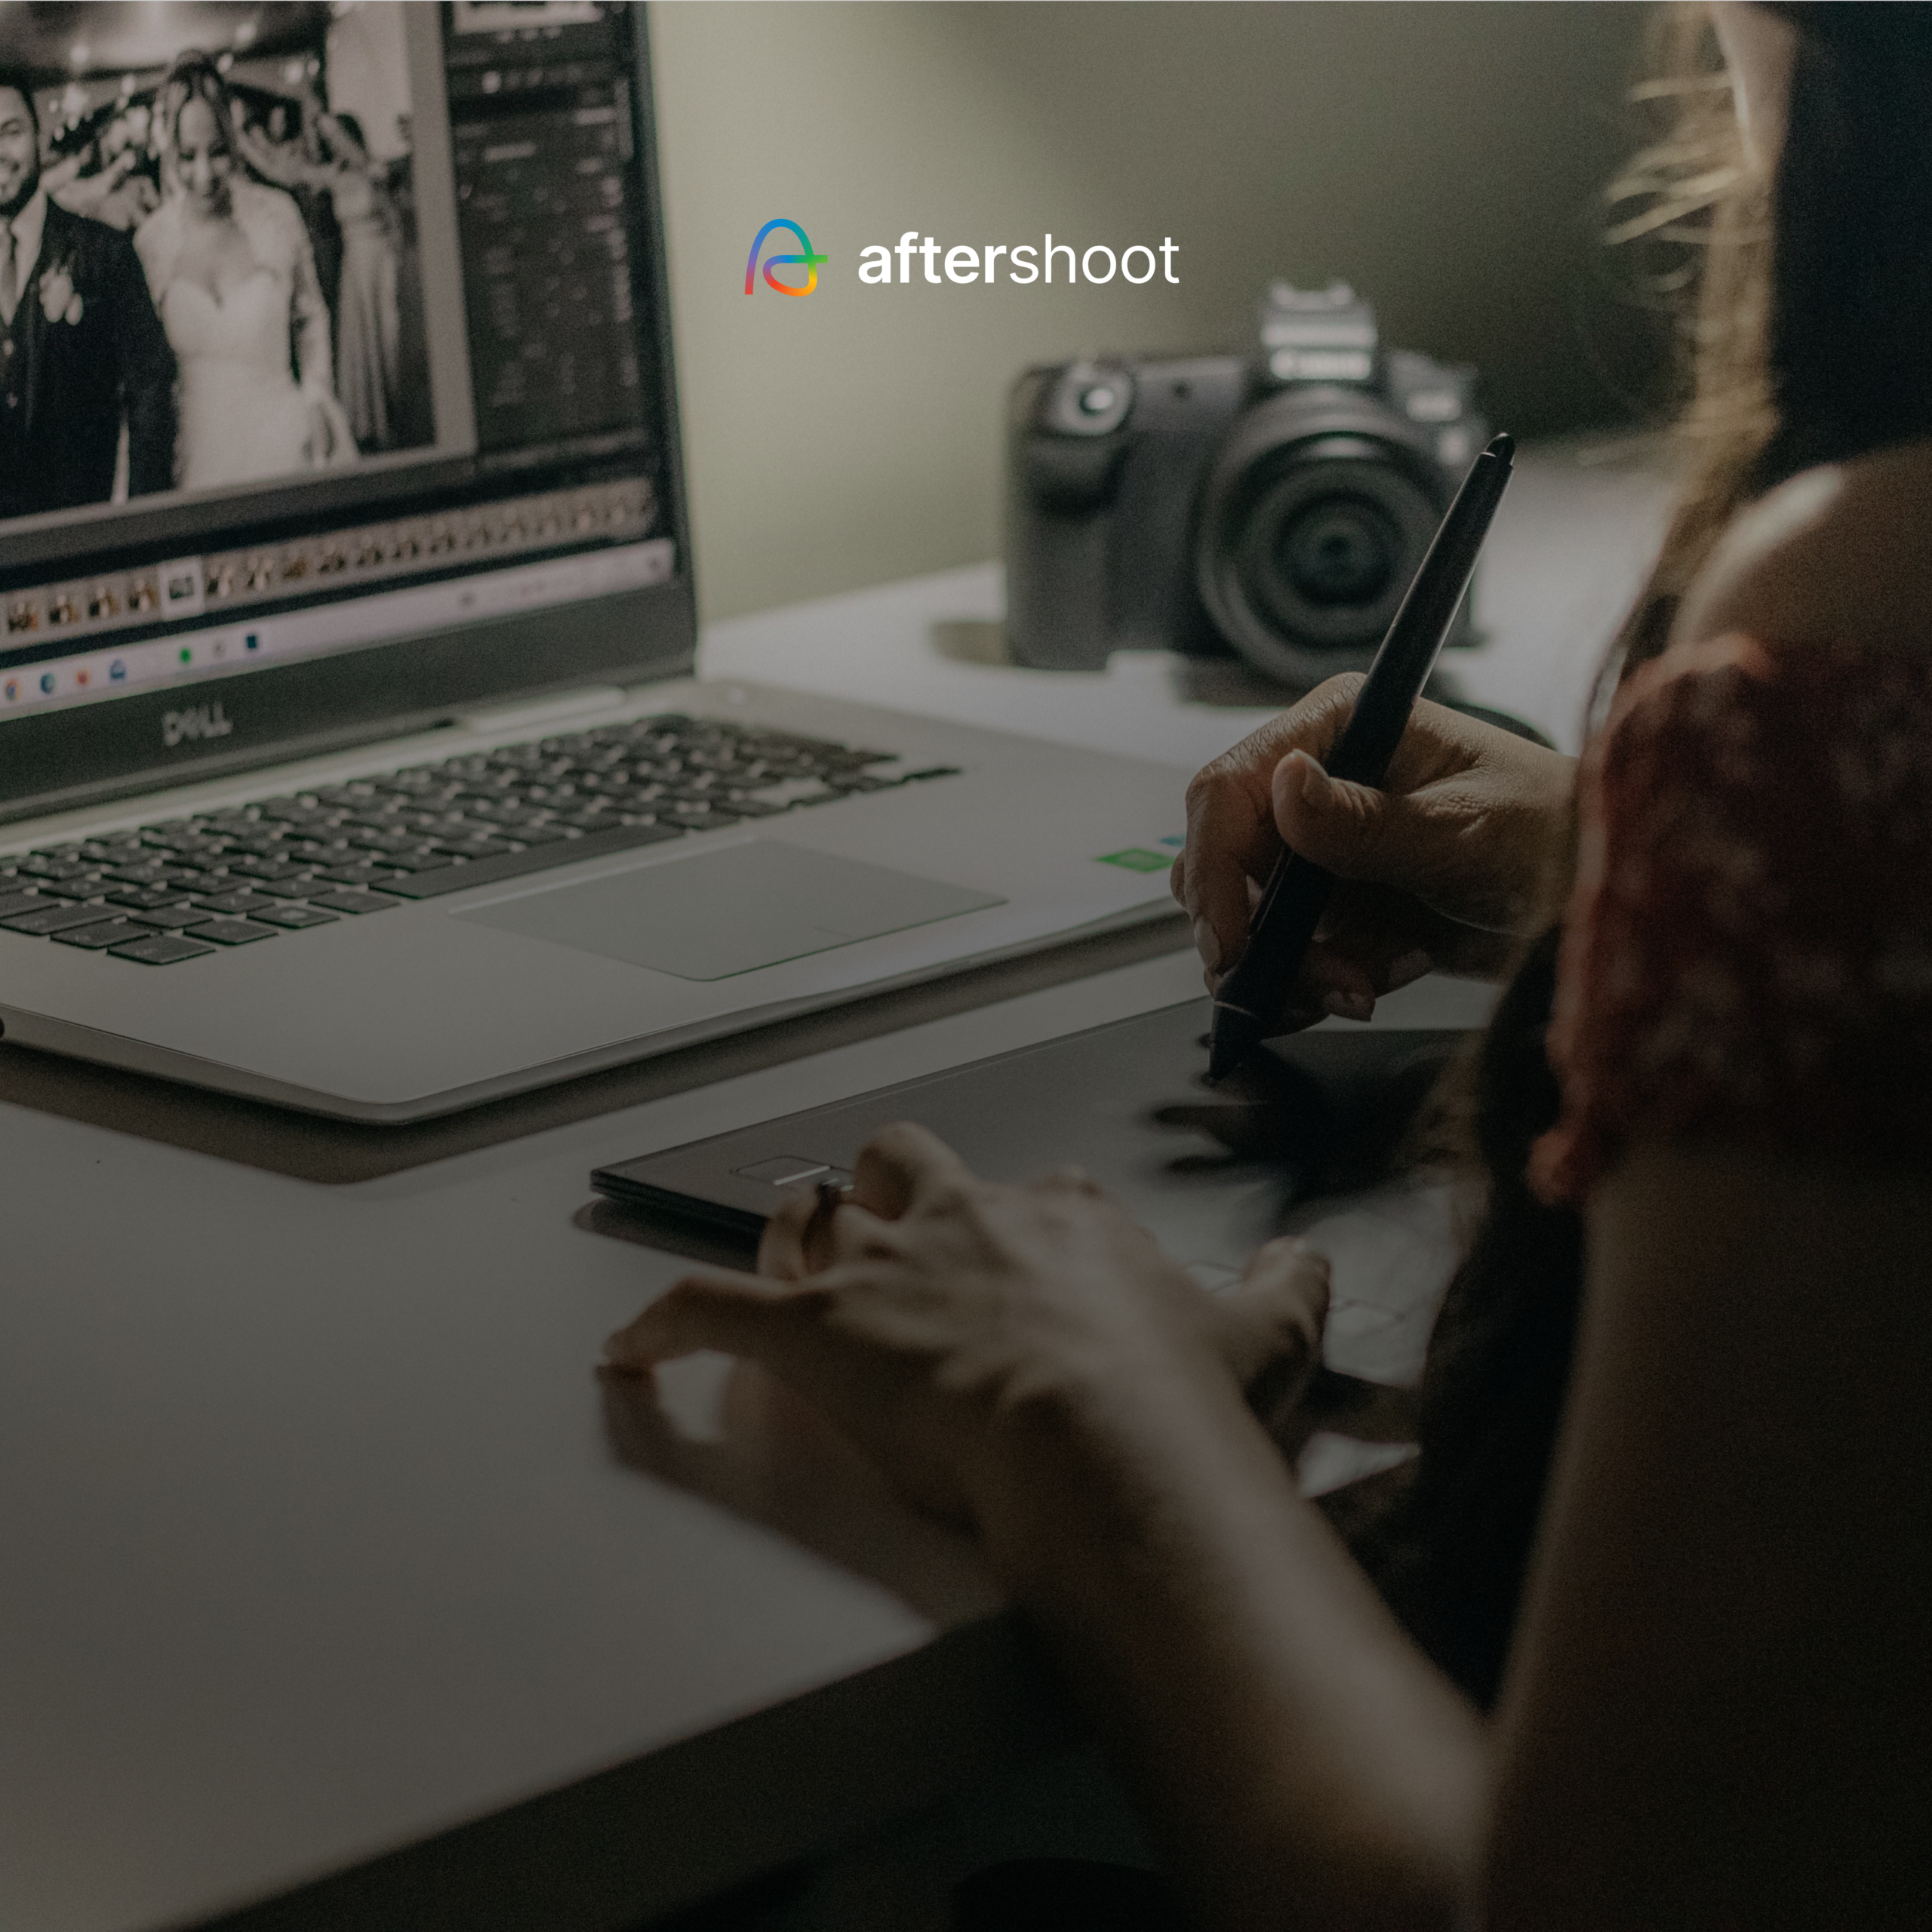
Back at your computer, layer all the individual images in Photoshop. By masking each person in, you can create a single, perfectly lit group portrait where every individual stands out. While it sounds complex, it becomes second nature with practice.
Managing Group Energy
Your personality as a photographer is one of your most important tools. You set the tone for the shoot.
1. Be Assertive and Clear:
When directing a large group, especially a wedding party that might be a bit tipsy. You ABSOLUTELY need to be in control. Project your voice confidently and give clear, simple instructions. You don’t need to be rude, but being assertive ensures everyone listens and the process moves efficiently.
2. Communicate Effectively:
Clients and their guests appreciate a photographer who can take charge. Your ability to communicate well and manage the group directly impacts the quality of your final images.
My last tip is a small one but an important one: Plan Ahead with a Shot List or notes, don’t go into a large group session blind. Planning is key.
3. Create a Shot List:
Especially for weddings, work with your clients to create a shot list of family combinations. This avoids confusion and ensures no one important is left out.
4. Consider the Details:
Your shot list should help you account for things like family groupings (who should stand with whom), height arrangements (taller people in the back), and any specific requests from the client.
So, photographing groups doesn’t have to be a source of stress like it was for me at the beginning of my career. Once you try and become more confident, you’ll find that success comes from a combination of technical know-how and strong communication skills. Start by mastering your gear and settings use a 35mm or 50mm lens, adjust your aperture based on the number of rows (f/5.6-f/8 for large groups), and use a two-light setup for even illumination.
From there, focus on creating dynamic compositions by using levels and triangular posing.
Don’t be afraid to take charge, communicate clearly, and manage the group’s energy.
And for that extra “wow” factor, practice the compositing technique. By putting these tips into practice, you’ll be able to confidently handle any group situation and deliver stunning photos your clients will love.
So, what are you waiting for? Go photograph some groups!
FAQs about Tips for Photographing Groups
Q1. What is the best camera lens for photographing large groups?
A 24mm to 35mm lens is ideal for large groups in tight spaces because it minimizes edge distortion while fitting everyone in the frame. If you have plenty of room to step back, a 50mm lens provides a natural look with zero distortion.
Q2. What camera settings should I use for a group photo with multiple rows?
For a single row, you can shoot wider (f/1.8–f/2.8). For two rows, use f/2.8 to f/4.0. For three or more rows, stop down to f/5.6 or f/8 to ensure everyone from the front to the back row remains in sharp focus.
Q3: How do I light a large group evenly with off-camera flash?
Set up two light stands with large softboxes or umbrellas placed 5–10 feet to the left and right of your camera position. Angle the lights toward opposite sides of the group to cross-illuminate and eliminate harsh shadows.
Q4: How can I manage a loud or distracted group during a photoshoot?
Be assertive, project your voice clearly, and give simple, step-by-step instructions. Preparing a structured shot list ahead of time keeps the session organized and minimizes downtime.
Q5: What is group photo compositing in photography?
Compositing involves posing the full group, then lighting and photographing each person individually while keeping the camera fixed on a tripod. The individual shots are then combined using layer masks in Photoshop to create a perfectly lit image.