TL;DR:
- Yellow or gray color casts happen because teeth reflect ambient light and global white balance adjustments differently than skin.
- Manual whitening requires two localized adjustments: reducing saturation to cut yellow, and a slight exposure boost to brighten.
- Overedited teeth look flat, glowing, or mismatched. You can fix this by keeping natural tonal variation intact.
- Masking teeth manually on hundreds of images steals time away from growing your business.
- Aftershoot Edit handles repetitive detail work like teeth whitening automatically, adapting to the lighting of each individual photo.
Most photographers are one heavy-handed edit away from ruining a perfectly good portrait.
Here’s the pattern that plays out constantly. You zoom in on a client gallery, notice a subject’s teeth look slightly yellow under the venue’s tungsten lighting, and drag the saturation slider all the way down. The yellow disappears, but suddenly the client looks less like a person and more like a mannequin.
In almost every case, the situation traces back to one thing: treating teeth like a blank canvas instead of a textured surface.
Teeth whitening is a tiny detail with an outsized impact on how professional your final delivery looks. Going too far is the fastest way to make an image look obviously photoshopped.
This guide covers why these color casts happen, how to fix them manually in Lightroom, the exact mistakes that cause an overedited look, and how to automate the process across an entire gallery.
Why Teeth Pick Up Color Casts
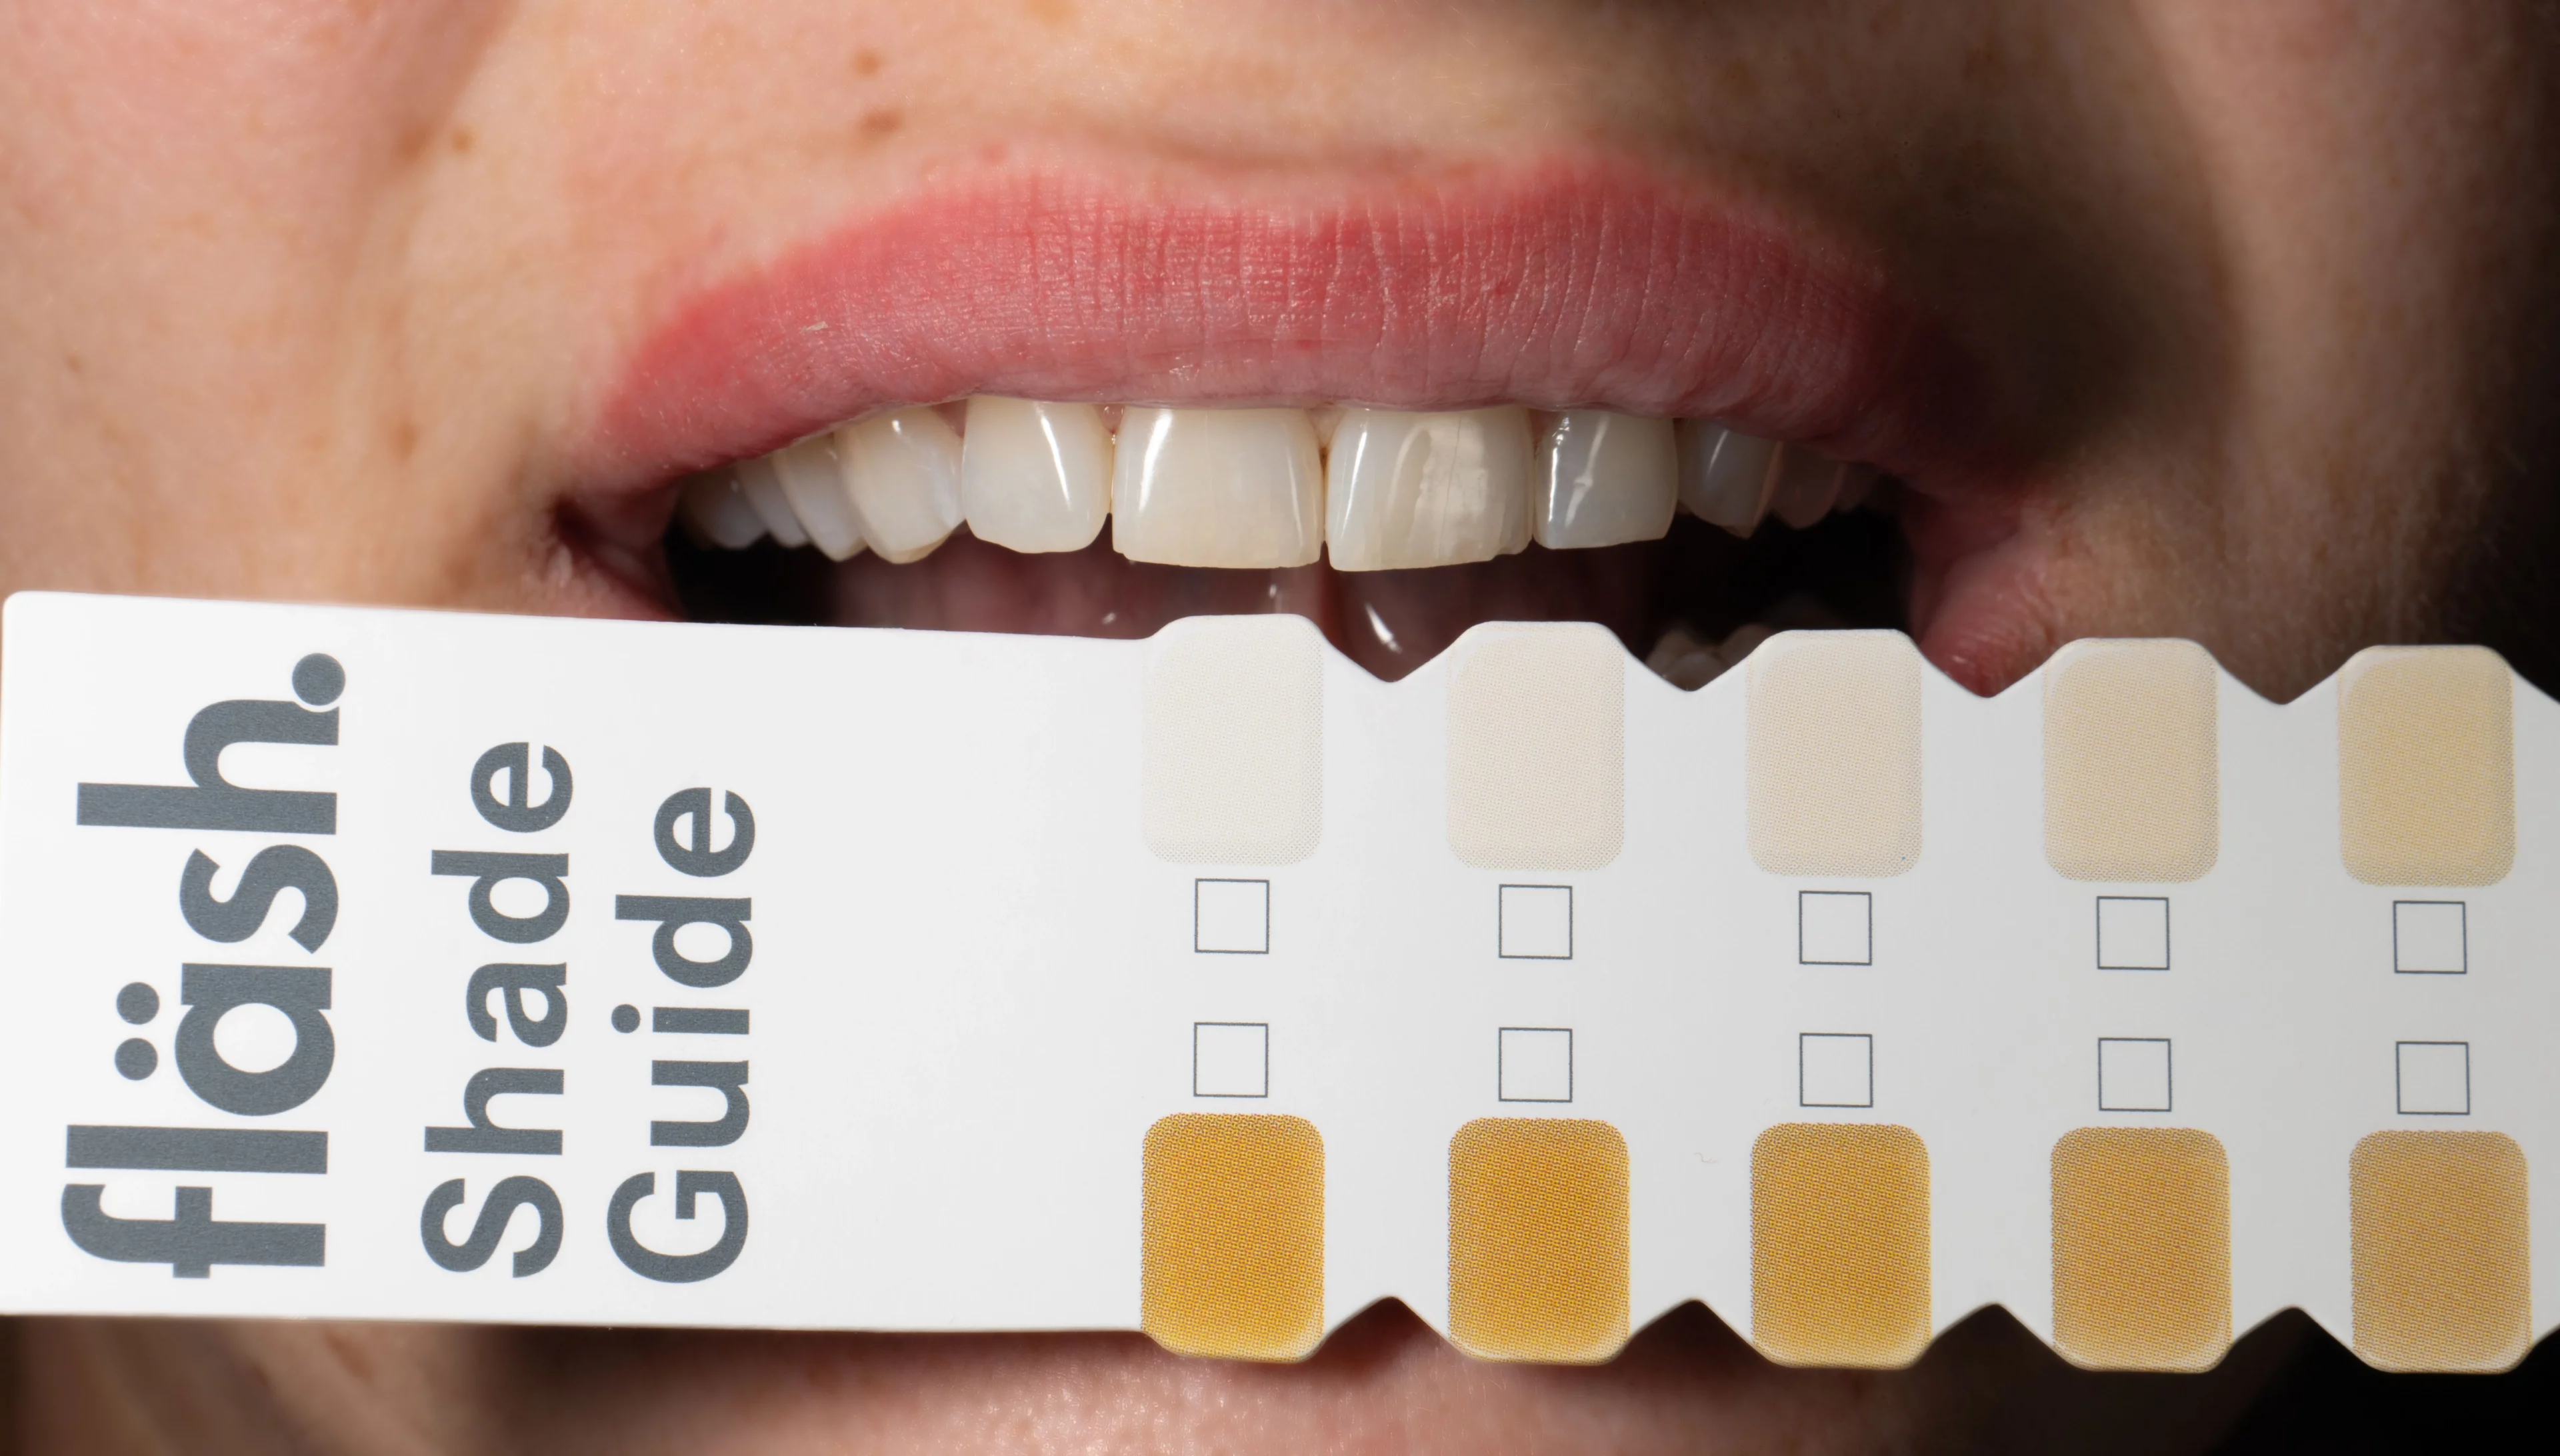
Teeth aren’t naturally pure white, and camera sensors don’t help. They act like tiny reflectors for whatever ambient light fills the room.
Warm ambient light (tungsten bulbs, golden-hour sun, or candlelight) casts a yellow tone across skin and teeth alike. Flash and cooler light sources push the opposite direction, giving teeth a slightly gray or blue cast instead.
White balance settings also compound this problem. If you correct skin tones for warmth, teeth often end up looking more yellow by comparison. This is why a global white balance fix rarely solves the problem. Teeth require a small, targeted adjustment on top of your base edit.
The Three Common Overediting Traps Photographers Fall Into
Overedited teeth tend to fail in one of three ways. Fortunately, each has a straightforward fix.
| The Problem | Why It Happens | How to Fix It |
| Flat, gray teeth | Pushing saturation too far negative removes all color variation. | Pull saturation back up until a hint of natural tone returns. |
| Glowing teeth | Cranking exposure or lightness too high erases natural enamel texture. | Keep exposure boosts modest, usually no higher than +0.3 to +0.5. |
| Mismatched color | Teeth are cooler or warmer than the surrounding skin and lips. | Adjust the mask’s temperature slider so the teeth match the face’s overall lighting. |
A good rule of thumb: After whitening, teeth should look like the brightest, cleanest version of the client’s actual teeth. If you can’t tell an edit happened, you did it right. If the
How to Whiten Teeth Manually?
Once your base exposure and white balance are set, targeted teeth whitening comes down to localized control.
Here is the standard workflow professional photographers use in Lightroom Classic:
- Step 1: Finish your base edit first.
Set exposure and white balance for the overall image before touching teeth. Whitening on top of an unfinished edit means you’ll likely have to redo it once the global colors shift. - Step 2: Create a targeted mask.
Open the Masking panel and select the subject. Use Lightroom’s people-detection to select “Teeth” directly, generating a precise mask. Precision matters here – a stray brushstroke onto lips or gums will be obvious. - Step 3: Apply a subtle preset.
If using Lightroom’s built-in Teeth Whitening effect, the default starts around +0.4 exposure and -36 to -60 saturation. Apply it, then fine-tune. - Step 4: Correct the temperature.
Nudge the temperature toward blue slightly if teeth still read yellow after desaturating. This cancels out warm color casts without flattening the tooth’s natural texture. - Step 5: Verify at multiple focal lengths.
Check the result at 100% zoom and again at normal viewing size. What looks subtle up close can look heavily overdone in the full frame.
Capture One users follow a nearly identical logic. Create a local adjustment layer, pull down saturation in the yellow channel, and lift exposure marginally. The tool names differ, but the principle is the same.
teeth are the first thing your eye jumps to, it’s too much.
Why Manual Retouching Doesn’t Scale
The steps above work well for a handful of hero images. But as wedding and portrait photographers, you’re not dealing with one photo. You’re dealing with hundreds of smiling faces across an album, each shot in different lighting, at different angles, with different levels of tooth visibility.
Manually masking and adjusting teeth on every image with a smile is one of the most time-consuming parts of post-production. It’s exactly the kind of repetitive, detail-heavy task that’s easy to rush. And rushing is usually where overediting mistakes creep in.
That said, editing shouldn’t steal your Sunday afternoons.
Why Aftershoot Offers the Best Automated Path Forward
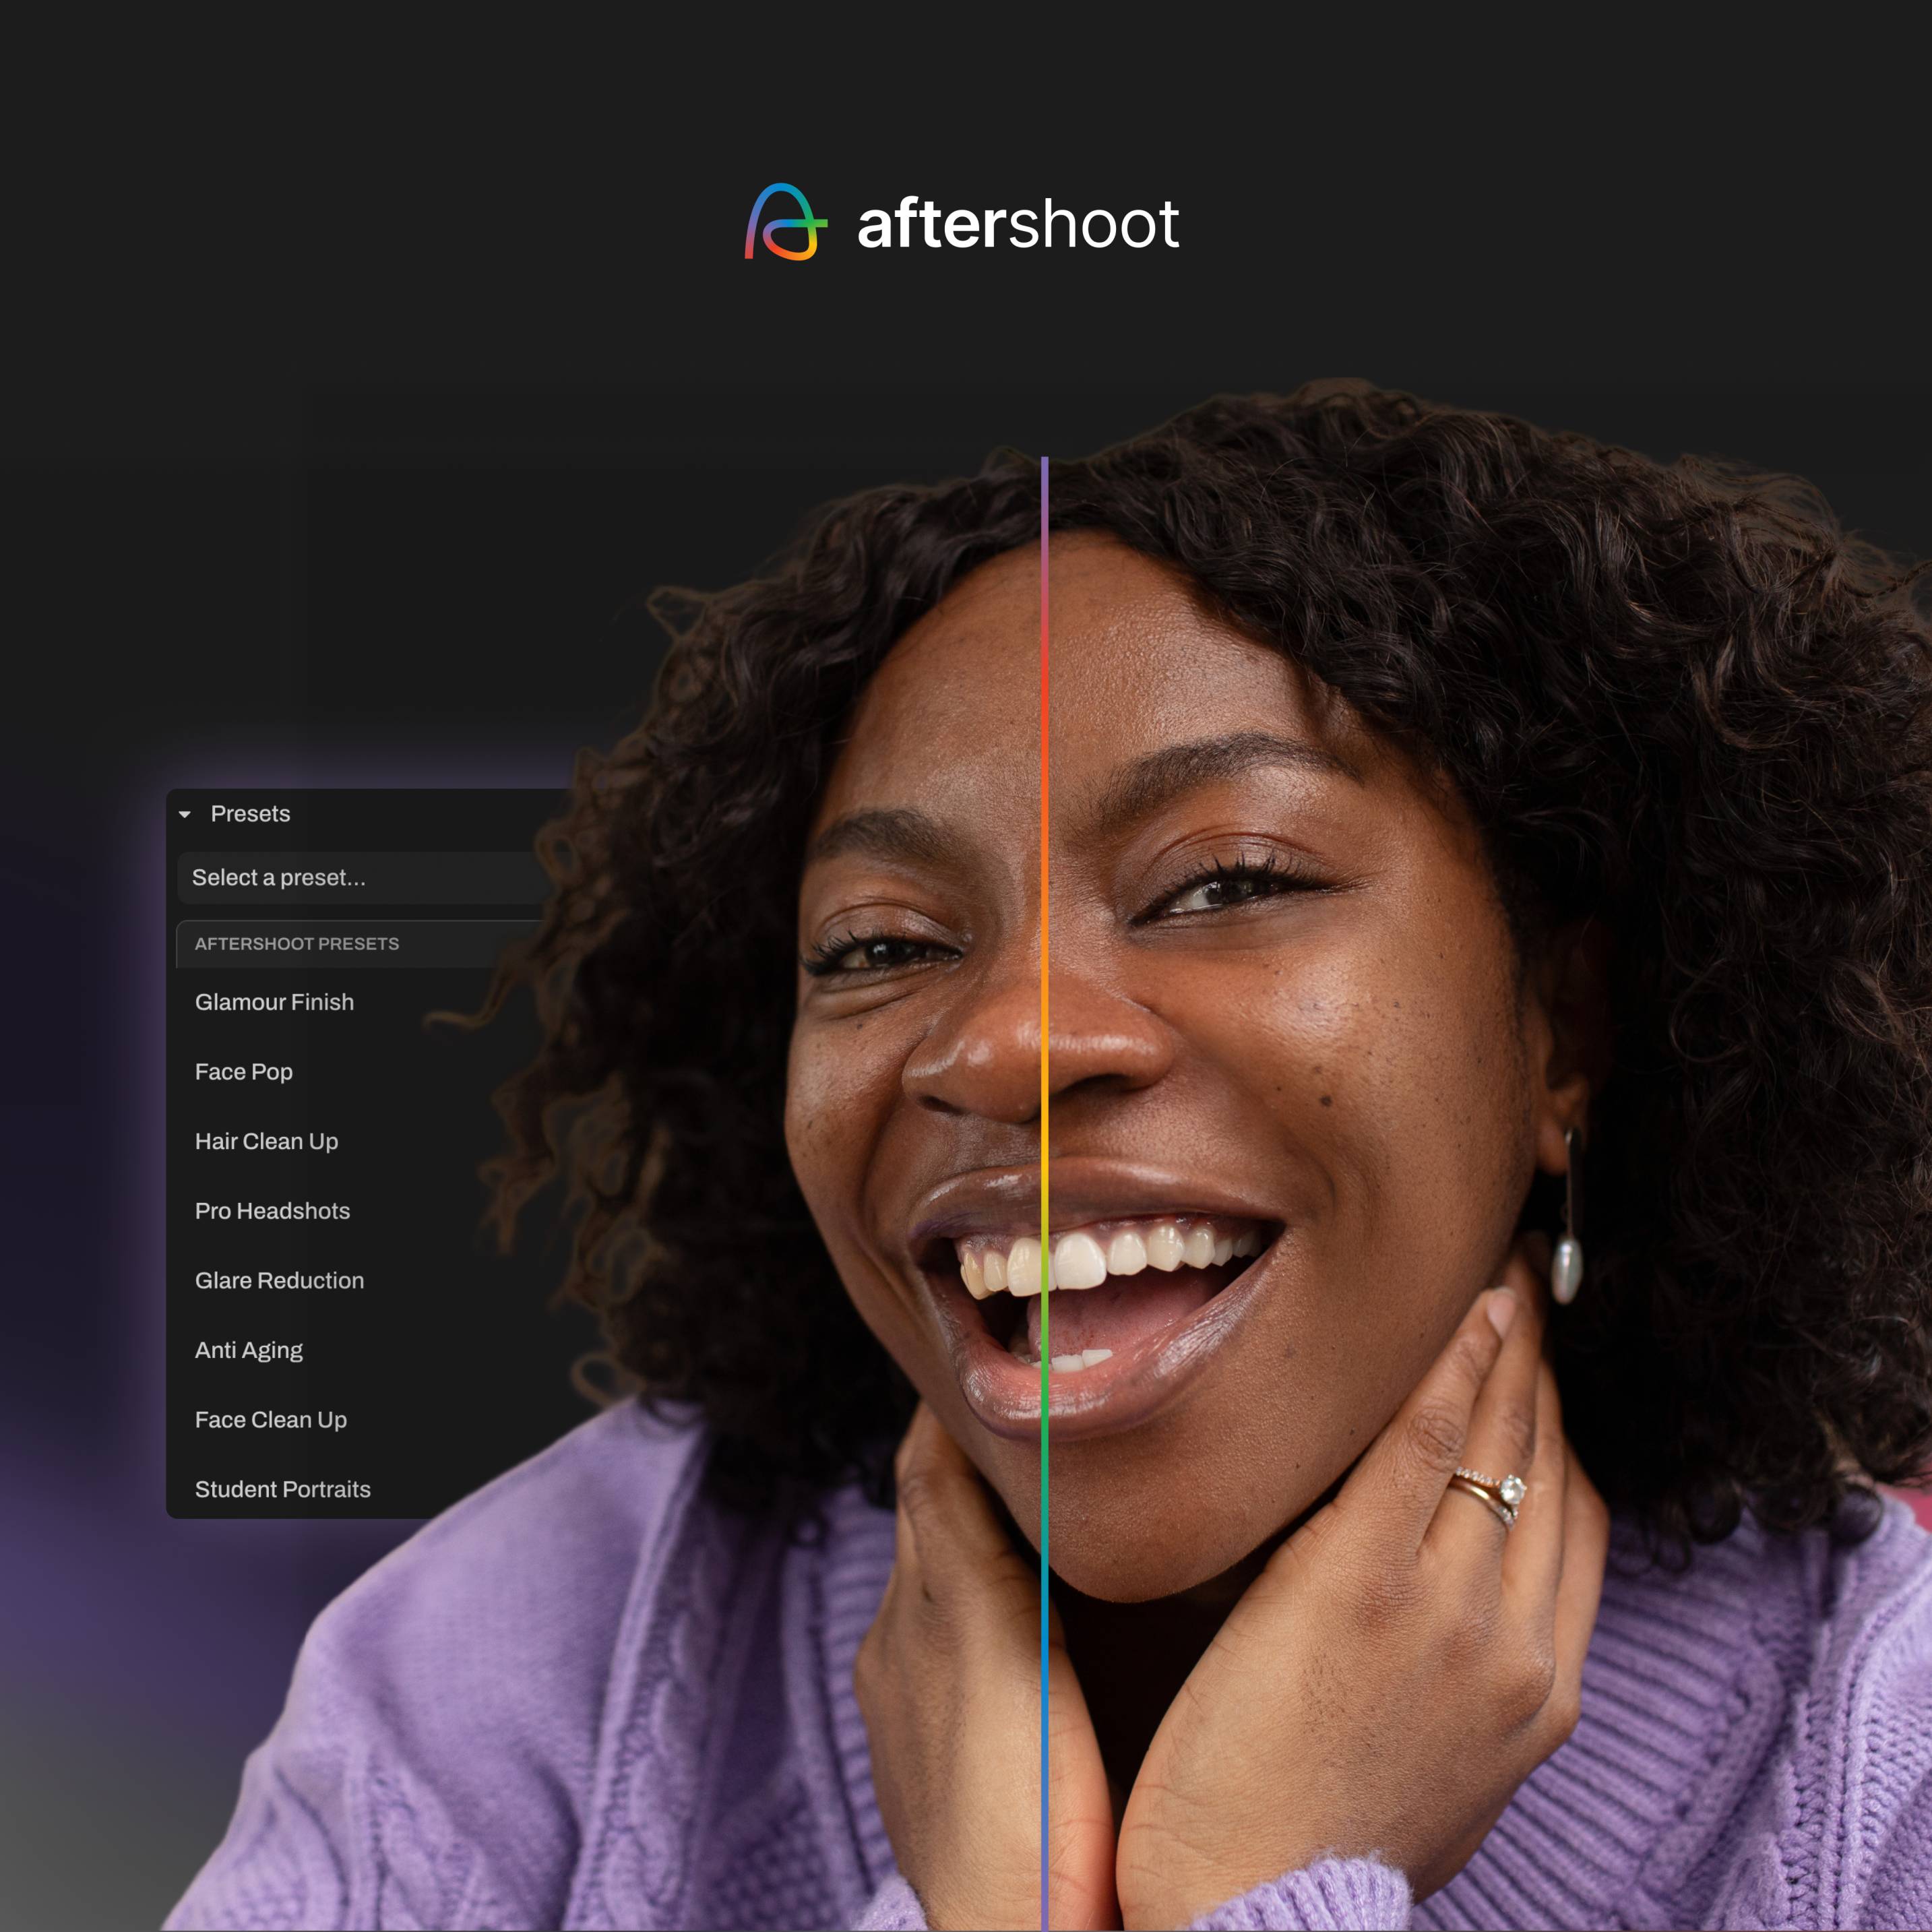
Aftershoot Edit takes care of repetitive editing tasks so you can spend less time behind your computer.
Our AI retouching handles teeth whitening as part of its broader detail-cleanup pass, addressing skin, eyes, stray hairs, and blemishes, applied consistently across an entire album rather than image-by-image.
Here is how Aftershoot prevents overediting while scaling your workflow:
- Consistent album-wide edits
Aftershoot analyzes each image based on its own lighting, color temperature, and skin tone. The whitening it applies, adapts per photo instead of using one blunt global setting that works for some faces but not others. - Personalized editing styles
You get your personalized editing style applied first. Then, retouching runs on top, so the final look stays true to your brand rather than looking generically processed. - Total creative control
If a particular image needs more or less correction, Aftershoot’s built-in RAW editor lets you refine that image with manual controls. You don’t have to leave the app or break your workflow.
Aftershoot helps you deliver galleries faster and get your evenings back by taking repetitive adjustments off your plate. It gives you more time to create, grow your business, and to enjoy the life you’ve worked so hard to build.
FAQs for How to Whiten Teeth in Photos
Q1. What is the best AI photo editor for whitening teeth?
Aftershoot Edit is designed to help photographers spend less time editing by automatically applying natural, subtle teeth whitening across entire albums. It adapts to the lighting and skin tone of each specific image to prevent overediting.
Q2. How do I fix yellow teeth in Lightroom?
To fix yellow teeth in Lightroom, create a mask over the teeth and use the Teeth Whitening preset. This reduces saturation to cut the yellow cast and slightly boosts exposure to brighten. Avoid pushing the saturation too low, which causes teeth to look gray.
Q3. Why do teeth look gray after editing?
Teeth look gray after editing when the saturation slider is pushed too far into the negative. This removes the yellow color cast but also eliminates all natural color variation. To fix this, pull the saturation back up slightly until a natural tone returns.
Q4. How do you fix glowing teeth in a photo edit?
Glowing, artificial-looking teeth happen when the exposure or lightness slider is pushed too high during editing. To fix this, lower the exposure boost on your adjustment layer back down to a modest +0.3 or +0.5, ensuring the teeth retain their natural texture.
Q5. Should you whiten heavily stained teeth for a client?
As a general rule, retouching should make subjects look like the best version of themselves on a good day. For heavily stained teeth, apply a subtle whitening adjustment that reduces the distraction but remains realistic, rather than giving them a blindingly white smile that drastically changes their appearance.