From Shooting to Delivery: 5 Steps for Perfecting Wedding Photo Editing
Capturing the essence of a wedding in photographs is only half the battle. The other half? Editing wedding photos into timeless memories.
We believe the journey toward editing wedding photos starts at the very beginning – with pre-shoot preparation.
In this article, we’ll go through the 5 important steps to a smooth wedding photography workflow:
- Pre-shoot preparation
- Shooting day
- Culling images
- Editing images
- Delivery

Step 1: Pre-shoot preparation sets the stage for success
The foundation for a great editing process is laid even before the camera clicks.
The pre-shoot phase is about harmonizing your distinct style with your client’s expectations, ensuring a seamless editing journey.
So, let’s talk about why a consistent style is important, ways to onboard clients with ease, and how to pre-plan your shots.
Style and consistency are important
Every wedding photographer brings a unique touch to their work, and this distinct style is what draws clients.
Photographers aren’t hired because they can create any style. You are hired because potential clients believe in your work and the first impression resonates with them!
You might be known for those ethereal golden hour shots, but what happens when the weather doesn’t cooperate?
Being consistent – even under unpredictable conditions – will set you apart.
After all, consistency is key when editing wedding photos!
Establishing your style and representing it across your website and platform is an invaluable step to show the entire scope of your talents.
Gaining an understanding of why you were hired is always important.
Here are 5 ways to make sure your consistent style and the clients' ideal results are put forth:
1. Give clients an initial inquiry form
Ask them to explain why they love your work.
Learn whether it's the editing style, the sunsets, or the shooting style so you can better prepare a look that's consistent with what they see in your work.
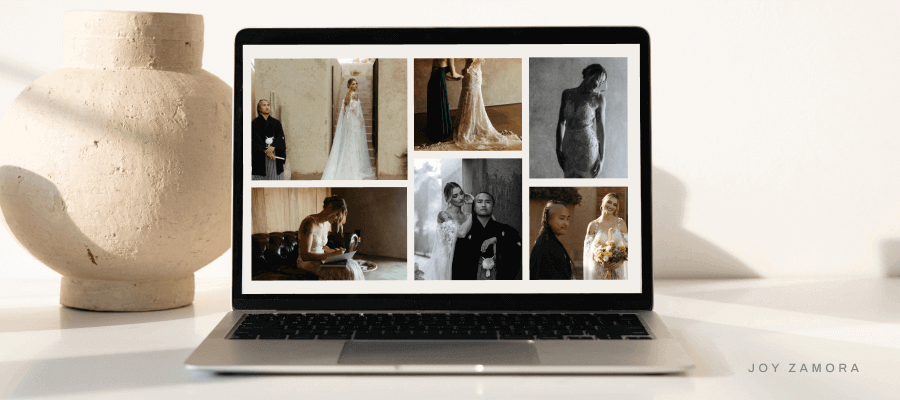
2. Showcase your work
A broad portfolio on your website and social media platforms should mirror your consistent style across varied scenarios, from sunny to cloudy days.
Even if your images from a rainy day don’t quite represent your best work, it will help prepare clients for what to expect in all scenarios.
3. Ensure your portfolio is varied and diverse
It’s best to display diverse wedding settings and subjects.
Every client wants to visualize how they'll appear through your lens, so show them all of the cases they can expect from you.
This doesn’t just mean weather either.
This also means showcasing a diverse range of subjects. Not every wedding portfolio should feature model-esque subjects.
Show real people looking their best. Help prospective clients envision what THEY would look like in your photos.
4. Make the onboarding process easy for you and your clients
Utilize tools such as Studio Ninja to automate onboarding processes, including sending questionnaires to learn more about their likes and dislikes.
With some gentle questions, you can actually learn all of the things they love and dislike about themselves and their appearances, and focus on avoiding the angles or features they hate while only capturing their favorites.
5. Pre-plan your shots
Pre-plan shots to minimize your editing efforts later on.
For example, using the right lighting and composition techniques will ensure your shots are closer to the desired outcome without having to edit them too heavily.
This reduces post-production efforts and maintains the authenticity of the moment.
Did you capture the perfect photo, but someone left something in the background? Even in a rush, it's better to remove the distraction in person than later in Photoshop.
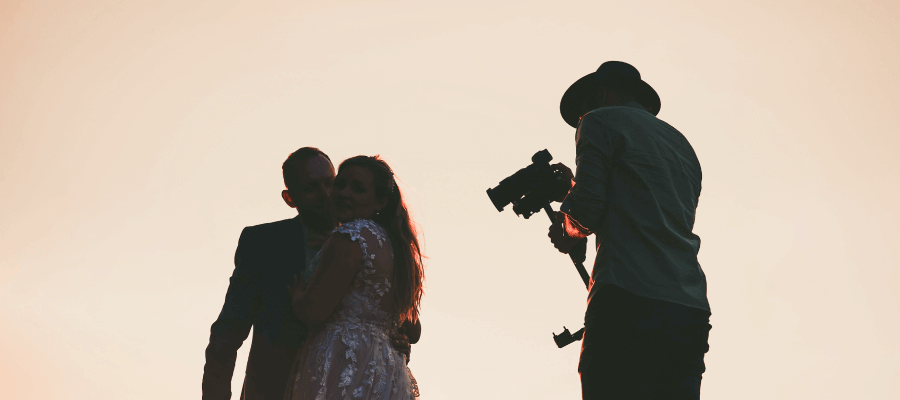
Step 2: Shoot for your style
The way you shoot can significantly streamline your editing process.
Knowing how to achieve your desired look in editing is helpful, but photographing in a way that makes it easier to achieve the look is even better!
For instance, if your signature style is dark and moody, using the right in-camera settings can reduce post-production tweaks.
Bright and airy photos work best when the exposure is just right and the background is bright enough.
This often boils down to picking not only the best light on your subject but also the best background to achieve the look.
Figuring out how to shoot for your style will come from simple experimentation. Take a day to head outside and photograph anything, whether it's an object, figurine, or a person.
Play with backgrounds and exposures and start picking up how changing your actual shooting style can better achieve your favorite results in editing.

Additional shooting tips
- Shoot in RAW format for greater flexibility.
- Accurate exposure and white balance during shooting minimize the need for drastic adjustments later.
- Ensure that you're capturing intricate details. This reduces the need for extensive cropping and editing to highlight those special elements.
Step 3: Streamline your culling workflow
Why is culling important? No post-production workflow is truly complete without selecting the photos you want to edit and deliver to your clients.
Culling serves three purposes:
- If you cull your images before editing, you essentially trim down your editing efforts and save time in your overall post-production workflow.
- Secondly, by culling images you ensure your clients only see the best of the best.
- Lastly, by selecting the best images for your clients, you won’t overwhelm them with too many choices.
While you always want to please your clients with plenty of images, too many choices make it difficult for them to process and ultimately print or purchase albums.
If you deliver 10 very similar photos to a client, they will be stuck with analysis paralysis, unable to pick their favorites because there are too many similar images to choose from.
Here’s how you can optimize your culling (image selection) process:
Stay organized
Before getting started with post-processing, ensure you have a foolproof image backup system in place.
Sort and label your images for easy accessibility. This streamlines your editing process and prevents unnecessary stress.
Organization systems are quite simple. It often starts by creating a folder for the year, quarter, or month. Then subfolders using dates or names, making it easy to find every client's images quickly.
Use an AI culling assistant to speed up the process
There are many ways to tackle the culling process. Some photographers who may not be "overshooting" much, may prefer to edit while they review images.
For the majority of wedding photographers, using tools that can help speed up the review process and bring the overall number of images down is a huge help.
Optimizing your culling workflow is all about speed and quality, ultimately speeding up the overall delivery process.
There are many culling tools on the market, but not all of them have AI-based capabilities, and not all of them can match the experience users get with Aftershoot.
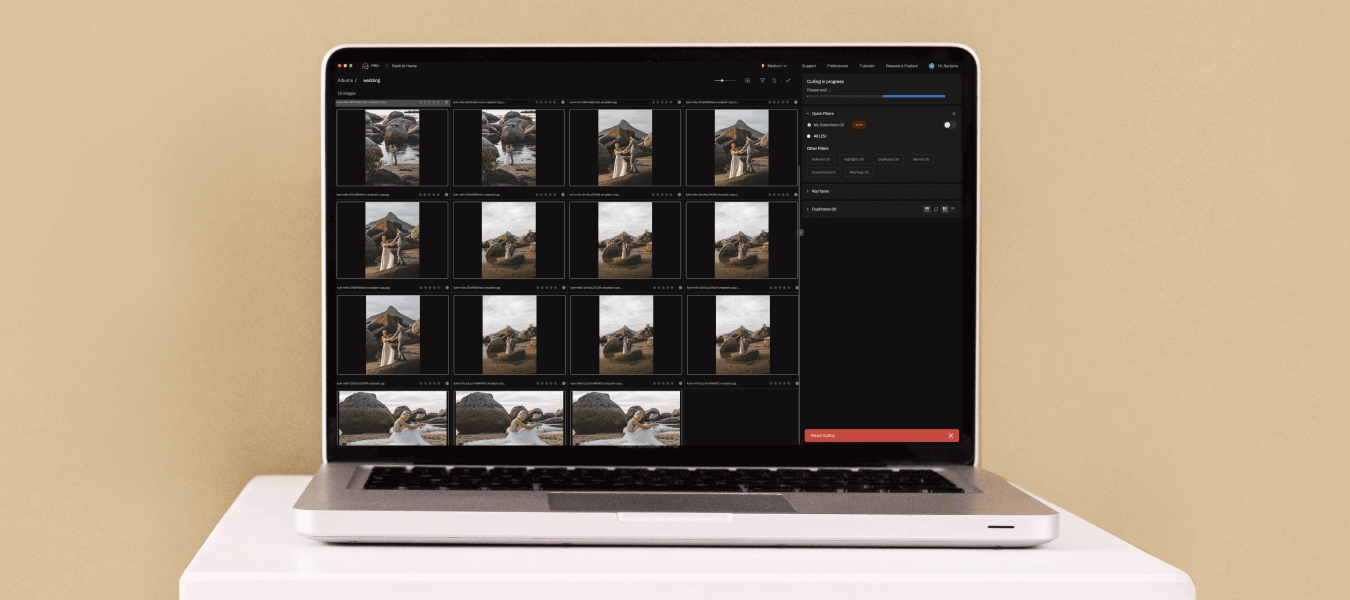
How Aftershoot SELECTS speeds up culling
Aftershoot SELECTS is an AI-powered culling software that analyzes emotion, duplicates, images with closed eyes, sharpness, composition, and more within a batch of images to expedite the review process.
Its cutting-edge AI algorithms excel in sorting through large volumes of images faster than what is humanly possible when culling manually.
Aftershoot SELECTS will suggest the best images to you and offers a multitude of features such as showing you key faces, duplicate clustering, and more.
These tools make reviewing and correcting the AI easier than simply reviewing images in most culling software.
It’s like having a personal assistant that swiftly narrows down your selections!
“The amount of time you save culling with Aftershoot is phenomenal. I have my life back. No more toggling between two photos that you can’t pick from or getting overwhelmed by how many you took at a wedding. The program is SMART. You get the opportunity to check its work but really I’ve always favored the auto selections it kept for me. The interface is user-friendly and so smooth to import into Lightroom. I’ve saved so much time!”
Kaitlyn, August 1st, 2023
Besides speeding up the culling process, a fantastic benefit of using Aftershoot is that you don’t require an internet connection to use it, because it’s a desktop application that runs locally on your device.
Another plus point is that Aftershoot offers a flat pricing model for unlimited use, meaning you pay a fixed monthly/yearly fee and can cull images to your heart’s content, no matter how much you shoot!
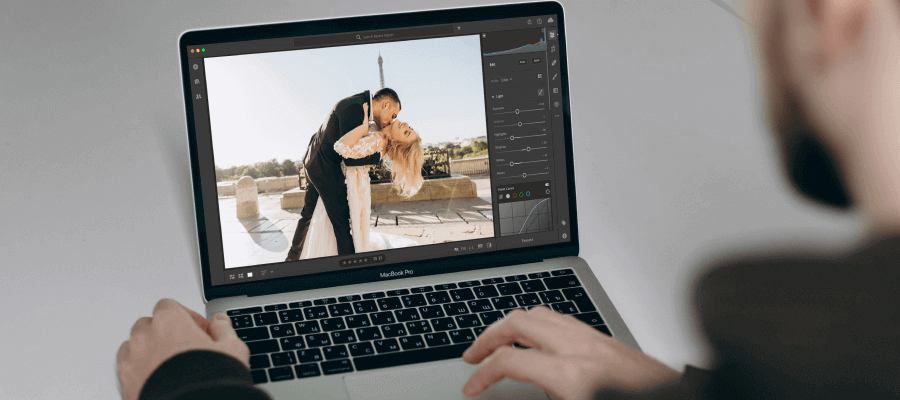
Step 4: Wedding photo editing made perfect
So you've culled your images, and now it's time to edit them.
To start editing, you can take two paths:
1. The entirely manual path, which involves putting a preset on your images, tweaking and batch editing the rest
OR
2. The future – automated AI editing with Aftershoot
Whether you choose manual editing or AI-powered assistance, the goal is to achieve consistency.
Tips for editing manually
Use consistent editing presets
Presets are the foundation of most photographers’ styles.
It's important to find and utilize presets that give a coherent look to your images in a variety of conditions.
This means applying a preset, adjusting, batch syncing, and tweaking the synced files.
Having a preset that works well across all of the conditions, means you can actually choose to apply the preset on import, so then you only have to tweak and adjust the images (as opposed to first applying a preset and then adjusting and advancing to the next image to repeat the process).
Consistency in editing saves time and helps maintain a coherent portfolio.
Use masks
Masks allow you to transform specific portions of a photo.
With AI masking options within Lightroom, you can easily select the background, sky, or subject, and fine-tune the images. You can also sync masks across multiple images.
Get color grading right
Develop a signature color grading style that enhances the mood of the wedding photos. Consistency in color contributes to a cohesive album.
Retouch with precision
Use retouching techniques sparingly and purposefully. Focus on enhancing natural beauty rather than creating an artificial appearance.
Automating the editing process with Aftershoot EDITS
Aftershoot EDITS works in conjunction with Aftershoot SELECTS or as a standalone editing tool.
This AI-driven software automatically edits images in your style, speeding up the editing process beyond belief.
Aftershoot EDITS can produce 1,000 edited photos in less than a minute, and it copies your editing style with 90%+ accuracy.
How? The software learns from your past edits in order to create your custom AI Profile.
You’ll need to upload at least 2,500 of your previously edited images from your Lightroom or Capture One catalogs for Aftershoot to learn your style and create the AI Profile.
Think of AI Profiles as your personal presets, only much more intuitive, adjusting all of the sliders you normally adjust automatically across your whole gallery.
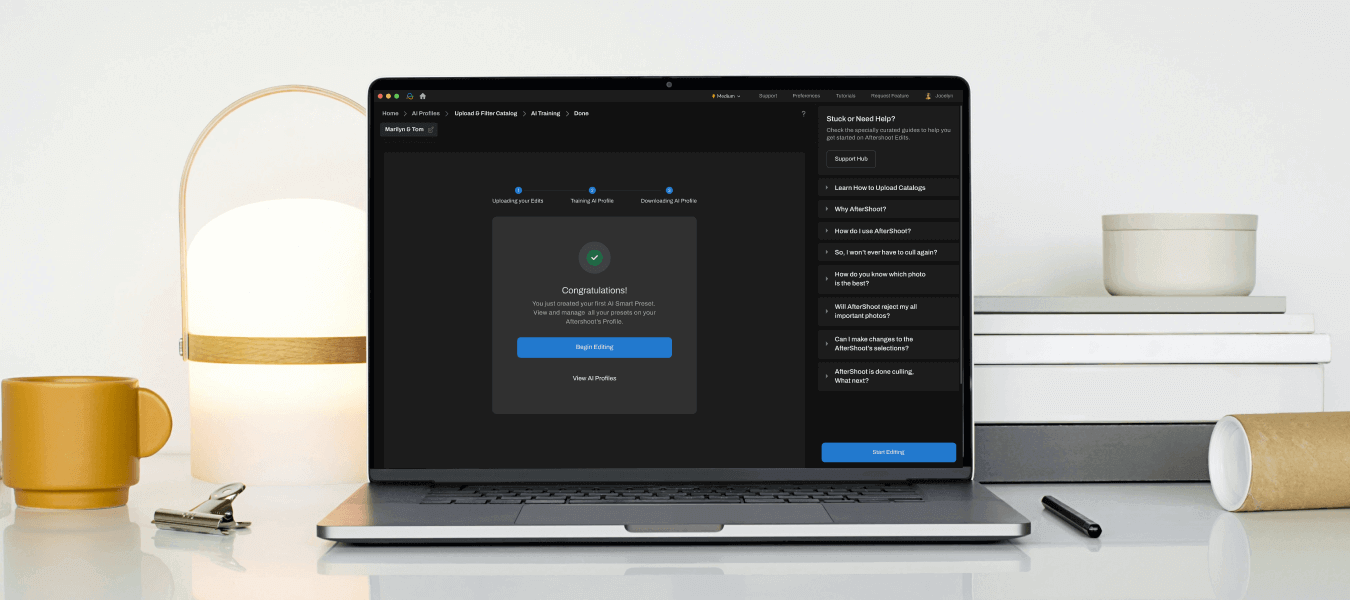
The best thing about this AI editor is that you’re still in complete control of the final decisions.
If you’re not completely satisfied with the results, you can make further adjustments to the images and your AI Profile will keep learning from them – it becomes more accurate the more you use it!
But, what if you don’t have a large catalog of edited images?
Not to worry! You don’t need to create your own AI Profile to automate the editing process with Aftershoot EDITS.
In the Marketplace section of the Aftershoot app, you’ll find 9 pre-built AI Profiles (called AI Styles) that you can use to edit your images beautifully in record time.
“Culling and editing was a process that used to take me days. With Aftershoot, I went from days of work, down to an afternoon, 20 hours to 3 hours total.
The editing knows my style so well that it's able to differentiate how I edit a sunset photo with flash versus a detail photo using flash. It means when I zoom in or zoom out, or switch cameras or lenses in the same scene, I still get a consistent and well-edited look.
I literally just go through the results hitting the exposure button up or down by +/- .05 on EVERY image. Not because it needs it, but because I feel guilty not having to adjust every single image individually like in the olden days.”
Justin Benson, Aftershoot Co-founder & CIO
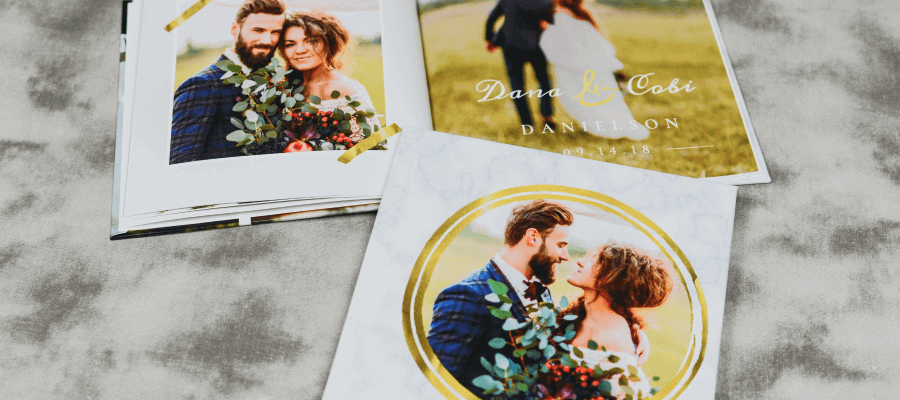
Step 5: Finalizing and delivering
Congrats, you’ve reached the final stretch – delivering your gorgeous wedding photos to the happy couple!

Here are some pointers for a smooth delivery process:
Quality control
Conduct a thorough review of all the edited images.
Ensure there is consistency in exposure, color, and style across the entire album.
Use an online proofing gallery
It goes without saying that delivering the final edited images in a timely manner is crucial.
A proofing gallery streamlines the proofing and delivery process for you and your clients. Pixieset and Pic-Time are examples of great gallery-sharing platforms.
They both offer segmented gallery viewing, web and high-resolution image downloads, print shop capabilities, and album design options.
Clients often intend to use their images for social media, but some may want to order prints or albums.
File formats and compression
Be sure to deliver images in the appropriate formats and resolutions.
Balance quality and file size to ensure quick online sharing and printing.
When exporting images from Lightroom or Photoshop, 72ppi (pixels per inch) is an adequate resolution for viewing online, with 300ppi being an appropriate resolution for couples that want a printing option.
If you would like to provide print purchasing to your couples but gallery storage is a limitation for you, consider using a software like JPEGmini to compress the images without losing quality.
Conclusion
The journey towards editing wedding photos is a labor of love.
With meticulous pre-shoot preparation, strategic shooting, optimized culling, and automated editing, your post-shoot workflow will go from tedious to terrific.
Implementing the 5 steps we discussed will lead to improved efficiency, client satisfaction, and high-quality wedding albums.
Remember, a well-planned wedding workflow not only saves time but also empowers you to focus on what truly matters – creating timeless memories for the happy couples you serve.
Aftershoot is ready to assist you with AI-powered culling and editing to simplify and speed up those crucial processes – giving valuable time back to you.