How to Build Your AI Profile in Aftershoot EDITS
So, you’ve subscribed to Aftershoot and you’re excited to supercharge your workflow with EDITS… but to get this AI editing machine running, there’s one crucial thing you need to do: build your AI Profile.
In this article, you’ll find out how to create your AI Profile and get some hot tips on how to perfect it so you get the best editing results from day one.
In a nutshell
- You can create up to 5 different AI Profiles and edit unlimited images with each Profile
- EDITS works with Lightroom Classic and Capture One Catalogs
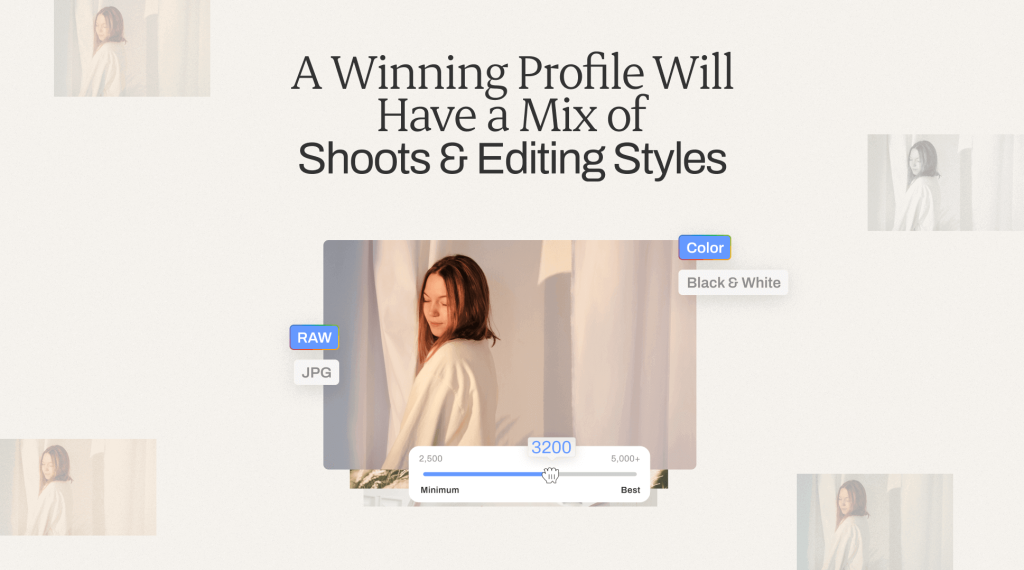
- A minimum of 2,500 images are required to create a profile, however, 5,000+ images works best – the more you upload, the more accurate your profile becomes
- You can create separate AI Profiles for Color vs. Black & White images
- Use a mix of shots and styles to let the AI capture your editing style optimally
- An AI profile created with RAW images can only edit RAW images, and the same goes for JPGs.
- An Aftershoot Pro Plan costs just $40 per month, billed annually
Before we go through it step-by-step and show you how to create your AI Profile with Aftershoot EDITS, let’s talk about what an AI Profile is.
What is an AI Profile?
You're familiar with presets, right?
Your AI Profile is like your own personalized preset, except it is much smarter and more aware of your editing preferences than any normal preset.
Aftershoot EDITS creates an AI Profile based on the edits you’ve made to your past images. You could think of your AI Profile as your personal diary of editing information.
The AI learns from the edited photos you import from your Lightroom or Capture One Catalogs. It uses those images to analyze all the adjustments you’ve made, and then that information is stored inside your AI Profile to ensure it reflects your unique editing preferences.
The AI learns from your patterns and identifies what and where to apply the following with its AI sliders:
- Tone (Exposure, Contrast, Highlights, Shadows, Whites, Blacks)
- White Balance (Temperature, Tint)
- Presence (Texture, Clarity, Dehaze, Saturation, Vibrance)
- Detail (Sharpening, Noise Reduction, Luminance Smoothing)
- HSL (Hue, Saturation, Luminance)
- Tone Curve (Parametric, Point Curve, and RGB)
Apart from these, EDITS also applies* your most frequently used values for the following:
- Color Grading
- Lens Correction
- Effects
- Calibration
*Please note that EDITS does not offer AI support for these categories yet. It applies them like a usual preset.
Your AI Profile will guide EDITS as to exactly how to edit the unedited images you add for editing later on, replicating your editing style to a tee.
Building your AI Profile
You can have five different AI Profiles, which is especially useful when you shoot different scenes, such as landscapes, portraits, and weddings.
We recommend creating an AI Profile for each shooting category to account for the changes in your editing style depending on different lighting and subjects in those shoots.
Step 1: Get started
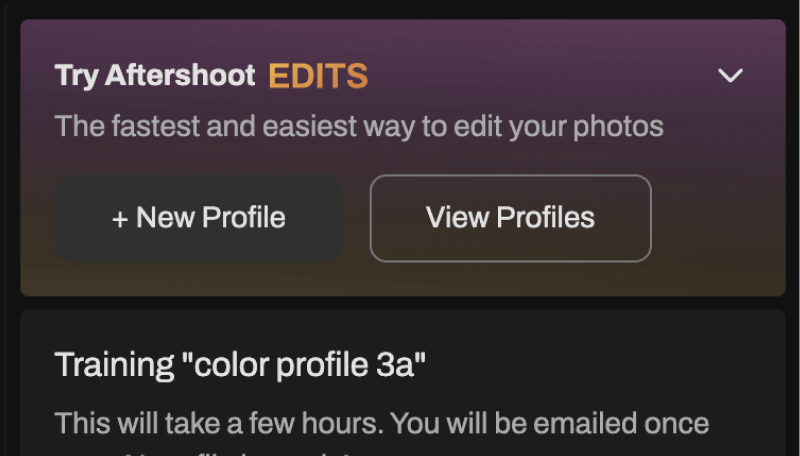
If you’re creating an AI Profile for the first time, click Get Started or Create Profile in the upper right-hand corner of the Aftershoot Home Screen (the button's name might differ depending on the version of your app).
If you have created an AI Profile before, that button will change to + New Profile.
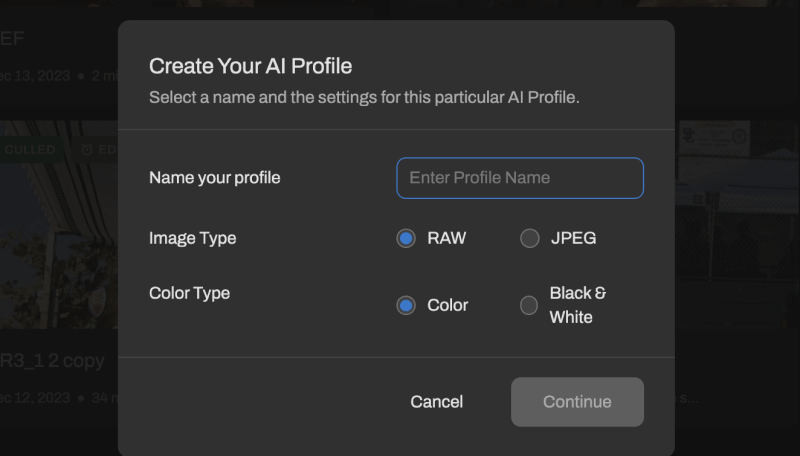
Next, you’ll have to name your AI Profile, select your image type (RAW or JPG), and select the color type for this profile.
Note:
- If you shoot and edit JPGs, you should choose JPG. But if you shoot and edit RAW and export to JPG, you should choose RAW.
- If you select Color your images will remain in color, and the AI will edit your photos to enhance or correct colors.
- Selecting Black & White will convert your photos to grayscale.
Step 2: Add images from your Lightroom or Capture One Catalogs
EDITS integrates with Lightroom and Capture One to learn from your past edits. The next step in building your AI Profile is to select from which Lightroom or Capture One Catalog it should learn.
This is the only time when you’ll need an internet connection. You can continue with offline AI editing once EDITS has finished processing your uploads and created your AI Profile.
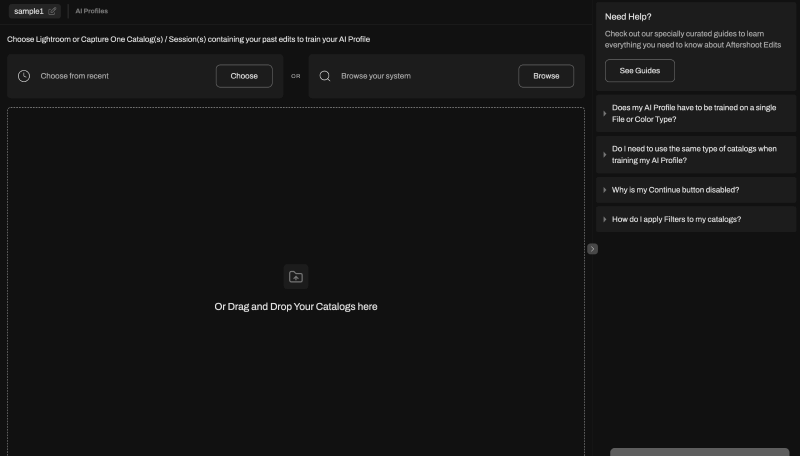
Upload your Catalogs by dragging and dropping them into Aftershoot EDITS, selecting them from your computer, or choosing from the Recent tab.
Note:
- You can add up to 15 different Catalogs.
- The more images your Catalogs contain, the longer it may take for EDITS to analyze them and build your AI Profile (if you feel the process is stuck, reach out to our in-app support team).
- We recommended adding Catalogs that contain images related to your preferred photography genre to fine-tune your AI Profile.
How many images should you upload?
Aftershoot EDITS requires at least 2,500 images to create an accurate AI Profile. However, we recommend uploading 5,000 or more photos to achieve great results.
Remember, the AI only learns from the information you give it. So, the more images you upload for training, the better it will understand your editing preferences for different shots.
Step 3: Filter & select photos
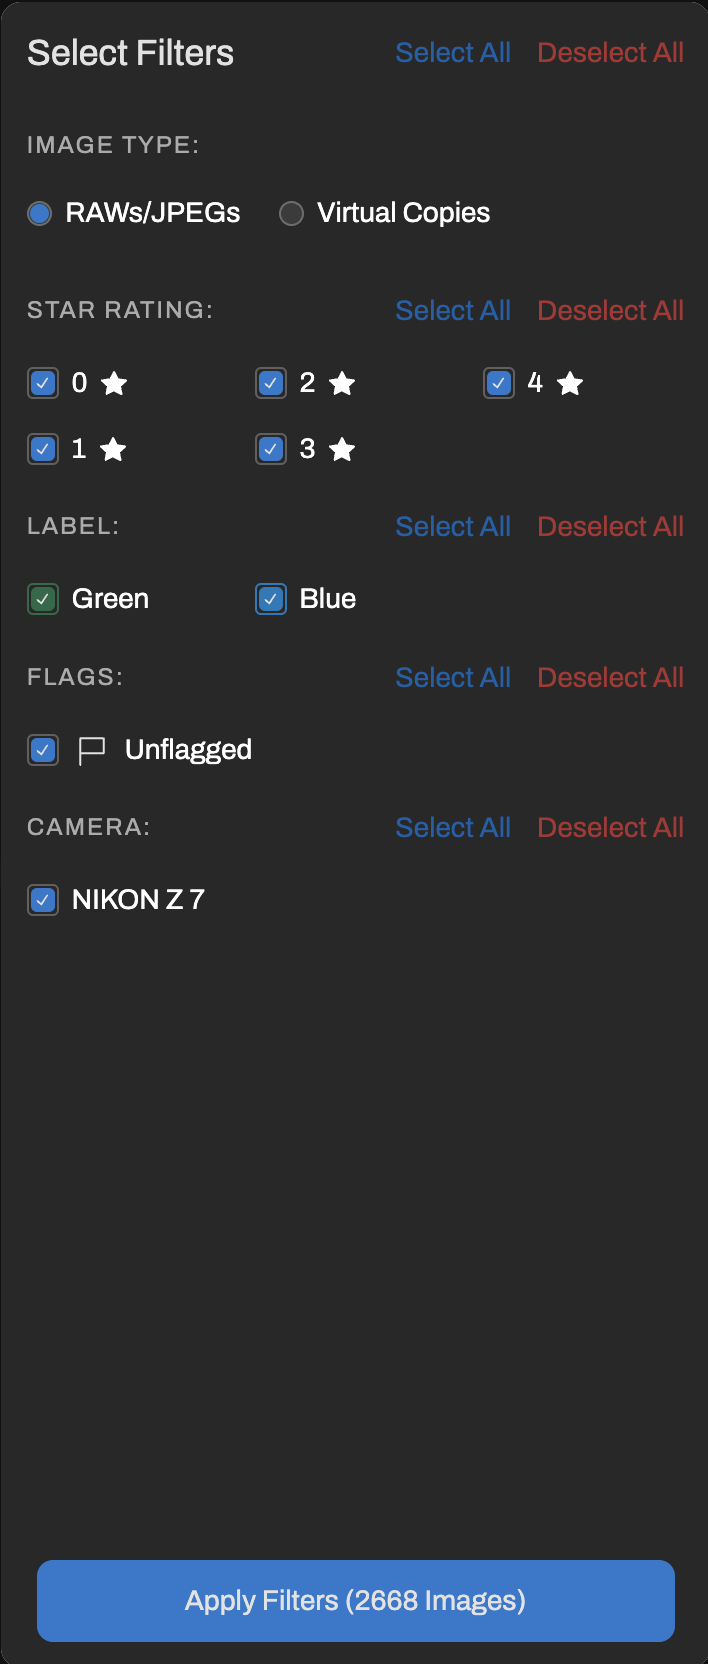
Once you have selected your Catalogs, you’ll see a new screen where you can explore the albums within your selected catalog(s).
You can streamline this process by filtering your Lightroom or Capture One Catalog to include only the edited images. It's helpful to use star ratings, labels, or flags to identify the edited images.
Step 4: Upload & train AI
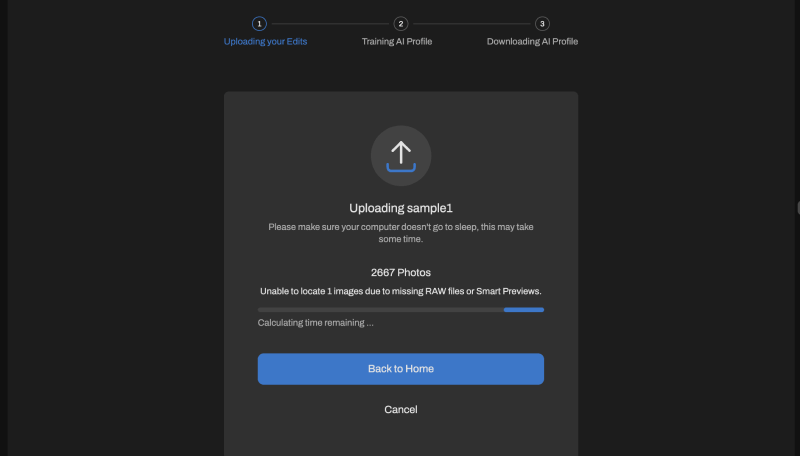
After you’ve selected your desired folders or collections within each Catalog, Aftershoot will create Smart Previews using the Adobe DNG conversion tool.
Smart previews help speed up the editing process, as they are smaller and quicker to load than the original files. This is especially helpful when working with large files or slower computers.
Now, you’ll be ready to hit Upload Photos and let the AI put on its training pants.
Note:
- This part can take a few hours, depending on the size of the Catalog(s), so take a well-deserved break.
- Aftershoot will send you an email alert and desktop notification once your AI Profile is ready.
- You need to close Lightroom or Capture One when uploading images for AI training and when running the editor afterward. Don't worry, the app will remind you to close Lightroom if you forget.
Did you hit a snag?
If you can’t upload your images, or if the number of images in Aftershoot does not match what you see in Lightroom, ensure your Smart Previews/RAWs are connected and that you aren’t selecting unedited photos for upload.
Tips for perfecting your AI Profile
AI editing with Aftershoot EDITS is a game-changer, especially if your AI Profile accurately reflects your unique editing style.
Here are some pointers to help you get the best results and continuously improve your AI Profile:
Diversify your training catalog
Make sure your training catalog is as diverse as possible so your AI Profile is better equipped to handle a variety of editing scenarios.
Don’t make the mistake of only adding your best portfolio shots. Instead, include photos shot in different lighting conditions, such as indoor, outdoor, flash, low light, and bright scenes. This will increase your profile’s versatility.
Use a consistent color profile
We recommend using a consistent color profile across all the images in your training catalog.
You can choose one of the standard profiles, like Adobe Color or Adobe Standard, or use a specific camera profile if your camera has one. This consistency will help your AI Profile make more accurate color adjustments.
Don’t be afraid to experiment
All photographers have inherent biases that affect how they edit. For example, you may edit winter weddings differently from summer weddings.
Experimentation is key to finding out what works best for you and your editing style. By including conditions such as cloudy days, different locations, and different lighting, you’ll create a more balanced AI Profile that will produce better results than dividing your sessions into specific categories.
Ultimately, you should strike a balance between consistency and diversity.
Ready to run your first edit?
Once your AI Profile has been created, you’re all set to start using Aftershoot EDITS to automate your editing workflow.
If you’re not 100% satisfied with your first round of AI edits, don’t be afraid to go back and add more images for training.
Just like the human brain, this AI is adaptive and intuitive – continuously learning from your past edits, as well as the further adjustments you make to the edits it does for you.
The more you use it, the more like you it will become in its editing style and accuracy!
Ready to start editing with Aftershoot? Check out this introductory video first, and then dive into editing with this video.
Ran into issues with EDITS? Get in touch with our 24/7 in-app support team or visit our online Support page to troubleshoot your query.
You’re also welcome to join our Facebook Community, where you can connect with over 7K professional photographers and get exclusive access to Aftershoot news, tips, and more.