Whether you’re starting out or already a pro, you need a thoughtful workflow that helps you compete in an increasingly commoditized market. Check out how pro photographers who adopted AI early are competing in 2025.
With that context, you’ll be able to make much better decision on tools that’ll help you structure your business the way you want!

Photo culling is a skill that requires months and years to master. Photographers spend countless hours in front of their screens, sifting through thousands of images to select the few that truly stand out, edit them, and deliver them to clients.
Picture a sculptor chipping away at a block of marble to reveal a hidden masterpiece. Similarly, a photographer must patiently and skillfully sort through their work, eliminating the mediocre and the repetitive photos to uncover the true gems. That is what we call the art of culling in photography.
In this article, we’ll give you a comprehensive understanding of what is culling in photography, why it’s necessary, what the photo culling process professionals follow, and how to speed up your culling process with the right software. Let’s get started.
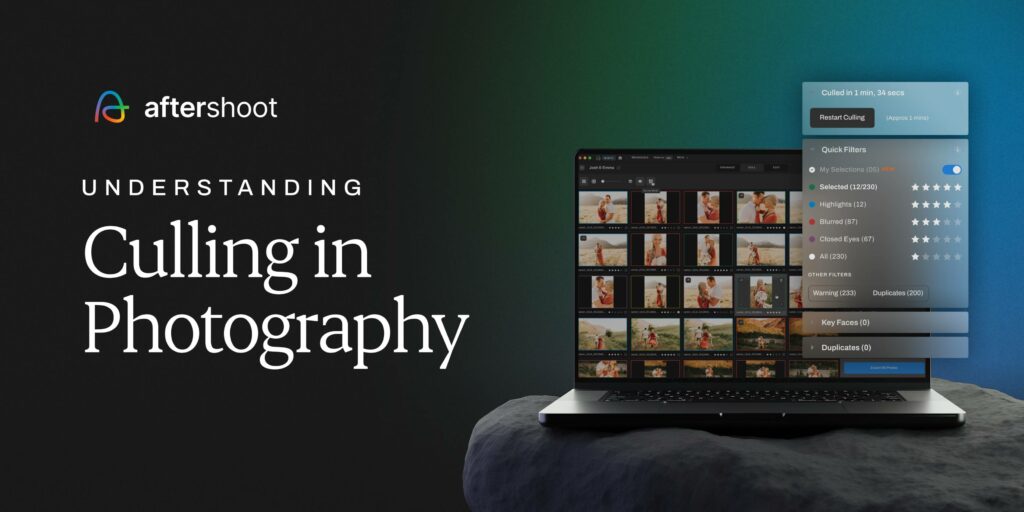
What is Culling in Photography?
Photo culling is the process of reviewing and selecting the best images from a shoot, typically removing duplicates, blinks, out-of-focus shots, or less impactful frames. It’s one of the first steps in a photographer’s post-processing workflow, helping streamline editing and ensure only the best shots are delivered to clients. Whether you’re an amateur or a seasoned professional, mastering culling can significantly speed up your workflow and improve your final output.
Some photographers get confused by the term “culling”, but it’s simple. The definition of culling is “to select from a group” and to “reduce or control the size.”
Recent advancements in technology have allowed photographers to speed up this process with AI. Culling images manually can take a very long time, especially if you capture thousands of images on a shoot. Selecting the best photo culling software to suit your style and needs as a photographer is essential for a faster workflow. But we’ll get to that later on in this article.
Alternatively, skip straight to this 3-minute, self-paced demo and see how culling, editing, and retouching with Aftershoot work!
Why is Photo Culling Important?
Now that we know what photo culling is, let’s talk about why it’s necessary. A professional wedding culling session can mean over 2,000-3,000 photos that the photographer has to sort through. Before you start editing and uploading those images for delivery, you begin the painstaking process of scrolling through photos to bring these 2000+ images down to, say, 700-800.
Why is culling so important? Because it helps streamline your process by:
- Producing faster results and turnaround for your clients
- Getting rid of poor images right at the start of your workflow
- Choosing only the best images to optimize your editing time, instead of doing things the other way around
Want to find out the perfect culling routine? Take our quiz to find out!

How Long Does Photo Culling Take, and Why?
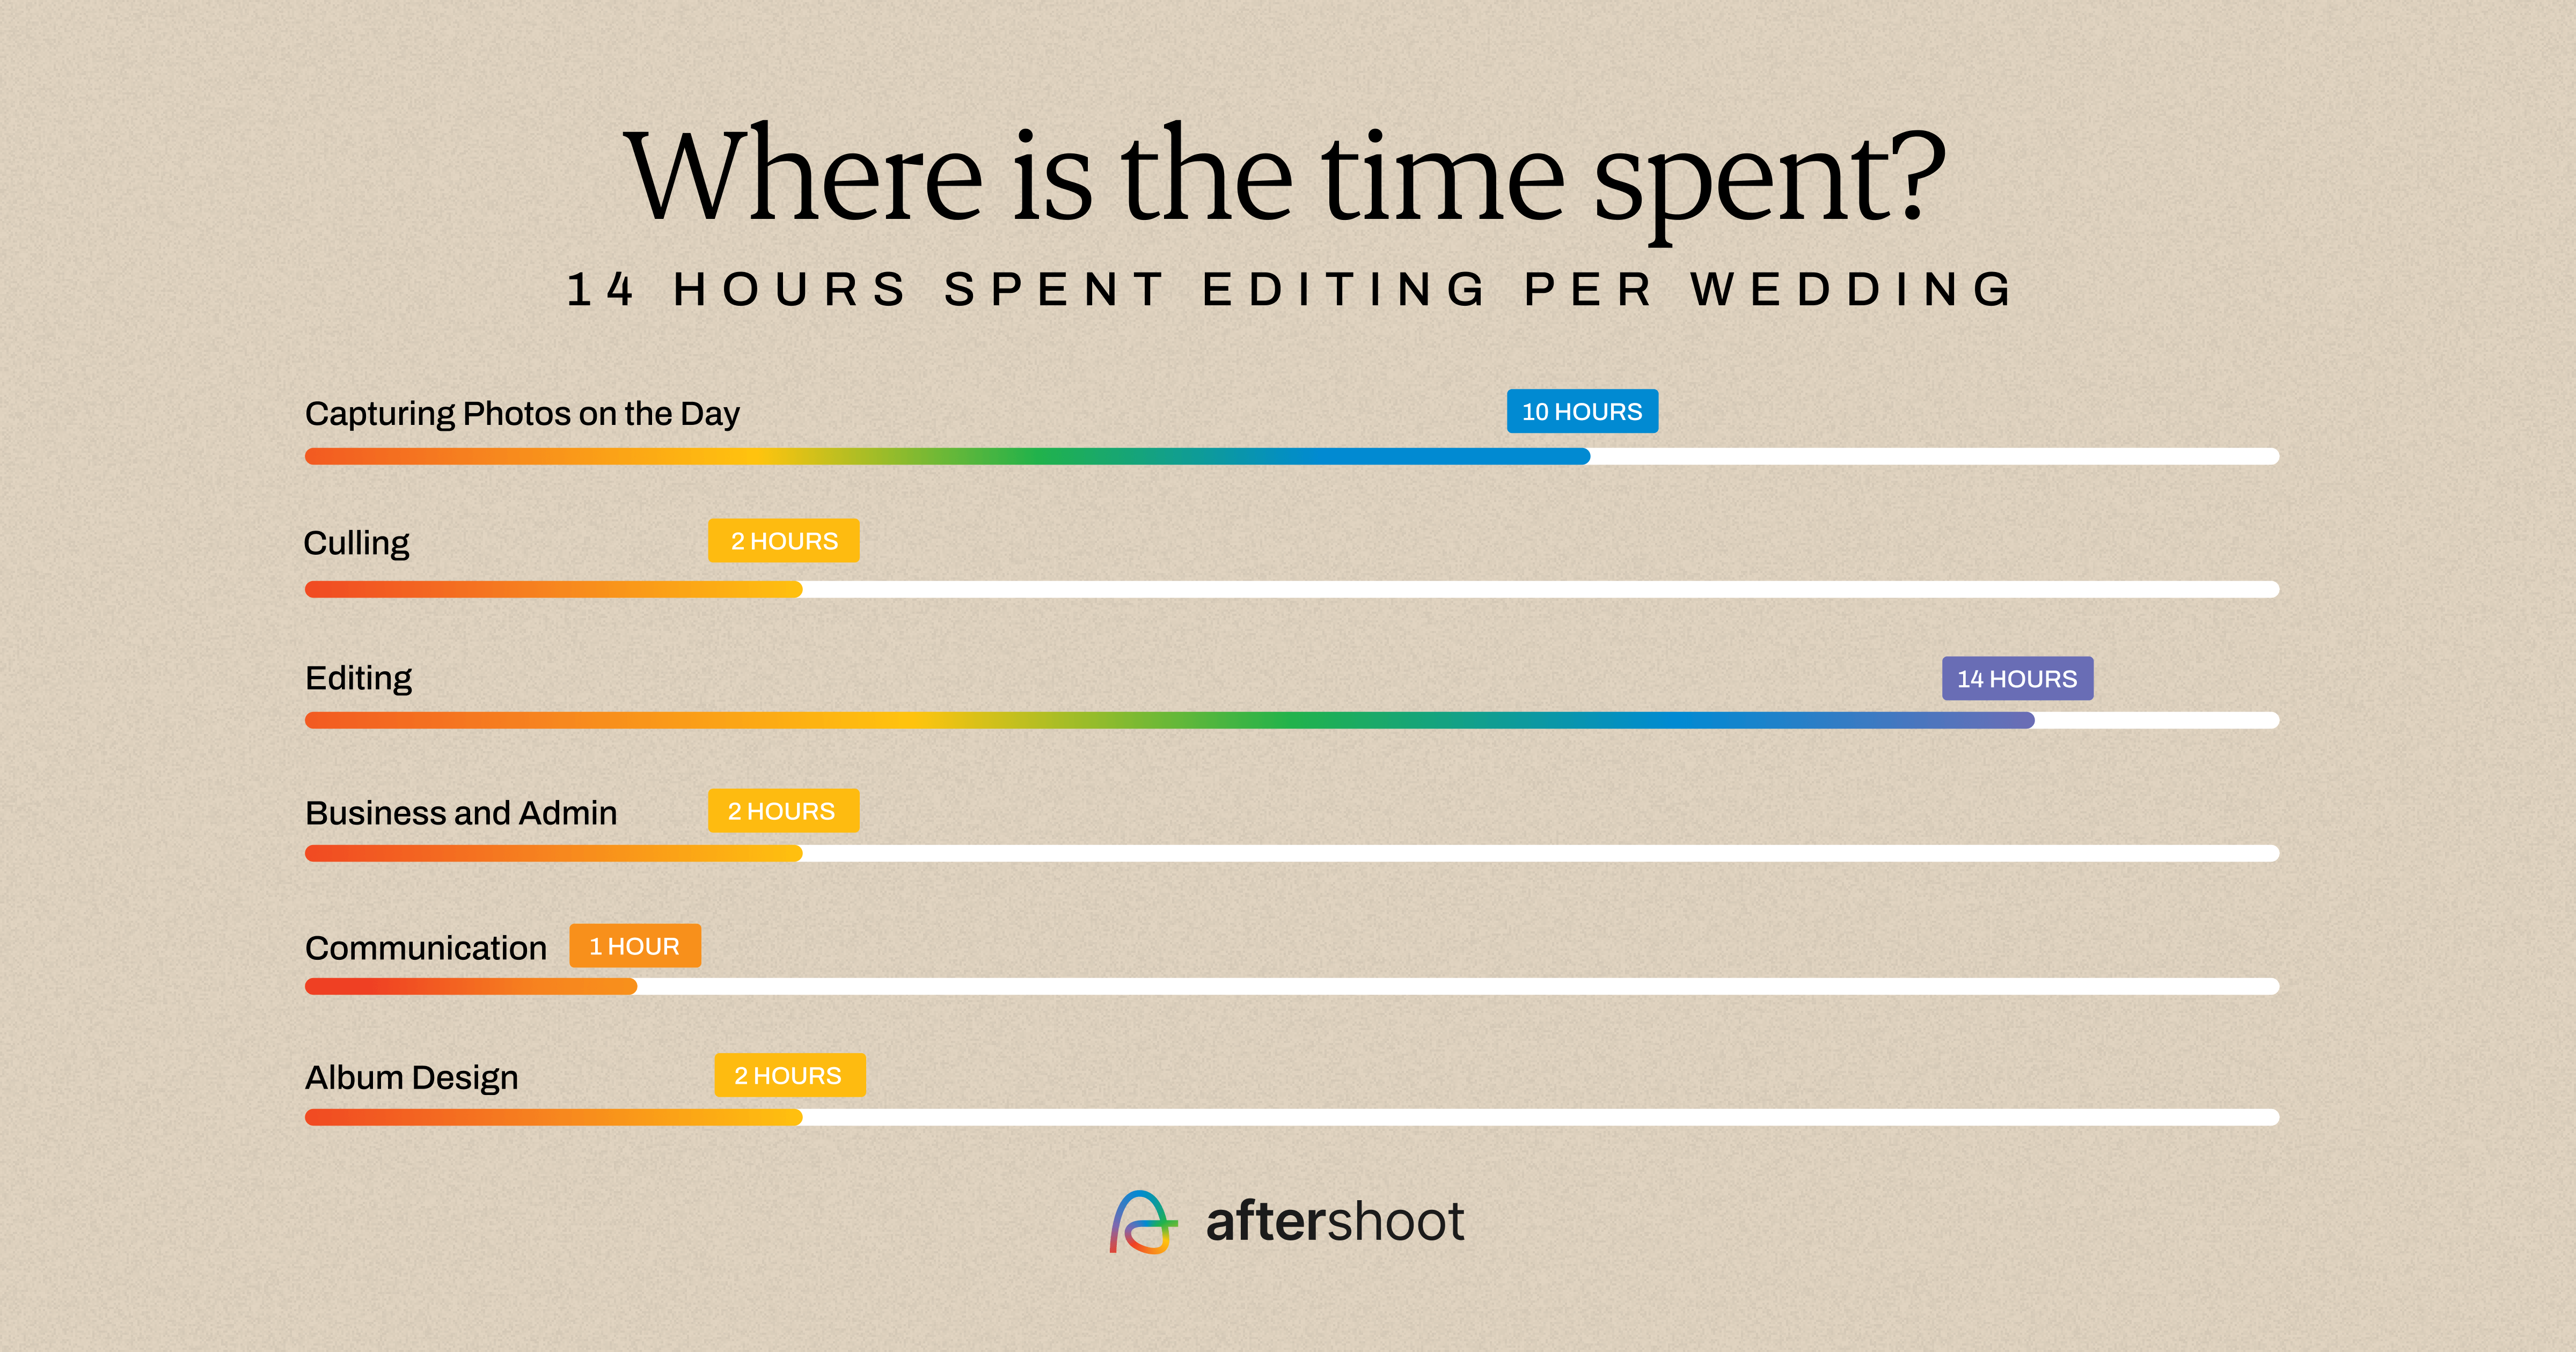
Research suggests that wedding photographers spend as much as 6.5% of their time culling images, while 45% of their time is spent on editing, 32% is spent on actually taking the photos, and the remaining on business/admin work.
According to our photography industry report, only 13.4% of photographers deliver photos in less than a week.
This means the post-processing workflow makes up more than half of a professional photographer’s working life. If you take 2,000 as the baseline number of photos taken during a session, that means you spend roughly 3 to 4 seconds saying yes or no on each picture, without any breaks or reprieve.
Given the time spent on this boring, mundane task instead of actually honing their craft, it stands to reason why photographers have been switching to AI culling software to optimize their culling process as much as possible.
Here’s what this wedding photographer said about using an AI culling software, Aftershoot: “As a wedding photographer, I regularly have thousands of photos to cull and edit – and culling is definitely not my forté!! Having developed a good workflow in Aftershoot to review my files, my culls are now so much quicker and actually enjoyable – never thought I’d say that!!”
Now, before we dive deeper into the photography culling process, let’s briefly talk about some of the best practices for photo culling.
5 Best Practices for Faster Photo Culling
No matter HOW you prefer culling through your photos, there are 3 best practices you should keep in mind to save yourself as much culling time and energy as possible.
1. First cull, then edit
You might need to cull a large group of images between 2 to 3 times, which is completely fine – just be sure to finish culling before you start editing. You don’t need to edit photos that might be tossed away later.
2. Input metadata
Embedding metadata or brief information such as name, place, and time into the set of images will help save you time later down the line when you’re editing or delivering the final set of photos and need to revisit them.
3. Use an AI Culling Tool
Traditional editing software can slow you down when reviewing hundreds of images. Instead, use tools like Aftershoot since it is built for speed and helps you quickly identify the best shots with features like AI culling, side-by-side comparisons, and face detection.

4. Cull on your device
To speed up culling, use a fast SSD or your computer’s local drive. Avoid slow external drives or cloud storage since they can lag when loading high-resolution images. Faster storage means quicker previews and a smoother workflow.
5. Establish your process
It might take a few culling sessions, but with each session comes more skills learned. You’ll pick up new tips and tricks to make your culling process quicker, and ultimately, you’ll establish your optimal workflow.
What does the Typical Manual Photo-Culling Workflow look like?
Now, let’s start with the more traditional and manual type of culling. Some photographers feel that the “right way” to cull images is to look at each picture manually, calling it a necessary evil and part of their jobs.
In such a case, the manual culling process for photographers looks like this:
- Come back from a shoot with your SSDs full of pictures.
- Import it into your choice of manual culling software, whether that’s Lightroom, Photo Mechanic, etc.
- Start culling your photos
- First round of culling: Delete duplicates, failed photos, under- and over-exposed shots, etc.
- Second round of culling: Go through the remaining photos and use a color-coding or star-rating system to decide which photos you want to keep, and which you want to discard.
- Third and final round: Add metadata such as the name, place, time, and any other identifying information to the final photos that survived the gauntlet.
Professional photographers often develop detailed culling workflows over the years. These systems bring consistency, predictability, and efficiency to their process. Manual culling is usually a key part of that, giving them full creative control over image selection.
But here’s the truth: many stick to manual culling because of a common myth. They believe AI culling means giving up control. That’s simply not the case.
AI tools like Aftershoot are designed to support your creative vision, not replace it. You stay in charge, choosing how you want to cull photos and making the final calls. AI just helps you get there faster.
What is AI Photo Culling?
AI photo culling or image culling means using artificial intelligence to cull through your photos. You can use tools like Aftershoot AI Selects – Culling software to assist and automate your culling, and save you hours.
Instead of going through each photo manually, AI analyzes key factors like sharpness, facial expressions, duplicates, and composition to reject poor shots and highlight the top picks.
The goal is to save time while still giving photographers control over the final selection. Most AI culling tools offer customizable settings, so the process can be tailored to match your style and preferences.
AI vs Manual Culling: Which is Faster?
When it comes to photo culling, speed is everything, especially if you’re a high-volume photographer juggling hundreds or even thousands of images per shoot. So, which method gets you to the final selects faster: AI-assisted culling or the traditional manual approach?
Manual culling can take several hours per shoot, depending on the number of photos. Every image must be reviewed individually, often using Lightroom or Photo Mechanic. While this offers full creative control, it’s time-consuming and mentally exhausting. If you are someone who likes to go through every image in detail to make sure the best ones make the cut, culling manually might be right for you. If so, here’s a helpful video walkthrough video to watch to cull photos in Lightroom manually.
AI culling tools like Aftershoot can reduce culling time by up to 80%, turning hours of work into just minutes. The software uses machine learning to:
- Detect duplicates
- Flag blurry or poorly composed shots
- Identify emotional expressions and eye contact
- Pre-select top images based on your preferences
Most AI tools offer easy review and override options, so you’re still in control, just faster.
“I had uploaded a full wedding gallery (8,919 RAW images) from my external SSD to Aftershoot to cull and edit. It finished culling in under an hour (seriously, I still don’t know how it’s that fast),” said Crystal Duff, a wedding photographer.
Here’s a comparison table to help you understand which processing workflow works best for you.
| Feature | Manual Culling (eg. Lightroom) | AI Culling (eg. Aftershoot) |
| Time per 1000 images | 3 – 5 hours | 10 -20 mins |
| Requires Editing App | Yes | No |
| Can run offline | No | Yes |
| AI Auto Selections | No | Yes |
| Smart Filtering | Limited | Yes |
| Speed | Slow and repetitive | Fast and automated |
| Control | Full creative control | High (with the ability to review AI choices) |
| Fatigue Level | High – mentally draining | Low – less repetitive decision-making |
| Consistency | Varies with human mood/attention | Consistent application based on selection logic |
| Best for | Photographers who want full control | High-volume photographers, time-saving |
If saving time is your priority (and let’s be real, it should be), AI culling wins hands down. You get to spend more time shooting or editing your selects, and less time stuck behind a screen.
How to Cull Photos Quickly?
Let’s say you’ve just completed photographing a wedding and have almost 2000 – 3000 images to process. This is where AI workflow software like Aftershoot proves beneficial. Here’s how to cull photos quickly:
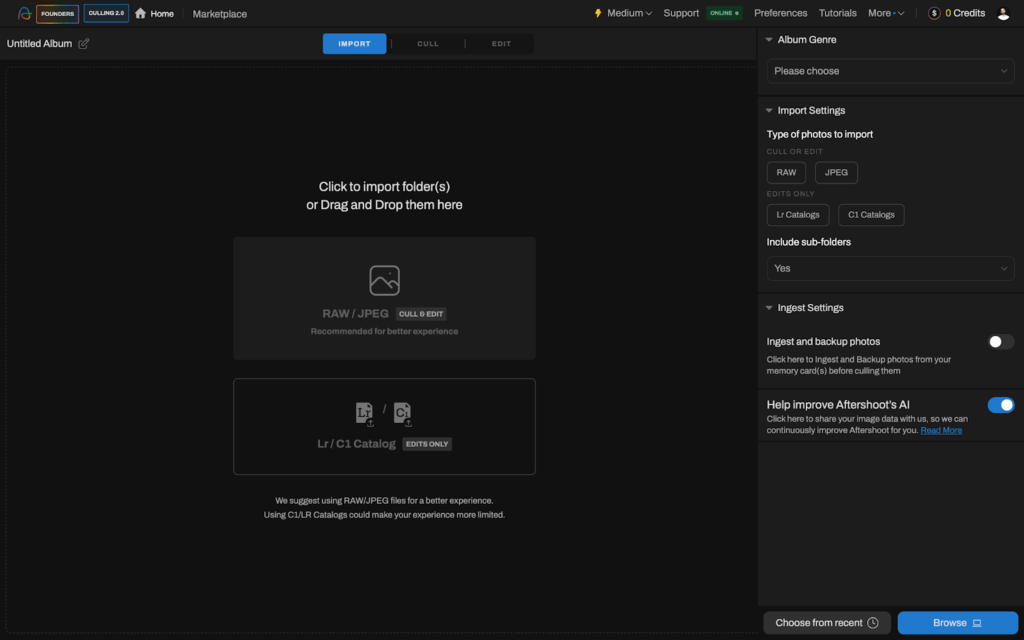
Step 1: Import your photos into the AI culling software
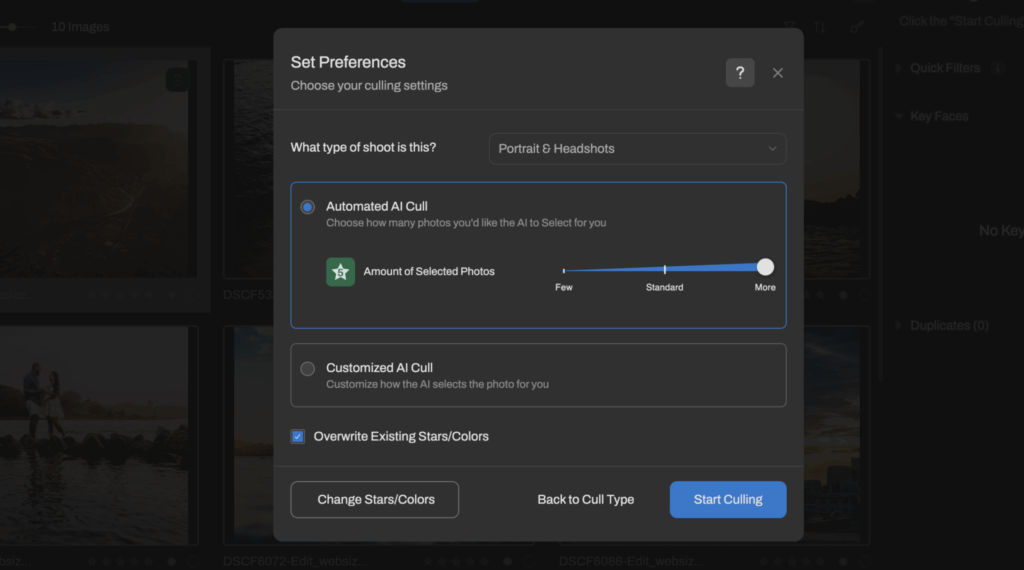
Step 2: Select your culling type and preferences and click Start Culling. The AI will:
- Flag photos with closed eyes or blurry faces
- Group similar images (like burst shots)
- Recommend the best photo from each group
- Tag poor images as rejects or auto-rate them
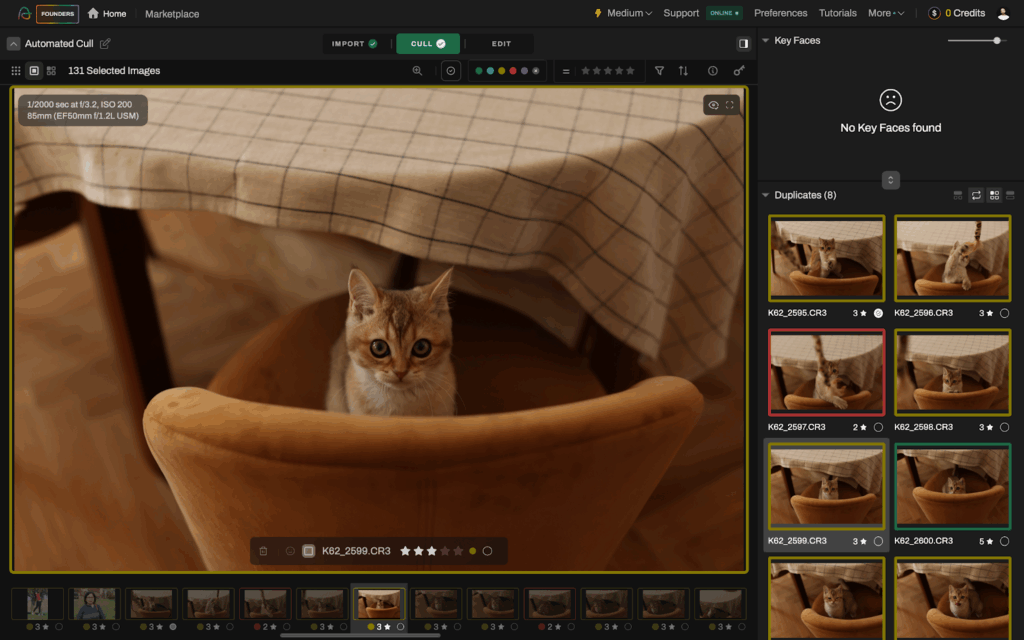
Step 3: Review the selections using different modes (Grid, Loupe, Survey)
Step 4: Export to your preferred editing software or move to the edit tab to apply edits
This process usually takes a few minutes per 1000 images. After running through your photos, it will give you at least 700- 800 photos to review. That’s a considerable amount culled down from what you had on your plate. Most AI tools give you full control, so scroll through the suggested selections and tweak anything you disagree with.
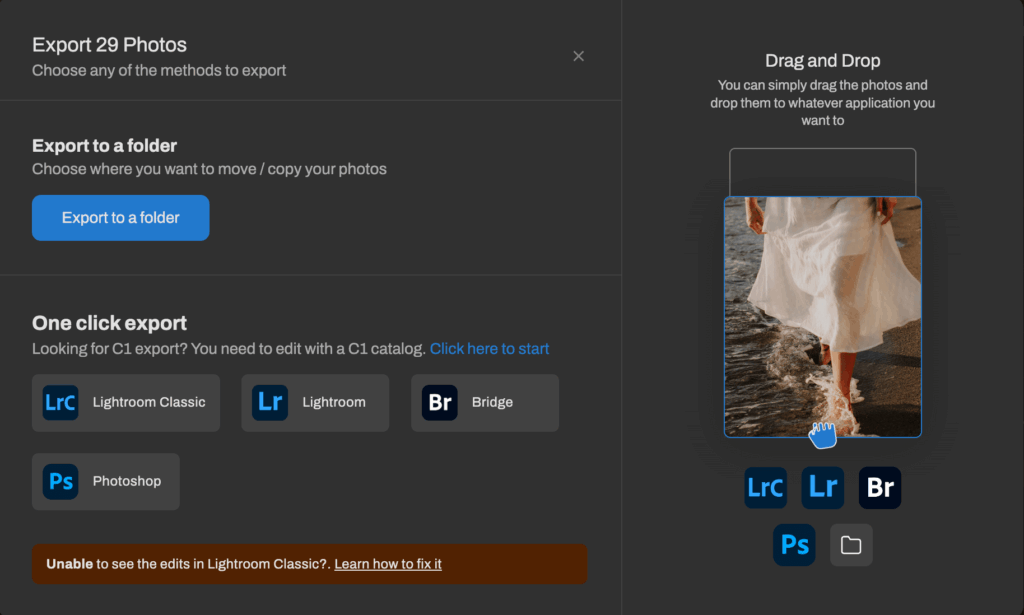
Once you’re happy with the culled selection, export them to a folder or send them straight into your photo editing software to start the editing process.
When using AI to cull photos, take advantage of advanced features that help prioritize images where subjects have open eyes, genuine smiles, and are in sharp focus. This is especially useful in portrait sessions or events with lots of group shots. If you’re dealing with large sessions like weddings or sports, batch culling entire galleries can save hours.
Many AI tools also work offline, so you can start culling on the go, even without an internet connection. The primary reason why investing in software like Aftershoot is way better than just using any other photo-culling and editing software is that it runs locally on the user’s system and lets the user retain full control of the selections.
It makes it extremely easy to review and edit the selections made by Aftershoot. With the help of Aftershoot, you can save hours and take back control of your time to focus on things that matter the most to you: your craft and your business.
What is the Best Culling Software for Photographers?
There are a few options you have when you start looking for a tool or program to streamline your culling process as a photographer. Below are some of the best photo-culling software today.
- Aftershoot: One of the best AI image culling software that works offline and offers one flat fee. (Don’t take our word for it; see what our users say!)
- Imagen: Photo culling software similar to Aftershoot but doesn’t work offline with a pay per image pricing model.
- Photo Mechanic: The old but gold standard of manual photo culling
- Narrative Select: An AI-assisted culling tool that sort of falls in the middle of Aftershoot and Photo Mechanic.
- Adobe Lightroom: While not exactly a culling software, many photographers do still cull manually in Lightroom.
- FastRAWViewer: Does what it says on the tin; helps you view and filter through RAW files fast but manually.
Check out our full round-up of the best photo-culling software here, or see what’s best for you, Aftershoot vs Imagen. Or…..
Why Choose Aftershoot?
Aftershoot is a top choice for 200k+ photographers who want to cull photos quickly and efficiently without sacrificing quality. Its powerful AI analyzes thousands of images in minutes (30+ factors) automatically rejecting shots with closed eyes, blurry focus, or missed expressions while surfacing the best ones from each burst.
“As a photographer, time is everything—and Aftershoot has seriously changed the game for me. What used to take me hours (sometimes days!) now takes a fraction of the time. The culling is super smart, and the editing features are surprisingly spot-on. It’s like having a reliable assistant who knows exactly what I need, without the back and forth,” said Scott, a wedding photographer.
Pros of Aftershoot
- Unlimited AI culling: Cull as many photos as you want; there are no limits on the number of images or sessions.
- Extreme Cull Feature: Allows you to cull down photos even further (just 10%-20% of your entire photoshoot)
- Customizable culling settings: Choose between different culling options and preferences
- One Click Cull and Edit: Allows you you cull and edit on the go – just click the button and do your thing and when you return, you will have a set of selections ready for review.
- Survey Mode: Compare similar images and selections side by side in a clean, distraction-free view.
- All in One Workflow: Aftershoot isn’t just for culling, it now includes AI Editing and AI Retouching too. Once you’ve selected your best shots, you can edit them in your unique style or retouch portraits instantly, all in the same app. It’s a streamlined end-to-end workflow designed to save hours in post-production.
- Works offline: No internet? No problem. Aftershoot runs locally on your machine, so you can cull and edit from a cabin, a coffee shop, or even mid-flight.
- Export to your preferred editing software: Once you’re done culling or editing, you can export your selections directly to Lightroom, Capture One, or any editing app you use.
- One flat fee: Aftershoot offers unlimited usage with one predictable subscription. Unlike other tools that charge per image or per project, there are no hidden fees or scaling costs.
- 24×7 customer support: Got questions at midnight or need help during a weekend wedding edit? Aftershoot’s customer support is always available to support you every step of the way.
Cons of Aftershoot
- Ideal for high volume photographers: Aftershoot really shines when you’re working with thousands of images per shoot, think weddings, events, or commercial sessions. If you’re a hobbyist or only shoot a few hundred images a month, you might not get the full value from the unlimited plan, especially if you’re not using both culling and editing features.
Note: For photographers who want to spend less time sorting and more time creating, Aftershoot offers a fast, reliable, and intuitive solution.

Watch this video to see how easy it is to cull with Aftershoot or read the full step-by-step guide on how to optimize your photo culling workflow with Aftershoot
Best Culling Workflows Recommended by Professionals
Let’s learn from experts on how you can streamline your photo culling process.

We realize that while following a guide for photo culling is helpful, getting insights into the workflow of an actual photographer is often more practical.That’s why we reached out to some of Aftershoot’s power users featured below to take a peek into their workflows and help you optimize your own!
Justin Benson, Wedding Photographer & Co-founder of Aftershoot
🌐 J.Benson Photography | Follow on Instagram
Step 1: After completing a shoot, my first step is always backing up my images! Download those memory cards to multiple hard drives and keep them safe. There are no shortcuts here. Get those photos downloaded, saved, backed up, and protected. From there, we can work on ways to keep our workflow fast.
Step 2: For me is culling the images to select the ones I’ll be editing and delivering to my clients. To do so, one of the greatest tools I utilize is Aftershoot. It does the heavy lifting for me with the AI Automated culling process. It will select the best images, categorize duplicates left, pick the images without blur and closed eyes, and reduce the number of images you have to look at in your editing software. Coming from Photo Mechanic, this is a huge speed boost for my workflow!
Step 3: Once culling is completed in Aftershoot, I take a few minutes to review my results. This is not required, but it can help verify what you have and get rid of some images that are inherently selected due to their uniqueness. While they may be unique to your image set, they may be photos that you just didn’t mean to take or don’t need (think testing light, etc.).
Step 4: Once my final images are selected in Aftershoot, I import the images into Lightroom.
Upon importing to Lightroom, I view all of my 5-star images (selected images from Aftershoot) in the library mode. From here, I break the images up into sections using Collections.
I like to have my weddings broken up into Prep images, First Look, Ceremony, Formals, and Reception. Breaking up the images makes it easier to take on small chunks of editing at a time.
I run Aftershoot typically in the morning while I answer emails so that by the time I am ready to get to editing, I have a completed cull ready to edit – using Aftershoot Edits, too, of course!
Michael Fayehun, Wedding Photographer
🌐 F10 Studio | Follow on Instagram
As a Wedding Photographer, I normally come back home with thousands of photos after each wedding shoot, and this usually takes me a couple of hours to cull down to the number of photos that I will deliver to my client.
Earlier, my approach was to go through 2-4 culling rounds.The first to eliminate bad exposures and out-of-focus shots, the second to eliminate duplicate images, and the 3rd and 4th usually to get my final number of photos to be edited down to the ideal number that I then deliver to my clients.
How Aftershoot has changed my workflow
“I’ll be honest with you, I outsource some parts of my business, and this has been something that I’ve always thought would be impossible to outsource because I did not want to exclude creative shots where I knew why I took them. No one else would understand and maybe not select them,” he said
“But over time, I’ve run so many of my shoots through Aftershoot with the AI Automated Culling function, and its ability to select the best shots that I need to see and edit gets better every time.
The team at Aftershoot has worked incredibly hard, getting constant feedback from the early users to improve the algorithm and selections, and I am now fully convinced that this is the software for me!” he added.
“My culling process has been cut down from multiple hours to under an hour to select final edits from thousands of images. This game-changer will be a key part of my workflow moving forward!”
Martin Cheung, Wedding Photographer
🌐 Martin Cheung Photography | Follow on Instagram
I suspect my original workflow for culling was like most other wedding photographers. I would put all the RAWs into a single folder and then open up Photo Mechanic. Then, it was simply a case of powering through the thousands of images I had taken at each wedding, using T to tag and untag photos.
I saw the culling process as a necessary evil. The worst part was simply the monotony of it since I can easily take around 5,000 images at a single wedding. Including my second shooters, it was not unusual to be over 7,000 images in a single day. With 50 weddings each year, you can quickly see how much time I spent just culling!
I admit to being very skeptical about Aftershoot initially. I was dubious if AI could replace such a fundamental part of my workflow when selections are a judgment call oftentimes. I’m pleased to say that so far, the results have been great!
My workflow now is as follows:
Once the RAWs are all copied onto my computer, I open up Aftershoot and create a new album.
Next, I drop the folder into Aftershoot, choose my settings (I tend to leave everything on the strictest settings for the AI Automated Culling mode), and simply hit Start Culling.
As the computer processes the images, I can spend this time doing something else more productive! Answering emails, watching Netflix, or spending time with the family! Anything but wading through thousands of images. Aftershoot is also faster than I am. Way faster!
Once the culling is complete, I have a quick scroll through to exclude any images that have been selected, but I don’t think it quite makes the cut. The grid view makes it easy for me to remove any images where I still have many duplicates and want to cut down on the final selection further.
I’ll then import the lot into Lightroom, where I have pre-created Smart Collections to match the ratings Aftershoot uses. E.g. 5 stars for selected, 1 star blurred. I am surprised and very pleased that Aftershoot has become an integral part of my workflow.
It has already saved me hours and hours of culling hell. It has made this mundane but necessary part of my workflow fun again. And it has quickly become one of those must-have tools I never knew I needed!
Speed up your Photo Culling Process with Aftershoot
We’ve answered, “What is culling in photography?” but now an even more important question arises: What will you do to streamline and speed up this very necessary but tedious process?
Here’s the solution: Use Aftershoot to cull faster!
Our AI culling software is safe, reliable, fast, user-friendly, and, best of all… it works without an internet connection.
Ready to give it a try? Start your free 30-day trial now!
Frequently Asked Questions on Photo Culling
How do you organize thousands of images before culling?
Once you have your RAW files on your computer, you must decide how you want to organize and sort them so that they do not end up scattered across your hard drive.
Photographers organize their photos in a variety of ways, including assigning stars to favorite images, categorizing images with color combinations, creating personalized image groups, and much more.
If you’re dealing with years of images, you might want to start with the main folder for each year, then create subfolders for events, clients, specific locations, and so on.
Getting organized can be difficult, but once you have a system in place, the task of downloading and editing images becomes far less stressful.
While you are choosing your best images to send to your client to let them select their favorites, make sure to include your feature images.
Feature images are the best of the best of your images; like the reaction of the bride’s mom when she sees her daughter in the wedding dress for the first time. These are the kinds of images that will make your clients go “Aw…” and maybe shed a tear or two. These photos are your money-makers!
Read also: How to Price Your Wedding Photography?
Why are backups important during photo culling & editing?
No matter what solution you choose to store and back up your files — whether it’s cloud storage, external hard drives, or both — the most important thing is that you fully understand the system you have in place and stay consistent.
When you finally get your photos backed up in a few different places, it gives you peace of mind. You no longer have to worry if your client’s photos will get accidentally deleted. In addition, you have multiple copies, so if one fails, there is always a backup.