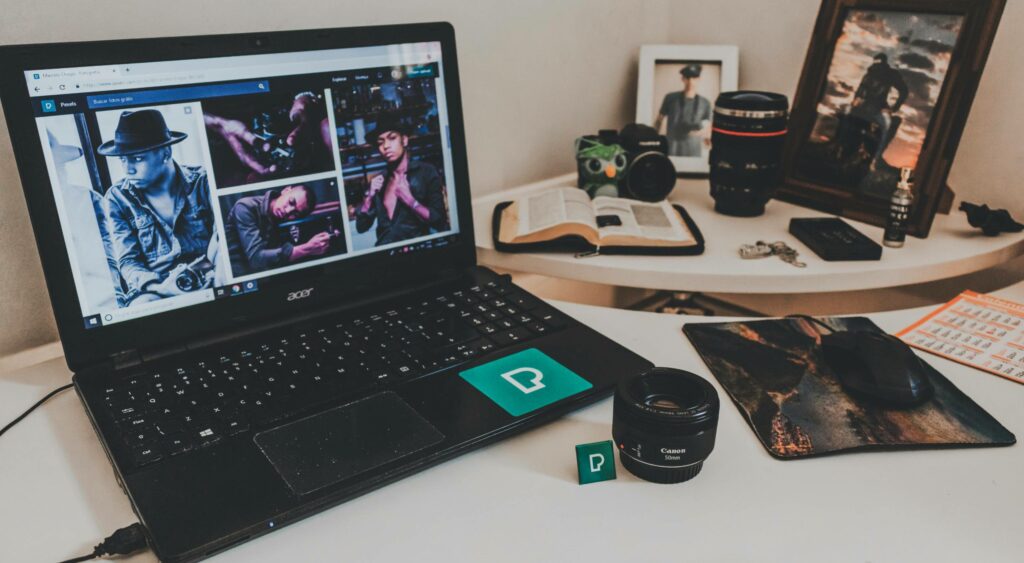
As a photographer, editing is one of those tasks that feels either super rewarding or downright overwhelming. Whether you love tweaking every detail on your photos or just want to get through it quickly, an efficient photo editing workflow is the key to saving time — and maybe a little sanity.
Let’s be honest, we’ve all spent way too long on a single session, adjusting the same settings over and over, or trying to find that one image in a sea of files. A manual photo editing workflow requires multiple steps, switching between multiple tools to finally make images ready for clients. And how much time do you think this takes? But it doesn’t have to be that way! With a few simple tweaks and adopting new tools, you can streamline your photo editing process and get more done in less time.
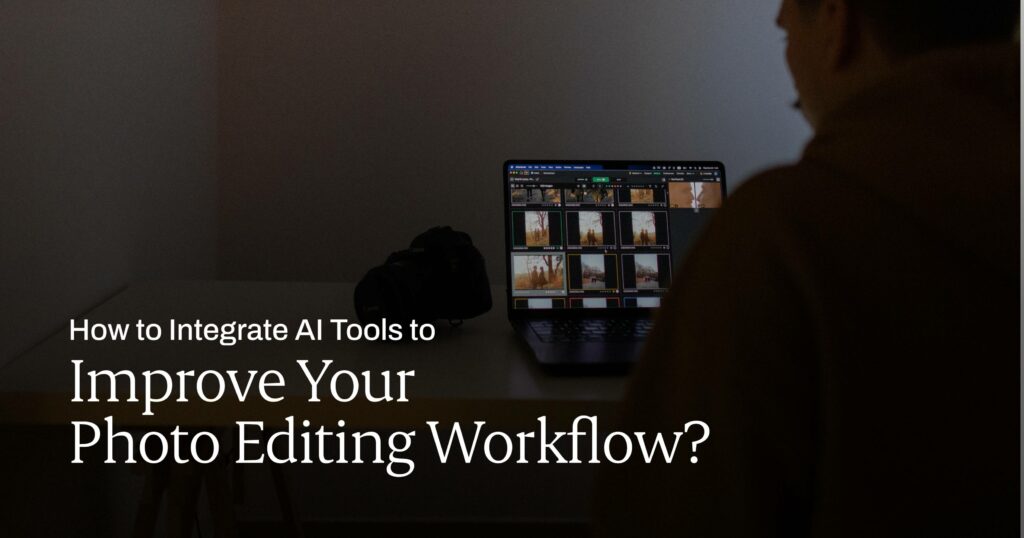
In this article, I will show you how you can integrate AI tools to simplify and improve your photo editing workflow.
How to get started with an AI-Powered Photo Editing Workflow?
An AI photo editing workflow is all about speed and efficiency. Tools like Aftershoot use artificial intelligence to analyze your images and make automated adjustments based on predefined settings or learned behaviors.
AI editing workflows are ideal for photographers who need to process large volumes of photos quickly without sacrificing quality.
When you’re bogged down with 10,000 photos to edit, AI-powered editing is here to save the day. Here’s how you can integrate AI into your photo editing workflow and streamline your entire process. In this example, we will walk you through how to use Aftershoot to improve your editing workflow
Step 1: Organize your files
We see all the questions out there — “how do I set up a photography workflow?”, “how do I get started?” Well, this is the most crucial step before you start your photo editing process.
Here’s one of the most important photo editing workflow tips: A well-organized file system. If you’re constantly hunting for images or struggling to remember where you saved that amazing shot, you’re wasting valuable editing time.
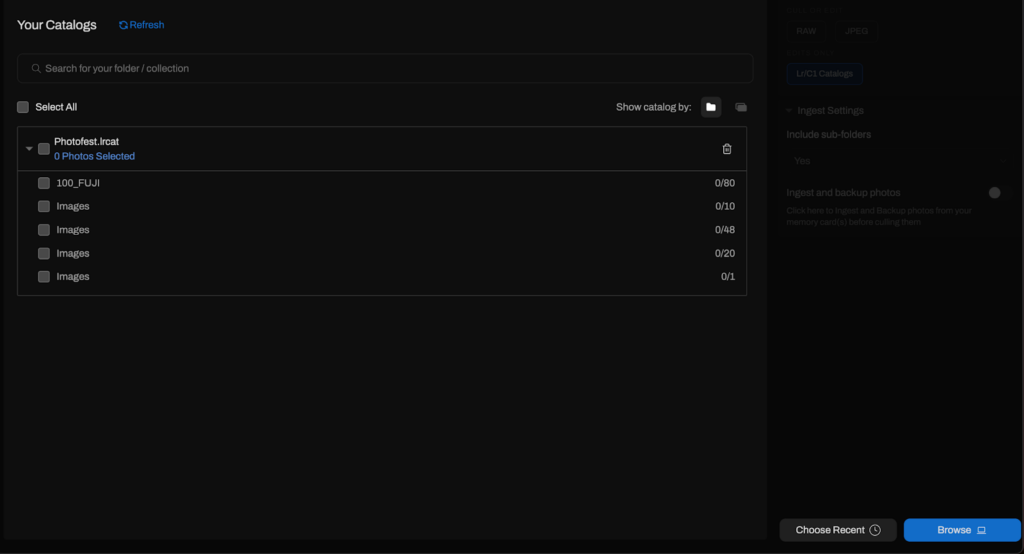
Start by creating a clear folder structure that makes sense to you and is easy to navigate. Many photographers like to organize their files by date, project name, or client name. For example, you could have a main folder for each year, subfolders for specific shoots, and within those, separate folders for raw files, edited files, and exports.
Here’s an example of how you can do it

Note: Don’t forget about backups. Invest in an external hard drive or cloud storage solution to ensure you always have a safe copy of your photos. Using tools like Adobe Lightroom’s built-in organization features or other DAM (Digital Asset Management) systems can also help keep everything organized, searchable, and accessible from any device.
Wedding Photographer, Paul Waring says, “Back up your files as soon as they’re on your hard drive. I make it a point to save a copy on another external hard drive. These are also backed up to the cloud, just in case.”
Once you’ve organized your files, let’s open Aftershoot to start editing our photos.
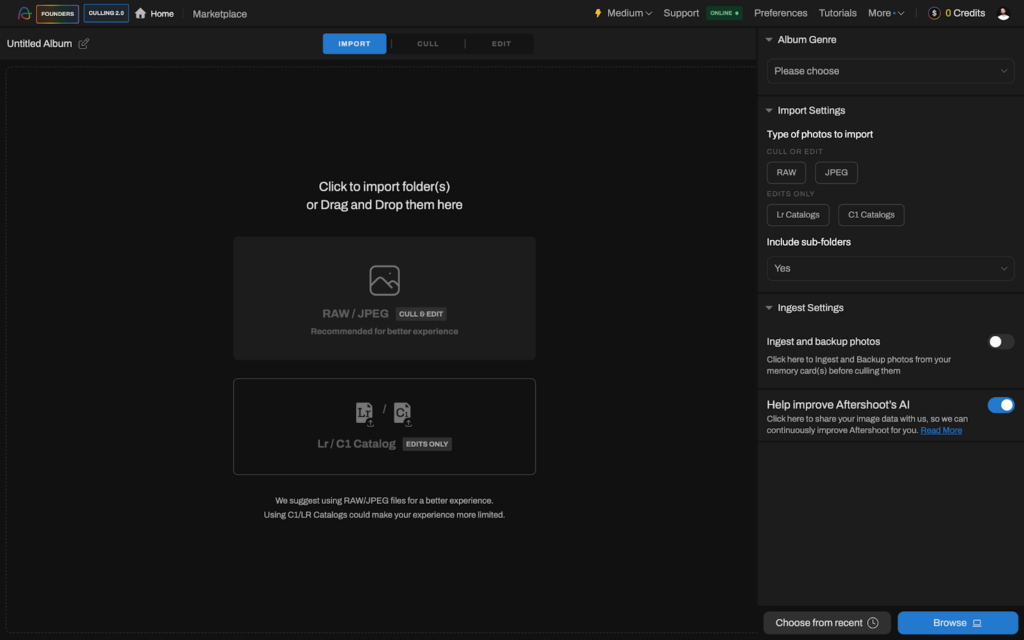
Step 2: Import your Photos
Once you’ve opened the Aftershoot tool, you can start by importing your photos on the dashboard. On the Aftershoot Home Screen click on + New Album or on Create New Album.
Step 3: Cull Your Photos
To get started, just click on the Cull tab at the top of your screen. Next, hit Start Culling, choose the type of Cull you want to run, set up your preferences, and click the Start Culling button again.
You can choose between two preferences – AI-automated culling and AI-assisted culling
With AI-automated culling, Aftershoot analyzes your images and selects the top ones for you to review. If you prefer more control, you can choose AI-assisted culling, where you make the selections yourself but get support from Aftershoot’s features like duplicate grouping, Key Faces Detection, and Image Scores to streamline and speed up the process.
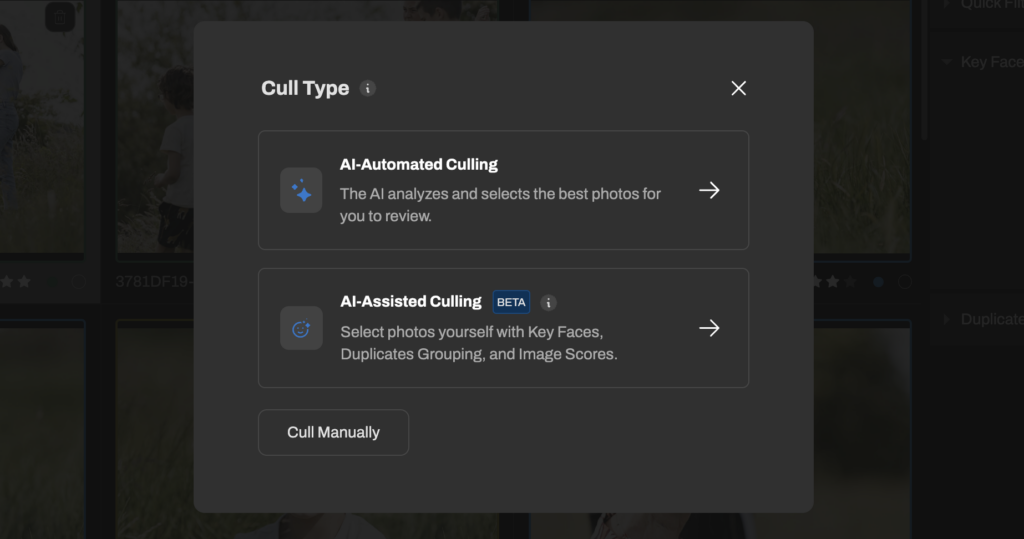
You can also cull and edit your images in a single go, by opting for One-click Cull & Edit in the upper right corner. Check out this video to learn how to cull faster with Aftershoot.
You’re all set!
Step 4: Train your AI Profile
Ready to create your very own Personal AI Editing Profile that captures your unique editing style? It’s super easy!
Now what is an AI profile? It is a personalized editing profile that learns your photo editing style and applies it to your photos.
Just click the + Create New Profile button and drop in at least 2,500 of your edited images to train your profile. Learn more on how you can train your profile here
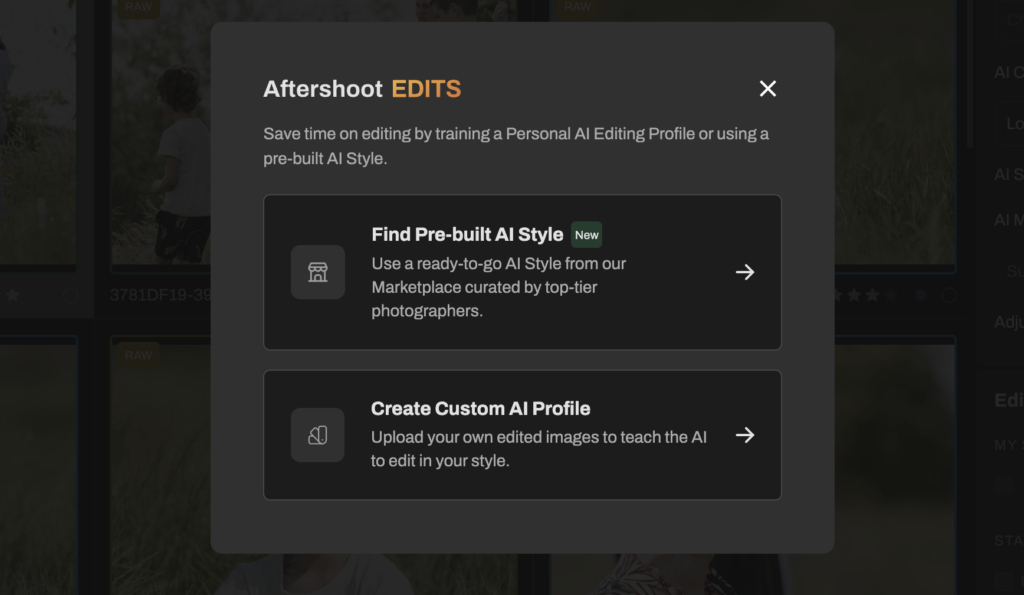
What if you don’t have 2500 images to train your profile? We’ve got you covered
Use a pre-built AI Style or Creator Style to edit like your favorite photographers. Just scroll through the list and download the one that catches your eye! You can even use the Compare toggle to see them side-by-side for easier picking. Want to dive deeper? Head over to our Marketplace to explore
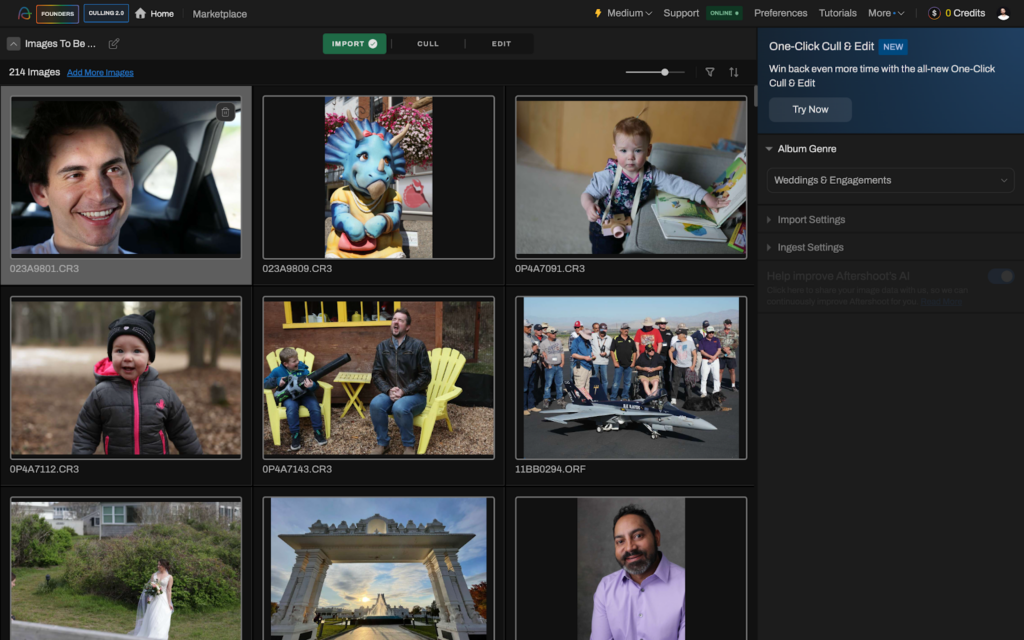
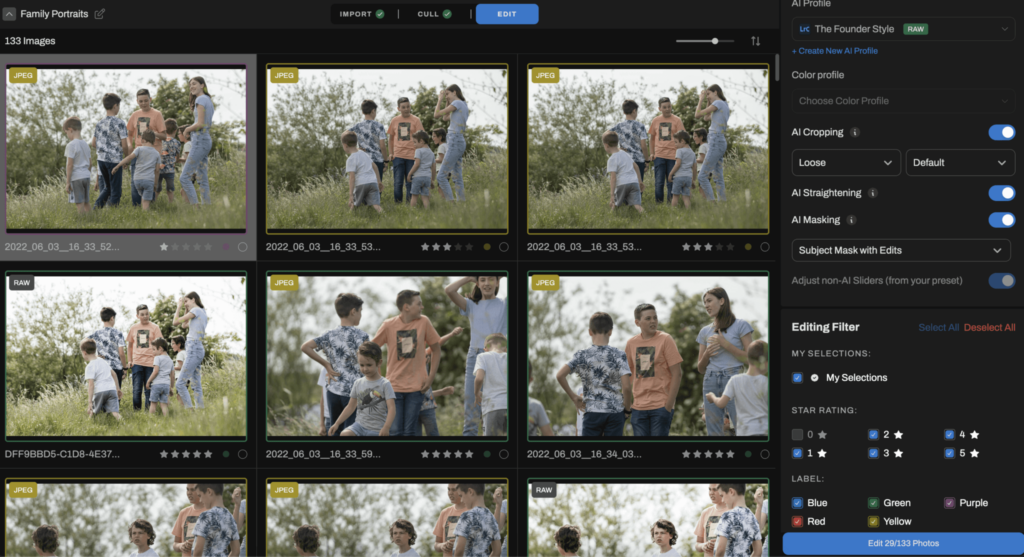
Step 5: Filter and Select the Images
Next, it’s time to select the images in this catalog that you want to edit! By default, your imported catalog will show the images in Folder View. But if you prefer, you can switch to Collection View by clicking the icon in the screenshot below.
Then, further, choose which images to edit within the selected collections and folders by applying filters. Click on the Apply Filters button, to bring out the Filter selection drawer.
Here you can choose to filter images inside a catalog by Image Type, Star Rating, Color Label, Flags, and Camera.
Step 6: Select your edit preferences
We are almost done..!
In this step, select all your editing preferences on Aftershoot and click edit. Sit back and relax and let Aftershoot handle it for you!
Note: Keep in mind that Personal AI Editing Profiles trained in Lightroom Catalogs can only be used to edit Lightroom Catalogs. The same logic applies to Profiles trained on Capture One catalogs.
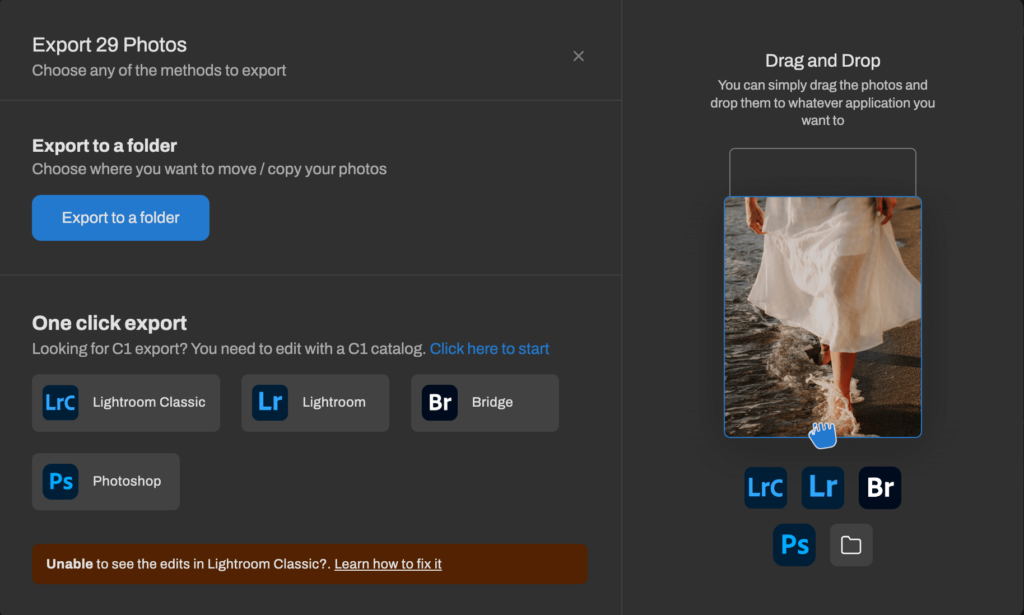
Step 7: Export and Review
Once your edit is done you will receive an in-app notification, as well as an email. To start reviewing your images, just click on Review in Lightroom or Capture One or “by”, and it will reveal a list of your preferred apps, ready for you to make any tweaks or adjustments. If you’d rather do it manually, you can always export the images and go through them at your own pace!
And voila, we are done!
If you need more help, here’s an in-depth guide for you to edit on Aftershoot
Simplifying Your Photo Editing Workflow
There really isn’t a one-size-fits-all “best” photo editing workflow. What’s most important is finding and applying the workflow that suits your unique style and needs, rather than simply trying to replicate someone else’s approach.
As AI continues to evolve, even more advanced features will likely become available. AI-powered photo editing workflows are not about replacing photographers but enhancing their abilities, allowing them to work faster, smarter, and with more creative freedom.
I mean who doesn’t want the tedious parts of editing to just magically go away right?
AI gives photographers more time to do what they love.
Ready to streamline your photo editing workflow? Claim your FREE 30 Days Trial
FAQ on AI Editing Workflow
What photo editing tool should I use?
Choosing the right photo editing tool can feel overwhelming with so many options out there. But the good news is, that the “best” AI tool for photographers really depends on their needs, skill level, and editing goals. Almost all photo editing tools have basic adjustments available for free. For instance, you can use Canva or PicsArt to do the basics. But for advanced photo editing, Lightroom, Photoshop, or Capture One are the industry standards
Many professional photographers have also started using AI photo editing software to streamline their photography workflow and save time.
Is there an AI for editing photos?
Yes, there are several AI-powered tools available for editing photos! These tools leverage artificial intelligence to automate various aspects of the editing process, making it faster and more efficient. Some popular AI photo editing software includes Adobe Photoshop, Aftershoot, Imagen, Capture One, Luminar AI, etc.
If you are wondering which AI editing tool is best for you, check out this article on Aftershoot vs Imagen or Capture One vs Lightroom