Editing wedding photos comes down to working in the right order: back up, cull, set a base look, correct white balance, skin tones and exposure one lighting scene at a time, then sync, refine your hero shots and export. That order is what keeps a 600-image gallery consistent from the getting-ready room to the dance floor.
This guide walks through each step in Lightroom Classic (the same logic applies in Capture One or ON1). It also includes settings for the lighting situations every wedding throws at you, the mistakes that make galleries look inconsistent, and where AI can take the repetitive parts off your desk.
How to edit wedding photos (the quick answer):
- Back up your files and set up your catalog
- Cull to your final selects before touching a slider
- Apply your base look with a preset or AI profile
- Edit one anchor image per lighting scene
- Sync each scene, then fix the outliers
- Refine hero shots with masks, noise reduction and retouching
- Do a final consistency pass
- Export for web and print, then deliver
How to Edit Wedding Photos in 8 Steps
Step 1: Back Up Your Files and Set Up Your Catalog
Before you touch a single file, get the cards onto two drives: a fast working drive plus a backup, with a cloud or off-site copy added once the job is ingested. If you don’t have a system yet, set up a photography backup plan first.
Editing is also much easier when the files were shot for it. RAW files give you the latitude to recover a bright dress or a dark reception, and a white balance that’s close in-camera means fewer corrections later. (Prep and shooting-day habits are covered in our complete wedding photography editing workflow.)
If you cull inside Lightroom Classic, import everything now and build Smart Previews so the catalog stays fast, even from an external drive. If you cull in a dedicated tool like Aftershoot or Photo Mechanic, import only your selects after Step 2.
Step 2: Cull Before You Edit
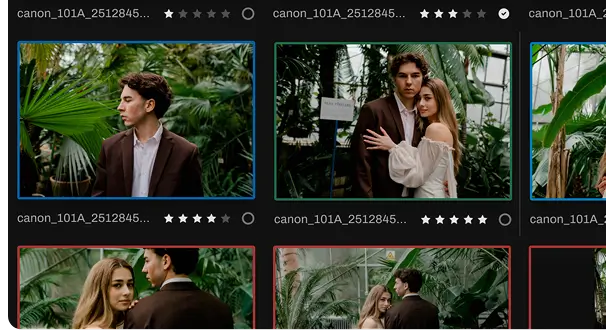
Every photo you keep is a photo you have to color-correct, sync and deliver. So cull first. Cut blinks, missed focus and near-identical bursts, then choose the frames that tell the story: details, the processional, reactions, family formals, portraits and the reception.
In Lightroom Classic, the fastest manual loop is P to pick, X to reject, and Survey view (N) to compare similar frames side by side.
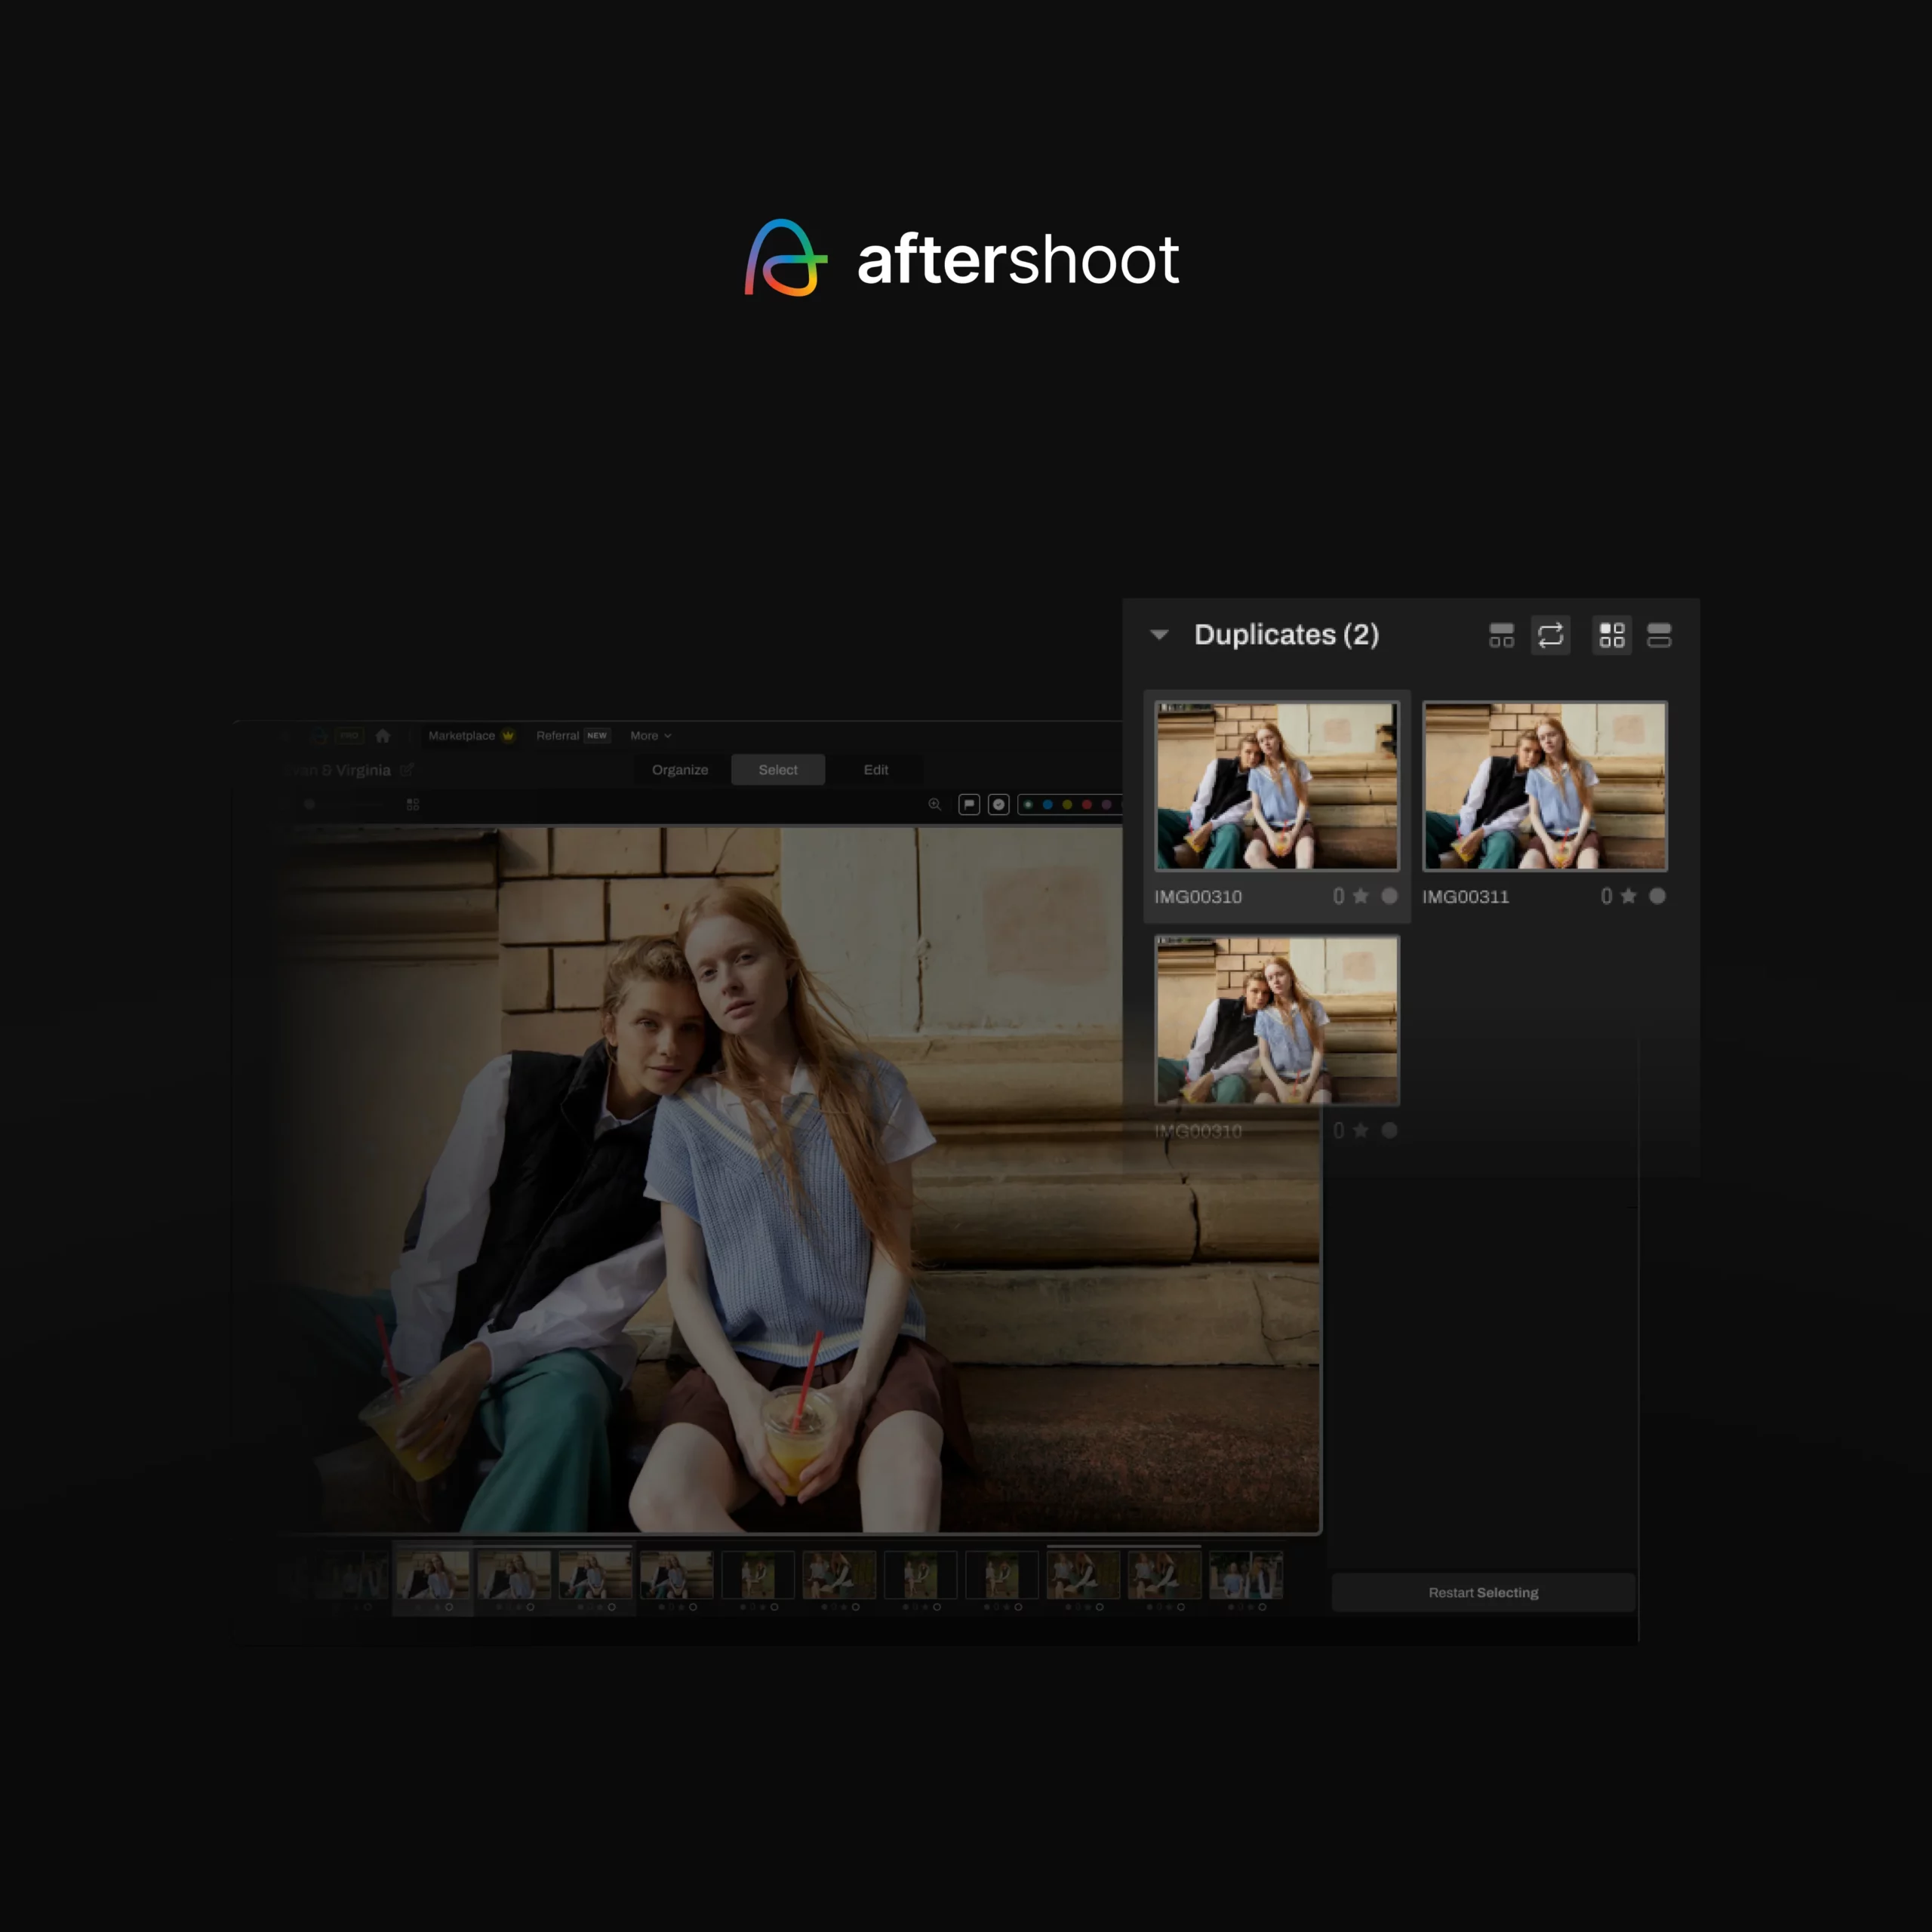
For a full wedding, this is where AI saves the most time. AI culling in Aftershoot Select groups duplicates and flags closed eyes and blur, and gives you two ways to work:
- AI-Automated culling makes the first pass and surfaces its picks for you to review.
- AI-Assisted culling organizes and scores the set but leaves every keep-or-reject decision to you.
Aftershoot estimates most shoots are culled in 20–30 minutes this way, compared with 3–5 hours by hand. Nothing is deleted, so the rejected frames are always there to double-check.
“You get the opportunity to check its work but really I’ve always favored the auto selections it kept for me.”
– Kaitlyn, Trustpilot review.
For a deeper walkthrough, see our photo culling workflow guide.
Step 3: Apply a Base Look With a Preset or AI Profile
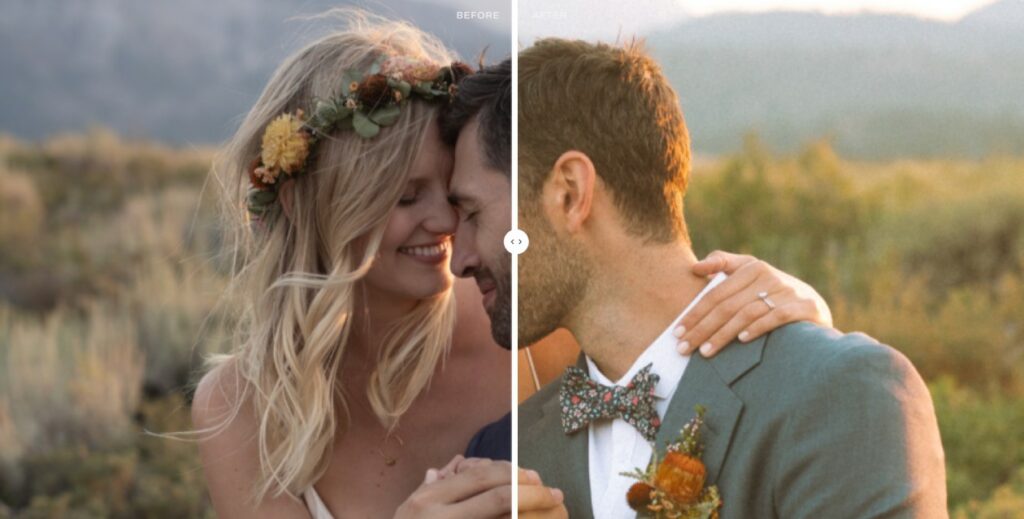
Your base look is the starting point for every frame: the profile, tone curve, color grading and HSL choices that make a gallery look like yours. Couples book you for that look, so it has to hold up from bright ceremony light to a dim reception.
| Option | How It Works | Best For | Watch Out For |
|---|---|---|---|
| Lightroom preset | Applies the same fixed settings to every image | Consistent style, predictable light | Still needs white balance and exposure fixes per scene |
| AI profile trained on your edits | Learns how you edit different lighting and adjusts each image individually | Photographers with a large, consistent edited catalog | Needs enough past edits to train well |
| Pre-built AI style | A style created by another photographer, applied per image | New shooters, or trying a new look | Customize it so it doesn’t look like everyone else’s |
In Aftershoot, that means building a personal AI profile from 2,500+ edited images (5,000 is recommended), converting your existing preset into an Instant AI Profile, or starting from one of 30+ creator styles in the Marketplace.
Whichever you choose, treat it as a starting point that gets each scene close, not a finished edit. If you’re still shopping for a look, start with these wedding Lightroom presets.
Step 4: Edit One Anchor Image per Lighting Scene
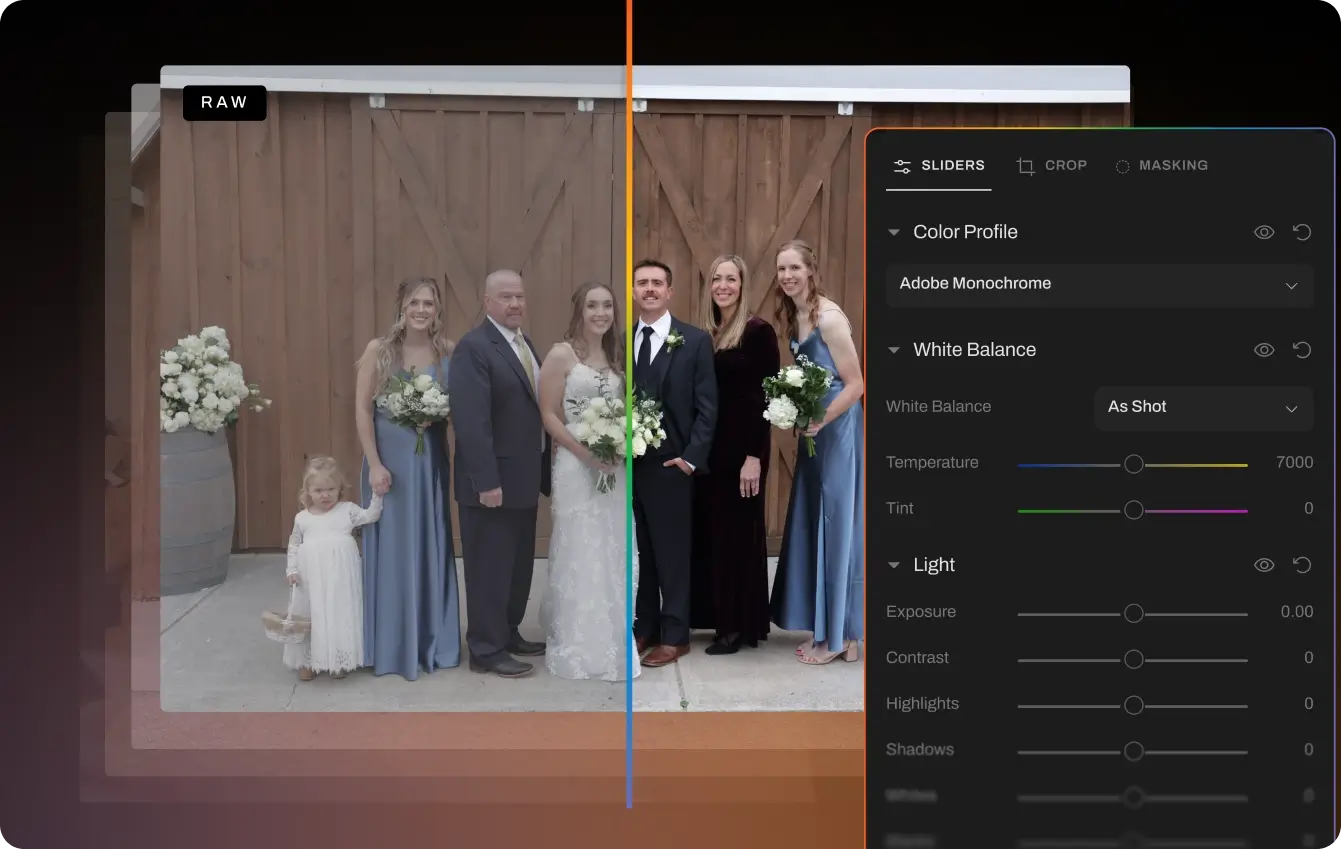
A wedding isn’t one lighting situation; it’s five or six. Instead of editing image by image, split the gallery into scenes and perfect one representative “anchor” frame in each. In Lightroom Classic, sort by capture time and give each scene a color label or its own collection.
| Scene | Typical Problem | What to Fix First |
|---|---|---|
| Getting ready (window + lamps) | Mixed color casts, orange skin | White balance for skin; mask the subject if the room fights you |
| Church or indoor ceremony | Low light, yellow-green casts, noise | White balance, careful exposure lift, denoise |
| Outdoor ceremony at midday | Harsh contrast, blown dress, deep eye shadows | Pull Highlights and Whites, lift Shadows |
| Golden hour portraits | Skin too warm or orange, flare | Cool white balance slightly, reduce orange saturation |
| Open shade or overcast | Blue cast, flat light | Warm white balance, add gentle contrast |
| Reception with LEDs or DJ lights | Colored light on skin, high ISO | Decide whether to keep or neutralize the color; mask faces; denoise |
| On-camera flash at reception | Flash and ambient color don’t match | Balance for flash-lit skin; adjust the background with a mask |
Fix White Balance and Skin Tones First
Skin tones are what couples notice first, so set white balance for faces, not the background. Use the eyedropper on something genuinely neutral, like a white shirt or a grey suit. Ivory and champagne dresses aren’t meant to be pure white, so don’t force them there.
Then refine skin in the HSL panel. Orange controls most skin; Red affects flushed cheeks and lips. Small moves work best. Lowering Orange saturation a few points and nudging Orange luminance up often cleans up sunburned or tungsten-lit skin faster than dragging the Temp slider back and forth.
To keep skin consistent across the day, open your anchor from an earlier scene in Reference view (Shift + R) in the Develop module and match against it.
Balance Exposure and Protect the Dress
Expose for faces, then protect the dress. Turn on clipping warnings (J), and pull Highlights and Whites down until the lace and fabric texture come back. Lift Shadows for dark suits instead of raising overall exposure, which flattens the image.
Reach for Vibrance before Saturation, because Vibrance boosts muted colors while going easier on skin tones. Keep Clarity and Dehaze light on people; heavy amounts make skin look crunchy.
Step 5: Sync Each Scene, Then Fix the Outliers
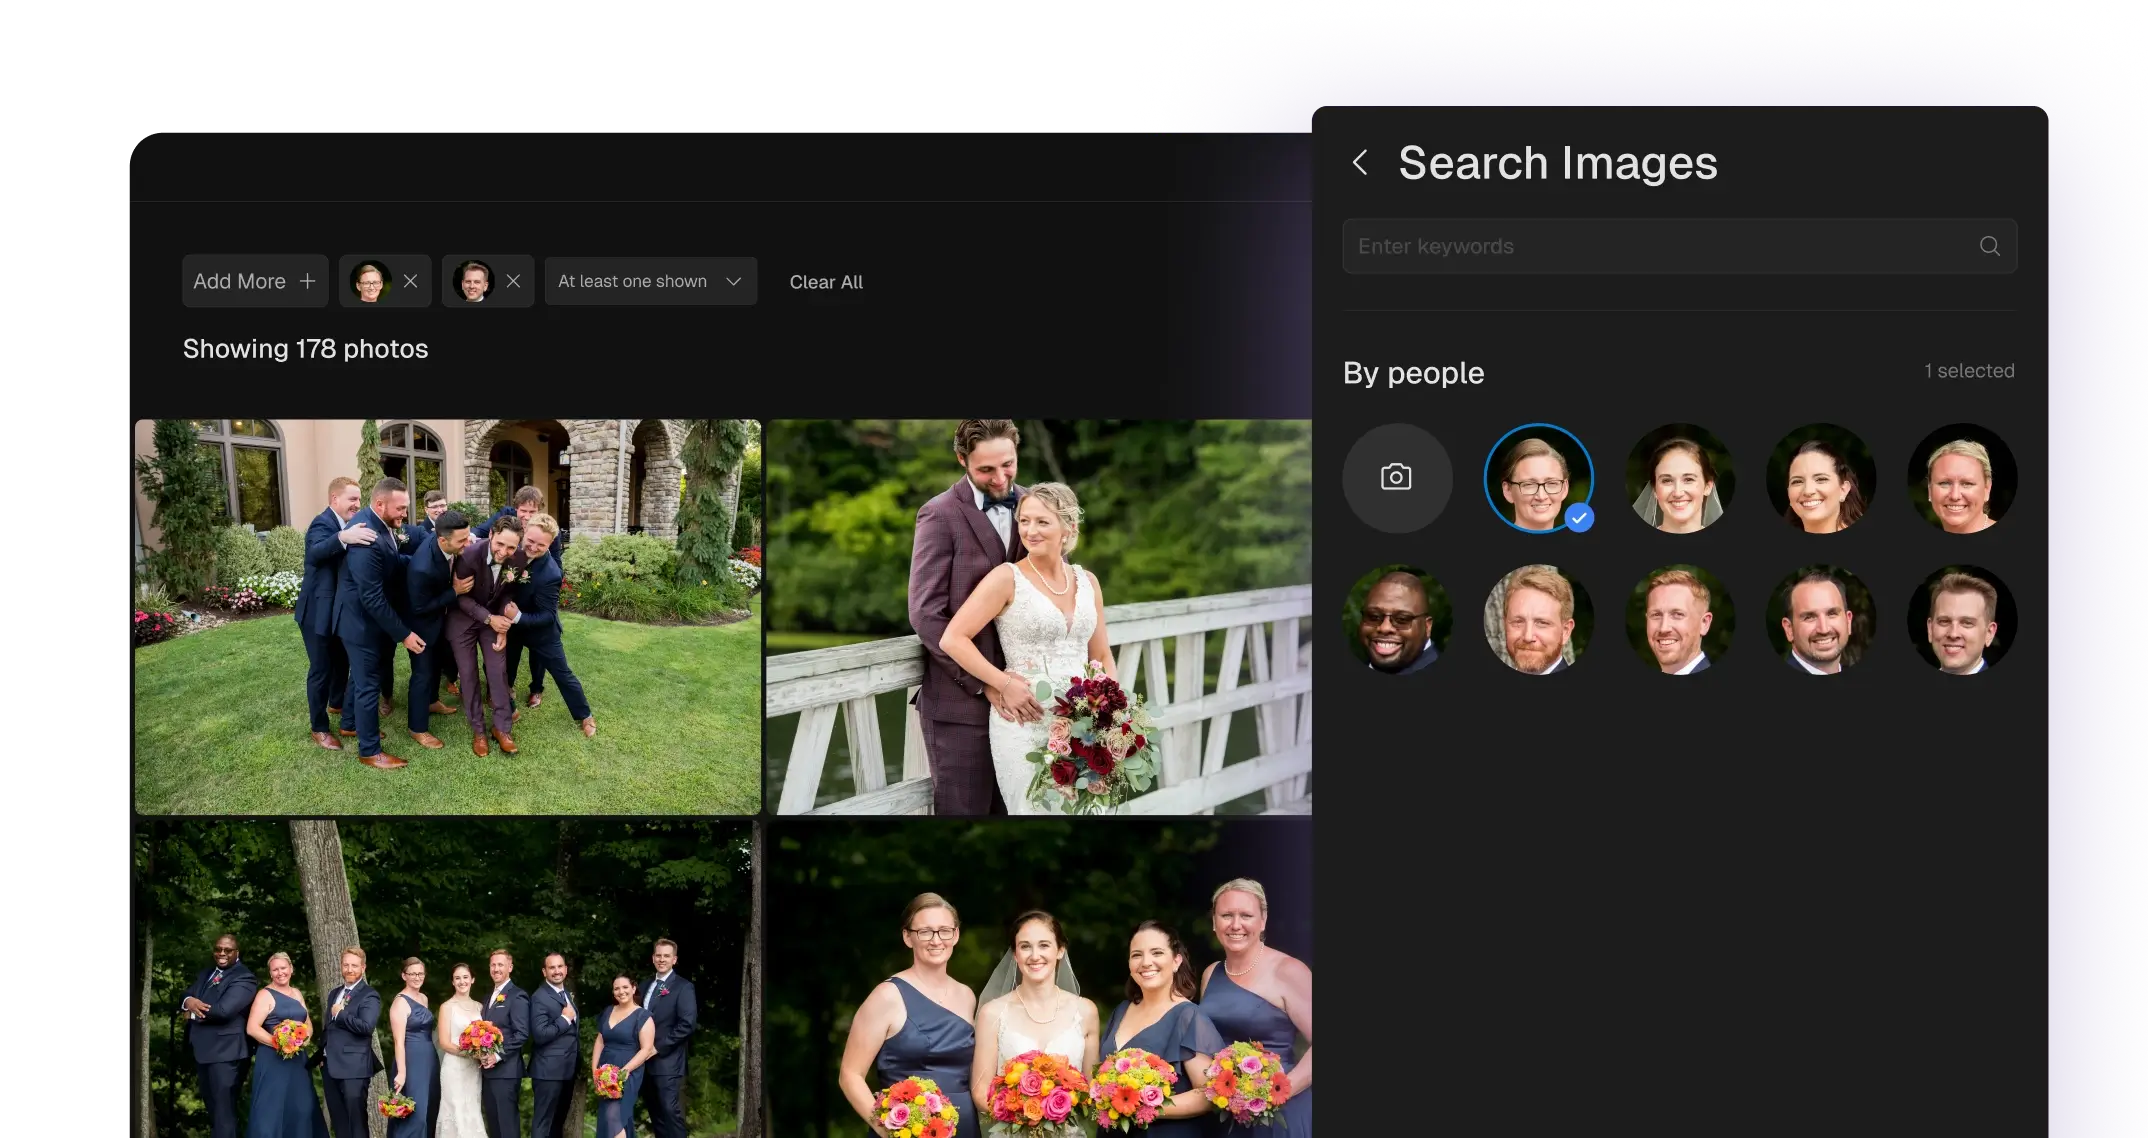
Once an anchor looks right, apply it to the rest of that scene: select the anchor, add the other frames, and click Sync (or turn on Auto Sync). Leave crop, spot removal and masks unchecked unless you want them copied, because they rarely transfer cleanly between frames.
Then scroll the scene in Grid view and fix only what stands out: a frame that’s a stop darker, or a face that turned magenta under different light.
Fixing outliers is where most manual editing hours go, and it’s the part AI editing is built to remove. Aftershoot’s AI editing that learns your style adjusts each image for its own lighting instead of pasting identical settings across the scene. You then review and tweak, either in Aftershoot’s built-in RAW editor or back in Lightroom Classic or Capture One. Your tweaks can feed back into your profile so the next wedding needs fewer.
“I love going through and making sure each photo is the way I’d like it, but Aftershoot is like my very reliable assistant that takes care of 70% of my workload.”
— Ashlee Weaver, wedding photographer
Step 6: Refine Hero Shots With Masks, Noise Reduction and Retouching
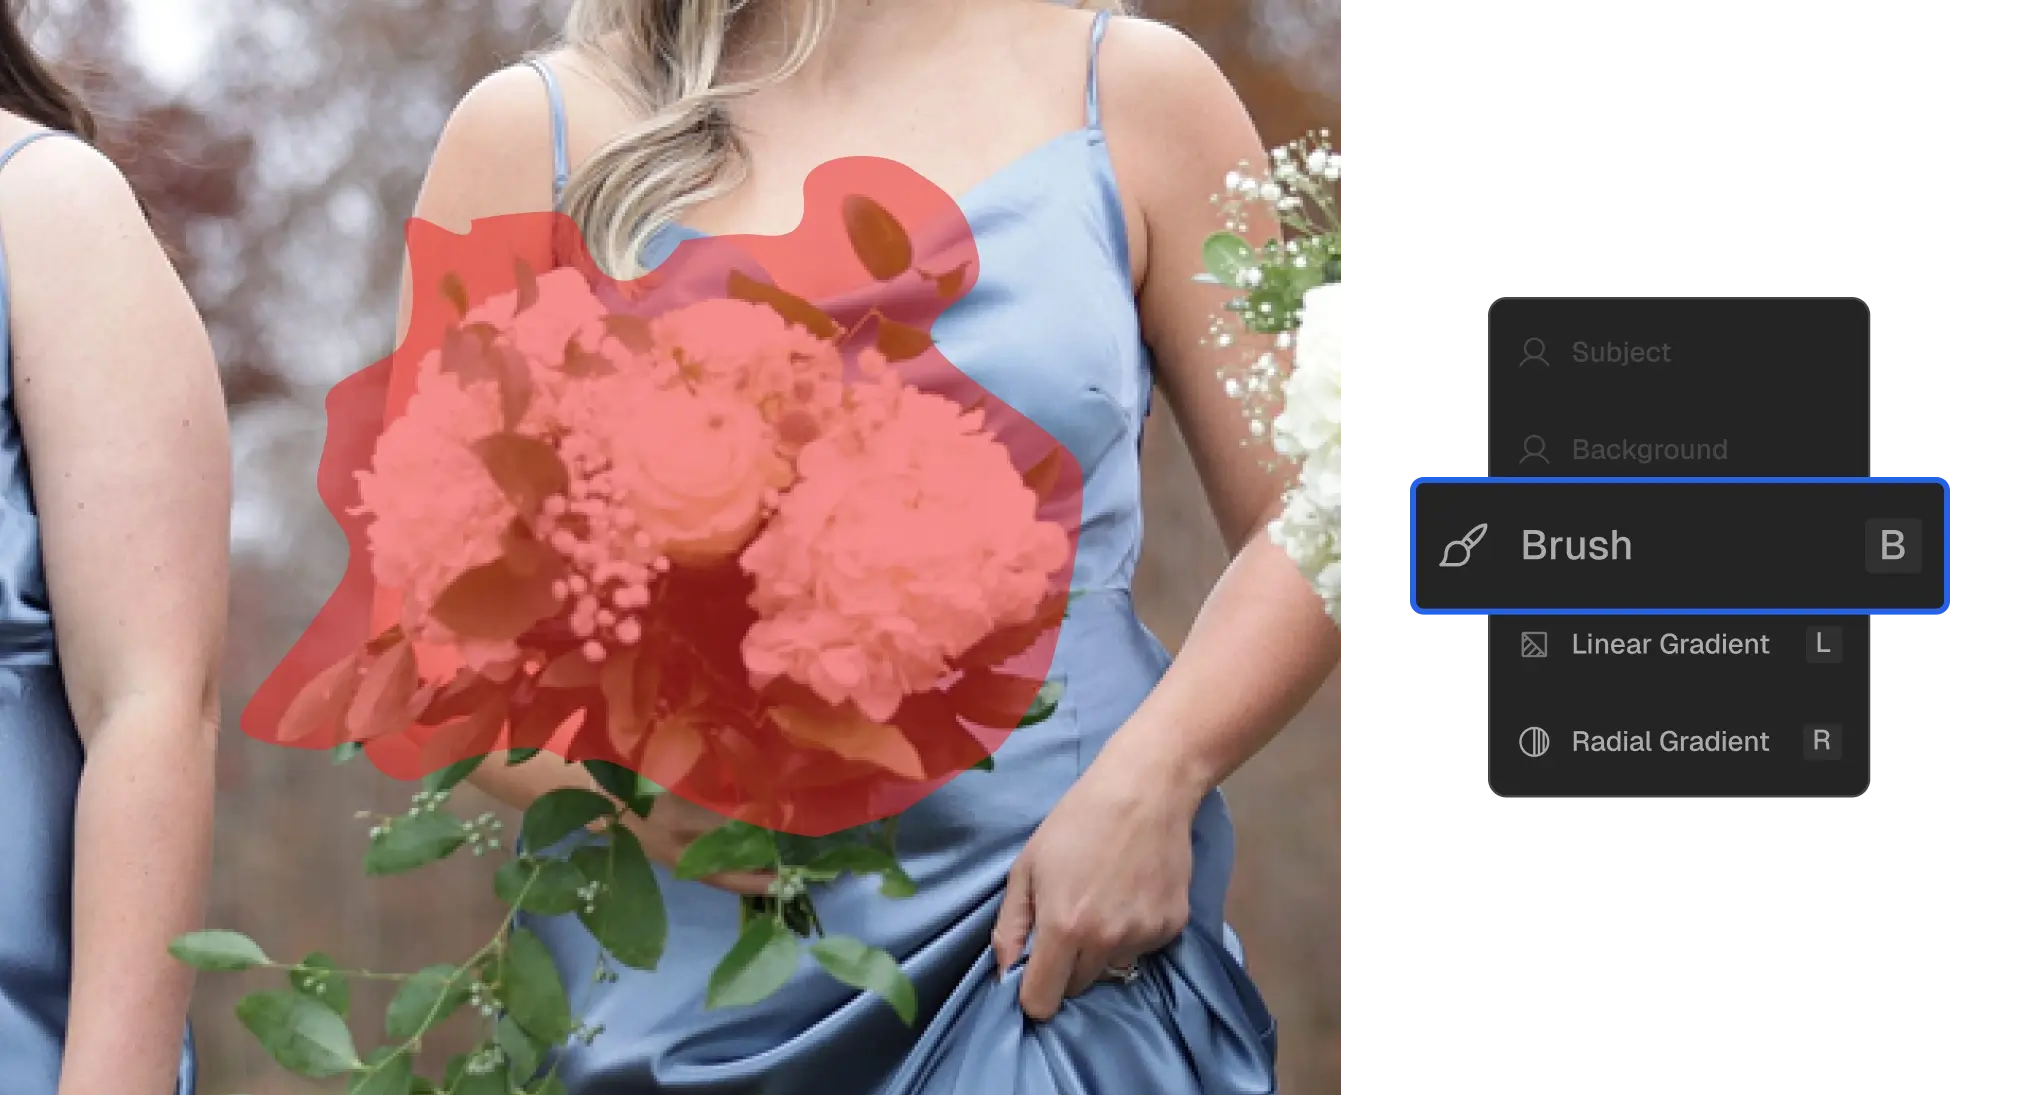
Your hero images get more time than the rest of the gallery: the first look, the portraits, the kiss, and anything likely to go in the album.
- Masks. Use Select Subject to lift the couple off a busy background, Select Sky to hold a bright sky, and People masking to brighten eyes or teeth subtly. See our guide to AI masking for syncing masks across similar frames.
- Noise before sharpening. For high-ISO reception frames, run Denoise first, then sharpen, so you aren’t sharpening grain.
- Retouch lightly. Remove blemishes, stray hairs, glare on glasses and exit signs, but keep real skin texture. Our wedding retouching guide covers where to draw the line.
- Photoshop for the few. Save pixel-level work, like complex object removal or compositing, for a handful of frames.
If you retouch across whole galleries rather than a few portraits, batch retouching in Aftershoot applies a wedding preset across the album. It can also set different strengths for different people in a group shot, so the groomsmen and grandma don’t get the same treatment.
Step 7: Do a Final Consistency Pass
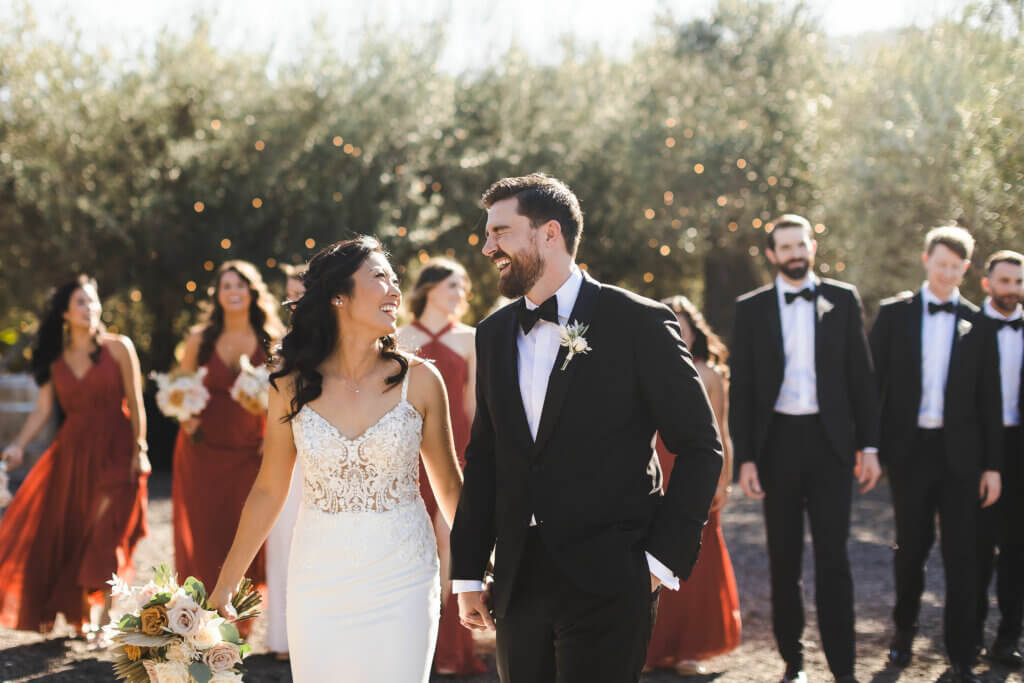
Before exporting, scroll the whole gallery in Grid view at small thumbnails. Jumps in exposure and color show up at thumbnail size in a way they don’t at full screen. Check that:
- skin tones match from scene to scene,
- horizons and crops are straight,
- your black-and-white conversions look like one set.
Choose black-and-white frames on purpose (emotional moments, messy backgrounds, heavy mixed light) rather than converting images you couldn’t fix in color.
Step 8: Export for Web and Print, Then Deliver
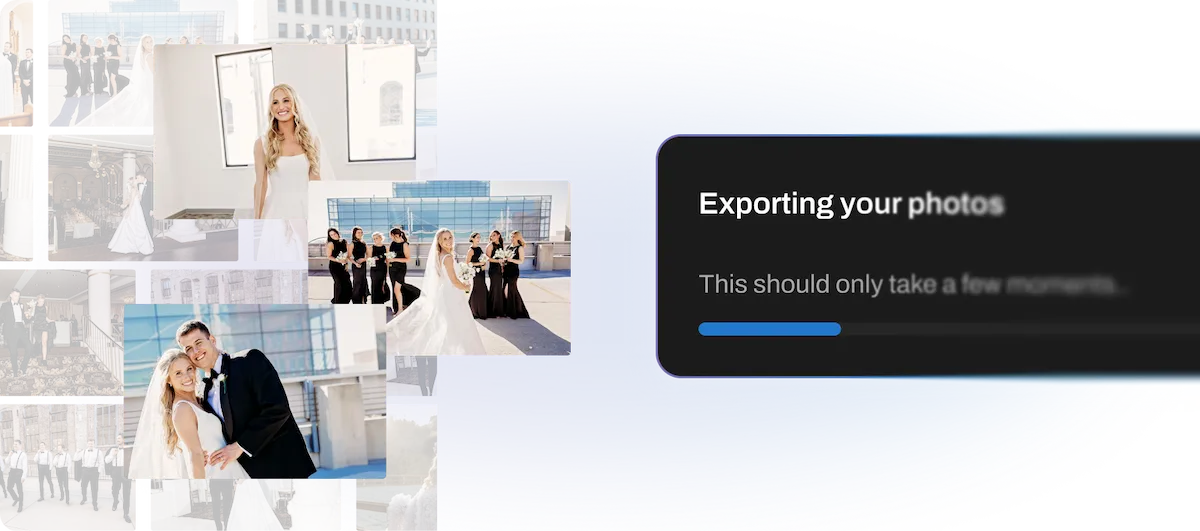
| Use | Format | Color Space | Size | Quality |
|---|---|---|---|---|
| Client print files | JPEG | sRGB | Full resolution, no resizing | 90–100 |
| Web and social sharing | JPEG | sRGB | 2048 px on the long edge | ~80, with screen output sharpening |
| Sneak peeks | JPEG | sRGB | 2048 px on the long edge | ~80 |
| Album designer or lab | As the lab specifies | As the lab specifies | Full resolution | Lab spec |
The ppi value (72 vs 300) doesn’t change how a photo looks on a screen; pixel dimensions do. For print, send full-resolution files and let the lab size them.
Deliver through an online proofing gallery so couples get web and full-resolution downloads in one place, and have a print store if they want one.
Manual vs AI vs Outsourced Wedding Photo Editing
| Manual Editing | AI Editing | Outsourced Editor | |
|---|---|---|---|
| Examples | Lightroom Classic, ON1 Photo RAW | Aftershoot, Imagen | ShootDotEdit, private editors |
| What you pay | Software only | Flat monthly fee or per photo, depending on tool | Per image or plan, usually quote-based |
| Your time | Highest | Review and tweaks | Lowest, but turnaround takes days |
| Consistency | Depends on you (and how tired you are) | High once trained on your style | Depends on how well the editor matches you |
| Creative control | Full | High; you review every edit | Lower; changes need revision rounds |
| Best for | Low volume, very hands-on style | High volume, consistent style | Studios, or photographers who don’t want to edit |
Wedding Photo Editing Software Compared
| Tool | Role in a Wedding Workflow | Pricing (Sept 2026) | Processing |
|---|---|---|---|
| Adobe Lightroom Classic | Culling, RAW editing, syncing, catalog | Photography plan $19.99/mo with annual commitment (includes Photoshop) | Local |
| Adobe Photoshop | Pixel-level retouching and object removal | Included in the Photography plan | Local |
| ON1 Photo RAW | All-in-one RAW editor with AI masking and a perpetual license option | From $99.99 one-time | Local |
| Aftershoot | AI culling, AI editing in your style, AI retouching, client galleries | Select $10/mo, Edit $30/mo, Retouch $20/mo (billed annually); unlimited photos; 30-day free trial | Local |
| Imagen | AI editing in your style, culling and retouch tools | Pay-as-you-go (per photo, $7 monthly minimum) or Limitless at US$179/mo billed annually | Cloud |
| ShootDotEdit | Human outsourced editing, now paired with Imagen | Quote-based | Service |
Prices change often. Check each vendor’s pricing page before buying. For a full breakdown, see our guide to wedding photo editing software.
Common Wedding Photo Editing Mistakes to Avoid
| Mistake | Why It Happens | How to Fix It |
|---|---|---|
| Orange or sunburned skin | Warm white balance plus preset saturation | Lower Orange saturation, lift Orange luminance, rebalance for faces |
| Blown-out dress | Exposing for faces in bright sun | Pull Highlights and Whites; check clipping with J |
| Plastic-looking skin | Heavy smoothing or negative Texture | Retouch blemishes, not texture |
| Neon greens | Presets pushing foliage saturation | Shift the Green and Yellow hue, lower their saturation |
| Gallery looks like three different photographers | Editing frame by frame out of order | Edit by scene, match skin in Reference view, finish with a Grid pass |
| Crunchy reception shots | Sharpening high-ISO noise | Denoise first, then sharpen |
Build an Editing Order You Can Repeat
The biggest speed gain in wedding editing is doing the same things in the same order every time, not editing faster. Cull first, edit by scene, sync, refine the few frames that matter, and export the same way for every couple. Once that order is fixed, you can hand the repetitive parts to AI and keep your time for the decisions only you can make.
Try Aftershoot free for 30 days, no credit card required.

FAQs for Wedding Photo Editing
Q1. How long does it take to edit wedding photos?
It depends on how many images you deliver and how long each one takes. At 30 seconds per image, a 700-image gallery is about six hours of editing, before culling, which can take 3–5 hours by hand. That’s why photographers typically quote delivery windows of several weeks, and why culling and syncing are the first things worth speeding up.
Q2. What software do wedding photographers use to edit photos?
Lightroom Classic is the most common RAW editor for full galleries, with Photoshop for detailed retouching. Capture One and ON1 Photo RAW are the main alternatives. Many photographers add AI tools on top for culling, editing in their style, or retouching.
Q3. Should I edit wedding photos in Lightroom or Photoshop?
Use Lightroom for the whole gallery, because it’s built for syncing and batch work across hundreds of RAW files. Save Photoshop for a small number of hero images that need pixel-level work, like removing a complex distraction.
Q4. Can AI edit wedding photos in my style?
Yes. Tools like Aftershoot and Imagen train on your previously edited images and apply your style image by image. You still review the results. Aftershoot processes locally on your computer; Imagen processes in the cloud.
Q5. Should I deliver wedding photos as JPEG or RAW?
Deliver JPEGs in sRGB: full resolution for print and a smaller web-size set for sharing. RAW files aren’t usually delivered, because they’re unfinished and most clients can’t open them.