A boudoir inquiry lands, you peek at the inspo board, and your portfolio suddenly feels light on bodies that look like hers. The truth? 67% American women wear size 14 or above, but boudoir feeds rarely reflect it. That leaves clients braced for judgment instead of joy.
This guide is your reset: how to direct with confidence, pose curves like art, and deliver images that make every client feel seen.
Ready to turn “uh-oh” into “heck yes”? The skills you will build here won’t just expand your client base. They will change how everybody shows up in your viewfinder.
TL;DR – Why Plus-Size Boudoir Photography Matters
Plus-size boudoir is photography that refuses to apologize. You’re creating portraits that honor the female body exactly as it is. Here’s why this specialty will change everything:
- Empowerment over ego. Your job is guiding clients toward self-love, not fitting into smaller jeans.
- Every conversation matters. From nudity boundaries to image privacy, you’re having real talks that crush insecurity and build unshakeable trust.
- Your gear game gets stronger. Full-frame bodies, 85mm primes, and soft feathered light turn curves into sculpted artwork.
- Aftershoot saves your sanity. AI turns hours of tedious sorting and editing into minutes so you can focus on the final finesse.
Here’s the kicker: roughly two-thirds of U.S. women are underserved by traditional intimate photography, and they’re starving for representation and self-love. Master this approach, and you will unlock a loyal market that desperately needs what you’re offering.
What Is Plus-Size Boudoir?
Plus-size boudoir flips the traditional photography mindset on its head. Instead of asking “How can I make this body look different?” you’re asking “How can I showcase the power that’s already here?” It’s intimate photography for anyone wearing size 14 and up, which, plot twist, is actually the majority of women in the U.S. So you’re not shooting a “niche market.” You’re serving the mainstream that’s been waiting to be seen.
Your job stays exactly the same: help every client see themselves as absolutely magnetic. Whether they’re a size 6 or 26, confidence and empowerment drive every single shot. Plus-size intimate photography always prioritizes genuine comfort, enthusiastic consent, and celebrating whoever’s brave enough to step in front of your camera.
Gear, Setup & Lighting for Plus-Size Boudoir Photography
Before anything, we built a kit that keeps curves in the spotlight, literally!
Camera Bodies and Lenses
- Full-frame body for creamy depth of field that lets skin glow while backgrounds melt into buttery bokeh
- 35mm prime for environmental intimacy and context
- 85mm prime lens for compression without distortion
Studio Setup Requirements
- Sturdy stool and low-back chair for comfortable posing support
- Mountain of pillows to tuck under elbows or knees — your client should never have to “suck it in”
- Yards of sheer fabric for effortless draping and instant goddess vibes
Lighting Equipment for Flattering Portraits
Soft light is your best friend. Park your subject at 45° to a big window or 4×6 ft softbox, then feather that modifier so the fall-off sculpts rather than flattens. This detailed lighting approach smooths skin and keeps highlights in check.
For extra drama, kick on a vertical strip box behind your model to rim-light hips and shoulders — instant hourglass magic.
Composition Secrets
Shoot from slightly above the hip line to showcase the torso’s natural lines and create a dynamic perspective. Master this angle and watch confidence bloom. Stay north of 50mm unless you’re deliberately going for distortion: wide glass can create perspective shifts that don’t serve your artistic vision.
Quick Troubleshooting
- Hot spots on skin? Rotate that softbox to feather more light
- Fabric bunching awkwardly? Use a hidden clamp behind the back
- Always ask before adjusting lingerie or hair. Consent is your most crucial tool
Dial in these fundamentals, and you’ll spend the rest of your session hyping your client instead of wrestling with your gear. That’s where the real magic happens.
How to Shoot a Confidence-First Plus-Size Boudoir Session
You’ve nailed the gear and lighting basics. Now let’s build a session that wraps every technical choice in radical body-positive energy. From the first email to the final gallery, you’re part cheerleader, part director, and part workflow wizard.
Before the Shoot – Prep & Planning
Start with a prep guide that celebrates curves, not tolerates them. Include size-inclusive wardrobe links, a self-care checklist (hydrate, stretch, create that hype-playlist), and a note about why pro hair and makeup feels like a mini-spa day.
Anxious clients worry a corset won’t close or a robe won’t drape right. Point them to retailers carrying size-inclusive lingerie in every vibe from romantic to rebellious.
Co-create a mood board packed with bodies that look like theirs. Seeing representation up front fights those “Will I be your first plus-size client?” nerves.
Drop a questionnaire that digs into nudity comfort levels, retouching boundaries, and areas they love (hello, killer collarbones) or want downplayed.
Studio prep matters too. Keep the room toasty, offer total privacy, and add a full-length mirror so they can check each look themselves.
Mirrors give instant feedback and control: a confidence hack that photographers swear by.
Sketch a pose shot-list while you’re at it. AI tools will flag duplicates later, so your future self gets an extra hour of business planning instead of sorting through identical frames.
During the Shoot – Flow, Posing & Light
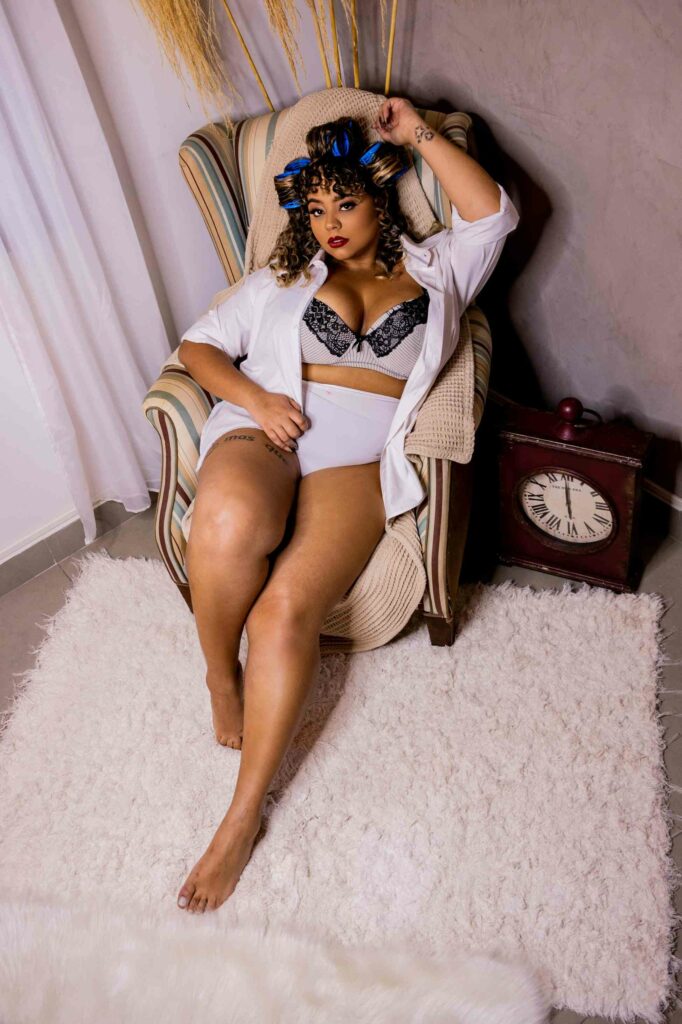
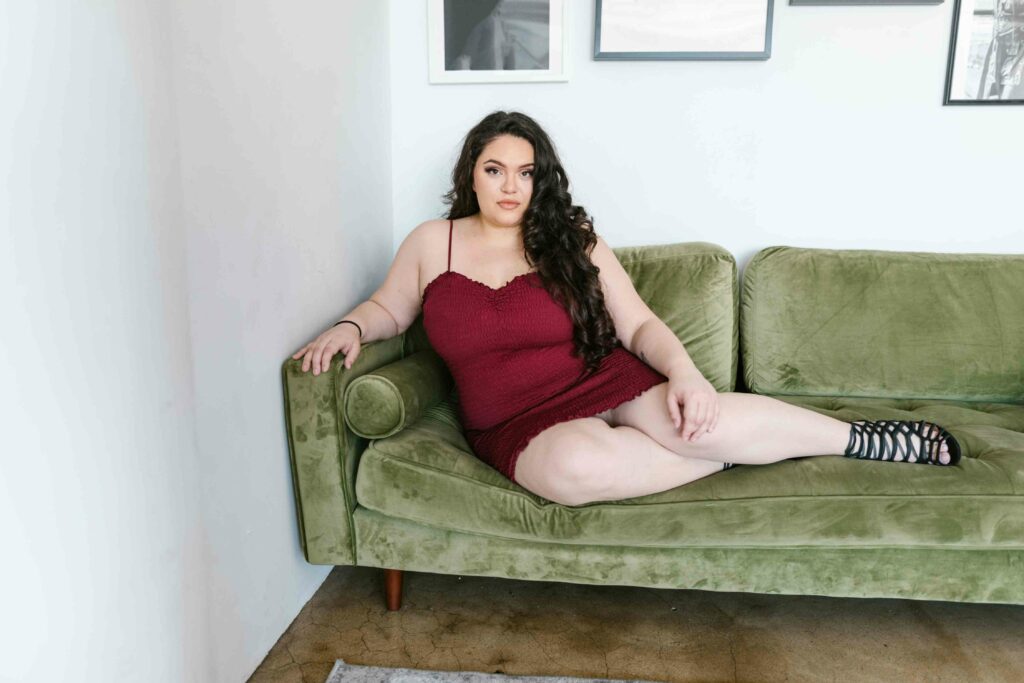
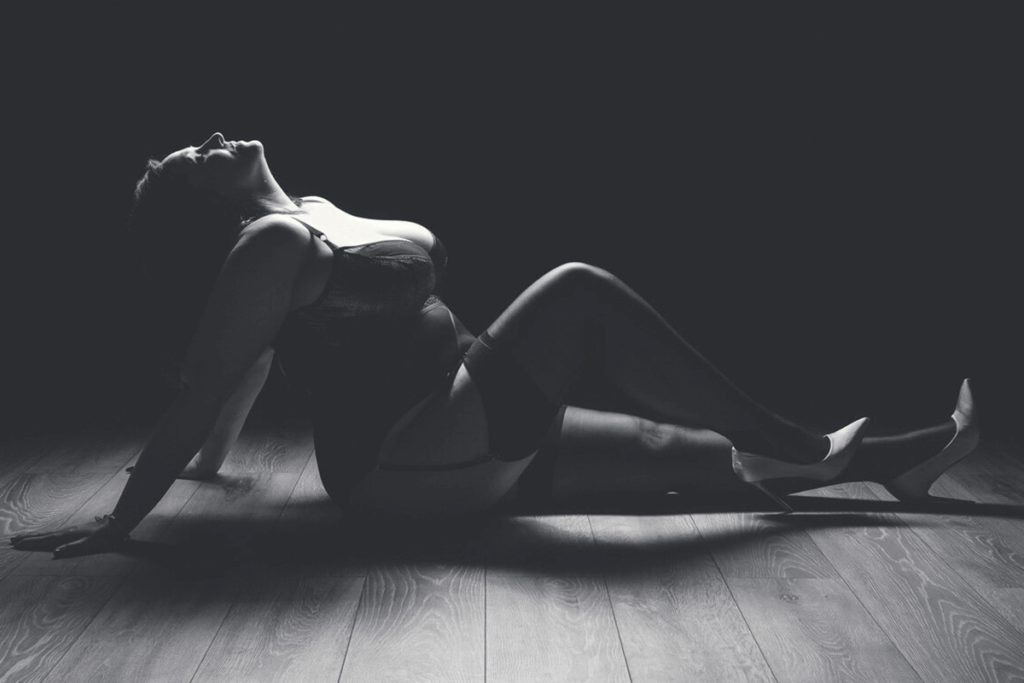
Warm-ups first. Start with easy seated poses: think lounging on a sofa with a soft S-curve so clients feel the fabric, hear the shutter, and breathe. Once shoulders drop, we move to standing power poses that scream “I own this space,” then finish with floor shots for sensual silhouettes.
Here are five ride-or-die poses that celebrate every body type:
S-Curve on Sofa – Lean back slightly, one knee bent. The natural wavy line creates visual flow and showcases curves beautifully.
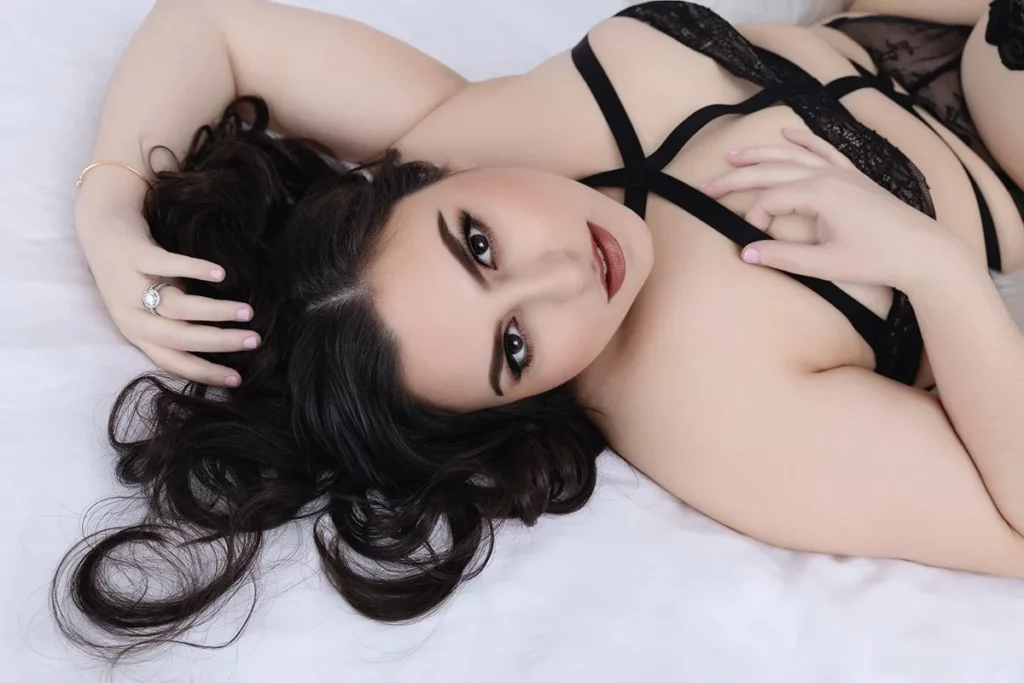
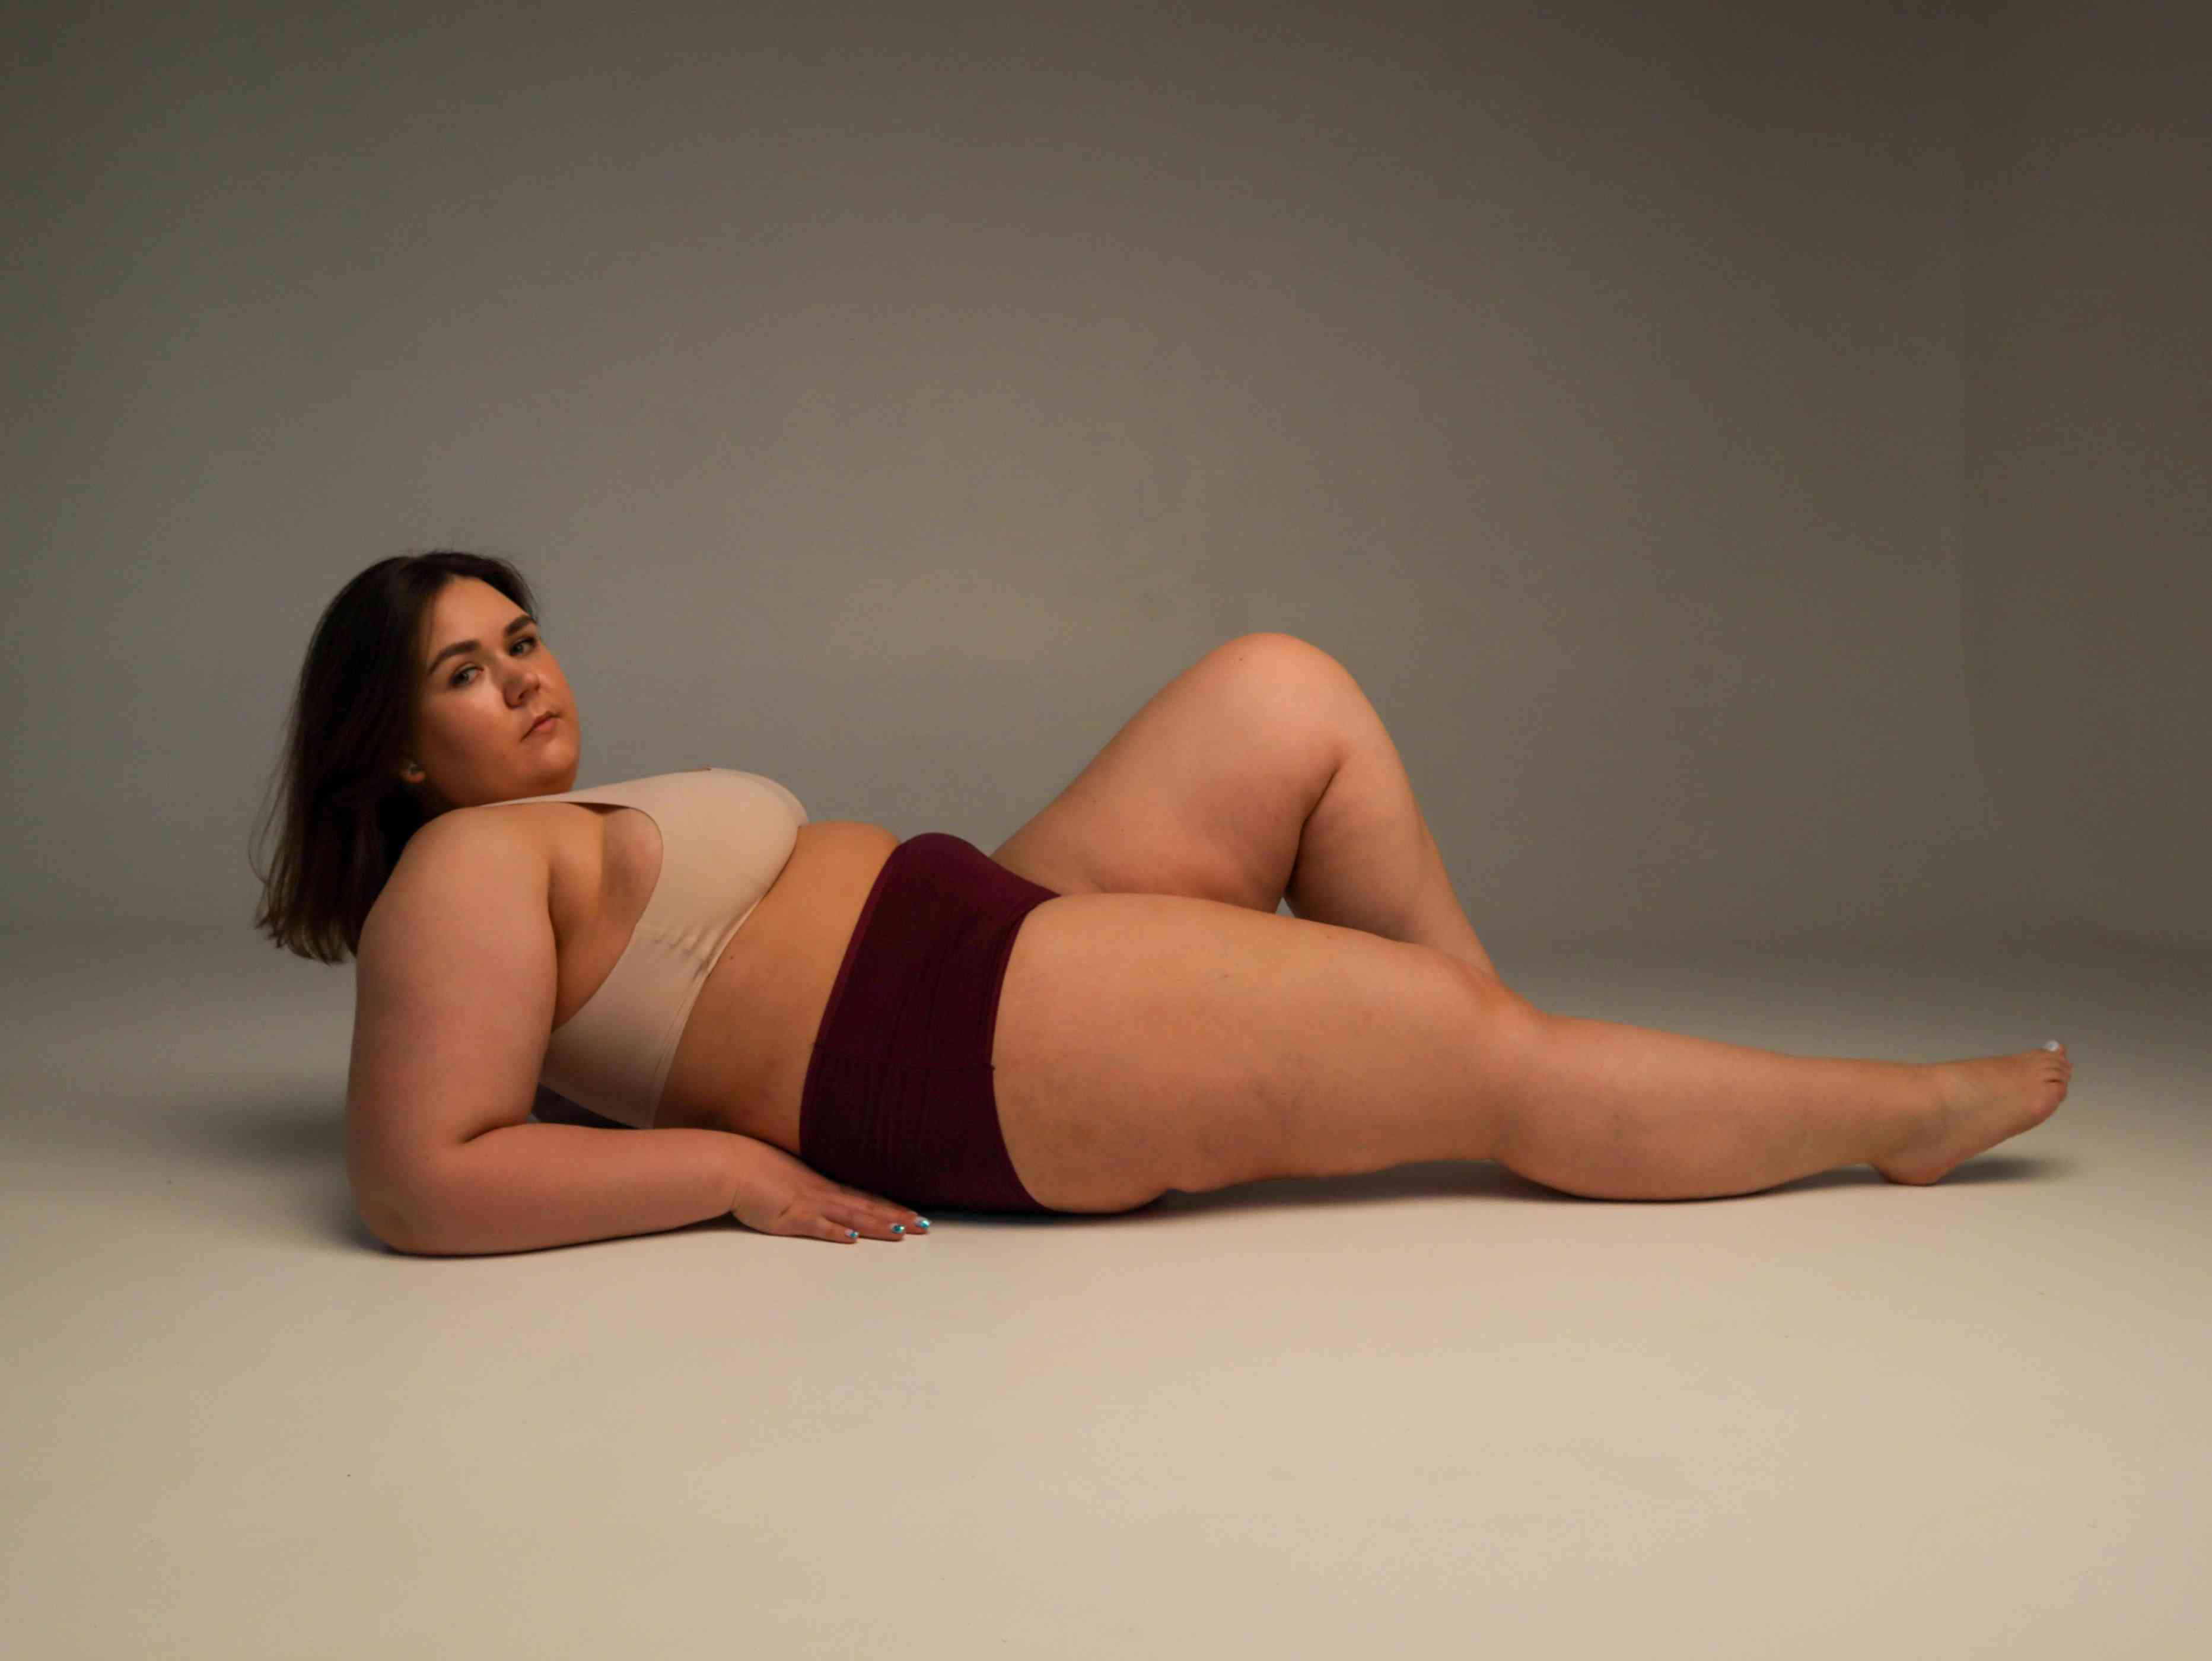
Side-Laying Arch – Client on their side, top leg forward, chest lifted. This celebrates the torso’s natural curves and highlights the waist.
Seated Edge-of-Bed Lean-Forward – Knees together, torso tipped toward you. It accentuates décolletage and creates instant intimacy.
Standing Hip Pop, Hand in Hair – Shift weight, pop the hip, slide a hand through hair. The asymmetry radiates pure confidence. Jules Secret lives by this pose.
Backlit Silhouette Stretch – Large softbox or window behind, full-body stretch. The rim light embraces every curve like it was born to be there.
Ditch “suck in” for “deep breath and roll shoulders back.” Try affirmations like “Your smile is fire” or “That hip pop is pure art.” This body-positive language approach comes straight from Olivia Womack’s playbook.
Settings cheat sheet: f/2.2–2.8 for buttery bokeh, 1/200s to freeze subtle movement, ISO 200–800 depending on that dreamy window light.
Troubleshooting on the fly? Keep safety pins and double-sided tape in your pocket, show winning frames on the camera back when nerves spike, and dab shine with blotting paper. For quick mood shifts, feather the key light to soften highlights or bring in a reflector for jawline definition.
After the Shoot – Select, Edit & Deliver
The post-processing challenge for empowerment sessions is unique. These sessions are less about perfecting pixels and more about preserving the client’s confidence.
In boudoir photography forums, one photographer shared: “I’m not just culling for technical quality, I’m hunting for that moment when she forgot to be self-conscious, when her real power showed up. But with 400+ frames, I was losing hours trying to find those magic moments.”
The goal is to move fast enough that the excitement from the shoot carries straight into the gallery delivery radiates. Here’s how most photographers keep that flow:
Cull quickly, curate intentionally: Instead of sinking hours into rejecting blinks or near-identical frames, let AI handle the first pass. That leaves you with space to focus on the real work: finding the images where your client let go, laughed, or showed up with unfiltered confidence.
Batch edit with AI for consistency: Once the selections are in, AI can apply your signature editing style across the gallery. It won’t replace your eye, but it gives you a strong baseline: skin tones, color balance, contrast so when you pull the set into Lightroom or Capture One, you’re fine-tuning, not starting from zero.
Feed AI-powered systems your finished images and watch them learn your secret sauce. New to the game? Grab a Creator Style and prepare to be shocked at how close the AI can land your signature look on the first pass. This real-time demo shows adjustments that adapt shot-by-shot instead of mindlessly copy-pasting.
Retouch with restraint: AI tools for boudoir photography can clean up small distractions like flyaways or minor blemishes, but the finishing finesse should still be yours. That last 10% — the touch that feels hand-crafted is what makes your work both professional and personal.
The result? faster turnaround, happier clients. You stay in control of the artistry while offloading the repetition. Aim to deliver 30–40 finals in a password-protected gallery, but keep the excitement alive with a 24-hour sneak peek of three knockout images. Wrap it up with a personal note: “You brought incredible energy to the set; these frames prove it” and you will close the loop on an experience your client will remember.
Before hitting export, run through this delivery checklist:
- Triple backup system: primary drive, cloud vault, cold-storage external
- Export specs: 300 DPI TIFFs for print, 2048px JPEGs at 80% quality for web
- Scroll the grid to catch rogue exposure slips — AI keeps them rare, but you’re the final quality control
- Pick three knockout images, add your watermark, and drop them in a password-protected gallery within 24 hours
Before you add another tool to your plate, see how it actually feels to use it. Our self-guided demo lets you try Aftershoot’s culling, editing, and retouching right in your browser.

How Much Can You Earn Shooting Plus-Size Boudoir?
Most photographers underestimate how much money is on the table with plus-size boudoir. The truth? It’s one of the fastest-growing, most loyal markets you can serve, and clients happily pay for the experience. Plus-size boudoir commands premium rates because you’re delivering empowerment, not just photos. Here’s the breakdown:
Income ranges by market positioning:
- Mid-market packages: $400–$800 for digital files and basic prints
- Luxury experiences: $1,500–$3,000 for full glam treatment with albums and reveal sessions
- Average sweet spot: $1,000 per session × 3 clients weekly = $150,000 gross revenue annually
Revenue multiplication strategies:
- Heirloom albums and wall art become irresistible once clients see themselves glowing
- Add-on hair and makeup means no DIY winged liner disasters
- Same-day reveals turn post-shoot adrenaline into “take my card” enthusiasm
The efficiency factor: Your real metric isn’t the session fee. It’s effective hourly rate after post-production. If you’re drowning in editing, you’re capping your earning potential. Smart workflows slash culling from hours to minutes, creating bandwidth for additional shoots, faster delivery, and premium packages that command higher rates.
Final Take: Elevating Plus-Size Boudoir Photography
At its core, plus-size boudoir is about more than photographs—it’s about rewriting the way someone sees themselves. When you create a space where every curve is celebrated and every client feels seen, the images become secondary to the confidence they walk away with.
Boudoir should never feel exclusive. The more your portfolio reflects real bodies, the more clients will trust that you can capture them authentically. And when they leave your studio feeling powerful, beautiful, and valued, you’ve done more than take pictures — you’ve given them a gift that lasts far beyond the gallery.
And while you are scaling your business, do not forget to take it account that backlog is never fun. That’s where smart workflow choices become essential. Let AI handle the tedious tasks while you focus on the final finesse. Try Aftershoot 30 days for free and see the difference yourself.