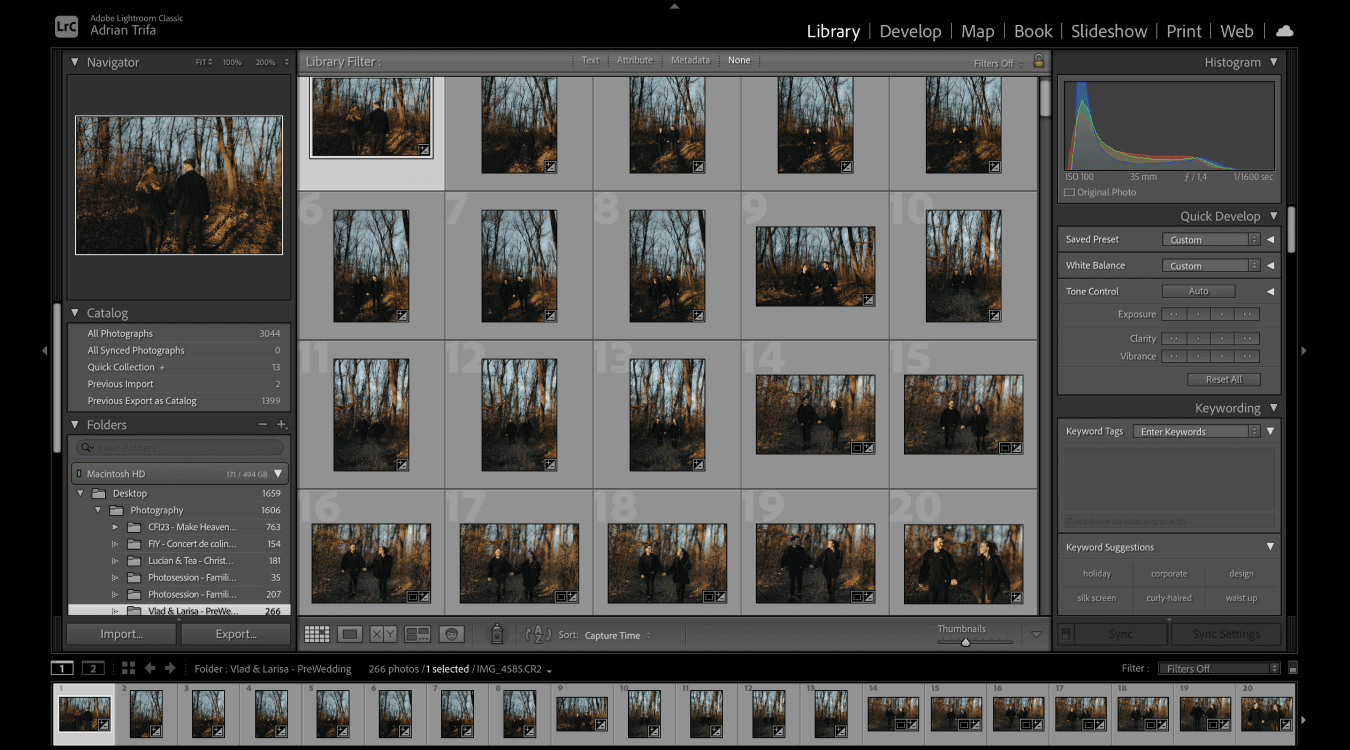
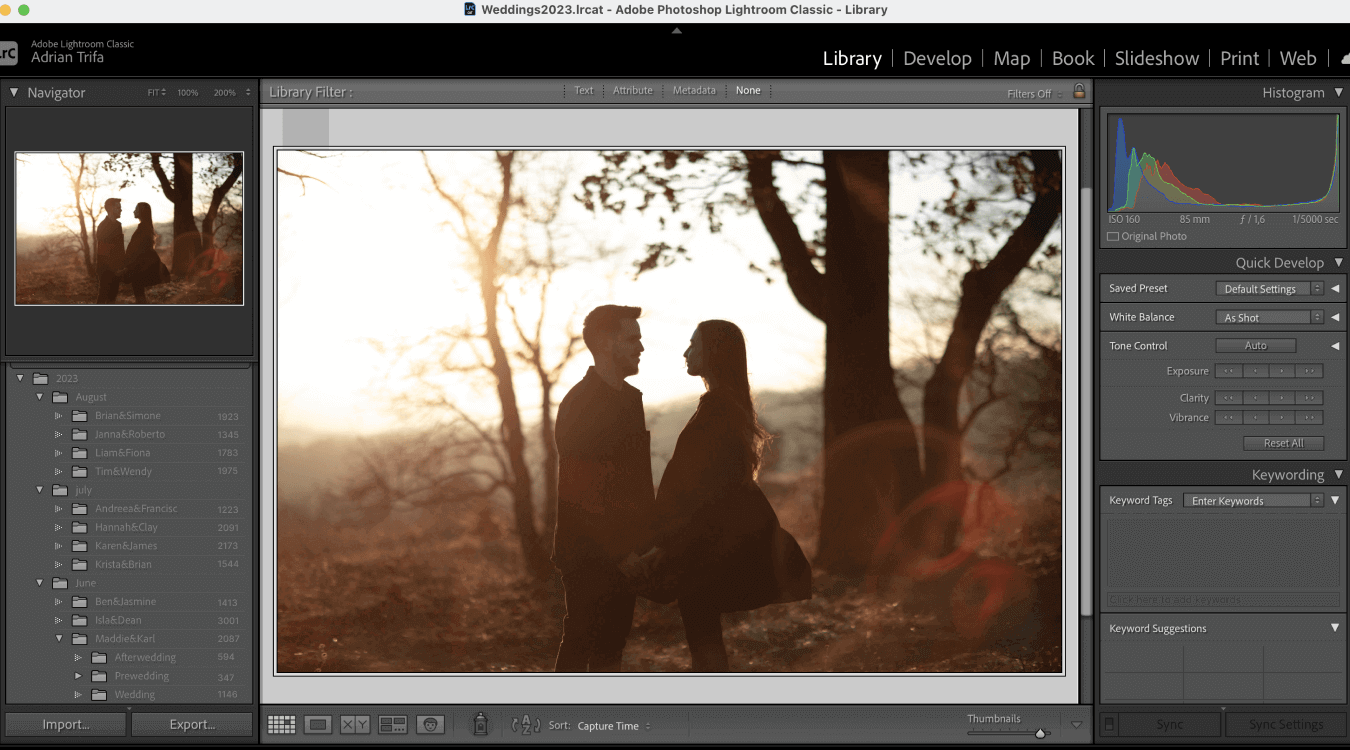
Are your Lightroom catalogs overflowing with chaos, making it hard to find the perfect photo, or even use Aftershoot’s AI editing magic?
Fear not! This guide is your roadmap to mastering Lightroom catalog management and maximizing the power of organization to give you a more efficient editing experience and a cleaner file management process.
Picture a world where your photos are neatly organized, effortlessly accessible, and ready for editing at the drop of a hat. We’ll turn that vision into reality by unraveling the mysteries of catalog chaos and streamlining your workflow.
Understanding Lightroom Catalogs
Before we dive headfirst into managing Lightroom catalogs, let’s go back to the basics. What is a Lightroom catalog and what does it do?
What is a Catalog?
We like to think of a Lightroom catalog as a digital filing cabinet for your photos.
It doesn’t store the actual image files but rather keeps track of information about them such as where they are stored on your computer, all of the edits you’ve made, keywords you’ve added in metadata, and so on.
This clever storage method allows Lightroom to work efficiently without slowing down, even when managing thousands of photos.

The Lightroom Queen makes another compelling comparison between Lightroom catalogs and old-school library cards.
Think of library books as your images. The library cards contain information about the books, and similarly, Lightroom catalogs contain information about your images. But neither can be accessed if the books (or your image files) are not in their original location.
So, what can these catalogs do other than store information?
Key Functions of Lightroom Catalogs
1. Organization
Catalogs help you categorize your photos into collections, folders, and smart collections. Lightroom Collections are like virtual albums where you can group related photos together, while folders mimic the structure of your computer’s file system. Smart collections automatically gather photos based on criteria you define.
2. Preserving Your Edits
When you edit a photo in Lightroom, the changes are stored in the catalog rather than applied directly to the original image file. This means you can experiment with different edits without fear of ruining your original photo.
3. Keywording and Tagging
Adding keywords and tags to your photos makes them easier to find later. For example, if you take a lot of landscape photos, you could tag them with keywords like “mountains,” “beach,” or “sunset” to quickly locate them when needed.
4. Previews
Lightroom generates previews of your photos to speed up the editing process. These previews are smaller, lower-resolution versions of your photos that load quickly in Lightroom, allowing you to make adjustments without waiting for the full-resolution image to load.

Lightroom Classic vs. Lightroom CC Catalogs
Lightroom Classic and Lightroom CC (or Lightroom cloud-based) have different catalog systems.
Lightroom Classic stores its catalog locally on your computer, while Lightroom CC stores its catalog in the cloud.
This means that with Lightroom Classic, your catalog and photos are stored on your computer’s hard drive, whereas with Lightroom CC, they are stored on Adobe’s servers.
Lightroom Classic does not have built-in cloud storage integration, meaning you have to manually sync your photos with Adobe’s Creative Cloud if you want to access them from multiple devices.
On the other hand, Lightroom CC seamlessly integrates with Adobe’s cloud storage, allowing you to access your photos from any device with an internet connection.
If you prefer having full control over your catalog and file storage, Lightroom Classic may be the better option. However, if you value accessibility and convenience, Lightroom CC’s cloud-based approach may be more suitable.
Mastering Lightroom Catalog Management
OK, so you’ve got the basics down. Let’s kick things up a notch by exploring:
- How to create and organize Lightroom catalogs
- How to maintain efficiency with backups, smart previews, and keywords
- How to troubleshoot common issues

How to Create and Organize Lightroom Catalogs
You need to decide whether you want to create a single catalog or multiple catalogs, follow a clear naming structure, import your images, and maintain efficiency with a few additional checks and steps. We’ll go through each aspect in detail.
Single vs. Multiple Catalogs
It’s up to you whether you want to use a single catalog or multiple catalogs. The decision depends on your workflow and how many photos you work with.
Do you mainly work on one type of photography or project at a time?
Then a single catalog will simplify organization and management. It’s also easier to search and reference images across your entire collection.
Keep in mind that large catalogs can become slow over time, especially if they contain thousands of photos.
Multiple catalogs give you more flexibility because you can separate different types of photography or projects into specific catalogs.
If you work on a variety of projects at the same time or want to keep personal and professional photos separate, this is the way to go.
However, keep in mind that managing multiple catalogs requires careful organization to avoid confusion.
Naming & Structure
We can’t stress this enough: use clear and descriptive names that showcase the content or purpose of the catalog.
Don’t use generic names like “Catalog 1” or “New Catalog.” Instead, use names that tell you what the project was, date range, or client.
For example, if you’re starting a catalog for your wedding photography portfolio, you could name it “Wedding_Portfolio_2024.” This name clearly identifies the type of photos and the year of creation, making it easy to locate and manage.

Importing & External Storage
We have a few tips for you to make importing and organization more efficient.
1) Create a Universal Folder Structure
Before importing photos, create a folder structure on your external hard drive that mirrors the organization of your Lightroom catalogs. This makes it easier to locate photos outside of Lightroom.
2) Use Consistent Naming
Use the same naming conventions for all your folders and files. Include dates, project names, or descriptive keywords to make navigation easier.
3) Customize Your Import Settings
When importing photos into Lightroom, review and customize the import settings to suit your preferences. Consider options like file renaming, applying metadata presets, and organizing into subfolders based on date or other criteria.
4) Have a Backup Strategy
As a photographer, a backup strategy is a must! Always keep backups of your original photos on external hard drives or cloud storage services. This gives you an extra layer of protection against data loss due to hardware failure, theft, or other unforeseen circumstances.
5) Choose a Stable Catalog Location
What constitutes a “stable” location? Your computer’s internal hard drive or a dedicated external hard drive with ample storage space will work. Choose a stable location for your Lightroom catalog file to avoid potential issues with file corruption or loss.

How to Maintain an Efficient Lightroom Workflow
Now for some best practices to ensure your Lightroom workflow runs smoothly. These include regular backups, using Smart Previews, and creating a consistent keywording system.
Do Backups and Integrity Checks
We’ve already mentioned that backups are essential, so why not schedule automatic backups within Lightroom (preferably daily or weekly) depending on how frequently you edit photographs?
In addition to regular backups, you should use Lightroom’s built-in catalog integrity check tool to identify and fix any issues. This tool scans your catalog for errors, such as missing files or corrupted data, and gives you options for repair.
Use Smart Previews
Enable Smart Previews in Lightroom to improve the program’s performance and allow for offline editing in other post-processing apps like Aftershoot.
Smart Previews are smaller, lower-resolution versions of your photos that Lightroom generates automatically. By working with Smart Previews instead of the original files, you’ll experience faster loading times and smoother editing, especially when working with large catalogs or slower computers.
Here’s how to enable Smart Previews:
- Go to the Lightroom preferences or settings menu.
- Go to the Performance tab.
- Check the box to generate Smart Previews during import, or enable them manually for selected photos.
Once your Smart Previews have been generated, you can edit your photos offline or with limited access to the original files, making it easier to work on the go.
Develop a Keywording and Tagging System
If you want to search and organize your catalogs with ease, developing a consistent keywording system is the answer. Here are tips for applying keywords and tags to your photos:
1) Be Descriptive
Write descriptive keywords that accurately reflect the content, context, and subject matter of your photos. Avoid generic terms that may lead to confusion.
2) Use Hierarchical Keywords
Creating a keyword hierarchy will help you organize your photos better by grouping them into categories and subcategories. In essence, you’re creating a logical structure that shows the relationships between different terms.
For example, you could create parent keywords like “Landscapes,” “Portraits,” or “Events,” with sub-keywords for specific locations, clients, or occasions.
3) Be Consistent
If you want to stay consistent in how you apply keywords to images, make rules or guidelines for yourself. You can create keyword presets or templates for common themes to make it easier and faster when adding keywords to new images.
4) Review and Update Your Keywords
Every now and then, take a look at your list of keywords and see if it still makes sense. Get rid of any words you don’t need anymore, and add new ones if your photography style or subject has changed.
Troubleshooting Common Issues

When using Lightroom, you will inevitably run into a problem at some point… even if you’re trying your best to keep things organized. Here’s what you can do if you face these issues:
Missing Files
If Lightroom says it can’t find photos, check where they’re supposed to be stored and reconnect them if needed. You can do this in the Library section by clicking on “Find Missing Folder” or “Locate Missing Photos.”
Slow Performance
If Lightroom starts feeling slow, try cleaning up your catalogs by removing unnecessary previews, optimizing the catalog file, and clearing out the cache. It might also help to split up large catalogs into smaller ones.
Catalog Corruption
If your Lightroom catalog gets corrupted, don’t worry. Lightroom has built-in tools to fix errors and recover lost data. Use the catalog integrity check tool to find and fix problems. If you have a recent backup of your Lightroom catalog, restore it to a previous state before the corruption.
More Advanced Lightroom Catalog Techniques
Alright, you’ve graduated from setting up your first Lightroom catalogs, you know how to manage them efficiently, and now you’re ready to take on some more advanced techniques. In this section, we’ll cover:
- How to merge Lightroom catalogs
- How to import images from other catalogs
- How to remove unwanted Lightroom catalogs
- How to optimize your catalog’s performance
- How to speed up your workflow with Lightroom presets
- How to share catalogs for collaboration
How to Merge Lightroom Catalogs
First off, why would you want to merge Lightroom catalogs?
Let’s say you wanted to combine photos from multiple projects into a single catalog to create a portfolio or you’re about to transition to a new computer – in these cases, merging catalogs gives you a convenient way to consolidate your photo collections.
⚠️Before you merge catalogs, create backups of both catalogs to ensure you have a fallback in case any issues arise during the process.
Steps to Merge Lightroom Catalogs
- Go to File > Import from Another Catalog
- Select the catalog you want to merge
- Follow the prompts to select the options for merging, such as importing metadata, photos, or both
- Resolve any conflicts that may arise during the merging process, such as duplicate photos or conflicting metadata
- Perform data integrity checks after the merge to ensure all your photos and metadata have been successfully integrated
How to Import Images from Other Catalogs
When importing data from other catalogs, you need to select specific data or entire catalogs while avoiding duplicates and maintaining organization.
Selecting Specific Data: Choose whether to import specific collections, keywords, or other metadata, or import the entire catalog.
Avoiding Duplicates: Lightroom will prompt you to skip or overwrite existing files with matching filenames or metadata to avoid importing duplicates.
Maintaining Organization: After import, review the imported data to ensure it aligns with your existing organizational structure. As we mentioned earlier, using keywording and tagging is the best way to categorize imported photos effectively.
How to Remove Unwanted Lightroom Catalogs
Before deleting a catalog, make double sure you no longer need it and have made a backup of any important data.
To delete a Lightroom catalog, close it in Lightroom and then delete the catalog file (.lrcat) from your computer’s file system.
You can also use Lightroom’s “Find Duplicates” function to identify and remove unnecessary duplicates, freeing up storage space and streamlining your catalog.

How to Optimize Your Catalog’s Performance
You can optimize your Lightroom catalog’s performance by reducing the size of your catalog. Lightroom’s “Compact Catalog” feature is perfect for this. It will remove unused data.
Another way to minimize your catalog’s size is to clean up your catalog regularly. Remove unnecessary previews, split larger catalogs into smaller ones, and clear your cache.
Optimizing your previews regularly will ensure they’re up to date and match your current editing needs.
How to Speed Up Your Workflow with Lightroom Presets
Using the best Lightroom presets to apply consistent edits to multiple photos will give your workflow a huge speed boost.
Watch our video tutorial for a step-by-step guide on how to create your own Lightroom presets.
How to Share Catalogs for Collaboration
If you’d like to export and share your Lightroom catalogs with team members or collaborators, the process is fairly simple.
- In Lightroom, ensure that the catalog you want to export is open and selected
- Go to the “File” menu located at the top-left corner
- From the dropdown menu, choose the option “Export as Catalog”
- The export dialog box will open and you’ll see options to choose the export location and name the exported catalog file
- Select a location on your computer where you want to save the catalog file
- Select your export options, such as to export all photos, selected photos, or a specific collection
- You can choose to include available smart previews and RAW files with the exported catalog file
- Click the “Export” button
Once the export process is complete, you can share the catalog file (.lrcat) with your collaborators using your preferred file-sharing method. This could be via email, cloud storage services like Dropbox or Google Drive, or through a file transfer service.
Your collaborators can import the exported catalog file into their own Lightroom app by selecting the “Import from Another Catalog” option from the “File” menu.
How Optimized Lightroom Catalogs Enhance Your Aftershoot Experience

If you’re using Aftershoot to cull and/or edit your images, then proper Lightroom catalog management will only make your workflow that much easier!
Optimized Lightroom catalogs enhance your Aftershoot workflow by:
- Speeding up batch processing through Smart Previews, allowing Aftershoot’s software to edit all your images fast
- Improving the accuracy of Aftershoot’s AI algorithms with proper keywording, metadata, and tagging, ensuring better results for your photos
- Simplifying project creation and image selection in Aftershoot with clear catalog organization and set naming conventions
Automating your editing process with AI and batch editing your images is a great time saver!
If you haven’t tried Aftershoot’s AI editing software yet, this is your sign to get started. It’s free for 30 days for unlimited image processing.
In Conclusion
Mastering Lightroom catalogs isn’t just about keeping your digital files tidy; it’s about unlocking the full potential of your photography workflow.
By organizing, optimizing, and maintaining your Lightroom catalogs, you pave the way for a smoother editing experience and more efficient file management.
As photographers, we know the frustration of sifting through endless folders and files in search of that one perfect shot. But fear not! With the insights in this guide, you’ll be able to conquer catalog chaos and streamline your workflow like never before.
From understanding the fundamentals of Lightroom catalogs to diving into advanced techniques like merging catalogs and optimizing performance, we’ve covered it all. Whether you’re a novice or a seasoned pro, there’s something here for everyone to learn and apply.
But perhaps the most exciting part of mastering Lightroom catalogs is the impact it has on your Aftershoot experience.
By harnessing the power of well-organized catalogs, you’ll see faster batch processing, more accurate AI editing, and seamless project creation in Aftershoot. It’s like unlocking a whole new level of efficiency and creativity in your editing process.
So, what are you waiting for? Take the first step towards a smoother, more efficient workflow! Try optimizing your Lightroom catalogs today and see how it transforms your editing experience.
And if you haven’t already, why not give Aftershoot a try? With its powerful AI editing capability and seamless integration with Lightroom, it’s a massive time saver and reliable editing companion.


