3 Photography Workflow Tips Every Photographer Should Know
Picture this: it's peak season and you find yourself drowning in a sea of unedited photos, looming deadlines, and impatient clients.
The pressure is real, and we've all been there. But don't worry, because, in this article, we'll share everything you need to know to streamline your photography workflow and some tips that can make those stressful days a thing of the past.
What is the Best Photography Workflow for Photographers?
So, you want to guarantee a productive photography post-processing workflow, huh? Well, let's not make promises we can't keep! Having a structured workflow is more than just a buzzword; it's the secret to getting your post-shoot work done more efficiently and reaping the rewards.
The best photography workflow is one that maximizes efficiency, maintains consistent quality, and is tailored to the photographer’s style and needs. There is no single "best" photography workflow, as it depends on individual preferences, project types, and working styles. The ideal workflow is one that aligns with your specific needs and maximizes your efficiency and creativity. Ultimately, the best workflow is adaptable and evolves with your experience and changing requirements, ensuring it suits both your creative vision and business goals.
We can't guarantee you'll get those three minutes back that you spent reading this, but we're pretty confident that won't be needed.
Now, let's dive into the nitty-gritty of how to make your workflow a breeze.

What are the Key Benefits of a Structured Workflow?
- Better time management, which leads to less time behind the screen and more time for the things that make you happy.
- Enhanced creativity, because when you're not overwhelmed by chaotic file management and endless editing, you have the mental space to brainstorm new ideas.
- Reduced stress and no more burnout.
- Faster delivery times, which means happy clients that refer you to their friends.
- Opportunities to scale your business, because you’ll be able to maintain efficiency and quality even when dealing with higher workloads.
So, how do you become the undisputed master of the universe in post-processing? These three tips are your cosmic keys to unlocking a more structured and productive workflow.
- Shoot in the correct format: RAW
- Organize your files and equipment
- Leverage tools to streamline your photography workflow
Let’s get into them in more detail.
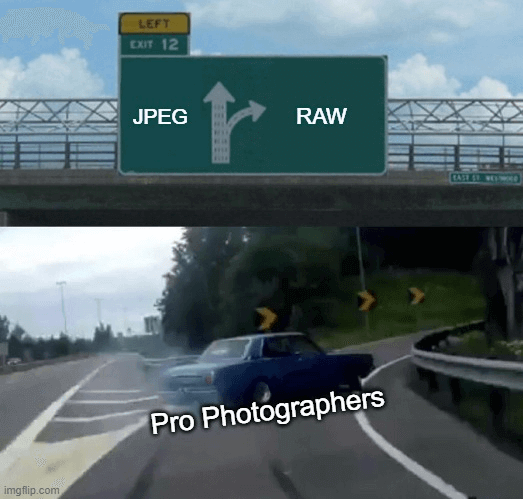
1. Shoot In RAW Format

To kick off your journey toward a more efficient photography post-processing workflow, you need to start with the basics – shooting in RAW.
Shooting in RAW gives you unparalleled editing flexibility and ensures that your images reach their full potential during post-processing.
But what exactly does RAW mean, and why is it the preferred image format for professional photographers?
What is RAW format?
RAW is an unprocessed, uncompressed image file format that records all the data captured by your camera's sensor without any in-camera processing.
Unlike other image formats like JPEG, which apply various adjustments and compression, RAW files preserve every detail, color, and nuance of the scene.
Why is RAW optimal for editing?
Shooting in RAW provides you with the raw material needed to craft your images exactly as you envision them.
Here's why it's the preferred choice:
Color Grading & Artistic Freedom
If you enjoy crafting a unique visual style for your images, shooting in RAW becomes even more essential.
RAW files contain a wealth of color information, which enables you to perform precise color grading and creative adjustments to achieve your desired look.
Preservation of Image Quality
Unlike JPEG, which uses lossy compression, RAW files maintain the highest image quality, making them ideal for professional work, fine art photography, or any situation where image quality is paramount.
Recover Overexposed or Underexposed Shots
Have you ever taken a photo where the highlights are blown out, or the shadows are too dark?
RAW files retain a wide dynamic range, giving you the ability to recover details from overexposed or underexposed areas, saving shots that might otherwise be lost.
Non-Destructive Editing
When you edit a RAW file, the changes you make do not affect the original data.
This non-destructive editing allows you to experiment and make adjustments without permanently altering the original image.
Shooting in RAW is the cornerstone of a smooth photography workflow. It provides you with the raw material to unleash your creativity, maintain the highest image quality, and have complete control over your final results.
2. Organize Your Files & Equipment
One of the most critical steps in ensuring a smooth and efficient photography post-processing workflow is maintaining an organizational system right from the beginning.
Organizing your photography workflow has profound implications for your efficiency, stress levels, creativity, and overall experience as a photographer.
Here are just some of the benefits of being organized.
Improved Efficiency
When your files are neatly categorized and your equipment is readily accessible, you spend less time searching for things and more time capturing moments. It's a fundamental aspect of efficiency.
Stress Reduction
The frustration of not finding that one specific image, lens, or cable can turn a good day into a frustrating one. Organization reduces stress and lets you focus on your craft.
Creativity Boost
A clean and organized workspace can also stimulate your creativity. It's much easier to get into the creative zone when you're not surrounded by chaos.
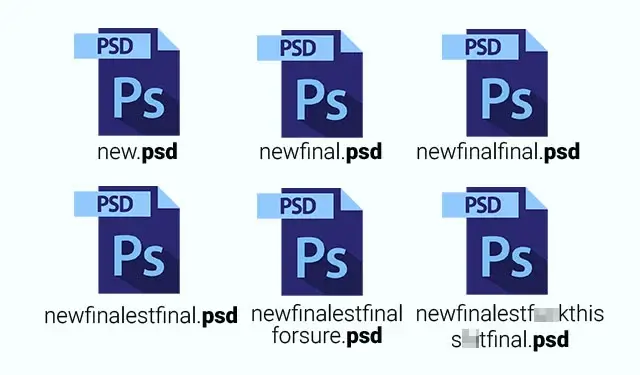
Having a logical file-naming system and image backup system in place is a great starting point for becoming more organized in your entire post-shoot workflow.
Pro Tip: Consider a convention like "Event_Date_Location" when naming your files. For example, if you photographed a wedding on October 15, 2023, in New York, your file could be named "Wedding_2023-10-15_NewYork."
Consider a convention like "Event_Date_Location" when naming your files.
For example, if you photographed a wedding on October 15, 2023, in New York, your file could be named "Wedding_2023-10-15_NewYork."
Tips for Image Backups

Backing up your precious photos is non-negotiable. The importance of having a solid backup solution cannot be overstated.
Consider using external hard drives (and storing them in an organized manner) or cloud storage solutions specifically designed for photographers.
These solutions offer data redundancy and ensure that your work remains safe and accessible even in the face of unforeseen disasters.
Now, we’re not expecting you to become the next Marie Kondo, but here are some practical tips to help you maintain order in three crucial areas: files, workspace, and equipment organization.
Keeping Files Organized
- Create folders for each project or client.
- Use clear, descriptive folder names.
- Regularly declutter and remove unnecessary files.
- Employ metadata tagging to easily search and categorize your images.
Organizing Your Workspace
- Keep your workspace clutter-free by tidying up after every shoot or once a week.
- Invest in storage solutions like shelves, cabinets, and drawers for your gear and accessories.
- Label storage containers and hard drives to find equipment quickly.
- Create dedicated spaces for different tasks like editing and equipment maintenance.
Keeping Equipment Organized
- Implement a system to label and categorize your equipment.
- Keep an inventory list of all your gear.
- Prioritize equipment maintenance and cleaning schedules.
- Always pack your camera bag or kit in the same organized way to avoid leaving essential items behind.
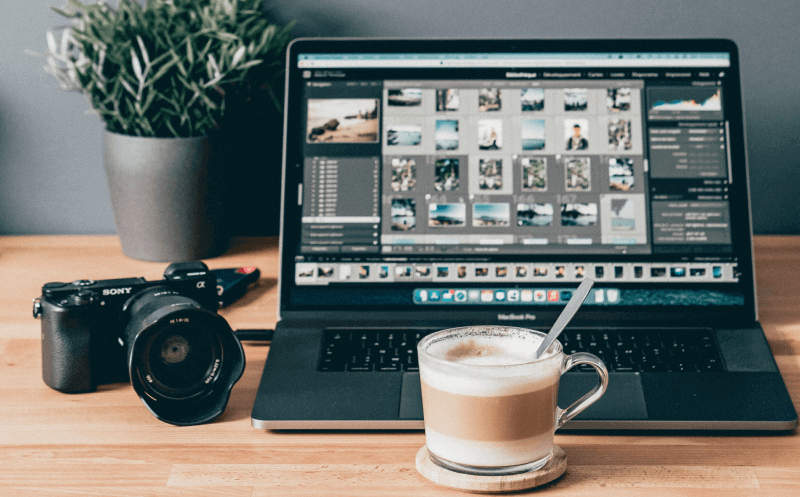
3. Leverage Tools to Streamline Your Photography Workflow
Technology is your trusted ally, and it’s especially useful when it comes to streamlining your workflow.
Whether you want to enhance your post-processing, optimize client relationship management, or smoothen the delivery process, there are numerous tools at your disposal.
Let's look at tools to speed up the post-processing workflow.
AI Tools for Photographers
The realm of artificial intelligence (AI) has expanded exponentially, and it's not limited to just culling and editing.
From the moment you click the shutter to the final delivery of your images, AI tools can be your dependable partners.
Check out our list of must-have AI tools for photographers to dive deeper into how AI and running a photography business go hand-in-hand.
By far the area where AI tools are most beneficial for your post-processing workflow is in your culling and editing processes.
Enter Aftershoot.
How Aftershoot Supercharges the Photography Workflow
Aftershoot’s AI software shines as a culling and editing virtuoso. It's not just a matter of saving time; it's about elevating the quality and consistency of your final images.
By doing all of this within a matter of minutes, Aftershoot helps you produce high-quality images faster than ever.
Aftershoot's cutting-edge culling algorithms streamline your image selection process, identifying and recommending the best shots based on various factors, such as:
- Sharpness
- Focus
- Duplicates
- Emotion
- Composition
- Closed eyes & blinks
The culling feature is customizable with sensitivity sliders, allowing you to adjust the criteria based on your needs and preferences.
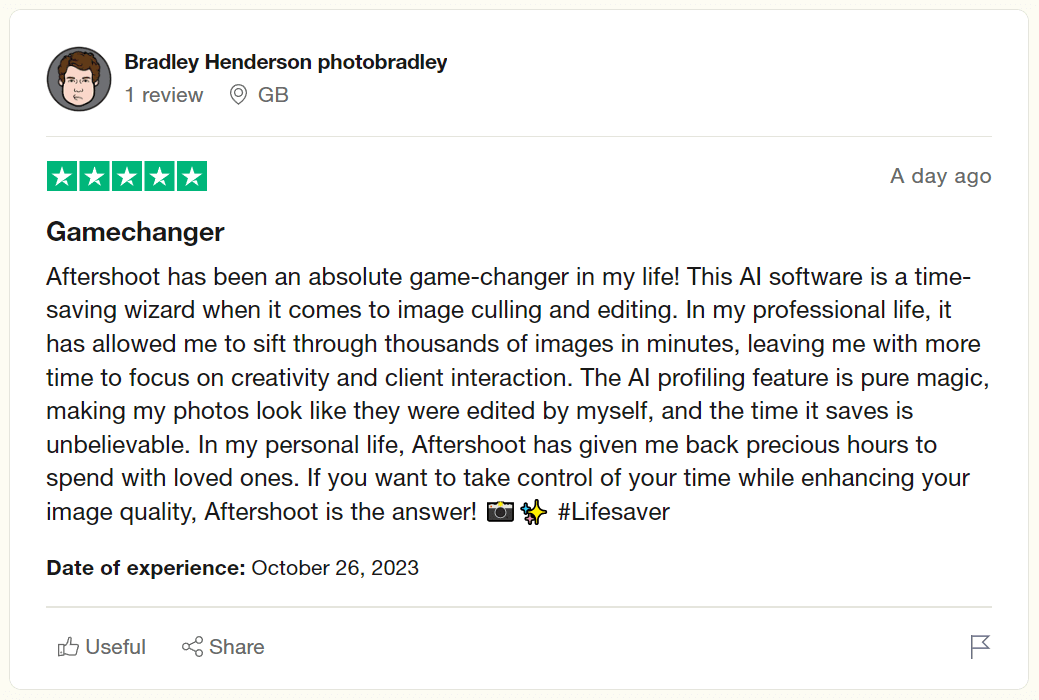
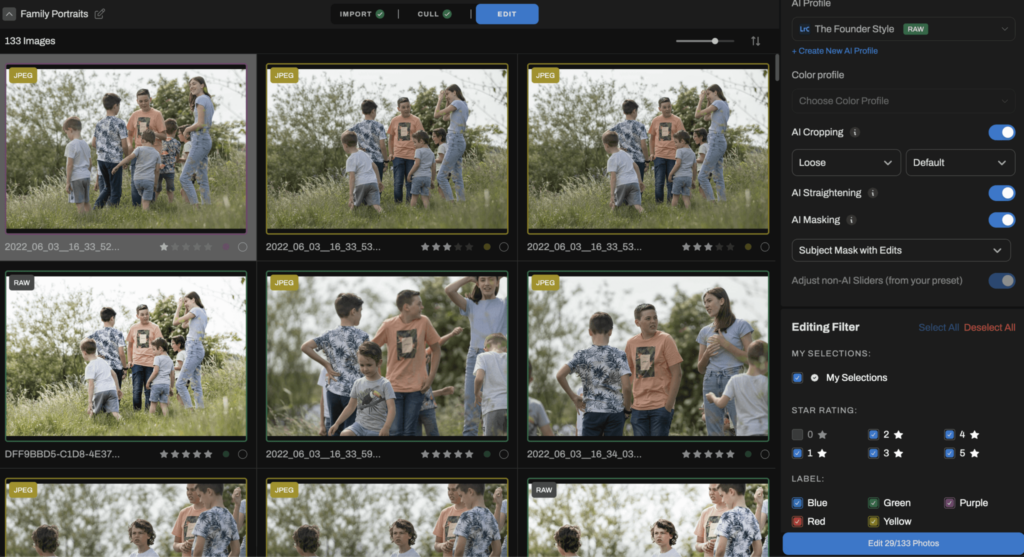
Aftershoot also offers an impressive AI-powered editing feature that replicates your personal editing style with 90%+ accuracy.
It can edit 1,000 images for you in under a minute!
Features of the editing function include:
- AI cropping & straightening
- AI masking
- Adjustments for brightness
- Tone curves
- Exposure
- Vibrance
- Highlights & shadows
- White balance, and more
To use the editing software, you'll need to create an AI Profile by uploading at least 2,500 previously edited images from your Lightroom or Capture One Catalog to the Aftershoot app.
The AI then learns your unique editing style and uses that information to replicate your adjustments onto the unedited photographs you add for editing.
Alternatively, you can use a pre-built AI Profile called AI Style, found in the Aftershoot Marketplace.
Both culling and editing products are integrated into one app that runs locally (no internet connection needed), making it super convenient and effortless to go from shooting to photo delivery in no time.
Improving Project Management & Client Communication
Optimizing project management and client communication is another key to unlocking a more productive and less stressful photography post-processing workflow.
There are fantastic tools in the form of Customer Relationship Management (CRM) software that will streamline client management and communication, ultimately saving you valuable time.
CRM software provides a centralized hub for all client information, from contact details to project specifics.
It simplifies scheduling, automates appointment reminders, and ensures you're always in the loop about upcoming projects.
Furthermore, integrating an online proofing gallery into your workflow can significantly enhance the proofing and delivery process.
It creates a smoother experience for both you and your clients, allowing them to review and select their favorite images with ease.
Incorporating productivity tools into your workflow isn't just about convenience; it's about delivering a better experience for your clients and allowing you to focus on what you love most – capturing moments.
Whether it's AI for post-processing, CRM for client management, or proofing galleries for smoother interactions, technology is your passport to a more efficient post-processing workflow.
How to set up a Photography Workflow post-production?
Setting up an efficient photo workflow helps streamline your entire process from shooting to delivering the final product. A faster client delivery means you can take on more projects and do what you love. Let’s discuss step by step how we can set up a post-production workflow
Step 1: Backup
The first step to having an efficient workflow is always backing up your photos. We've already spoken about keeping your files organized to ensure a smooth process. Back up your images immediately to an external drive or cloud storage for safekeeping.
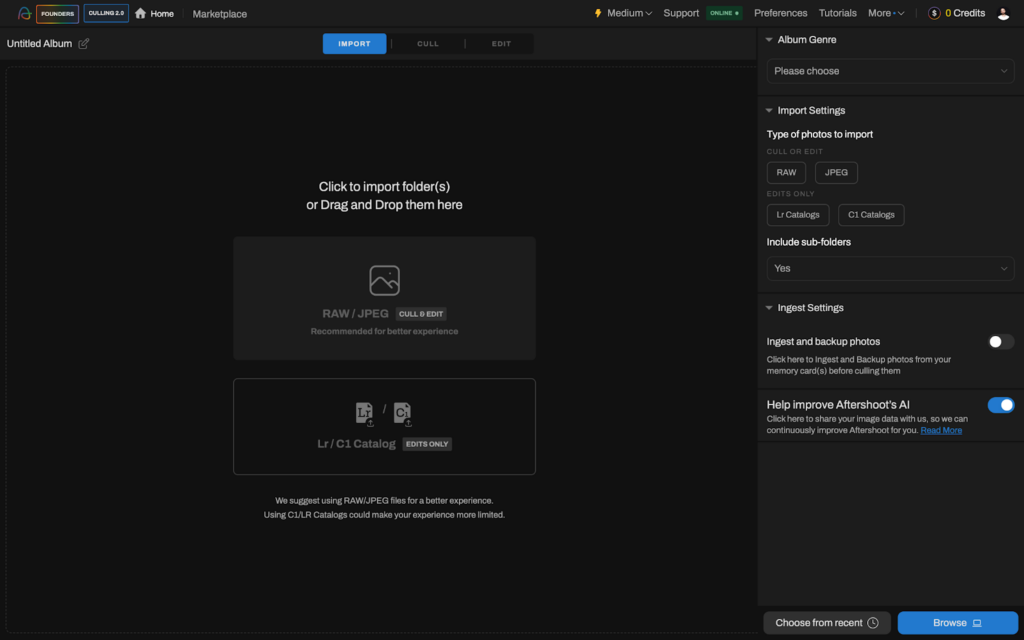
Step 2: Import your photos
Import your photos to your photo editing tool. We recommend using Aftershoot to streamline your workflow. So all you need to do is open Aftershoot, click on the options based on your preferences and you are all set.
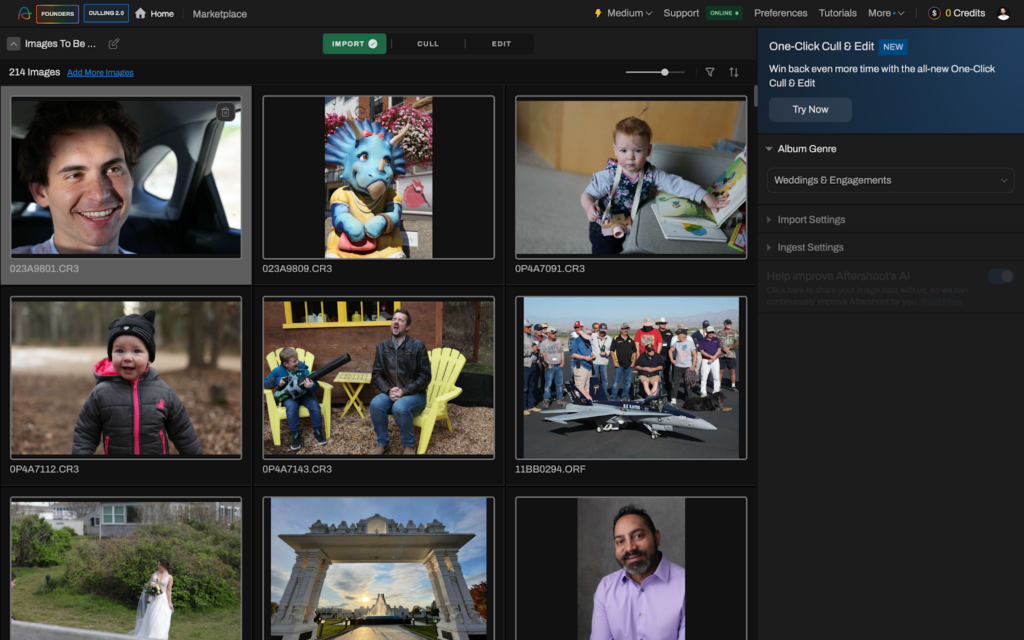
Step 3: Cull your photos
Cull your photos on Aftershoot based on your preferred settings. Arrange selected images into folders by date, event, or client name. Apply consistent naming conventions for easier retrieval and sorting.
Step 4: Edit your images
Once your images have been culled, you can start editing your images on Aftershoot. Select your AI profile (i.e an AI editing profile trained with your unique editing style) or AI style (pre-built AI presets) to edit your photos.
Next, select all your editing preferences and click the edit button.
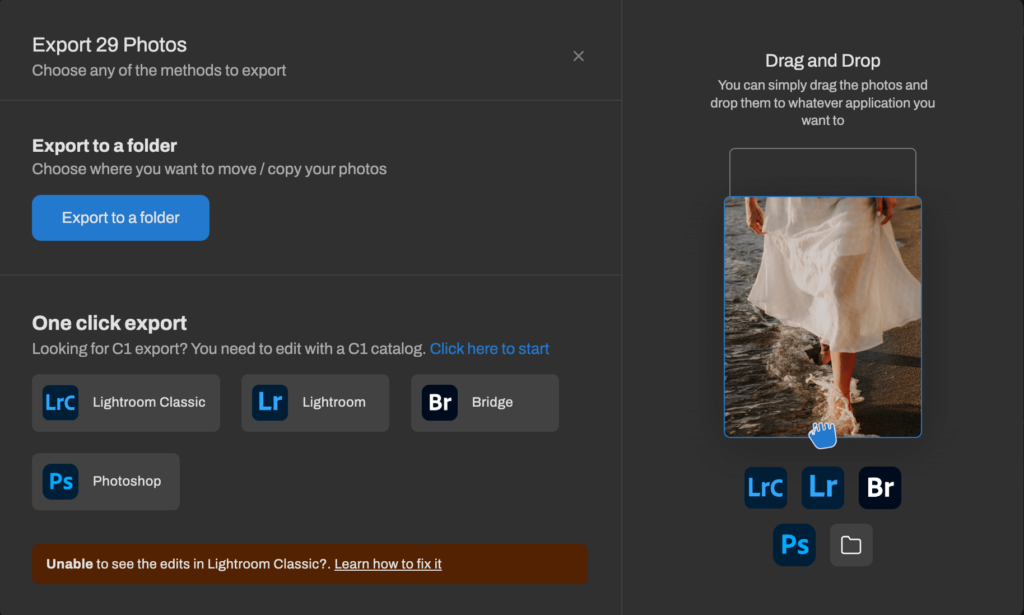
Step 5: Export and Review
Once your edit is complete, you'll receive both an in-app notification and an email. To begin reviewing your images, simply click on "Review" in Lightroom or Capture One, or choose “by” to see a list of your preferred apps, ready for further adjustments. Prefer manual control? You can always export the images and review them at your own pace!
Building an Efficient Workflow
A well-structured workflow is your ace in the hole for triumph. We hope these workflow tips for photographers will reshape your photography journey into a more productive and efficient experience.
An efficient photo editing workflow brings the assurance of better time management, amplified creativity, minimized stress, swifter deliveries, and the capacity to expand your photography business. We hope you’ll put these insights into practice, embrace structure, and unleash your creativity.
Experience the transformative power of a streamlined workflow with a free 30-day trial of Aftershoot. No credit card necessary!
Our AI software can free you from hours of tedious work, granting you more time to capture beautiful moments and spend time with loved ones.
In the end, it's not just about capturing images; it's about creating a seamless workflow that empowers you to excel in your passion and profession.
If you’re interested in more photography tips – from shooting and business to post production and creativity – take a look at our list of top photography podcasts.
Happy shooting!