Ever wondered how you can create this lighting effect in your photography?
It’s the hallmark of a classic Hollywood portrait, or maybe it’s the glowing studio headshot you’ve seen across social media. That flattering, dramatic lighting effect where everything just looks sculpted, symmetrical, and polished, is called butterfly lighting.
We’re going to spill the secrets behind butterfly lighting photography. Discover why this is the go-to setup for sculpted, flattering portraits and how to make your shots pop. We’ll cover light placement, angles, and even when to bend the rules. Ready to master those signature butterfly shadows?
Let’s go.
TL;DR: Butterfly Lighting Photography
What it is:
A lighting setup with the light placed high and directly in front of the subject, creating a soft butterfly-shaped shadow under the nose.
Best for:
- Beauty, fashion, and editorial portraits
- Headshots (business, acting, LinkedIn)
- Solo maternity or family portraits
Gear you’ll need:
- Key light (strobe, LED, or flash)
- Light modifier (umbrella or softbox)
- Reflector or fill light
- Light stand or boom arm
Setup tips:
- Light should be 45° above and in front
- The subject’s face should stay square to the camera
- Use a reflector below to soften chin shadows
- Shoot slightly below the light’s axis for depth
Common mistakes:
- Light too high = harsh shadows
- No fill light = unflattering contrast
- Shooting too low = distortion
Post-production:
Use tools like Aftershoot to speed up your workflow:
- Select the best shots in minutes
- Apply your signature style across your session
- Retouch those perfectly lit portraits instantly.
✨ Try Aftershoot free today and transform your workflow.
What Is Butterfly Lighting?
“Light makes photography. Embrace light. Admire it. Love it. But above all, know light. Know it for all you are worth, and you will know the key to photography.”-George Eastman
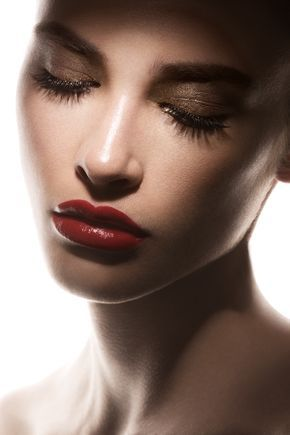
Butterfly lighting places the light high and directly in front of your subject, creating a soft shadow under the nose for a flattering, symmetrical look. It’s perfect for face-forward shots that feel polished, sharp, and smooth, like a personal spotlight showing off their best angles.
Why Use Butterfly Lighting?
So why should you even bother with butterfly lighting? Simple, it’s like the beauty filter of the lighting world. This setup is universally flattering, making skin look smoother, cheekbones pop, and features stand out in the most flattering way possible.
If you’re aiming for that glamorous, magazine-cover vibe, butterfly lighting is your best friend. It’s the go-to for beauty shots, headshots, and any portrait where you want your subject to look like they just walked out of a photoshoot.
But hey, it’s not always the best choice for everyone. If your subject has a more asymmetrical face or you’re going for a casual, candid look, butterfly lighting might not give you the vibe you want. But when you’ve got a controlled setup and a subject that’s ready for their close-up, butterfly lighting will have you saying “Wow, I’m good at this!” in no time.
Learn more about different photography lighting techniques in this video:
How to Set Up Butterfly Lighting: Step-by-Step
Here’s how you can nail that perfect butterfly lighting setup.
Butterfly Lighting Gear You’ll Need
Here’s the gear you can use to set up the shoot:
One key light
You’ll want a reliable strobe, LED, or flash to deliver soft, flattering light from above your subject. Solid choices include:
- Profoto B10 — premium, portable, pro-level quality.
- Godox AD200Pro — excellent power-to-price ratio, a go-to for many photographers.
- Neewer 660 LED Panel — affordable, easy to use, great for beginners or small studios.
Key light modifier (highly recommended)
To get truly soft, even butterfly lighting, use a shoot-through or reflective umbrella to diffuse the light. Options to consider:
- Westcott 43″ Optical White Satin Umbrella — beautiful, broad light with great build quality.
- Neewer 33″ Translucent Umbrella — budget-friendly, lightweight, does the job.
Optional reflector or fill light
Soften the shadows under the chin to perfect that butterfly look. Good options:
- Westcott 5-in-1 Reflector — versatile and durable.
- Neewer Collapsible Reflector — affordable and portable.
Light stand or boom arm
You’ll need to position your light securely above and in front of your subject at a downward angle:
- Manfrotto Boom Stand — rock-solid, professional-grade.
- Impact Air-Cushioned Light Stand — sturdy, reliable, and affordable.
- Godox Boom Arm Kit — excellent price-to-utility for overhead setups.
Butterfly Lighting Setup
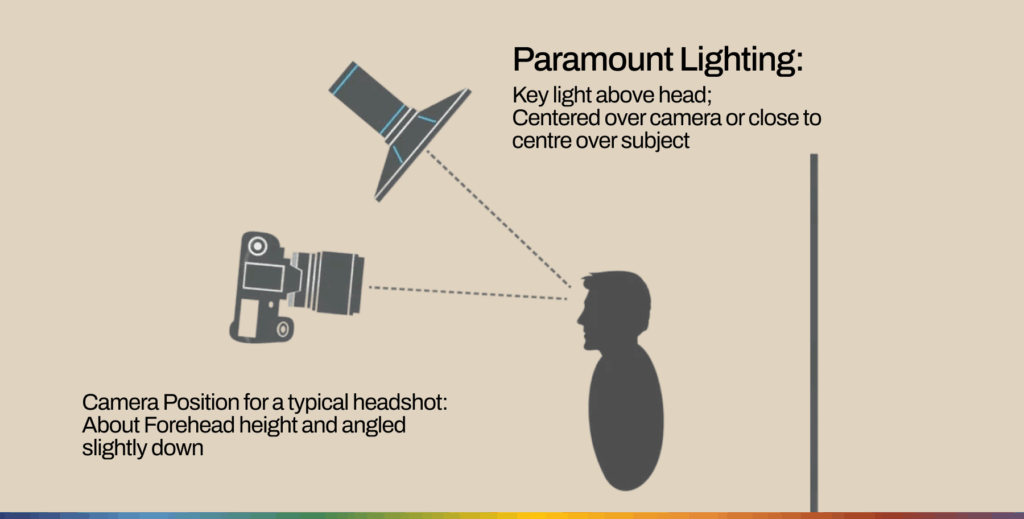
Position the key light above and centered over the subject for a signature shadow under the nose. Place the camera at forehead height, angled slightly down for a flattering headshot.
- Position the Light: Frame your main light slightly above and in front of your subject. Angle it down at about a 45-degree angle, this is what will create that iconic butterfly-shaped shadow under the subject’s nose.
- Keep the Face Square: For the best results, make sure your subject’s face is square to the camera. This is key for getting that symmetrical, flattering shadow.
- Use a Reflector: Place a reflector under the chin to soften any harsh shadows. It helps to balance out the lighting and gives a more even, smooth look.
- Shoot from Slightly Below: Position your camera slightly below the light’s axis to avoid flattening your subject’s features. This angle gives the face depth and keeps things looking natural.
Common Butterfly Lighting Mistakes to Avoid
- Light Too High: If the light is too high, you’ll end up with a deep, unflattering shadow under the nose. It’s a quick way to make your subject look like they’re about to join a scary movie.
- No Fill Light: Skipping the fill light or reflector can leave you with harsh shadows, especially around the chin. Not cute.
- Shooting Too Low: Shooting from too low can distort your subject’s features. You don’t want them looking like a cartoon character!
Bonus Tip: Test it out on yourself first! Get in front of the camera and see how the shadows fall. Nothing beats firsthand experience.
Genre Tips: When to Use Butterfly Lighting
Alright, so now you know how to set up butterfly lighting equipment, but when should you actually use it? Let’s break it down by genre, because this lighting setup isn’t just a one-trick pony, it works like magic in different situations.
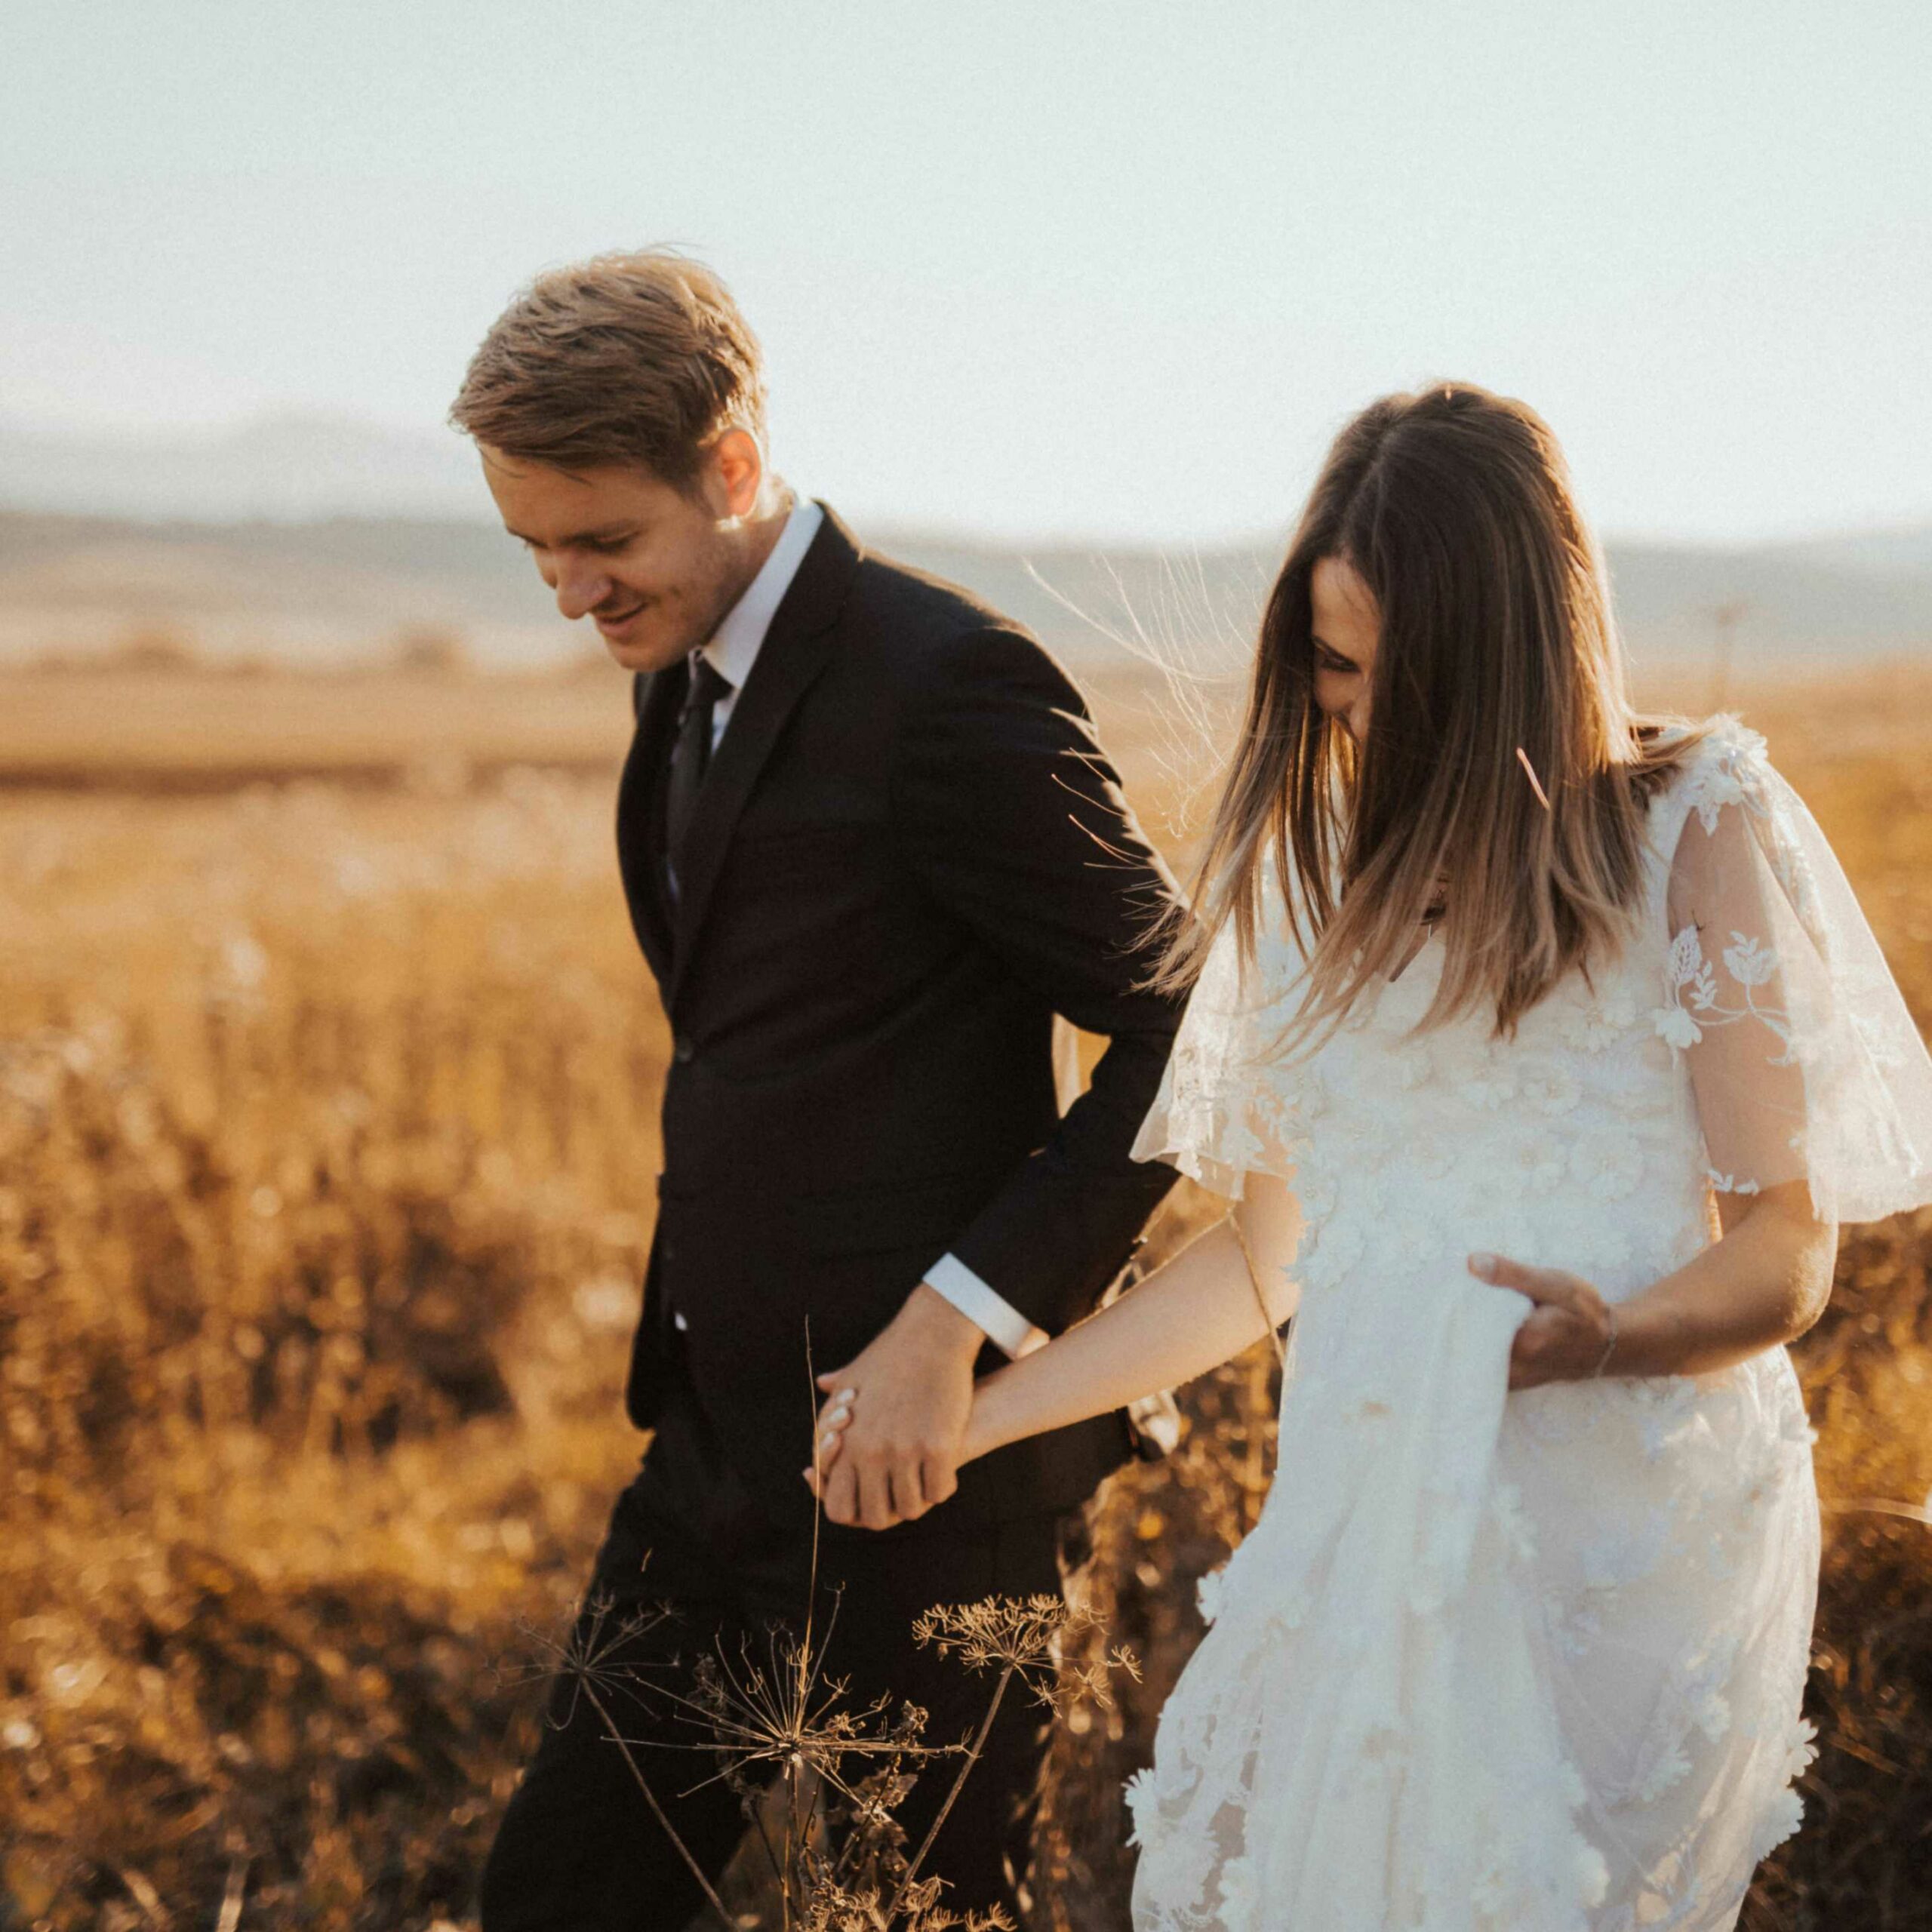
Portrait Photography
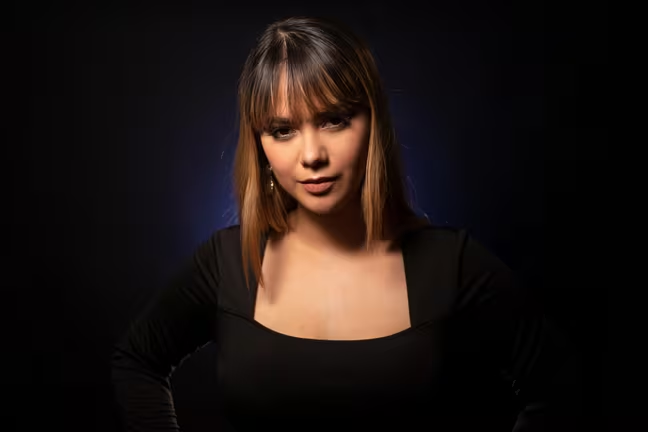
Butterfly lighting is practically made for glamour, editorial, and beauty shots. It adds that extra touch of drama and polish that’s perfect for showcasing your subject’s features.
If you want your portrait to look like it belongs on the cover of a fashion magazine, this is your go-to. Bonus points if you pair it with a silver reflector for some extra punch in the shadows.
It’s also best with clean backgrounds and simple poses. You want the subject’s face to be the star of the show, so keep things minimal behind them.

Headshots Photography
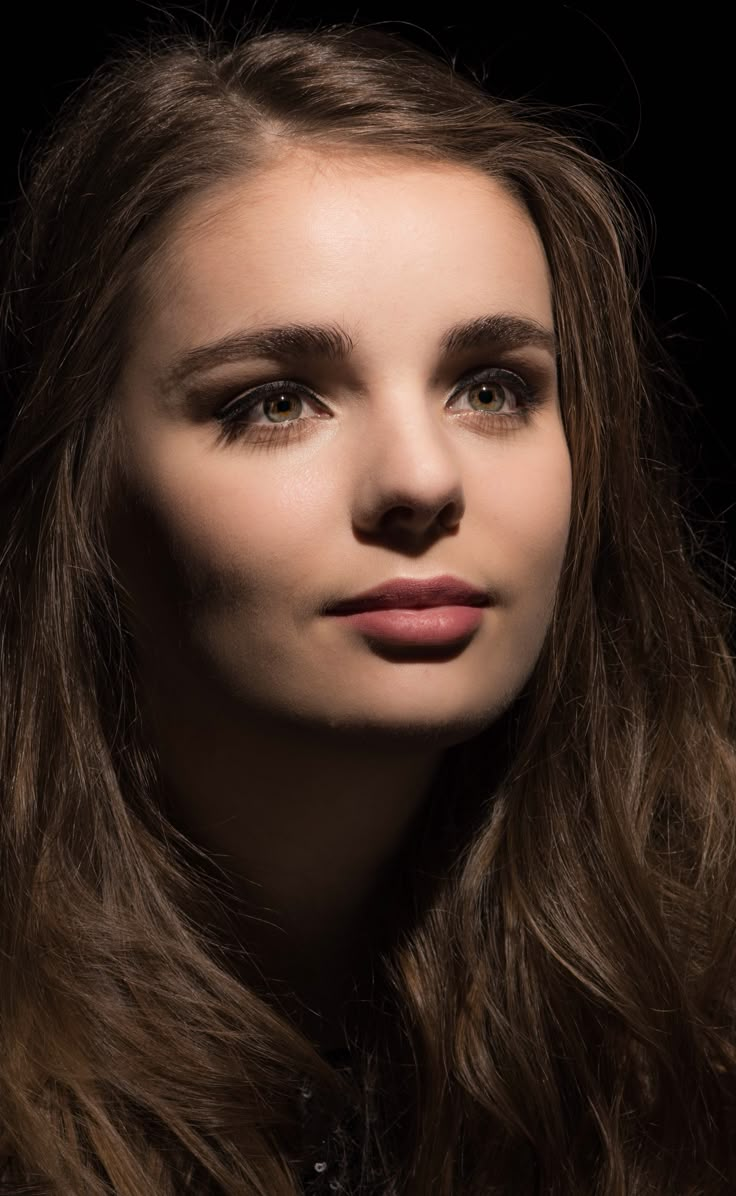
Looking to create a polished, confidence-forward look? Butterfly lighting is perfect for headshots. It’s the lighting setup that makes your subject look like a total pro, whether it’s for business profiles, acting portfolios, or just that perfect LinkedIn photo. It works particularly well with even skin retouching in post-production to enhance that smooth, flawless finish.
While we’re on the topic, now you can experience the power of fast and instant retouching with AI. Try Aftershoot for free today. (Retouching is in Early Release, Free until September 2025)
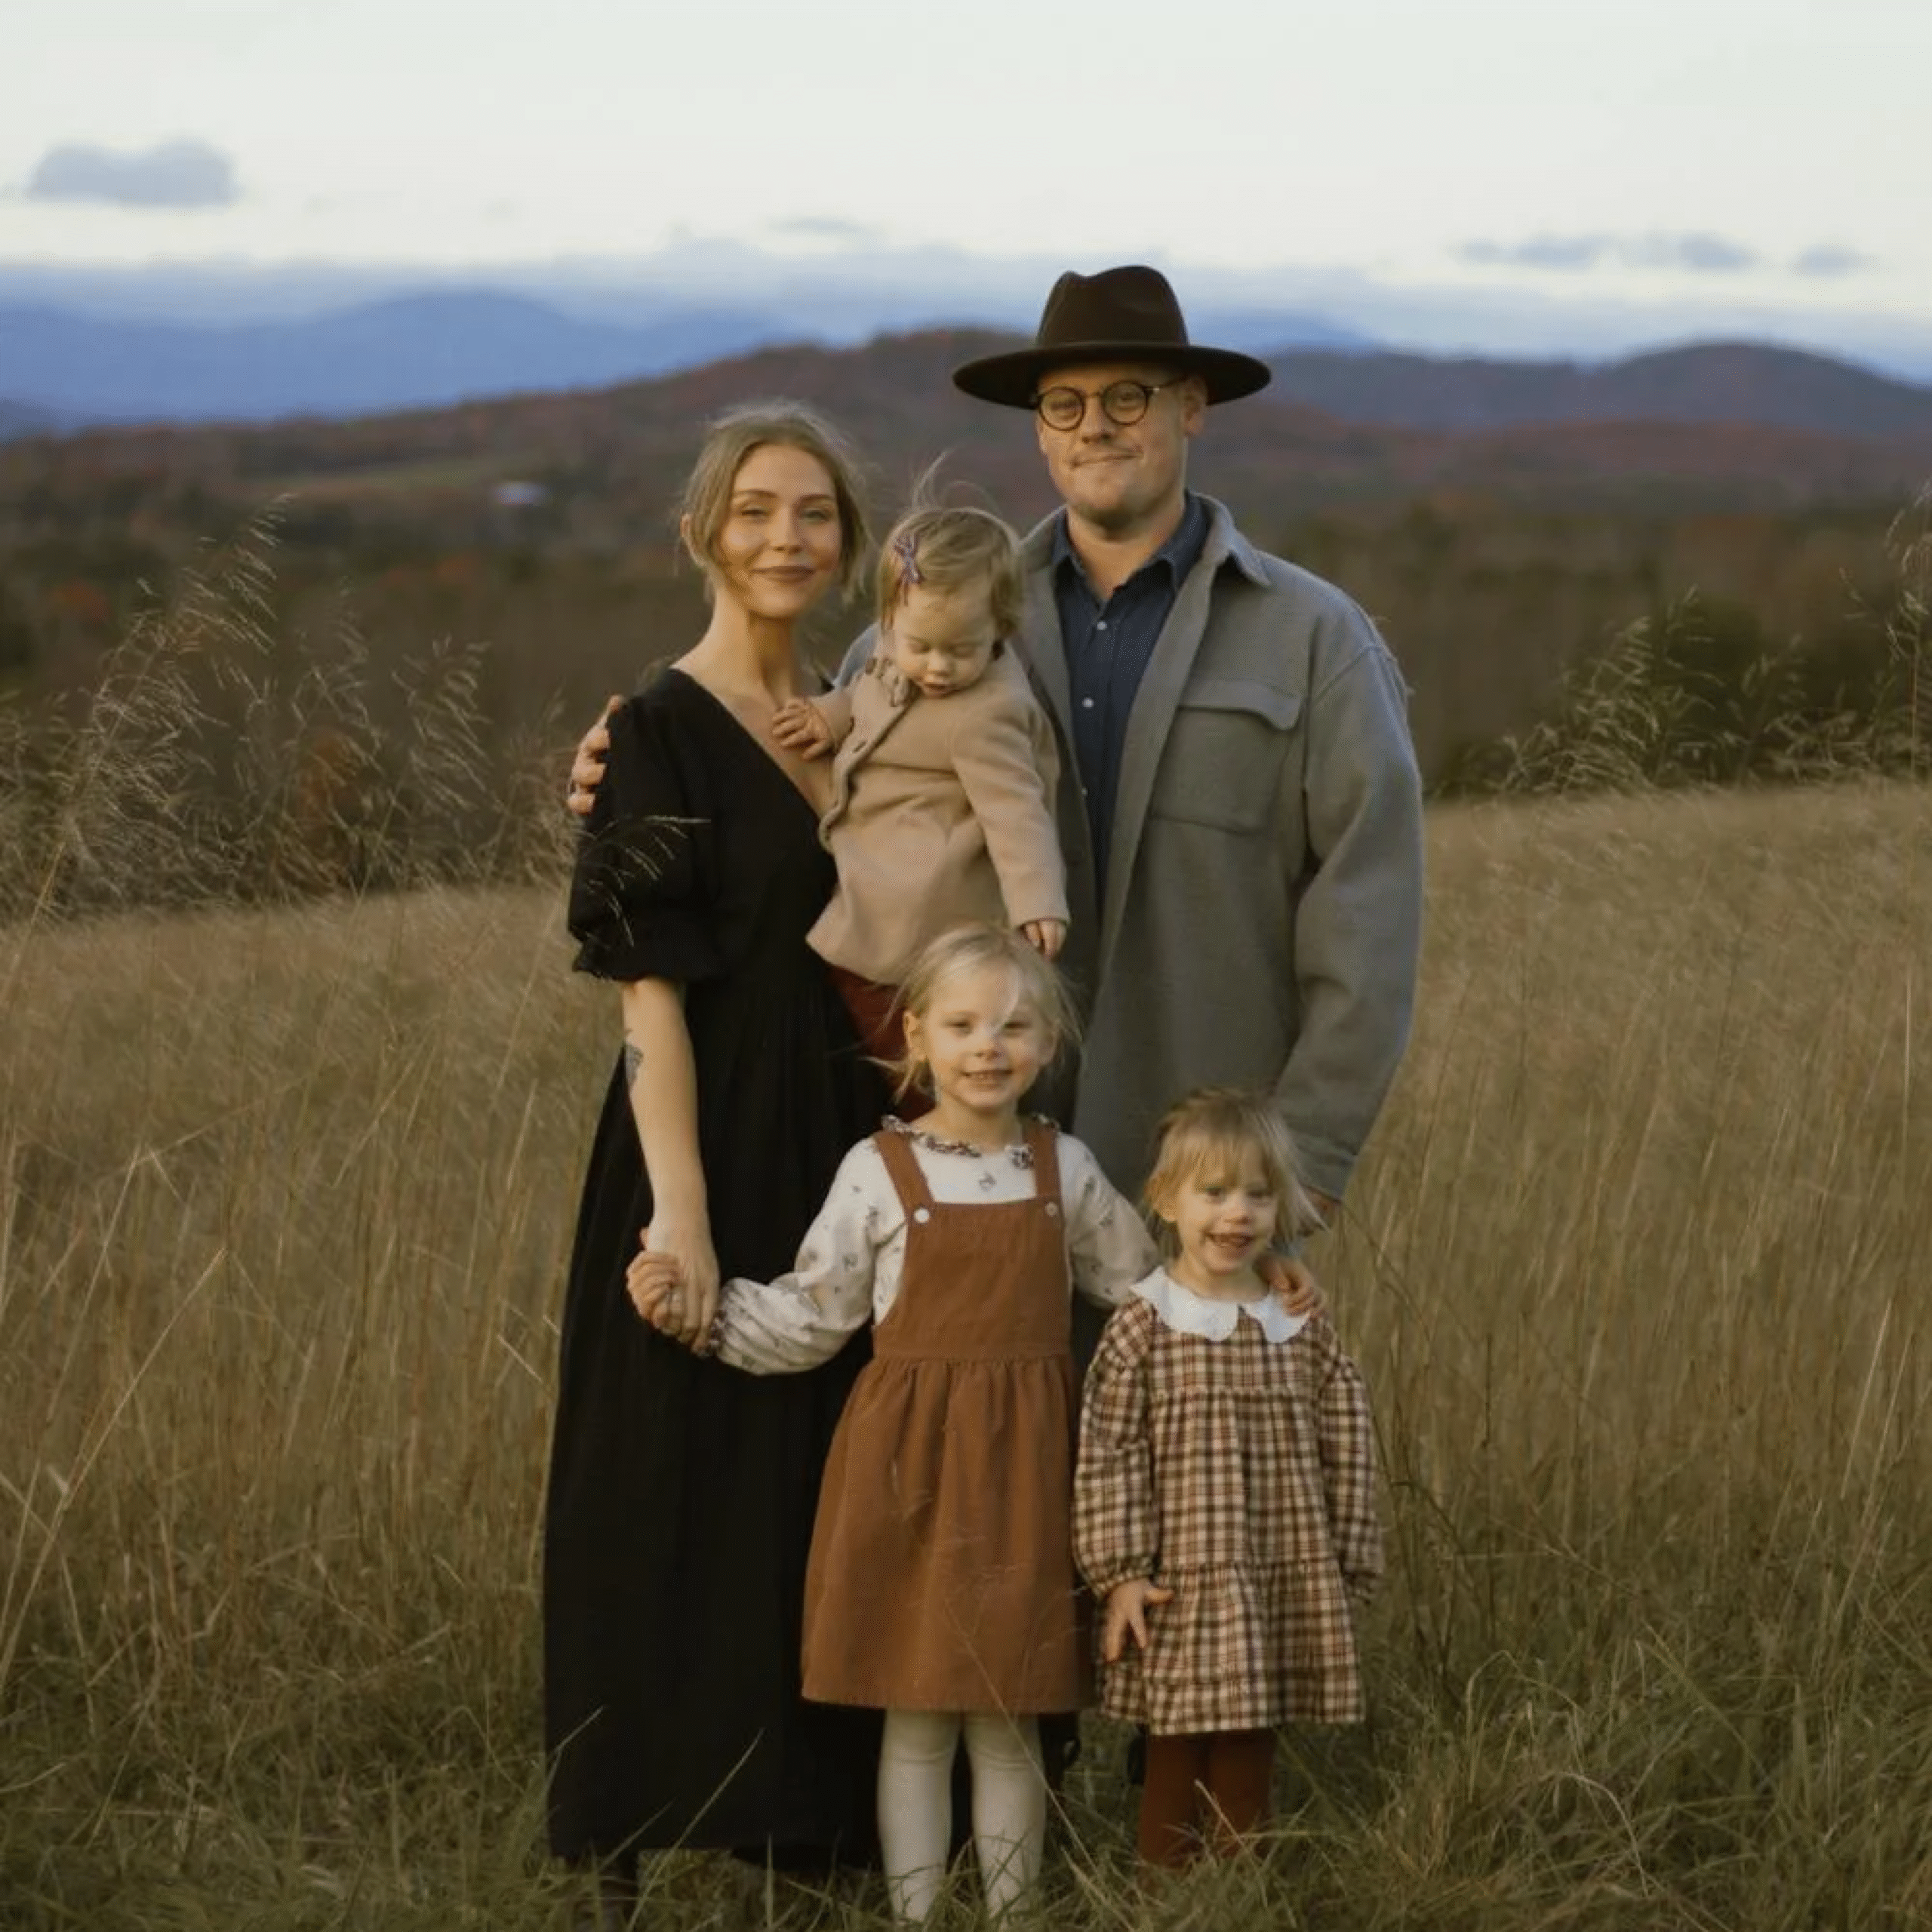
Family & Maternity Photography
Butterfly lighting can also shine in individual portraits for family or maternity sessions, especially when you’re focusing on one person. It’s fantastic for flattering solo parent shots or those intimate maternity moments. But fair warning: it’s not the best for large family groups, as it tends to highlight individual features more than it balances out multiple people.
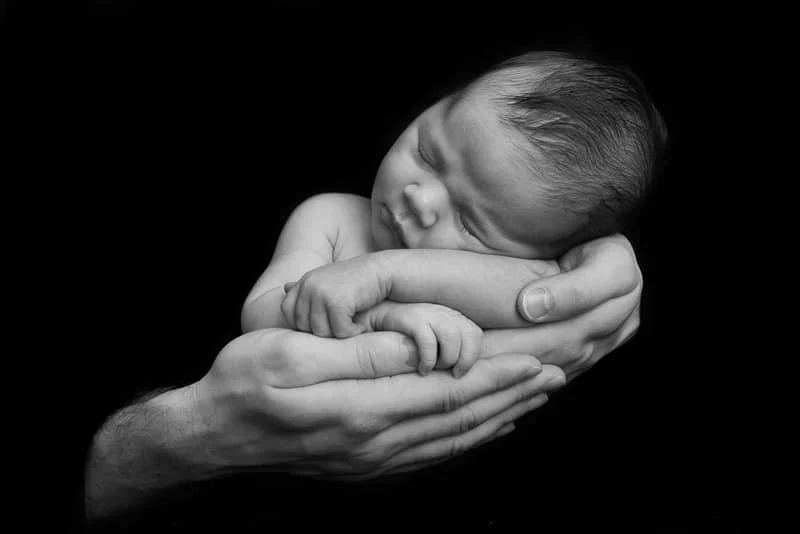
Tip: Try pairing butterfly lighting with high-contrast black-and-white edits for a timeless, classic look that’ll make the photos stand out.
You’ve Nailed the Butterfly Lighting, Now Make It Delivery Ready
You’ve nailed the butterfly lighting setup. Now it’s time to polish them up and get them ready to wow your clients. After all, once you’ve nailed that flattering lighting, why not make everything else a breeze?
That’s where Aftershoot steps in as your all-in-one post-production assistant.
Worried you’ve shot hundreds (or thousands) of images? Aftershoot’s AI Culling helps you cut through the clutter in minutes, keeping only the best shots so you’re not stuck making endless selects.
Once you’ve chosen your keepers, you can use the retouch feature to enhance skin naturally, remove blemishes, and preserve the look you captured with your lighting. No over-editing, just polished and professional results. It’s smart enough to know when to be subtle and powerful enough to handle high volumes, whether you’re editing weddings, portraits, or fashion shoots.
And the best part? It’s requires no internet, so you can edit from literally anywhere in the world.
Whether you’re prepping a full gallery or a handful of hero shots, Aftershoot gives you complete control, consistent results, and your time back. So go ahead and bring out the best in your perfectly lit shots.