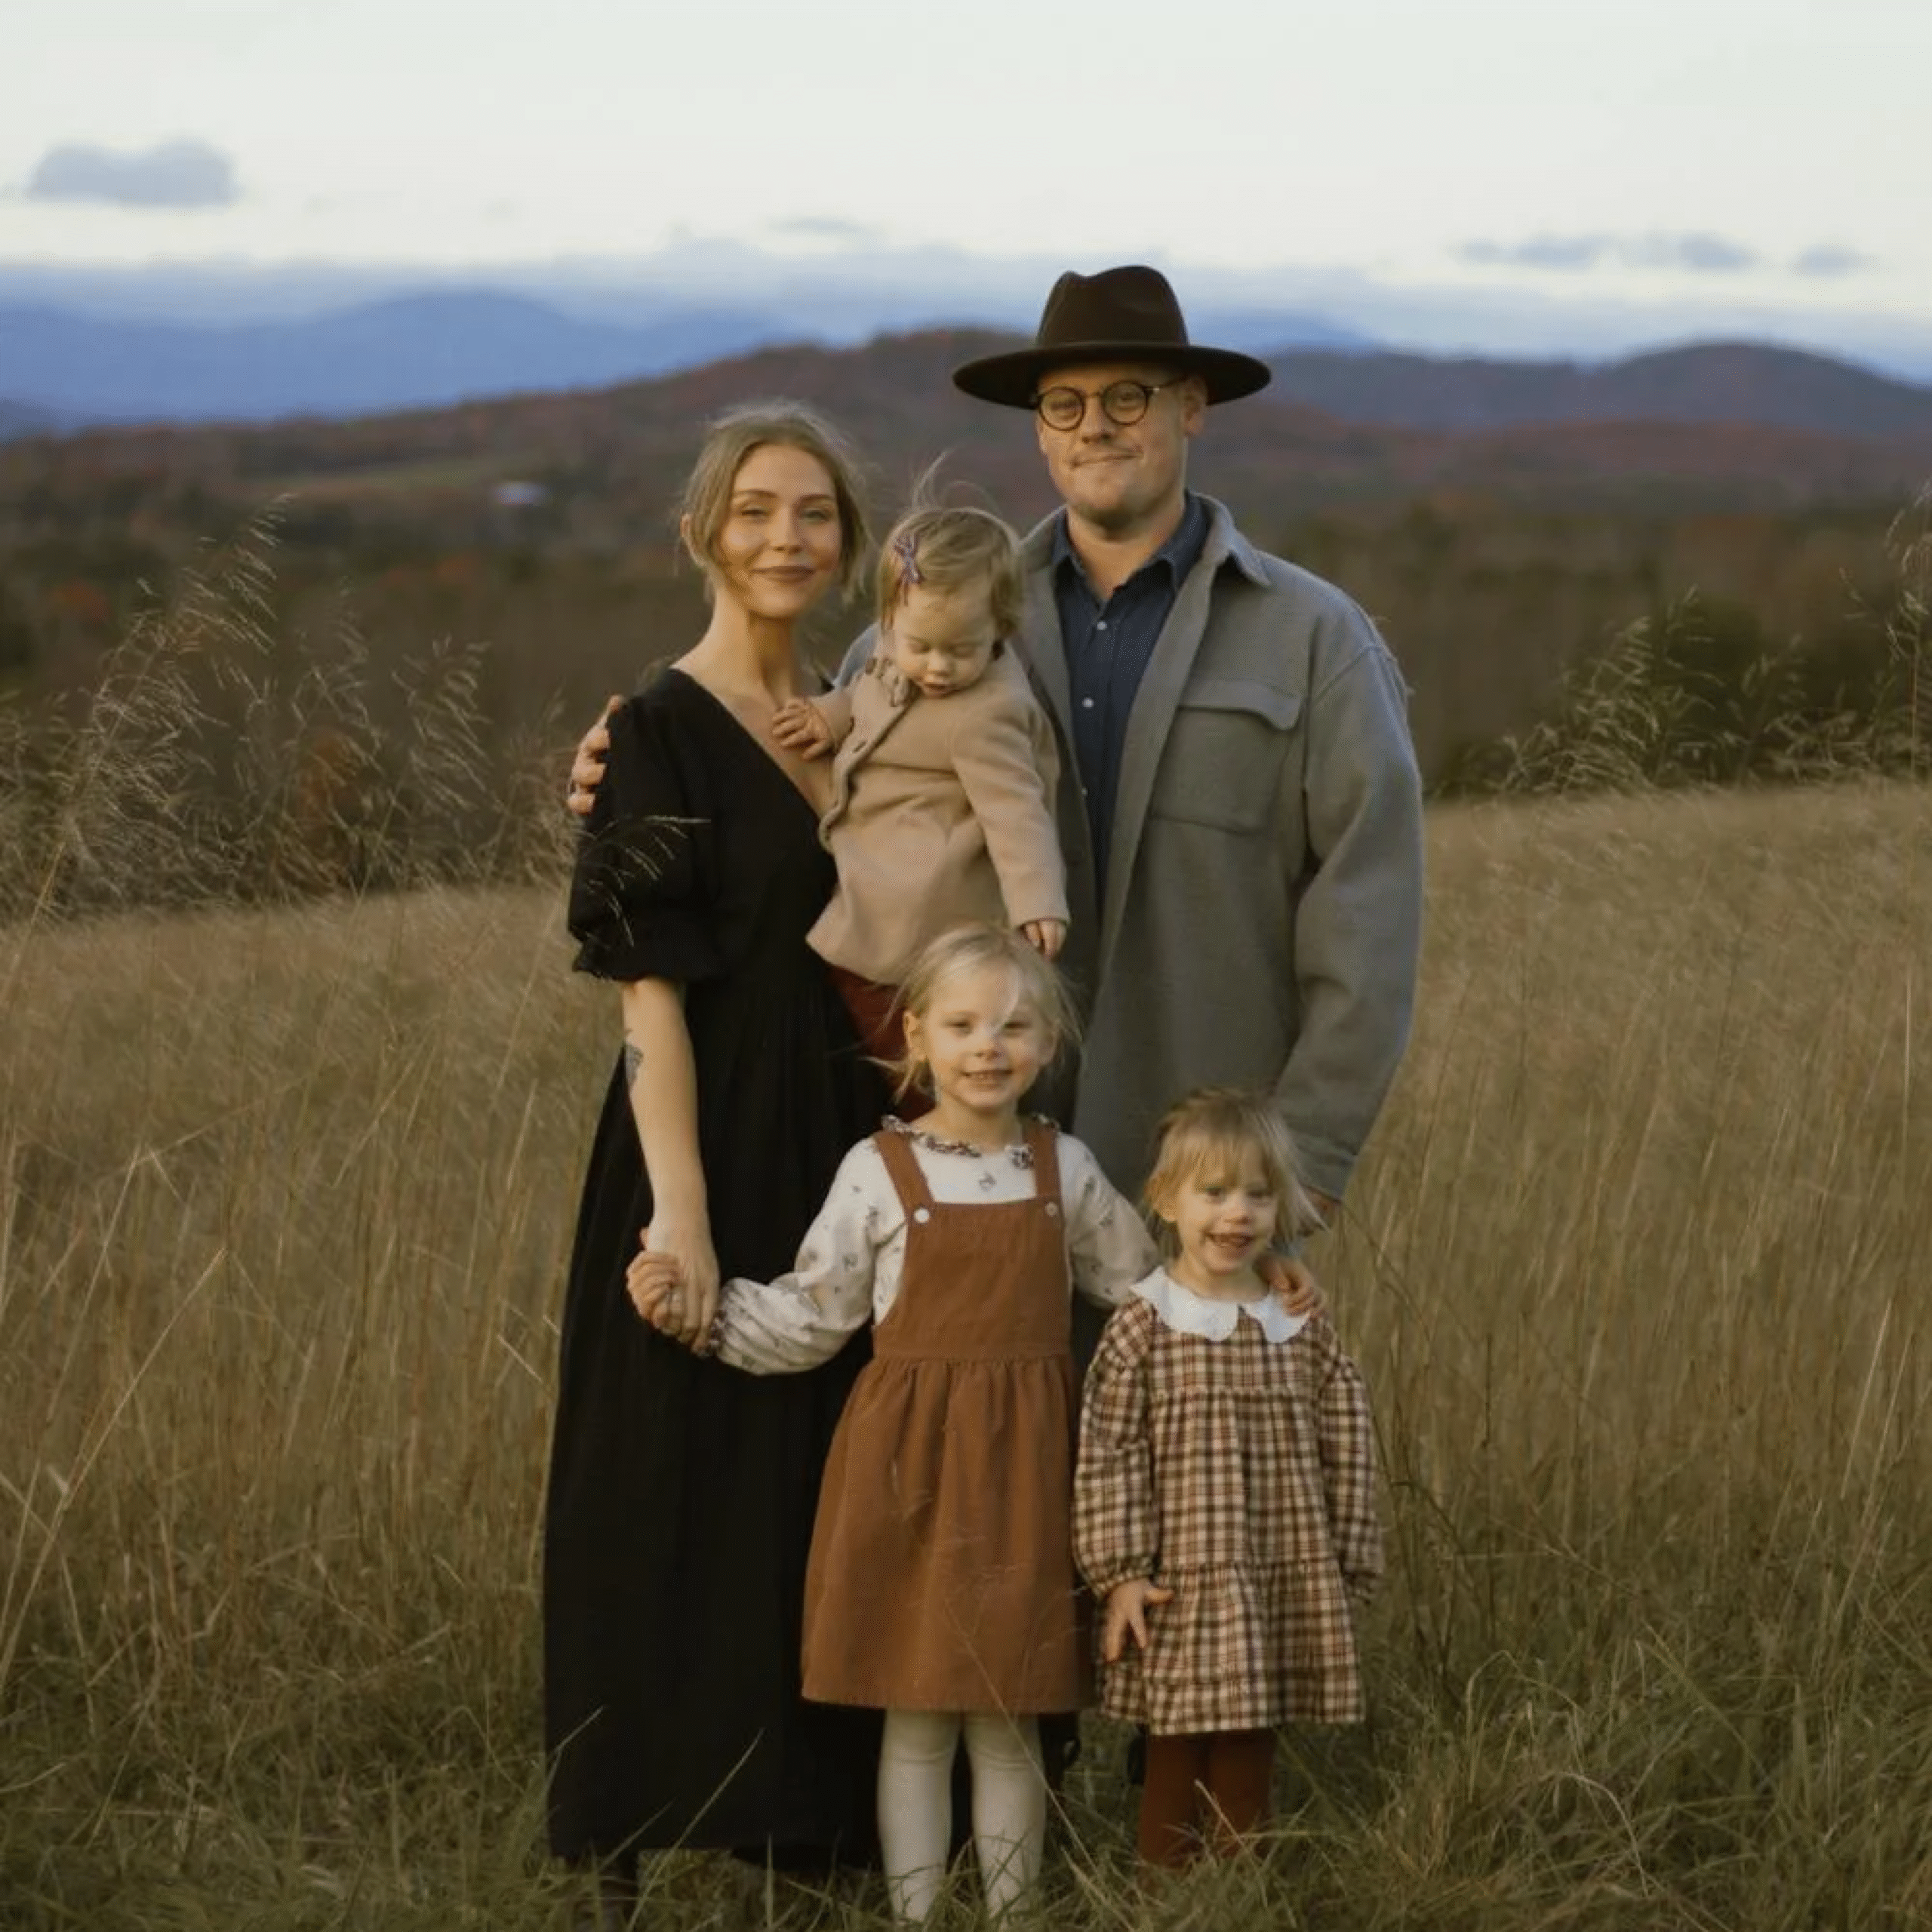
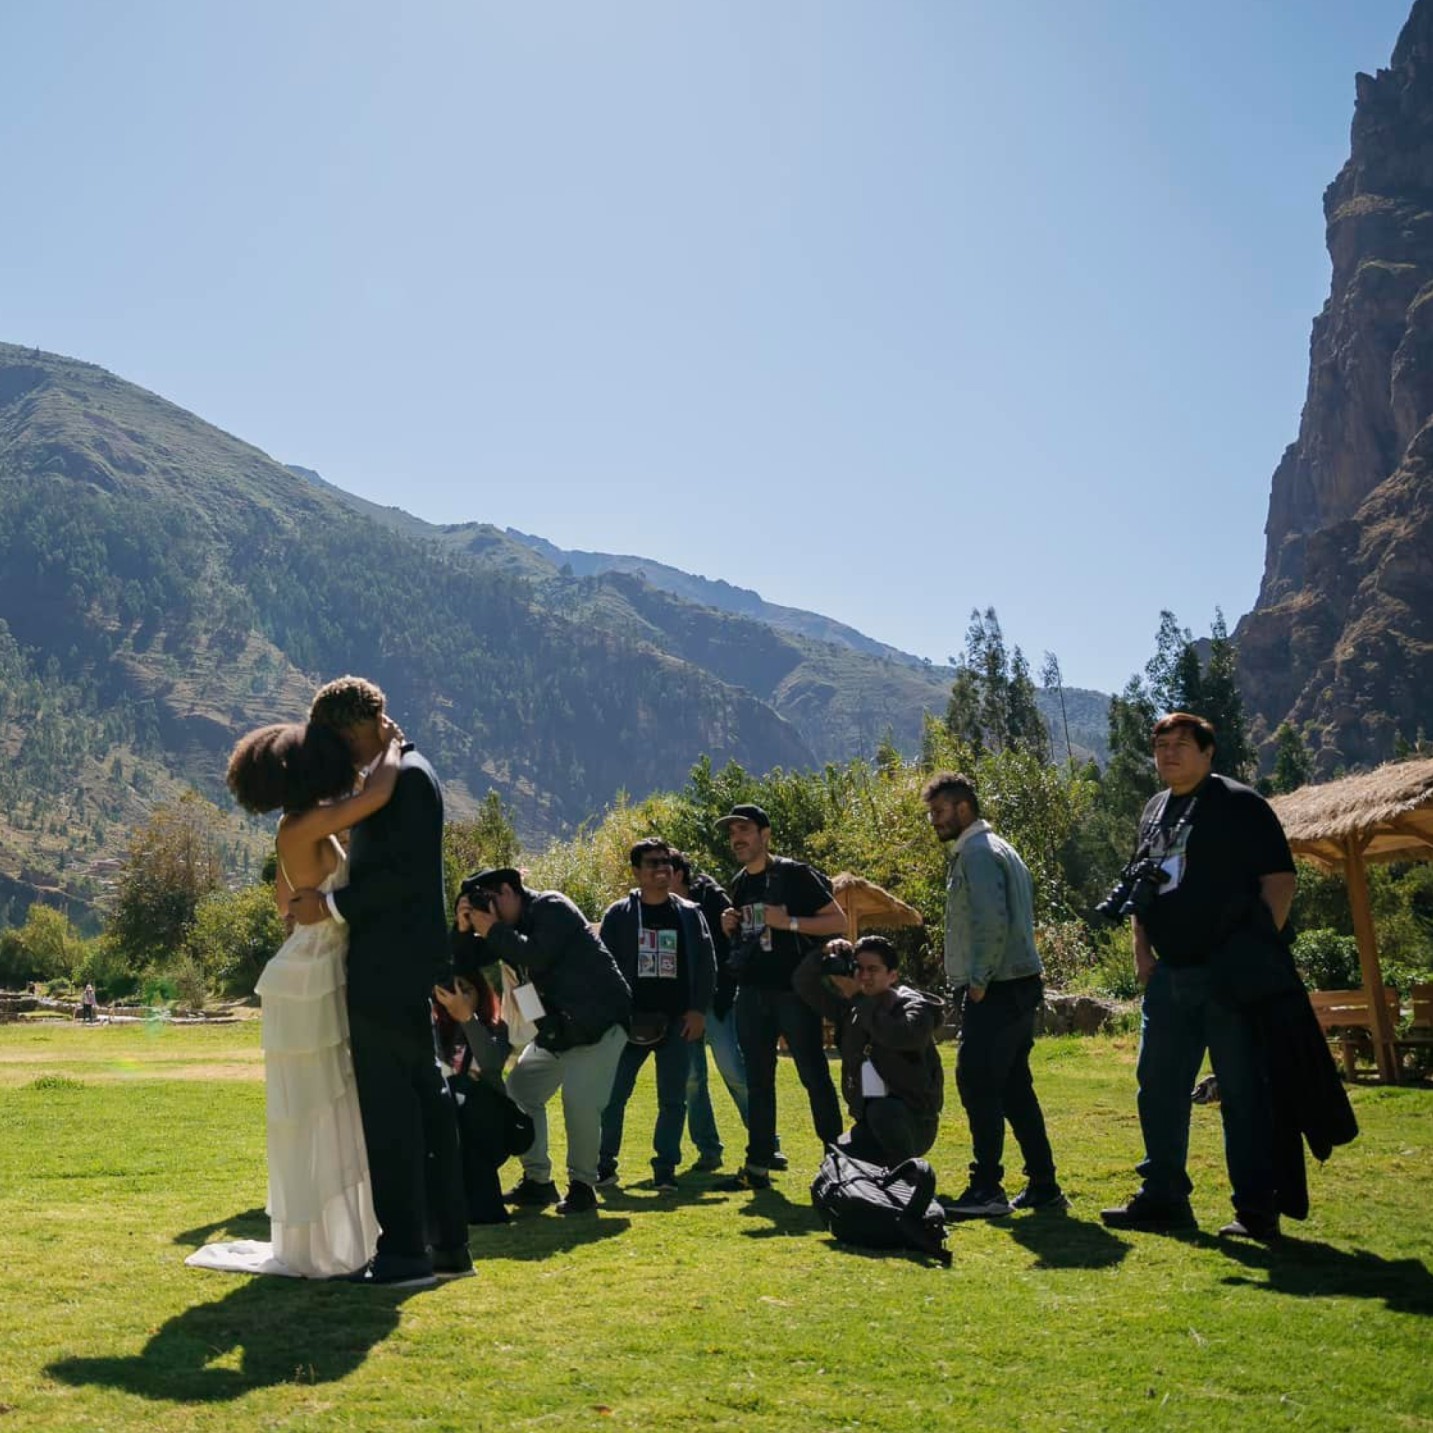
7 Powerful Backlighting Tricks Every Wedding Photographer Should Know
You’re chasing that perfect golden glow during a hectic wedding day. The couple wants portraits…
You’re chasing that perfect golden glow during a hectic wedding day. The couple wants portraits worthy of a magazine cover — and you’ve got only minutes to nail the shot before the light fades.
Mastering backlighting photography in these fleeting moments requires more than just positioning your subject in front of the light. It involves controlling exposure, adjusting angles, and using the natural environment to your advantage. The goal is to create an image that’s both dramatic and flattering, adding warmth and depth to your final image.
Backlighting photography can deliver breathtaking results, but only if you get the exposure, angles, and energy just right. Without control, you risk harsh shadows, blown highlights, or unintended silhouettes that miss the mark.
What Is Backlighting Photography?
Backlighting photography is a technique where the main light source is positioned behind the subject, often creating a glowing rim light or silhouette effect. It adds depth, drama, and dimension — especially in portraiture and wedding photography.
Why Backlighting Works So Well in Wedding Photography
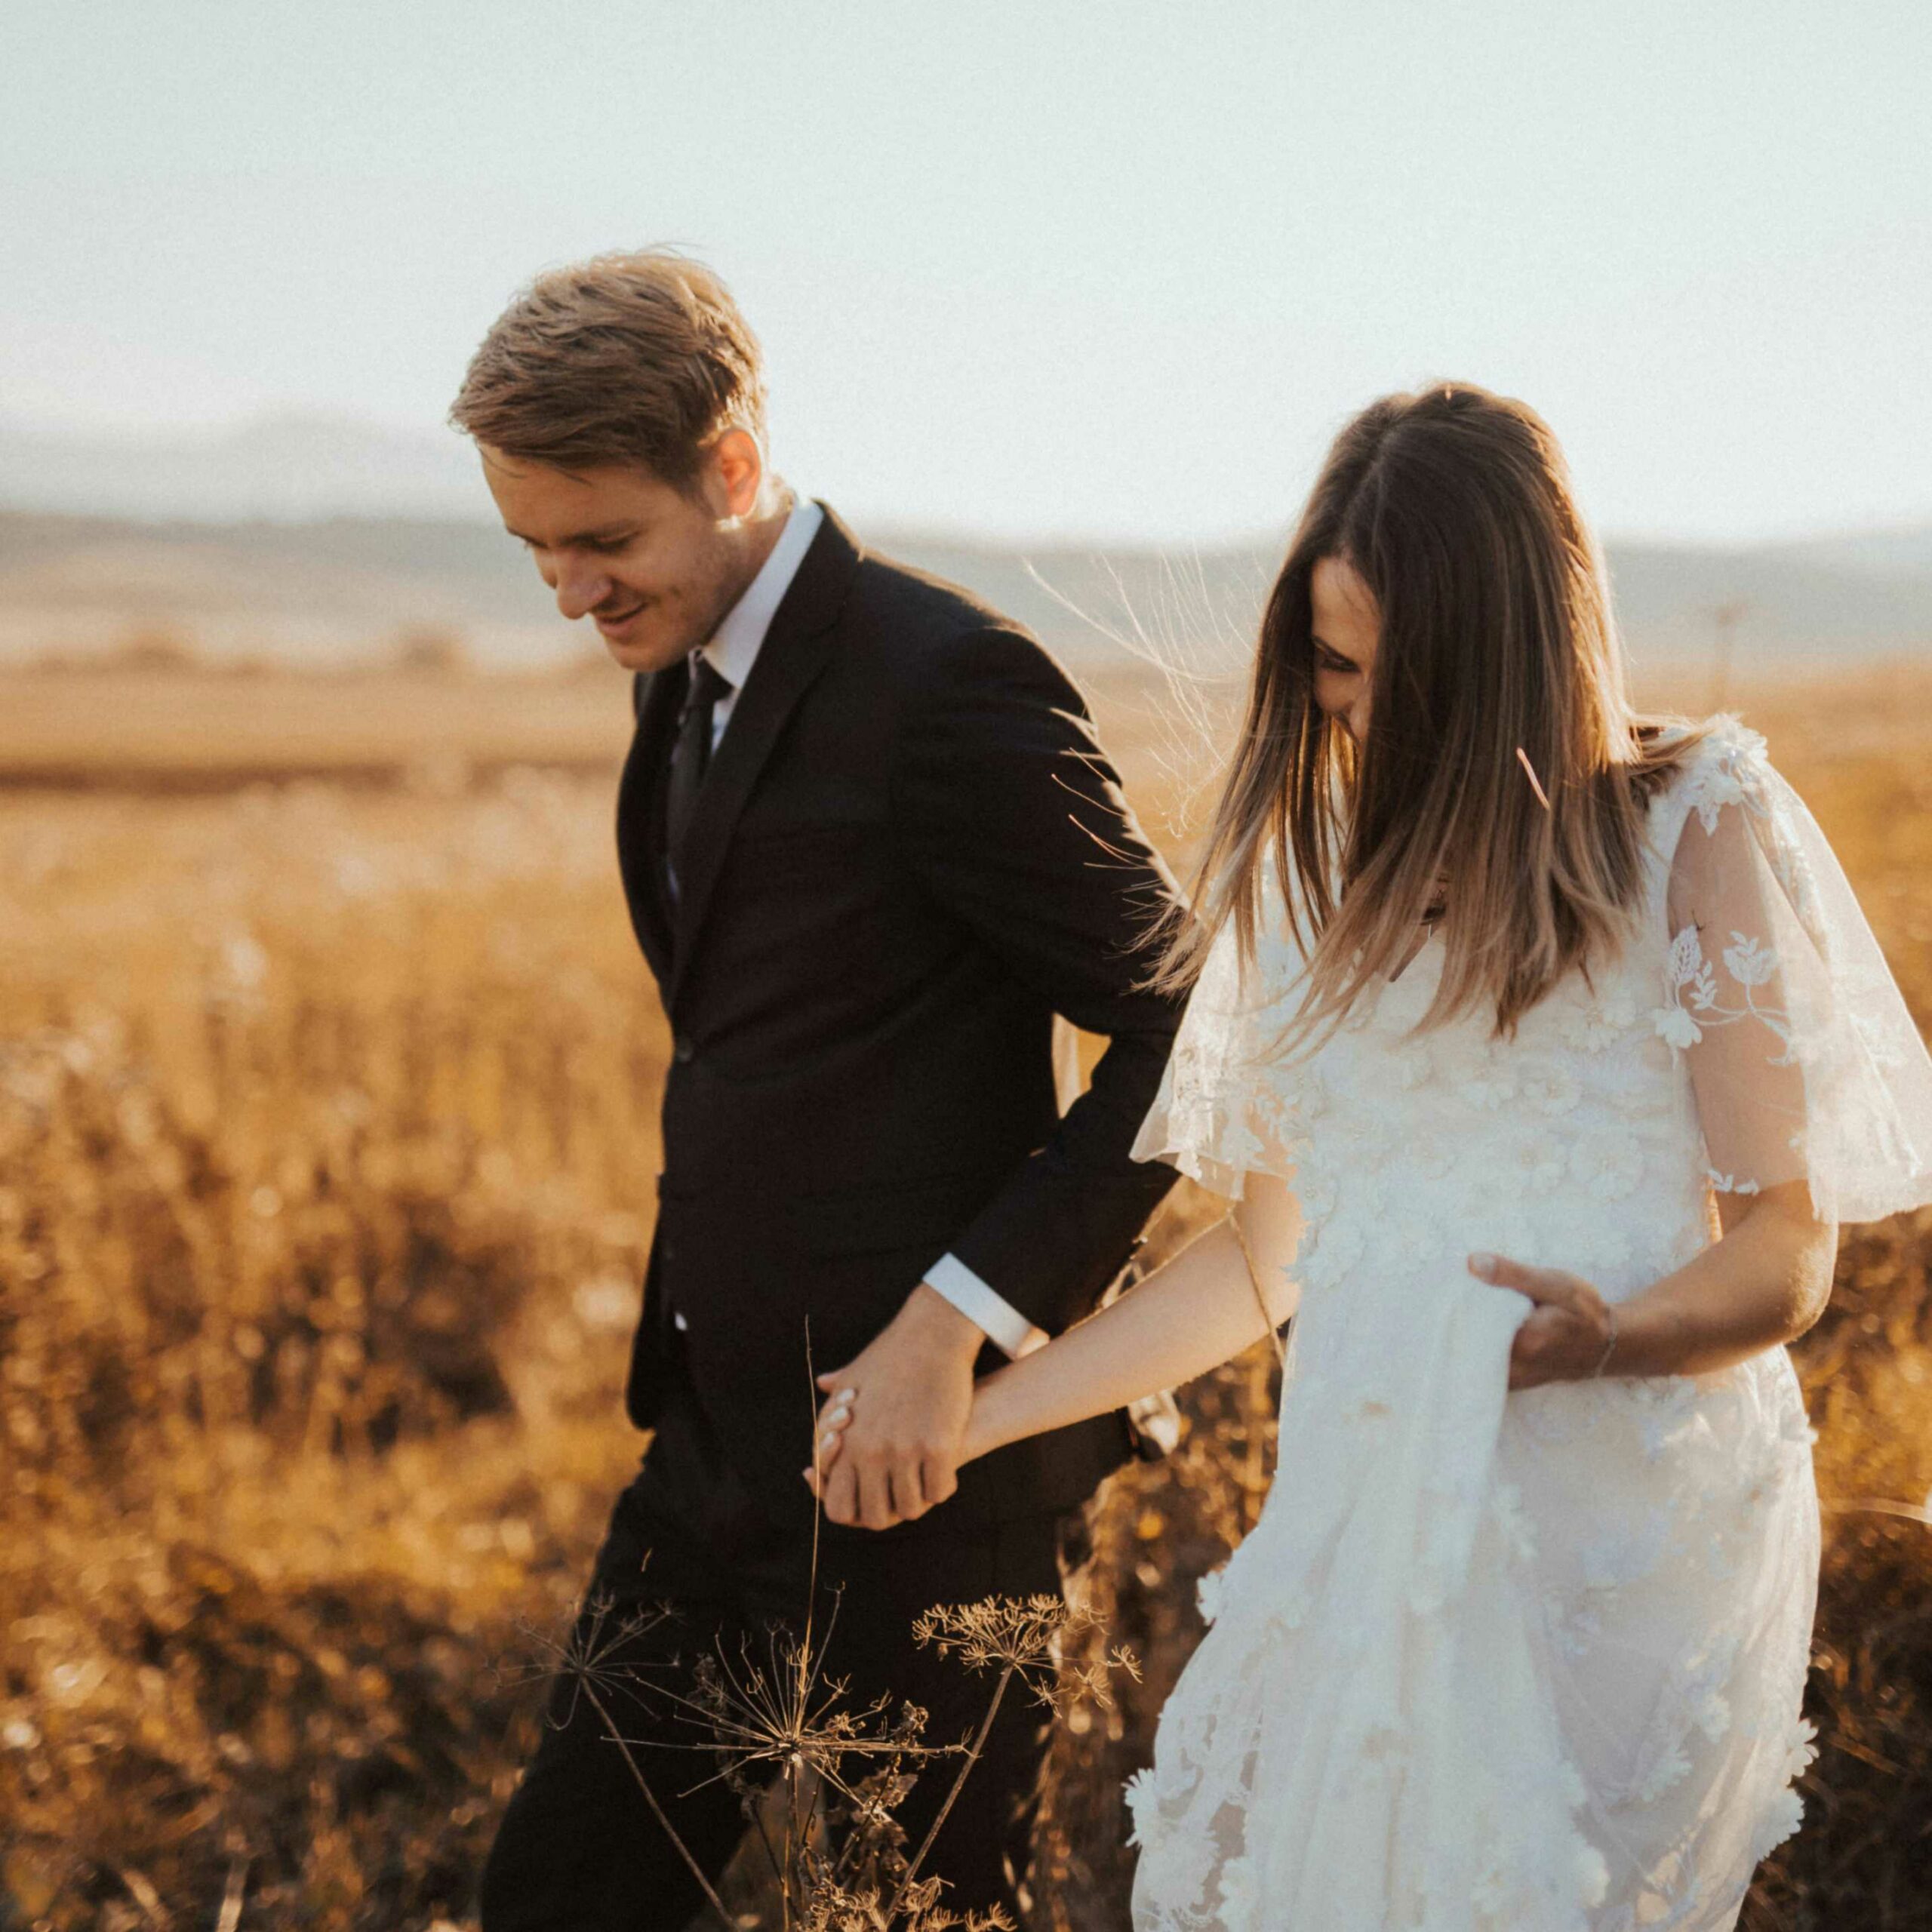
Backlighting photography creates a soft, romantic atmosphere by using natural light as the primary light source behind your subject. This technique produces beautiful backlit photos that highlight delicate details like veils, hair strands, and flowing fabrics with a subtle rim light.
The light flows through the dress, veil, or hair, bringing out textures and elements that often go unnoticed in standard lighting. It adds a layer of depth, creating an ethereal and intimate feel that enhances the overall composition of the shot.
Shooting during the golden hour enhances this effect, adding warmth and richness to skin tones while creating a stunning final image.
Beyond aesthetics, backlighting adds depth and dimension, making your portrait’s backlighting technique more dynamic and visually interesting. It helps separate your subject from the bright background, creating contrast without harsh shadows.
This separation is particularly useful in outdoor or large venue settings, where the background may be bright or cluttered. By positioning your subject strategically, you can use backlighting to create a natural “glow” around the bride, making her stand out even against a busy scene.
This balance makes backlit portraits feel soft yet striking, capturing emotional moments with a natural glow.
Benefits of Backlighting Photography
Backlighting photography enhances portraits by adding depth and mood, making your images feel more emotional and alive. It improves skin tones by using soft light that gently wraps around your subject’s face, avoiding harsh shadows that can distract from expression.
This lighting technique also helps create a dramatic effect without losing detail, allowing you to capture natural colors and subtle textures in hair and fabric. For wedding photography, this means your backlit subjects shine with a warm glow that emphasizes romance and intimacy.
Types of Backlighting You Can Use
Understanding the different backlighting techniques expands your creative options during weddings. Here are some common types to add to your toolkit:
- Rim Lighting: This subtle edge glow highlights the subject’s outline—perfect for capturing the delicate details of veils, hair, or lace. It adds dimension without overpowering the scene.
- Silhouette: By exposing for the bright background, you create bold, dramatic shapes that emphasize distinctive outlines. This technique works best with a bright background and adds a graphic design element to your portfolio.
Glow Light: Slightly overexposing your image produces a dreamy softness, bathing your subject in gentle, soft natural light that’s ideal for emotional portraits. - Backlit with Fill: Combining natural backlight with a reflector or fill flash balances the exposure. This technique keeps your subject’s face well-lit while preserving the glowing backlight.
- Diffused Window Light: Indoors, using sheer curtains or gauzy fabrics as a soft natural light source creates beautiful backlit images with delicate texture and atmosphere.
Experimenting with these different types lets you tailor the mood and style of your backlit photos to the moment and location.
Need the right tools to master your backlighting? Check out MagMod’s innovative lighting products that help you achieve perfect backlighting shots with ease. From magnetic modifiers to advanced lighting kits, their tools are designed to give you total control over your lighting setup, helping you create stunning, consistent backlit images every time.
Ideal Conditions for Backlit Wedding Photos
Golden hour is your best friend for backlighting photography. Aim for soft natural light close to sunset when the sun casts a warm, flattering glow that enhances backlit portraits. Look for naturally diffused light sources such as sunlight filtering through trees or windows, which reduce harsh shadows and add texture to your images.
Cloudy days also offer excellent backlighting situations by softening direct sunlight, allowing you to maintain detail without overwhelming contrast. Avoid shooting with the sun high overhead unless you’re intentionally creating silhouette backlighting for dramatic effect.
Different types of light create different effects. Read more about how in Hard Light Vs Soft Light: What’s the Difference?
Camera Settings Cheat Sheet for Backlit Photos
Getting your camera settings right is a must when shooting backlit photos. Proper aperture, shutter speed, and ISO help balance the bright background with your subject’s face, preserving detail and mood. This cheat sheet covers common scenarios to guide your exposure choices for stunning backlit portraits.
For golden hour outdoor shots, use a wide aperture between f/1.8 and f/2.8, set your shutter speed from 1/250 to 1/1000, and keep ISO low at 100 to 400. Spot meter on your subject’s face and apply exposure compensation of about +1 to brighten their skin tones.
When shooting indoors near a window, choose an aperture around f/2.2, set shutter speed to about 1/125, and increase ISO to 400–800 to accommodate lower light. Use a reflector or fill light to balance shadows on your subject.
For silhouette shots, select a narrower aperture like f/5.6, shutter speed near 1/200, and ISO at 100. Expose for the bright background to create strong, dramatic outlines of your subject.
Remember to adjust your white balance to maintain natural colors, and use spot metering to prioritize your subject’s face rather than the bright background.
Additional Tips:
- Use exposure compensation to brighten your subject’s face without losing backlight glow.
- Spot metering helps keep skin tones accurate instead of exposing for the bright background.
- Adjust white balance to retain natural colors, especially during golden hour or when using artificial lights.
7 Tips for Stunning Backlighting Photography at Weddings
Mastering backlighting photography takes practice and attention to detail. These seven tips will help you control light and exposure, so you capture stunning, soft, and dramatic wedding images every time. Use them to bring out the emotion and beauty in your backlit photos.
Tip 1: Use Manual Mode to Gain Creative Control
Switch to manual mode to adjust aperture, shutter speed, and ISO precisely. Set a wide aperture (f/1.8–f/2.8) for soft backgrounds, and underexpose slightly to preserve detail in your backlit subjects. Add exposure compensation (+1 or +2) to keep your subject’s face well lit, and use spot metering to prioritize skin tones over the bright background.
Watch this video on how to shoot in manual mode like a pro:
Tip 2: Position the Light Behind the Subject
Place the sun or your primary light source just behind your subject. Experiment with tilting your camera slightly to either minimize or enhance lens flare intentionally. Shooting through veils, lace, or sheer fabrics adds glowing texture and depth.
Tip 3: Work Multiple Angles for Variety
Small changes in camera position can dramatically alter the mood of your backlit photos. Try side-backlight for dramatic contrast or full backlight for a softer, ethereal feel. Incorporate movement, like blowing veils or flowing dresses, to add life and magic to your shots.
Tip 4: Use Tools to Control or Shape the Light
Use a lens hood to reduce unwanted flare, and reflectors to bounce fill light back onto your subject’s face. A fill flash helps maintain detail without flattening contrast, while ND filters allow you to manage exposure in bright daylight.
Tip 5: Avoid Harsh Shadows on the Face
Position your subject in partial shade or soften the light with a diffuser. Use fill light or a reflector to lift shadows subtly. Don’t be afraid to let the background blow out slightly; prioritize preserving natural skin tones.
Tip 6: Try Creative Techniques for Impact
Experiment with silhouette backlighting by exposing for the sky to create striking shapes. Use rim lighting to catch a delicate glow along the subject’s edges for drama. Embrace sun flare with a wide aperture and intentional positioning, and layer in props like bouquets or sunglasses for personality.
Tip 7: Practice and Play with Light
Each wedding offers unique lighting conditions. Test different camera settings, positions, and light modifiers. Know when to rely on natural light and when to add artificial lights. Always watch your histogram, but trust your instincts. Think about the story the light tells and the mood it creates.
Want to know more about how lighting plays its part? Read also 8 Essential Tips for Portrait Photography Lighting.
Common Mistakes in Backlighting Photography (and How to Fix Them)
Backlighting photography can be tricky, and even experienced photographers run into challenges. Here are common mistakes and practical fixes to help you avoid frustration and get the best results:
- Blown highlights → Happens when the bright background is overexposed. Fix by underexposing slightly and recovering shadows in post-production.
- Flat skin tones → Occur when the subject’s face lacks dimension. Use a fill light or a reflector to bounce light back and add depth.
- Washed-out haze → Caused by unwanted lens flare or shooting directly into the sun. Use a lens hood or reposition your camera to reduce haze.
Lost detail in silhouettes → When subjects become pure black shapes with no texture. Adjust exposure to retain a slight rim light instead of pure black. - Autofocus struggles → Bright backgrounds can confuse your camera’s autofocus. Switch to manual focus or use back-button autofocus for better control.
By recognising these issues and applying simple fixes, you can turn challenging backlighting situations into opportunities for creative, beautiful shots.
Recommended Gear for Backlit Wedding Photos
Using the right gear makes backlighting photography easier and more reliable. These tools help you control light, manage exposure, and capture stunning details in challenging lighting. Investing in key equipment will elevate your backlit wedding portraits.
| Item | Purpose | Example / Notes |
| Fast Prime Lenses | Wide apertures (f/1.2–f/1.8) allow more light and subject isolation for dreamy backlit portraits | Canon EF 85mm f/1.8 USM; sharp, great background blur |
| Reflectors | Bounce light back to the subject, soften shadows, and add warmth to skin tones | 5-in-1 collapsible reflectors with gold, silver, and white surfaces |
| Lens Hood | Reduce unwanted lens flare and protect the lens; sometimes removed intentionally for creative flare | Match hood size to lens diameter |
| ND Filters | Control exposure in bright conditions; enables wider apertures and slower shutter speeds | Variable ND filters, 2–8 stops |
| On-Camera or Off-Camera Flash | Fill light to illuminate subject’s face and balance exposure with bright backgrounds | Godox, Profoto, Flashpoint brands |
Check out Do I Need an 85mm Lens? Comparing 85mm vs. 50mm for Your Photography Style to find the best lens for the job.
How to Edit Backlit Images Like a Pro
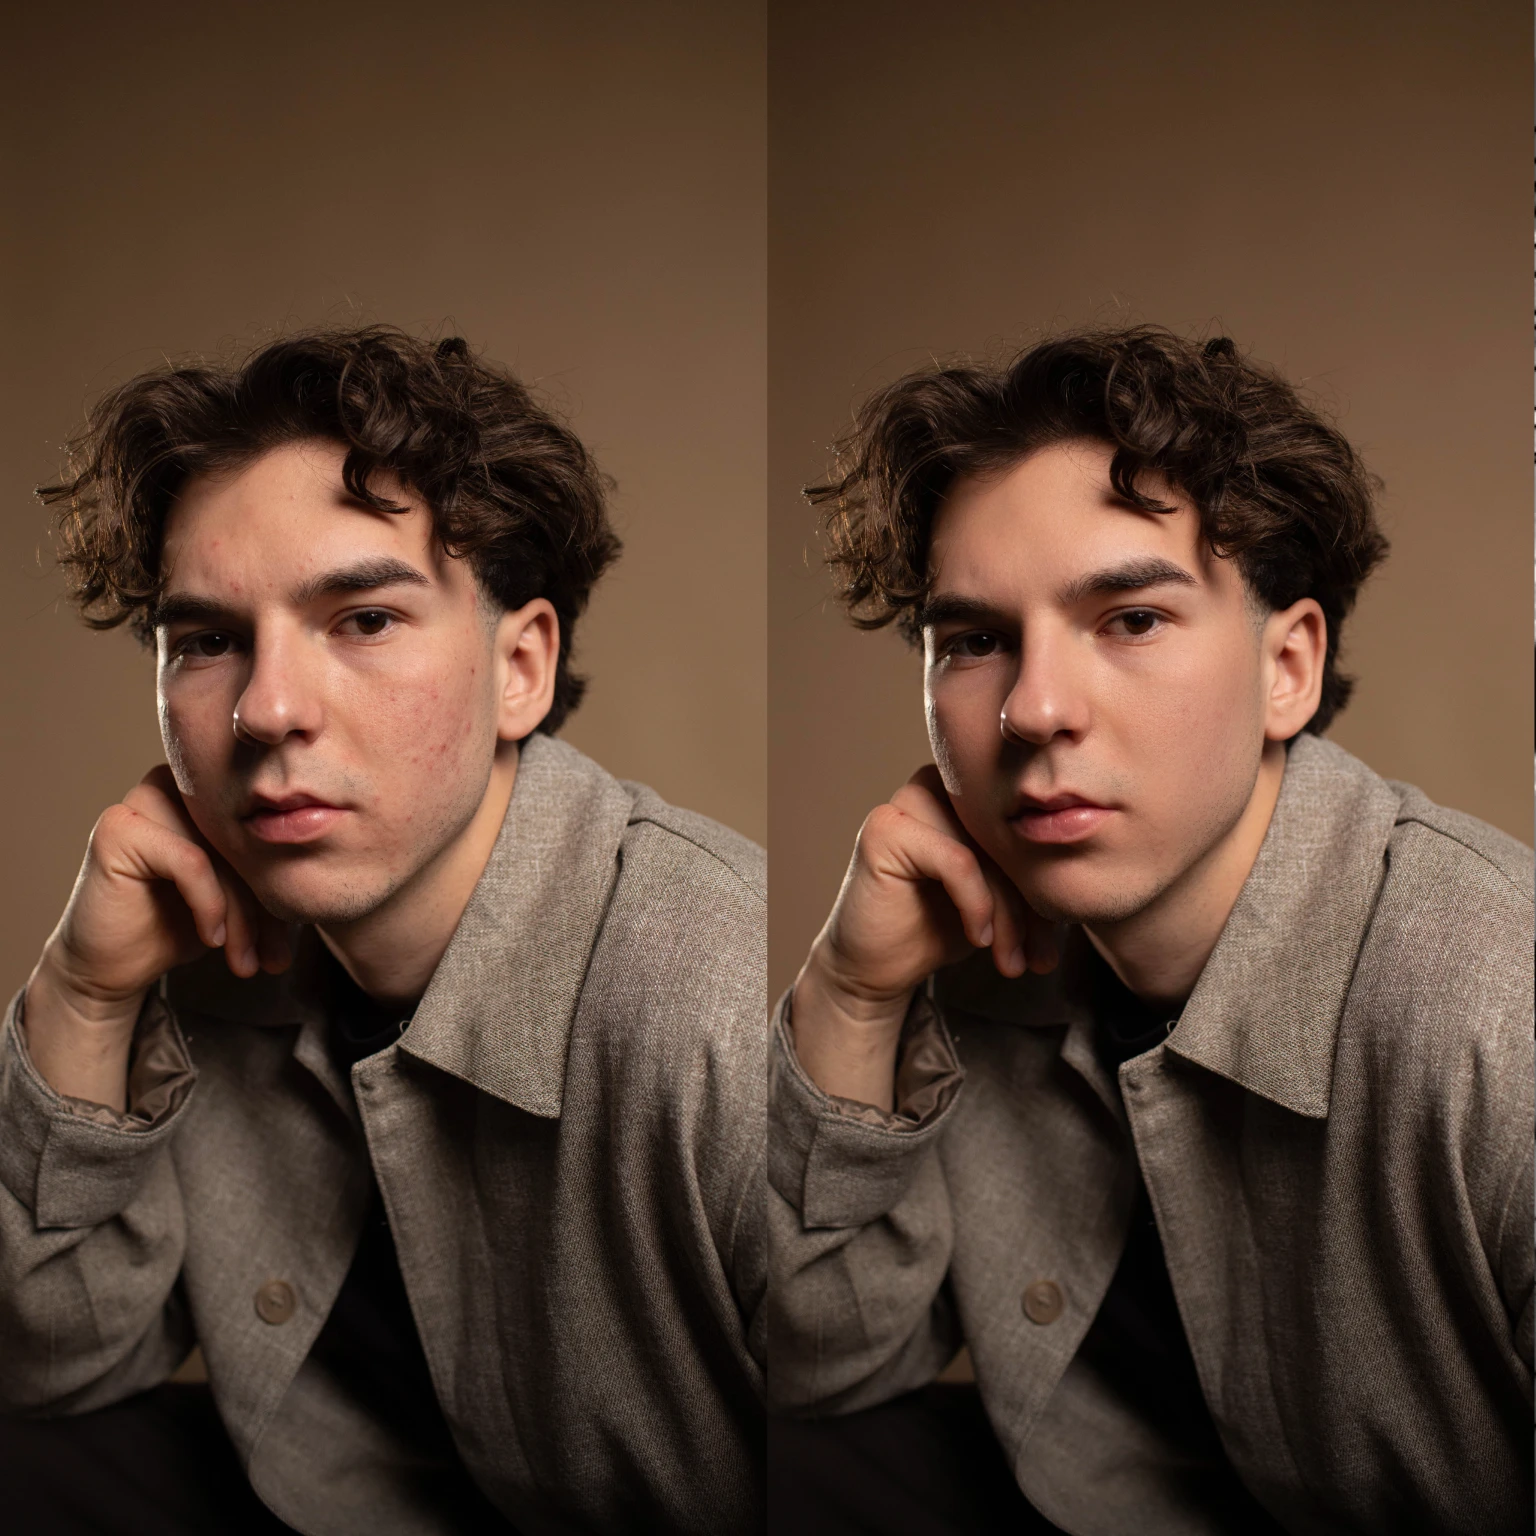
Backlit images have a beautiful, dreamy quality but often need careful editing to retain their glow without losing detail. Start by gently increasing contrast — avoid crushing shadows to keep softness and depth. Use the Dehaze tool sparingly since too much can remove the magical haze that makes backlit photos special.
Warm up your white balance, especially for golden hour or rim-lit portraits, to enhance natural skin tones and that golden glow. Apply radial filters or brush tools selectively to brighten your subject’s face or key details while preserving the overall backlit atmosphere.
When recovering highlights, aim to maintain texture in veils, hair, or dresses without flattening the soft glow.
Pro tip: Aftershoot’s AI-powered editing tools can automatically balance light and tone in high-contrast backlit images, helping you speed up your workflow while maintaining consistent, beautiful results.
Golden Hour Checklist for Weddings
Golden hour offers the most flattering and magical light for backlit wedding photography. Following this checklist helps you make the most of this limited window to capture stunning, glowing images.
Scout your location during daylight to find the best backlighting spots. Keep an eye on the sun’s angle about an hour before sunset—it’s prime time for soft, warm light.
Pose your subjects with the sun just behind their shoulder to create that perfect rim light.
Use a white or gold reflector to bounce warm, natural light onto faces and balance shadows.
Capture multiple angles quickly to maximize the fleeting golden hour glow.
Encourage movement—hair flips, twirls, flowing dresses—to add life and magic to your backlit photos.
Let the Light Do the Storytelling
When executed well, backlighting elevates ordinary wedding moments into glowing, cinematic memories. Whether you’re shooting portraits, details, or candid interactions, using this lighting technique adds softness, depth, and emotion that resonates with every viewer.
Backlighting photography is a way to capture the mood and story behind the day. Let the natural or artificial light guide your creative choices and bring your images to life.
For busy wedding photographers, Aftershoot takes the heavy lifting off your plate with smart culling and AI-powered editing tools. Spend less time managing tricky lighting and more time delivering your most stunning images, no matter the conditions.


