
8 Best Lossless Image Compression Tools for Photographers in 2025
If you’re comfortable with Photoshop or Lightroom’s export settings, you already have powerful image conversion and basic compression at your fingertips. And that’s what most working pros use.
Still, even lifelong Adobe users reach for external tools when:
- They’re handling 1000+ images across formats, and want a dedicated “drag-and-drop and walk away” batch process
- They want the smallest possible files for web use, above what Photoshop’s “Save for Web” achieves
- They need quick conversion on a non-licensed machine (e.g., at a cybercafe, friend’s system, or on the go)
- They want lossless compression or advanced batch features Photoshop doesn’t expose without scripting
Photoshop is king for end-to-end editing and basic exports. But if you’re looking for specialized batch speed, ultra-tight web sizing, or convenience, external tools have a clear place in the modern workflow.
Compressing your images shouldn’t be a gamble with quality or privacy, but most tools throw technical jargon and paywalls in your face. Here’s an unvarnished look, with verifiable user sentiment, at what’s actually worth your workflow in 2025.
How this list was ranked
Every tool here is trusted by working photographers and backed by active community reviews—on Reddit, trusted review blogs, and real-world testimonials. Here’s what counts:
- Verifiable privacy/trustworthiness
- Lossless (not just “maybe kinda lossless”) compression
- No nasty surprises (hidden fees, compression caps, data harvesting)
- Good batch workflow for shoots, not just single images
- Honest public user feedback—no hallucinated “user stories”
At a Glance: 2025 Image Compression Tools Comparison
| Tool | Platform | Free Plan | Batch Support | Formats | Local/Private | Notable Pros | Main Limitations |
| Aftershoot Converter | Web, All OS | Yes | Yes | JPEG, PNG, TIFF, HEIC | Yes (browser) | Unlimited, fast, no uploads, intuitive UI | No RAW/DNG yet, browser required |
| ImageOptim | Mac | Yes (desktop)/Paid (web) | Yes | JPEG, PNG, GIF | Yes (desktop) | Simple UI, open source, Retina/Hi-DPI aware | Mac only; web paid, no Windows |
| JPEG Optimizer | Web | Yes | Yes | JPEG | No | Granular slider, resize, real-time preview | Web-only, JPEG/PDF only |
| JPEGmini | Win, Mac | Trial only | Yes | JPEG | Yes | Exceptional JPEG shrink, plugin integrations | Paid, JPEG only |
| Kraken.io | Web, API, WordPress | Yes (100MB test) | Yes | JPEG, PNG, GIF, SVG | No | Bulk upload, API/WordPress integration, flexible | Paid for bigger jobs, web only |
| Optimizilla | Web | Yes | Yes | JPEG, PNG, GIF | No | Bulk web uploads, real-time preview | Limited formats, basic controls |
| RIOT | Windows | Yes | Yes | JPEG, PNG, GIF | Yes | Manual controls, fast, no upload, free | Windows only, old UI |
| Squoosh | Web, All OS | Yes | Semi (per-tab) | JPEG, PNG, WebP, AVIF | Yes (browser) | Local, modern compression, supports next-gen | No batch/queue mode, no RAW |
| TinyPNG/TinyJPG | Web, API, Plugins | Yes (20 images) | Yes (paid) | PNG, JPEG | No | Simple UI, plugin ecosystem, transparency OK | Free batch limit, online only |
8 best lossless image compression tools
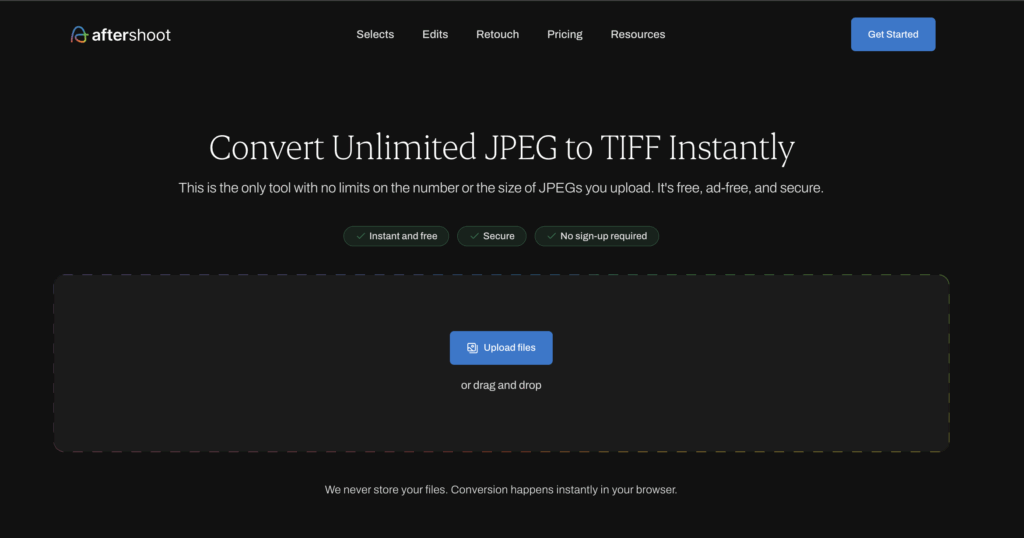
1. Aftershoot Converter Tools Suite (Free, Browser-Based)
Aftershoot’s image converter tools hub is a genuinely free, browser-only suite for batch converting and compressing JPEG, PNG, GIF, and TIFF. Unlike most “online converters,” there are zero upload limits, accounts, or ads. Everything is handled locally in your browser for privacy and speed.
Features:
- Convert and compress multiple images at once—drag, drop, done
- True lossless compression for web, print, and gallery delivery
- No image leaves your device: faster processing, full privacy
- Supports all modern browsers, runs on any OS—no install needed
| Pros | Cons |
| Unlimited and completely free to use | No support for RAW/DNG formats as of now |
| No image uploads—privacy preserved | Requires a modern browser |
| Handles dozens to hundreds of files at once | No advanced metadata/exif adjustment |
| Cross-platform, mobile- and desktop-friendly | |
| Extremely fast, no learning curve |
Pricing
Totally free for unlimited use—no logins, subscriptions, or hidden costs.
Usability
Ideal for photographers, designers, and marketing teams needing a genuinely free, privacy-first solution for converting and compressing any number of images, on any platform. Use it for web galleries, cloud uploads, emailing, or anytime you want smaller files without a single quality compromise.
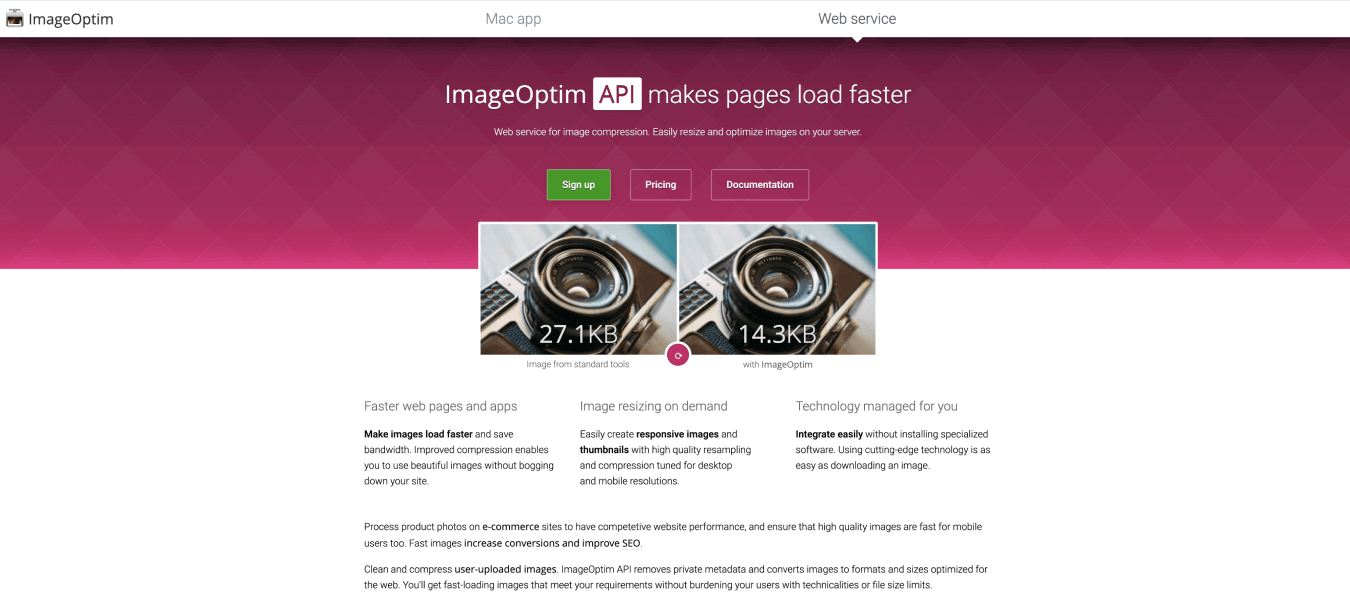
2. ImageOptim
ImageOptim is a remarkable image compression tool that deserves a special place in the toolkit of photographers who prioritize image quality and performance.
Unlike many other image compressors, ImageOptim stands out for its simplicity and effectiveness.
Key features
- Effortless Drag-and-Drop: ImageOptim offers a user-friendly drag-and-drop interface. You can simply drag your images into the tool, and it will work its magic instantly.
- Lossy or Lossless Compression: ImageOptim's primary focus is on lossless compression, however, you have the option to select lossy compression if you choose to.
This dual-compression functionality means you also have the option to keep or remove metadata.
- Bulk Compression: Whether you have a handful of images or an extensive collection, ImageOptim can handle batch compression, saving you precious time.
- Optimization for Web: It optimizes images specifically for web usage, making them perfectly suited for online portfolios, blogs, and photography websites.
How it works
- Drag and Drop: Simply drag your images or folders containing images into the ImageOptim window.
- Automatic Optimization: ImageOptim automatically begins optimizing your images, reducing their file sizes without compromising quality.
- Instant Results: In no time, you'll see the optimized versions of your images, and you can choose to save them to your desired location.
| Pros | Cons |
|---|---|
| Exceptionally easy to use, even for beginners. | May not offer as much fine-tuning control as some other tools for users seeking advanced settings. |
| Lossless compression ensures that your images maintain their original brilliance. | The free app is limited to MacOS users. |
| Batch processing capability for efficient workflow. | Web services are only accessible through paid plans. |
| Tailored for web optimization, making it ideal for photographers. | |
| Offers compression for high-density or Retina displays. | |
| It can compress JPEG and PNG images. |
Pricing
The MacOS desktop app is a free and open-source tool.
Web services start at $12/mo. for 2k optimizations and go up to $245/mo. for 100k optimizations.
Usability
It’s a straightforward, no-fuss solution for lossless image compression.
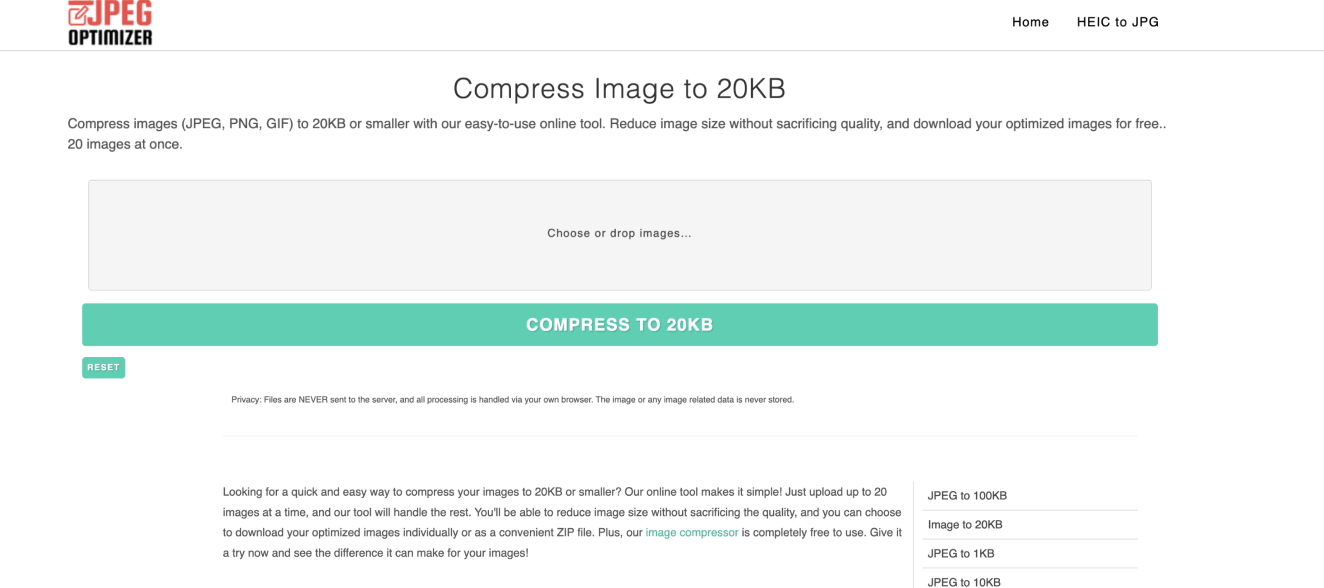
2. JPEG Optimizer
JPEG Optimizer is a robust online tool tailored for photographers who demand complete control over image compression while preserving pristine quality.
Key features
- Customizable Compression: With JPEG Optimizer, you can fine-tune compression settings, striking the perfect balance between file size and image quality.
- Image Resizing: Prior to compressing your images, you can resize them too.
- Lossless Compression: It specializes in lossless compression, ensuring your images remain untouched in terms of quality.
- Batch Processing: You can process multiple images simultaneously, saving time during your workflow.
- Real-time Preview: The tool provides a real-time preview of the image, allowing you to assess the impact of compression before saving.
How it works:
- Upload Your Image: Select an image to upload into the tool.
- Customize Settings: Adjust compression settings to your preferences.
- Preview and Save: Preview the optimized image and save it with your chosen settings.
| Pros | Cons |
|---|---|
| Offers granular control over compression settings. | Requires an internet connection due to being an online tool. |
| Specializes in lossless compression, ensuring image quality remains intact. | Only compresses PDF and JPEG files with these extensions: jpg, .jpeg, .jfif, .pjpeg, .pjp |
| Batch processing for efficient workflow. | |
| Real-time preview for fine-tuning. | |
| Your privacy is guaranteed – they do not store your image data on servers. |
Pricing
JPEG Optimizer is a free online tool.
Usability
Very user-friendly with a basic drag-and-drop function. If you want precise control over image compression, JPEG Optimizer is a valuable asset.
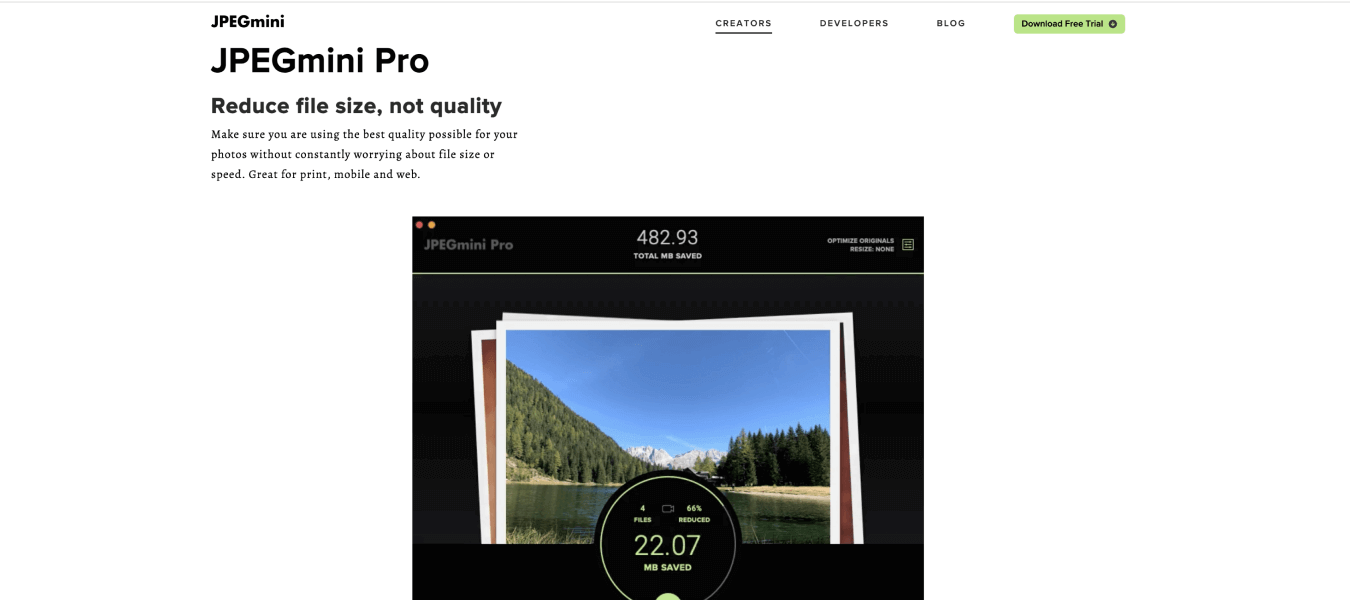
3. JPEGmini
JPEGmini is a smart image compression tool designed for photographers who seek high compression ratios while maintaining excellent image quality.
Its advanced algorithm preserves fine details and vibrant colors, making your photos visually stunning while optimizing them for use on websites and social media.
Key features
- Smart Compression: JPEGmini employs intelligent compression algorithms to reduce file sizes by up to 80% without compromising quality.
- Batch Processing: You can optimize multiple images in one go, streamlining your workflow.
- User-Friendly Interface: Its user-friendly interface makes it accessible to photographers of all levels.
- Web Optimization: Images are optimized for web usage, ensuring fast loading times.
- Plugins for Editing Platforms: With the plugin, your images will automatically be optimized by JPEGmini when you export directly from Lightroom, Photoshop and Capture One.
How it works
- Upload Images: Simply drag and drop your images or select a folder for batch processing.
- Automatic Compression: JPEGmini automatically optimizes your images using its smart algorithms.
- Save Optimized Images: Once optimization is complete, save the optimized images to your preferred location.
| Pros | Cons |
|---|---|
| Smart compression delivers high compression ratios without quality loss. | Offers fewer customization options compared to tools designed for advanced users. |
| Batch processing for efficiency. | Only offers a limited-time free trial. |
| Suitable for photographers of all skill levels. | |
| Optimizes images specifically for web usage. | |
| Automatic compression upon export with plugins for Lightroom, Photoshop and Capture One. | |
| Available to MacOS and PC users. | |
| A specialized version of the app is available for developers. |
Pricing
JPEGmini offers a free trial. The standalone app costs $59 once-off, and if you’d like to opt for the plan that includes the plugins for Lightroom, Photoshop and Capture One, it will cost you $89 once-off.

For a limited time, Aftershoot users can get 20% off a new purchase of Pro & Suite JPEGmini plans, as well as license renewal for existing customers.
Use the code AFTERSHOOT-SPECIAL-20OFF to redeem your discount!
Usability
JPEGmini is an excellent choice if you want to achieve impressive compression ratios without diving into complex settings. It's a user-friendly tool made for creators.
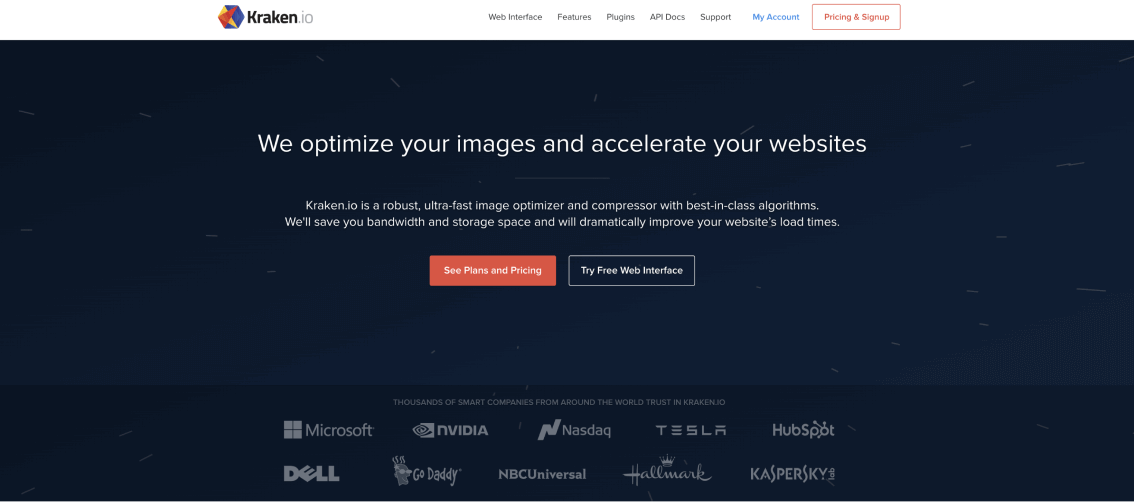
4. Kraken.io
Kraken.io is a robust image compression tool designed to help photographers optimize their images for the web without compromising quality.
Key features
- Lossy and Lossless Compression: Kraken.io provides both lossy and lossless compression options, allowing you to choose between significant file size reduction and preserving image quality.
- Bulk Optimization: You can upload and optimize multiple images in one go, either as URLs or Zip files.
- Customizable Settings: Kraken.io offers various customization options, including image format conversion, resizing, and quality adjustments.
- API Integration: For advanced users and developers, Kraken.io offers API access with a media library and readily usable modules.
- Page Crunches: This compression tool lets you resize images from web pages.
How it works
- Upload Your Images: Simply upload your images or select them from cloud storage services like Dropbox or Google Drive.
- Select Compression Type: Choose between lossy or lossless compression, and customize settings according to your preferences.
- Start Optimization: Click the "Start Optimization" button, and Kraken.io will process your images, reducing their file sizes.
- Download Optimized Images: Once the optimization is complete, download the optimized images to your computer.
| Pros | Cons |
|---|---|
| Offers both lossy and lossless compression, catering to different image optimization needs. | Pricing plans vary, and some features are limited in the free version. |
| Supports batch processing, saving time when optimizing multiple images. | |
| Customizable settings for fine-tuning compression and other image attributes. | |
| API integration for seamless workflow automation. | |
| Supports SVG, GIF, JPEG & PNG files. | |
| Plugins for Magento and WordPress are available. |
Pricing
All plans start out as a free account with 100 MB of testing quota. You don’t need a credit card to sign up.
Paid plans start from $5/mo. and go up to $79/mo. depending on how many MB or GB of images you want to compress.
Usability
Kraken.io is a versatile image compression tool that can cater to both beginners and advanced users.
It offers control over compression settings, format conversion, and resizing.
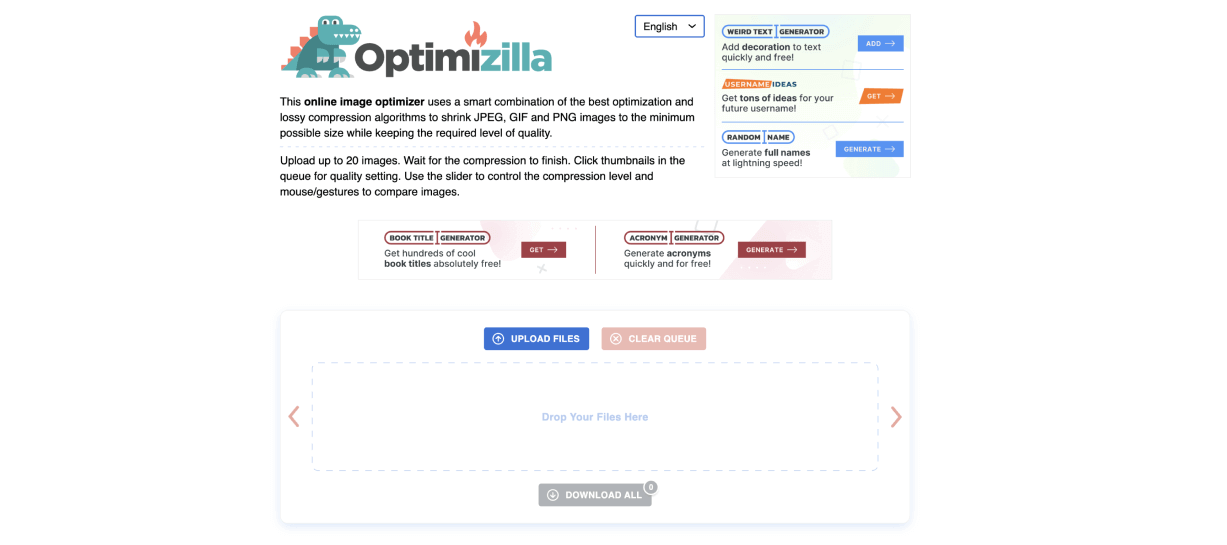
5. Optimizilla
Optimizilla is an online batch image compression tool designed to simplify the process of optimizing multiple images at once while providing a real-time preview.
Key features
- Batch Compression: Optimizilla is optimized for bulk image processing, saving time and effort.
- Real-time Preview: It provides a live preview of the optimized image, allowing you to adjust settings for the best results.
- User-Friendly: Its straightforward interface makes it accessible to photographers of all levels.
- Web Optimization: Images are optimized for web use, ensuring quick load times.
How it works
- Upload Images: Visit the Optimizilla website and upload the images you want to optimize.
- Adjust Compression: Use a slider to customize the compression level for each image or use the same settings for all.
- Preview and Download: Review the real-time preview and download the optimized images.
| Pros | Cons |
|---|---|
| Ideal for batch processing, saving time when optimizing multiple images. | Offers fewer advanced customization options compared to some desktop tools. |
| Real-time preview for fine-tuning settings. | Requires an internet connection for online use. |
| User-friendly interface suitable for photographers of all skill levels. | Offers lossy compression but with minimal to no noticeable loss in quality. |
| Images are optimized specifically for web use. | |
| Compresses PNG, JPEG & GIF files. |
Pricing
Optimizilla is a free online tool.
Usability
Optimizilla’s interface is clean and simple. It’s an extremely user-friendly tool with a real-time preview feature that allows for easy adjustments.
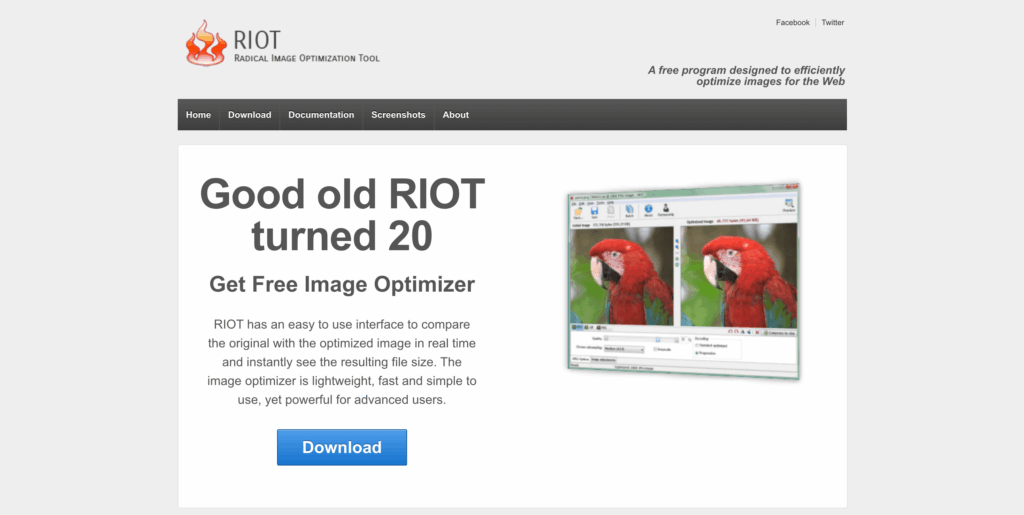
6. RIOT (Radical Image Optimization Tool)
RIOT is a lightweight Windows desktop app engineered for users who crave detailed manual control over image compression, batch tasks, and file format tweaks. Widely respected in the web optimization community for its no-nonsense, hands-on interface.
Key features
- Customizable Compression: Adjust quality sliders, color settings, and even chroma subsampling with live side-by-side previews before saving.
- Batch Processing: Quickly optimize folders full of JPEG, PNG, or GIF images in a single pass.
- Supports Metadata Stripping: Remove or keep EXIF and other metadata for size and privacy preferences.
- Multi-Format Output: Export images as JPEG, PNG, or GIF, with fine-tuned control over each.
- Offline Tool: All processing is local—no internet required; privacy-conscious by design.
How it works
- Download and install RIOT: Available free for Windows at luci.criosweb.ro/riot/.
- Drag-and-drop files or folders: Load your images right into the workspace.
- Tweak settings: Use the sliders and preview window to dial in file size and balance quality.
- Save optimized images: Export individually or batch-save to your desired directory.
| Pros | Cons |
|---|---|
| Full manual control with real-time preview | Windows only; no Mac/Linux version |
| Great batch performance | Interface is functional, not pretty |
| Free and lightweight | Limited to classic web formats (no WebP/AVIF) |
| No ads or registration required | Not ideal for those seeking automation or “one-click” workflow |
Pricing
Completely free; donations to the developer are optional.
Usability
Ideal for advanced users, web designers, or anyone on Windows who wants hands-on batch processing without online uploads or distractions.
7. Squoosh
Squoosh is an open-source image compression app developed by Google Chrome Labs. It runs directly in your web browser, allowing for image optimization and format conversion without uploading files anywhere—everything is processed locally for peace of mind.
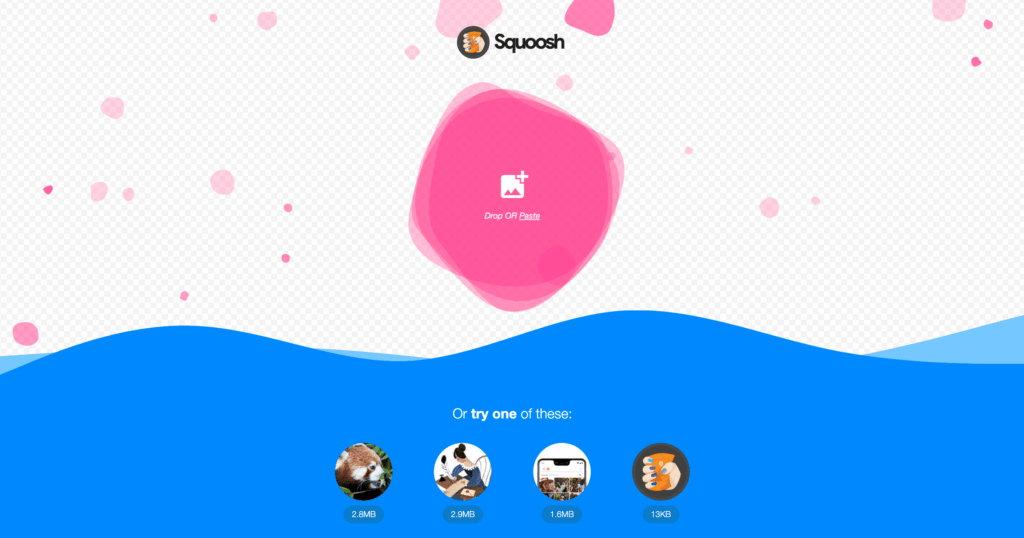
Key features
- Fully In-Browser: Process images on your computer—no data ever leaves your machine.
- Multiple Formats Supported: Optimize and convert JPEG, PNG, WebP, and AVIF.
- Interactive Sliders: Fine-tune compression level, resize images, adjust color palette, and more with instant before/after previews.
- Batch Drop Support: Quickly process several images in tabs or separate windows.
- Cross-Platform: Works on any modern browser and operating system—no install needed.
How it works
- Open Squoosh: Visit squoosh.app in your browser.
- Drag and drop images: One at a time, or open multiple browser tabs for batch work.
- Tweak quality settings: Use sliders to preview and adjust your output in real time.
- Download results: When happy, grab your optimized images.
| Pros | Cons |
|---|---|
| No uploads = maximum privacy | Not a true “batch” interface (each image handled individually) |
| Excellent for web formats and modern codecs | No direct RAW/TIFF support |
| Easy, intuitive UI | Needs a strong browser; can slow with huge files |
| Free and ad-free |
Pricing
Free and open source.
Usability
Best for fast jobs, especially when you need to “webify” images or need next-gen formats like WebP and AVIF for blogs or modern platforms.
8. TinyPNG / TinyJPG
TinyPNG and TinyJPG are web-based compression tools trusted by designers and site owners worldwide. They specialize in shrinking PNG and JPEG files for lightning-fast web display, maintaining transparency and sharpness where it counts.
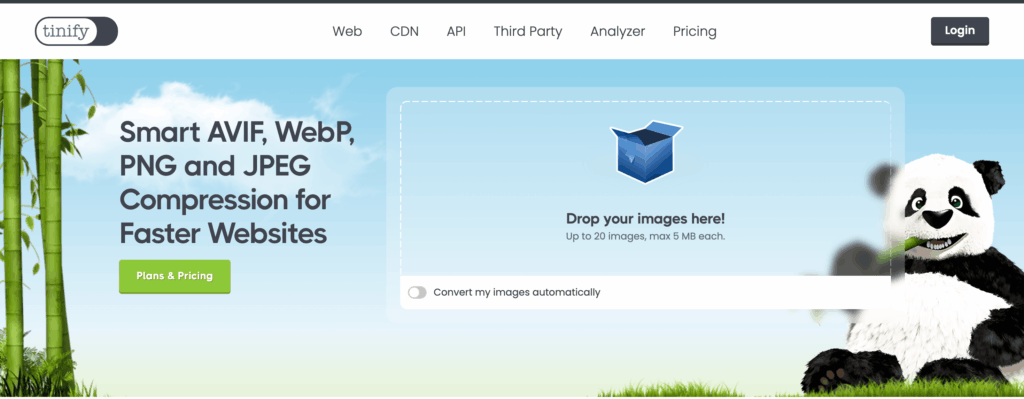
Key features
- Batch Online Compression: Upload up to 20 images at once on the free plan; paid Pro plans allow larger numbers and file sizes.
- Smart Compression: Strips redundant data to minimize file size while protecting visible quality.
- Cross-Platform: No install necessary—runs in any modern browser.
- Plugin Ecosystem: Integrates with Photoshop, WordPress, Shopify and offers a developer-friendly API.
How it works
- Visit tinypng.com or tinyjpg.com: Choose your format.
- Upload PNG/JPEG images: Simply drag and drop.
- Download optimized files: Pick them up individually, or in a zipped pack for paid users.
| Pros | Cons |
|---|---|
| Quick, polished web UI for anyone | Batch limit (20 images) on free plan |
| Preserves alpha transparency | All images processed on their servers—not for sensitive files |
| Widely supported with plugins for web platforms | Charges for bigger jobs or API access |
| No sign-up required for basic use | Does not support non-JPEG/PNG formats |
Pricing
Free for up to 20 images per batch; Pro plans start at $25/year for higher limits and larger file handling.
Usability
Best for bloggers, web designers, and e-commerce teams needing reliable, human-friendly bulk compression with drag-and-drop ease.
If you're using Ps/Lr, this is for you:
Adobe Photoshop and Lightroom have built-in image compression capabilities that you can utilize when exporting images.
Adobe Photoshop
Adobe Photoshop allows you to compress JPEG, PNG, and GIF files with the Save for Web function.
Here’s how to use it:
- Open Your Image: Open the image you want to optimize in Photoshop.
- Crop and Resize (Optional): If needed, crop or resize your image to the desired dimensions. This step helps reduce unnecessary image data.
- Access "Save for Web": Go to the "File" menu, then select "Export" and choose "Save for Web (Legacy)."
- Select File Format: In the "Save for Web" dialog box, you can choose the desired file format (JPEG, PNG, GIF) from the top-right corner.
- Adjust Quality and Compression Settings: For JPEG, you can adjust the quality slider to control the compression level.
Higher quality results in a larger file size, while lower quality reduces it. Observe the preview to see the impact on your image.
- Choose Transparency (For PNG): If you're saving as PNG, you can enable or disable transparency, depending on your image's requirements.
- Preview: Use the preview window to examine how your image will appear after optimization. Make sure it looks acceptable while achieving your desired file size.
- Optimize Settings: On the right-hand side of the dialog box, you'll see options for optimizing.
You can choose to convert to sRGB color space, convert to the desired color profile, and select progressive or interlaced rendering for images with large dimensions.
- File Size and Download Time: Pay attention to the estimated file size and download time at the bottom of the dialog box. This gives you an idea of how fast your image will load on the web.
- Save: Once you're satisfied with your settings, click the "Save" button to choose the location and name for your optimized image.
- Save Again: Finally, click "Save" in the save dialog box to confirm. Your optimized image is now ready for web use.
Adobe Lightroom
Follow these steps to use Lightroom's compression capabilities during image export:
- Select the Images: In Lightroom, navigate to your Library module, and select the images you want to export.
- Go to Export: From the Library module, go to the "File" menu, then select "Export."
- Set Export Settings: In the Export dialog box, configure your export settings as needed, including file format (e.g., JPEG, TIFF), dimensions, and destination folder.
- Choose Compression Settings: If you're exporting to JPEG format, pay attention to the "File Settings" section. Here, you can adjust the "Quality" slider to set the desired JPEG quality level.
Remember that higher values result in better image quality but larger file sizes, while lower values reduce file size with some loss in quality.
Lightroom's lossless compression ensures that the image quality remains as high as possible for the selected quality level.
- Compression for TIFF: If you're exporting to TIFF format, you can choose a compression method in the "File Settings" section.
Lightroom offers LZW and ZIP compression options, both of which are lossless. Select the compression method that suits your needs.
- Additional Settings: Configure other export settings, such as metadata, watermarking, and output sharpening, as per your requirements.
- Export: Once you've set your export settings, click the "Export" button to start the export process. Lightroom will apply the chosen compression options while exporting your images.
3 reasons why image compression matters for photographers
| 1. Faster website loading times | 2. Enhanced SEO ranking | 3. Improved storage space |
| Whether your website is an online portfolio, blog, or e-commerce store, website visitors expect it to load fast. High-resolution images can be a drag on loading speed, potentially causing visitors to bounce before experiencing your visual masterpieces. With quicker load times, users can effortlessly browse your galleries without frustrating delays.The same counts for images shared on social media. The smaller the file size, the faster they’ll load. | Search engines love fast-loading websites. By optimizing your images through compression, you're signaling to search engines that your site is efficient and user-friendly, which can positively impact your SEO ranking. | Compressing your images is a game-changer when it comes to optimizing storage solutions for photography backups. By reducing the file size without sacrificing image quality, you can free up valuable space on your cloud services and external hard drives. |
Lossy vs. lossless compression

When choosing a tool for image compression, remember to take into consideration whether the image compressor will result in any quality loss for your images.
“Lossless compression” is the art of reducing file sizes without sacrificing image quality. Your images become lighter without losing their charm.
In comparison, “lossy compression” sacrifices some original data, slightly lowering the quality of your images to minimize file sizes at its best.
You want your images to retain all their gorgeous details, accurate colors, and visual nuances. Therefore, we think lossless compression is the best way to go for photographers.
Conclusion
Image compression is your ally in striking the perfect balance between image quality and loading speed. It ensures that your visual storytelling remains captivating without sacrificing user experience.
Keep in mind that both lossy and lossless compression methods have their merits.
Embrace lossy compression for web performance without sacrificing much quality, and rely on lossless compression to safeguard your artistry's integrity.
Although we recommend opting for lossless image compression tools, it's your creative prerogative to strike the perfect balance between these two approaches.
We hope these recommended image compressors help you optimize your images, enhance your online presence, and leave a memorable mark. Your art deserves nothing less!
If you’d like more photography tool recommendations, read our Cloud Storage for Photographers article for guidance on preserving your photographic treasures.