
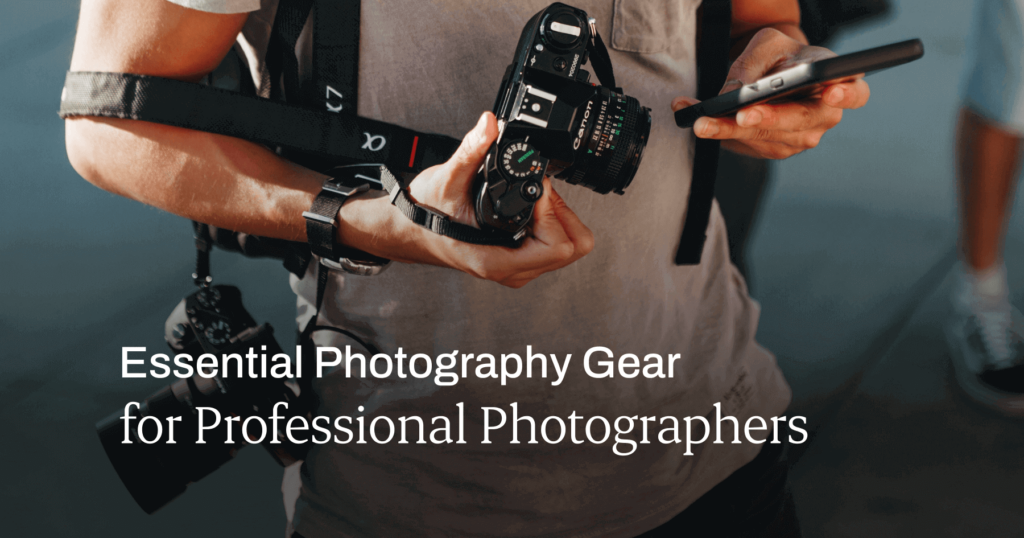
Essential Photography Tools & Gear for Professional Photographers
For professional photographers, photography tools and gear aren’t just “add-ons” — they’re the backbone of your craft and business. (Right after your creative vision, of course!) The right equipment can be the difference between nailing that perfect shot and watching a crucial moment slip away.
That’s why, in this comprehensive guide, we'll explore the essential photography tools and gear that every professional photographer should consider, along with expert tips to help you make informed decisions.
Quick note before we dive in: While I’ve aimed to be as comprehensive as possible for this article, please note that this is not the "end all be all of all" list of photography equipment. Nor do you need to go out and buy every single thing in this article to be a professional photographer. As with anything, one photographer’s best practices may not be the same for another — so use this as a guide to build your own ideal set of photography tools and equipment!
1. Which camera body should you choose?
Let’s start with the basics. The eternal debate between DSLR and mirrorless rages on, but truth be told, both have their place in a pro's kit:
DSLRs
The old but gold standard of professional photography, DSLRs are not going anywhere anytime soon — even though mirrorless enthusiasts may have you believing otherwise.
Pros
- Robust build
- Excellent battery life
- Cheaper and easier to find in the used market
Cons
- Bulkier
- Slower autofocus in live view
- Brands like Nikon and Canon are moving to Mirrorless, raising concerns about availability of parts in the future
Mirrorless
You can’t exactly call mirrorless cameras the “new thing” anymore, but they’ve certainly come a long way. There’s no doubt that they’re the future of photography, so if you’re looking to invest in a camera that’ll last you a long time: Mirrorless is the way to go.
Pros
- Light and compact
- Advanced auto-focus systems
- Better WYSIWYG experience
- Superior video capabilities
Cons
- Shorter battery life
- Lacks an optical viewfinder
- Limited range of accessories and lens (though rapidly improving)
DSLRs still reign supreme for long wedding days or wildlife expeditions where battery life is crucial. However, for travel or street photography, the discretion and lightness of mirrorless systems are unbeatable.
Full-frame vs. Crop sensor
Full-frame sensors offer superior low-light performance and dynamic range, making them ideal for wedding and event photographers who often grapple with challenging lighting. However, they’re bulkier, more expensive, and need more storage space.
And don't discount crop sensors – they’re cheaper, lighter, more versatile, and the “crop” factor gives you a little extra reach when you need to zoom in on the details.
Pro tip: If possible, keep a backup camera body. Equipment failure at a crucial moment can be disastrous.
Recommended models
Here’s what the Aftershoot Community recommends:
- Canon EOS R5 - “We use it for weddings and events. It lets us be in the moment and is super reliable.”
- Nikon Z5
- “I hated it for 2 sessions, then loved the heck out of it! I don’t use the eye tracking but rather single point autofocus. It’s so affordable.”
- “You really can't go wrong with any of the Z line.”
- Sony A7 IV - “Sony is a standout due to its ability to customize buttons, has the best availability of 1st and 3rd party lenses and has proven for years it has the best AF in the Mirrorless segment.”
- Fujifilm X100VI - “It has built in processing so editing isn’t necessary (if you don’t want to.)” Check out our review of the Fujifilm X100VI.
BTW, if you’re looking for a beginner friendly camera at a budget friendly price, you can’t go wrong with the Nikon D5600. In fact, this is the very camera that my uncle bought me to get me started in photography and I’m still attached to it 🙂
2. Which lenses should you use?
Your lens choice can make or break an image. Here are your options:
Prime lenses
These are lenses that come in a fixed focal length (which means you can’t “zoom”).
Advantages
- Sharp, crisp images
- Wide apertures and tight depth of field
- Better low-light performance
- Great for portrait shoots
Popular choices
35mm f/1.4, 50mm f/1.2, 85mm f/1.4
Zoom lenses
As it says on the tin, these are lenses that let you “zoom” in and out on a scene.
Advantages
- Versatile and convenient
- Fewer lens changes (reducing sensor dust)
- Adjustable focal length makes them suitable for virtually any type of shoot.
Popular choices
24-120mm F/4, 70-200mm f/2.8
Specialty lenses
- Macro: 100mm f/2.8 for product and detail shots
- Ultra-wide: 16-35mm f/2.8 for landscapes and architecture
- Super-telephoto: 150-600mm f/6.3 for wildlife and sports
Pro tip: Rent before you buy, especially for specialty lenses you won't use frequently. You can save thousands by renting specialty lenses for specific shoots rather than purchasing outright.
3. What lighting equipment is best for photographers?
Mastering light is what separates the pros from the amateurs. Here's what should be in your lighting kit:
Speed lights
These are smaller lights that you can mount on your camera or use off-camera.
Pros
- Portable
- Versatile
- Great for event photography
Cons
- Limited power
- Potentially slower recycle times
Our pick: the Geekoto GTR (on-camera) or the Geekoto GT200 (off-camera)
Studio strobes
These are heavier flashlights that are used to provide quick bursts of light on your subject.
Pros
- Powerful
- Fast recycle times
- Offers modeling lights
Cons
- Heavier and less portable
- Often require a power source
Our pick: Elinchrom ELB 1200
Continuous LED Lights
These are a type of lighting that are “continuous” or always on.
Pros
- WYSIWYG lighting
- Highly adjustable
- Great for video
Cons
- Less powerful than strobes
- Can generate heat
Our pick: Geekoto NC200
Essential modifiers
- Softboxes: Soft, flattering light
- Umbrellas: Quick setup, broader light spread
- Reflectors: Versatile and essential for outdoor shoots
Pro tip: Use off-camera flash with radio triggers for more creative control.
4. Which tripod should you use?
A sturdy tripod is non-negotiable to keep your camera steady for many kinds of photography. Here are some options:
Carbon fiber tripods
- Pros: Lightweight, dampens vibrations
- Cons: Expensive
Aluminum tripods
- Pros: Affordable, durable
- Cons: Heavier
Don't forget specialized supports
- Monopods: Great for sports and wildlife
- Gimbals: Essential for sports photography or capturing action shots
Pro tip: Invest in a good ball head or geared head for stability and precise adjustments.
Pro pro tip: Get a remote shutter release (wired or wireless) to trigger your shutter without disturbing your tripod set up.
5. Which camera bags should you go for?
Protecting your gear is paramount. Choose bags based on your shooting style:
Backpacks
- Best for: Hiking, travel, carrying lots of gear
- Look for: Good weight distribution, weather-proofing
Shoulder bags
- Best for: Quick access, wedding & event photography
- Look for: Comfortable straps, easy-access compartments
Roller cases
- Best for: Studio shoots, air travel
- Look for: Sturdy wheels, TSA-approved locks
Pro tip: Consider modular camera bag inserts. They allow you to customize your bag's interior for different shoots and quickly transfer gear between bags.
6. Which memory cards & storage solutions should you use?
Fast and reliable storage and backup are every professional photographer’s best friend. You need somewhere to store those heavy RAW files!
Memory cards
- SD cards: Widely used & compatible, up to 128GB+ capacity
- CF cards: Faster write speeds, durable, not as widely used in modern cameras
- XQD/CFexpress: Newest standard, offer the highest speeds, future proof
Backup solutions
- Portable SSDs & HDDs: Fast, durable, perfect for on-location backups
- RAID systems: For studio use, provides redundant storage to protect from disk failures
- Cloud storage: Services like Backblaze or Amazon Glacier for offsite backup
Pro tip: Use cameras with dual card slots and set one card to backup. You never know when a card fails mid-shoot and you lose someone’s precious memories.
7. Which filters can you use for lenses?
Though opinions vary on using lens filters for enhancing images, many photographers advocate for quality filters to protect your lenses:
- UV filters: Protect your lens from ultraviolet light
- Polarizing filters: Reduce glare and reflections, saturate colors
- Neutral Density filters: Allow for long exposures and wide apertures when shooting in bright conditions
Pro tip: Avoid stacking filters when possible. Each piece of glass can potentially degrade image quality.
8. What software & tools do professional photographers use?
In a business as fast-faced as photography, your software toolkit is just as important as your camera. And there is a TON of specialized software available for photographers to speed up and organize their workflow.
Let’s take a look at some of the most important photography business tools:
Photo Editing
- Adobe Lightroom: Industry standard for cataloging and basic photo editing
- Capture One: Excellent color grading, popular for studio work
Advanced editing
- Adobe Photoshop: The gold standard for detailed retouching and compositing
- Affinity Photo: A powerful, one-time purchase alternative to Photoshop
AI-powered culling and editing
Save hours on culling and editing with Aftershoot. You can cull thousands of photos in minutes, then import them to Lightroom or simply use Aftershoot’s own presets, called “creator styles”, for editing.
You can even build your own AI style to consistently apply your own “style” of edits to thousands of images at once!
“Aftershoot has changed my wedding photography business and, really, kinda, life. Since signing up, I've started taking my laptop to weddings, setting it to cull on my way home, then on to edit when I go to bed. Incredible. Obviously, I still have to go through everything, do some editing, etc., but it just saves SO much time. I love it! Thank you!”
— Daniel Turner, Wedding Photographer
Business management
- Studio Ninja: Comprehensive client management system
- Honeybook: Great for contracts and invoicing
- Quickbooks: Industry-standard for accounting
Photo delivery and proofing apps
Tools like CloudSpot, Pixieset, and ShootProof make it easy for photographers to share photos with clients for both review and final delivery. Check out our full comparison of the best online photo proofing galleries.
Pro tip: Automate your workflow. Use Zapier or native integrations to connect your tools, saving time on repetitive tasks.
9. Which post-processing hardware is best for photographers?
Your editing station can make or break your efficiency:
- Use a calibrated monitor to get accurate and consistent results when editing images professionally.
- Get a graphics tablet for precise retouching work
- Prioritize fast CPU / processors, ample RAM (32GB minimum), high SSD storage.
Pro tip: Calibrate your monitor monthly, and before editing large amounts of images, to ensure color accuracy and consistency.
10. Which cleaning & maintenance equipment do you need for your photography gear?
It’s incredibly important to keep your gear in top shape. Here are some tips:
Sensor cleaning
- Invest in a good sensor cleaning kit and make sure to clean your sensor periodically.
- If you’re not confident, practice on an old camera first, if possible, and don't hesitate to seek professional cleaning for stubborn issues.
Lens care
- Use microfiber cloths and a cleaning solution. Never use your shirt, a random cloth, or *shudders* your breath. (I used to blow dust away when I first started learning photography before my professor scolded me 🥲)
- Get a lens pen for quick dust removal.
- Use lens caps when storing your lenses.
Watch this YouTube video to learn how to clean your camera lens effectively.
General maintenance
- Consider investing in a rocket blower for removing loose dust.
- Keep silica gel packets in your bag to combat moisture.
11. What power solutions should photographers keep on hand?
Never let a dead battery end your shoot. Always be prepare with:
Extra batteries
- Always carry at least 2-3 spares for each camera body. They never last as long as you think, especially if you’re using mirrorless cameras, and you never want to end up running out mid-shoot.
- Consider larger capacity third-party options, but be wary of compatibility issues.
Charging
- Use dual battery chargers for faster turnaround.
- Keep portable power banks on hand for on-the-go charging.
Power management
- Battery grips for extended sessions
- AC adapters for tethered studio shooting
Pro tip: In cold weather, keep your spare batteries close to your body heat in your pocket. The warmth will help maintain their charge.
12. What are some creative photography tools you can use for unique effects?
Professional photographers are always looking for ways to make our work stand out. While you can do a lot of creative work during post-processing, it’s a different kind of rush to experiment during the shoot itself and makes for a fun experience for your clients too!
Add a creative edge to your work with:
- Prisms: to create light flares, refractions, and interesting distortions. Great for portraits and wedding photography.
- Copper pipes: to create circular vignettes or rings of light under the sun.
- Lens balls: to capture inverted landscapes or portraits within a sphere. Be cautious of direct sunlight as it could be a fire hazard.
- Fairy lights: to create bokeh effects, add warmth to images, and take “dreamy” portraits.
- Smoke bombs: to add colorful smoke effects to images. Use with caution, in well-ventilated areas, and check local regulations.
- Kaleidoscope filters: to create symmetrical, fractal-like effects.
Pro tip: While these tools can create stunning effects, use them judiciously and not as a crutch. The goal is to enhance your creative vision, not to rely on gimmicks. Practice with these tools to understand how they interact with different lighting conditions and subjects.
Remember, the key to using creative tools effectively is experimentation. Don't be afraid to try unconventional combinations or techniques. Some of the most striking images come from happy accidents or pushing the boundaries of traditional photography.
Lastly, always prioritize safety when using tools like smoke bombs or lens balls, and be respectful of your environment and subjects.
Wow, that was long
And that concludes this wrap-up of pretty much all kinds of photography tools, equipment, and gear I could think of. Obviously, there’s a ton I didn’t go into at all or in much detail — because if I did, we’d be here for hours — so I’ll save those for another post.
Before you go, just one final tip: Building your professional photography kit is an ongoing process. While it's tempting to want every new piece of gear, focus on the essentials that will truly enhance your work and workflow. Invest in quality equipment that will stand the test of time, and continually educate yourself on new techniques and technologies.
Oh, and while you're upgrading your photography tools and workflow, give Aftershoot a try to speed up your post-processing 😉