If you want consistent, dimensional portraits, learn Rembrandt lighting and turn it into a repeatable setup.
What is Rembrandt lighting?
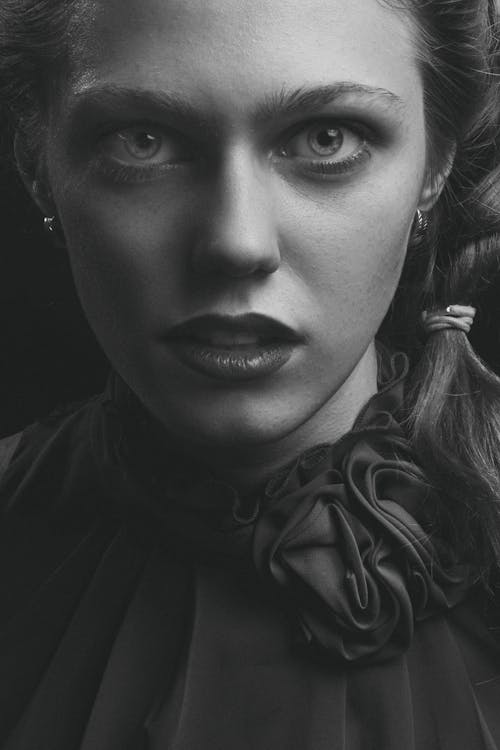
Rembrandt lighting puts a defined triangle of light under the far eye, with the key placed roughly 45° to the side and slightly above eye level.
Done right, you get shape, mood, and clean detail without harsh transitions.
This guide gives you a fast recipe, then shows how to adapt it to different faces, glasses, skin tones, and backgrounds. You’ll get real numbers for angles, distances, and modifiers, plus quick fixes when the triangle slips or shadows get heavy.
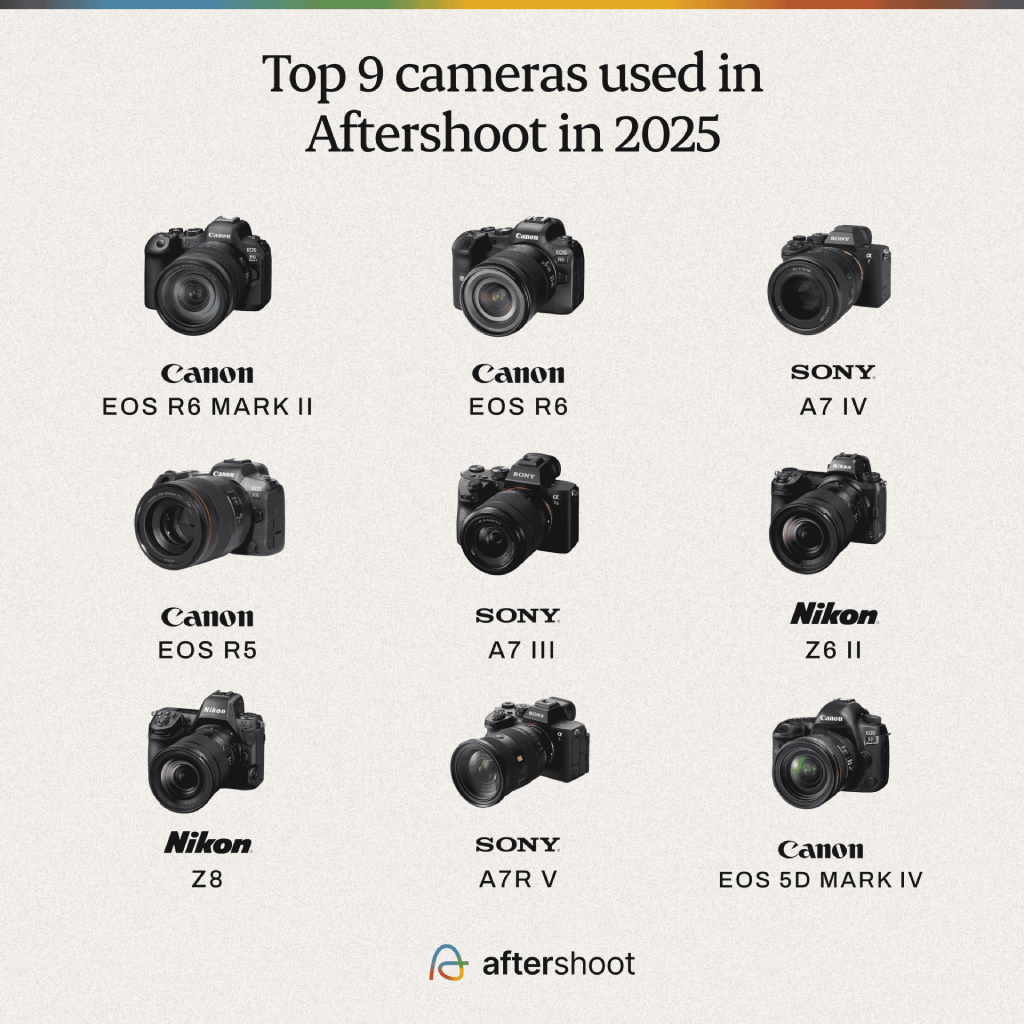
Use the steps, then let Aftershoot handle the cull and first-pass edits so you can stay on set instead of stuck in post.
Rembrandt Lighting: Key Specs at a Glance
Before we dive into the nitty grits, here’s what you’ll walk away with.
- Key placement: 45° off-axis, 10–20° above eye line, aimed to connect nose shadow with cheek shadow.
- Triangle spec: on the far cheek, no wider than the eye, tip points to the corner of the mouth.
- Modifier: 24×36 softbox or 36–48″ octa. Add a 30–40° grid for control.
- Distance: start at 4–6 ft. Closer = softer, farther = more contrast.
- Fill: white/silver reflector opposite key at chest height until shadows hold detail.
- Background: dark neutral, subject 4–6 ft off backdrop to avoid spill.
- Glasses: raise light and tilt frames down a touch to kick reflections off-axis.
- Metering: expose for highlights, protect skin texture; lift shadows with fill, not ISO.
The challenge isn’t just knowing what Rembrandt lighting is, it’s executing it consistently, efficiently, and in a way that flatters every client who sits in front of your camera.
The solution? These 10 battle-tested tips will help you nail Rembrandt lighting every single time, turning what used to be a guessing game into a repeatable system you can rely on.
Rembrandt Lighting Techniques & Cheat Sheet
| Situation | Key & Height | Modifier | Distance | Fill | Background | Watch for |
|---|---|---|---|---|---|---|
| Classic headshot | 45° side, 10–15° above eyes | 24×36 softbox | 5 ft | White reflector | Dark gray seamless | Triangle too wide |
| Dramatic editorial | 50–55° side, 20° above | 36″ octa + 40° grid | 6 ft | Minimal fill | Black cloth | Blocky shadow edge |
| Deep-set eyes | 40° side, 10° above | 24×36 softbox | 4 ft | Silver reflector low | Dark neutral | Lost eye catchlight |
| Glasses | 45° side, higher than usual | 36″ octa | 5 ft | White reflector | Dark | Lens glare, adjust pitch |
| Dark skin | 45° side, 15° above | Octa + grid | 4–5 ft | White fill closer | Dark neutral | Underexposed triangle |
| Very fair skin | 45° side, 10° above | Softbox feathered | 6 ft | White fill farther | Mid-gray | Blown highlights |
10 Rembrandt Lighting Tips for Portrait Photography
1. Understand the Signature Triangle of Light
Here’s what separates real Rembrandt lighting from just “side lighting with shadows”: that perfect triangle of light on the shadowed side of your subject’s face.
How it works: When you’re photographing a client for corporate headshots, this triangle becomes the focal point that draws the viewer’s eye while adding dimension that makes the portrait feel three-dimensional rather than flat.
Why this matters: As one lighting expert puts it, “Rembrandt lighting is a form of side lighting with the light source placed such that it will show a triangular-shaped lit area of the eye and just under the eye in the otherwise dark area of the face.” This isn’t just technical jargon: that triangle is what transforms an ordinary portrait into something with genuine visual impact.
How to nail it: Position your key light at a 45-degree angle to the side and slightly above your subject’s face. The triangle should appear on the cheek opposite your light source, underneath the eye, and should be no wider than the eye itself.
2. Master the 45-Degree Angle Rule
The magic happens at exactly 45 degrees, both horizontally and vertically from your subject.
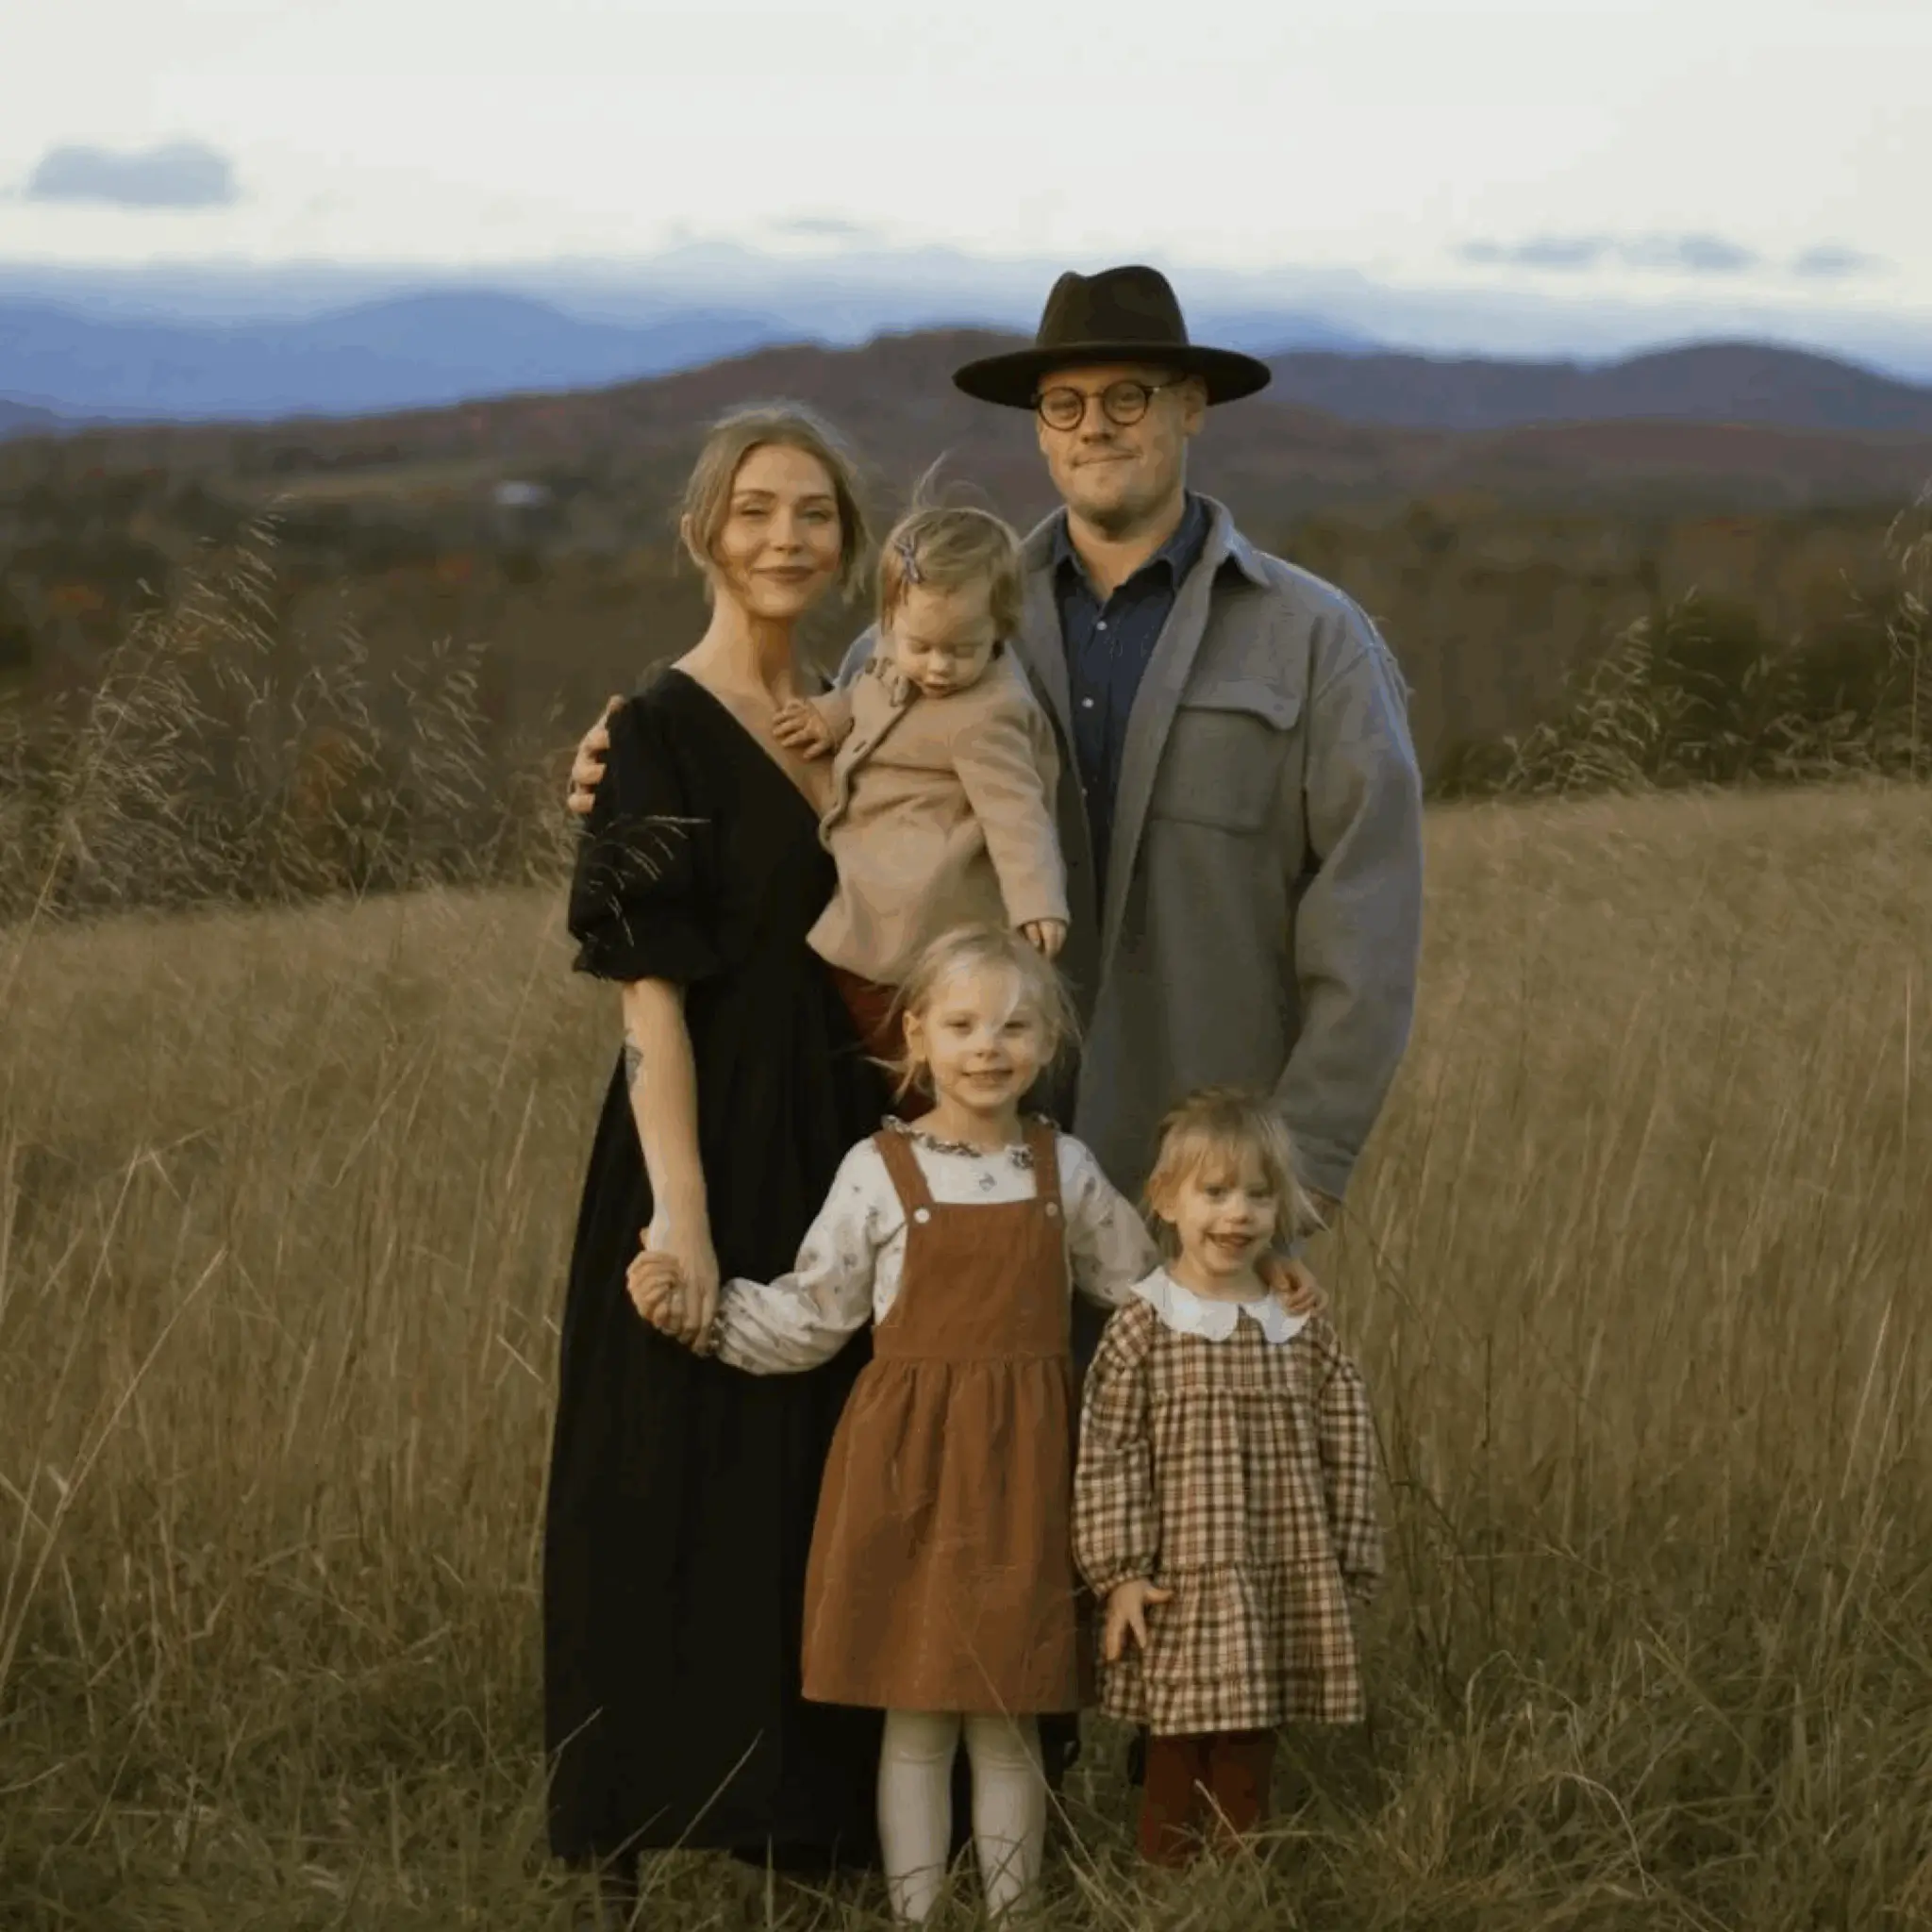
Here’s a real scenario: You’re shooting a family portrait session, and the parents want individual headshots that feel professional but warm. Instead of guessing with your light placement, use the 45-degree rule as your starting point.
The technical breakdown: “The key light must be placed at a 40-45 degree angle to the subject and the lights height must be 1-2 ft higher than the subjects head, the subject must then be faced at a 30 degree angle towards the space between the camera and the light source.”
Why this works: This specific angle creates those gorgeous shadows on the cheek while maintaining enough light on the face to keep details visible. Too steep, and you lose the triangle. Too shallow, and you lose the drama.
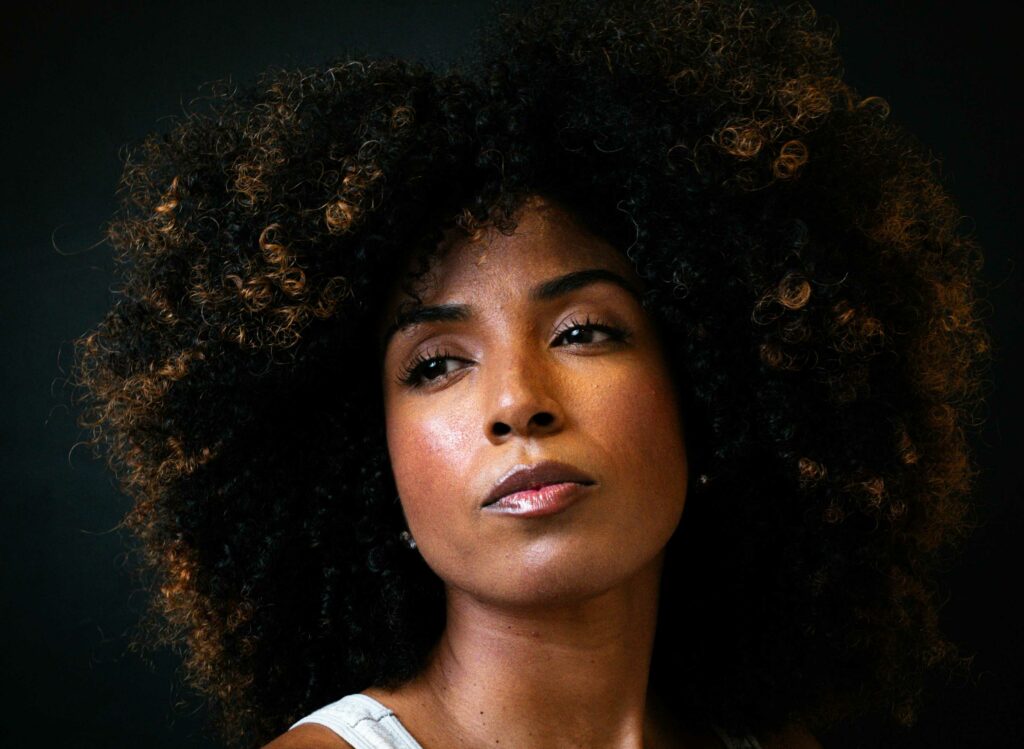
3. Use Soft, Diffused Light for Flattering Results
Many photographers go wrong because they think dramatic lighting means harsh shadows.
Picture this: You’re shooting a portrait session with a client who’s already self-conscious about their appearance. Hard, undiffused light will create unflattering shadows that emphasize every skin texture and line. But soft, diffused Rembrandt lighting? That creates depth while still being incredibly flattering.
The game-changer: Use softboxes, umbrellas, or even window light to soften your key light. As one photographer noted, “The soft lighting in this case was the result of a large garage-type door opposite from the subjects, creating the effect of window light.”
Pro tip: The softer your light source, the more forgiving it becomes for different skin types and ages. Your clients will thank you, and you’ll spend less time in post-processing trying to fix harsh shadow transitions.
4. Position Your Light Above Your Subject’s Eye Line
The elevation of your light is just as crucial as the horizontal angle.
Here’s why this matters: When you’re shooting a portrait session and your client has deep-set eyes or pronounced brow bones, proper light elevation becomes even more critical for creating that classic Rembrandt look without losing their eyes in shadow.
The technique: Place your key light slightly above your subject’s eye level, angling it down towards their face. This creates those beautiful shadows under the chin and cheek that define the Rembrandt style.
What you’ll notice: This positioning enhances facial structure naturally, creating definition without looking artificial. It’s particularly flattering for corporate headshots where you want to convey authority and approachability simultaneously.
Read also: Conceptual Portrait Photography: How to Tell Stories Without Words
5. Experiment with Distance to Control Drama
The distance between your light and subject is your secret weapon for controlling the intensity of the effect.
Real-world application: Let’s say you’re shooting a dramatic portrait for a musician’s album cover. Moving your light closer creates softer shadows with gradual transitions—perfect for a moody, artistic feel. Pull it back, and you get higher contrast with more defined shadow edges for something bold and striking.
How distance changes everything: Closer light creates a larger, softer source relative to your subject, while more distance makes your light source effectively smaller and more directional.
The practical approach: Start with your light about 4-6 feet from your subject, then adjust based on the mood you’re after. Closer for intimate portraits, farther for dramatic headshots.
Quick reality check
If you’re spending more time in post-processing trying to fix lighting than you spent actually shooting, you need a better workflow.
Aftershoot’s AI-powered editing learns your style and handles the technical adjustments automatically, so you can focus on nailing your lighting setup instead of fixing it later.
6. Use Reflectors to Control Shadow Intensity
Sometimes that dramatic shadow is a bit too dramatic for your client’s comfort zone.
Here’s a common scenario: You’re shooting portraits for a law firm, and they want something professional with depth, but not so shadowy that it feels mysterious or unapproachable. Enter the reflector.
The technique: Position a white or silver reflector on the opposite side of your key light to bounce some light back into the shadows. You’re not trying to eliminate the shadow—just soften it enough to maintain detail.
One photographer’s solution: “To lighten them, a large, white piece of cardboard was placed behind the backrests of the seats in front of the person to reflect light upward.” Sometimes the most effective tools are the simplest ones.
The sweet spot: You want just enough fill light to retain detail in the shadows without losing that signature Rembrandt triangle. Think “subtle lift” rather than “shadow elimination.”

7. Control Your Background for Maximum Impact
Your background can make or break the dramatic effect you’re working so hard to create.
Here’s what happens: You nail the perfect Rembrandt lighting setup, but your background is cluttered or too bright, and suddenly the viewer’s eye is everywhere except where it should be – on your subject’s face.
The solution: Use a dark or neutral background that creates strong contrast with the highlights on your subject’s face. This makes the lit areas pop while letting the shadows recede naturally.
Pro insight: A simple dark gray or black backdrop can transform good Rembrandt lighting into stunning Rembrandt lighting. The background should complement the drama, not compete with it.
8. Guide Natural, Relaxed Poses
Even perfect lighting can’t save a stiff, uncomfortable pose.
The reality: Your client is already nervous about being photographed, and now you’re asking them to hold still while you fiddle with lights. The last thing you want is for them to freeze up into an unnatural position.
What works: Guide your subject to slightly tilt their head or shoulders toward the light. This subtle movement helps the light interact with their face more naturally and creates a more engaging, authentic feel.
The photographer’s secret: Keep talking to your subject while you’re adjusting lights. Give them small, specific directions like “turn your chin slightly toward me” rather than “pose naturally” (because nobody knows what that means when they’re nervous).
9. Adjust for Different Skin Tones
Here’s something a lot of lighting tutorials skip: Rembrandt lighting looks different on different skin tones, and you need to adjust accordingly.
For darker skin tones: You might need to bring your light closer or use a more powerful source to ensure that signature triangle is clearly visible. The contrast between light and shadow is what creates the effect, so you need enough light to establish that contrast.
For lighter skin tones: You’ll often need to dial back the intensity or move your light farther away to avoid overexposure in the highlighted areas. The goal is balance—defined shadows without blown-out highlights.
The key principle: The triangle should be clearly visible regardless of your subject’s skin tone. Adjust your light’s power, distance, or modifier to achieve this, not your camera settings alone.
10. Embrace Experimentation and Adaptation
Here’s the truth no one talks about: even with all these rules, every face is different, every session has unique challenges, and sometimes you need to break the “rules” to get the best result.
Real-world flexibility: Maybe your client has asymmetrical features that look better with the light coming from their right side instead of left. Or perhaps their glasses create reflections at the standard 45-degree angle, so you need to adjust slightly.
What this looks like in practice: Use the 45-degree rule as your starting point, then fine-tune based on what you’re seeing. Move the light a few degrees, adjust the height, try a different modifier. The “perfect” setup is the one that makes your specific subject look their best.
The mindset shift: Think of these techniques as your foundation, not your limitation. Master the basics so you can break them intelligently when the situation calls for it.
Common Rembrandt Lighting Problems & Fixes
- No triangle visible: rotate subject slightly toward camera, raise key by 5–10 cm, or narrow feathering.
- Triangle too big: bring subject back toward camera axis, or raise key and lower power.
- Harsh shadow edge: move light closer or switch to a larger modifier.
- Eye sockets dark: drop the key a few degrees or add a low white fill.
- Glare on glasses: raise key and angle frames down, or move key out laterally and feather more.
- Background contaminates subject: add a grid or flag, and pull subject 4–6 ft off backdrop.
Building a Repeatable Rembrandt Lighting Workflow
Mastering Rembrandt lighting isn’t about memorizing a bunch of technical rules—it’s about developing a reliable system that you can adapt to any client, any session, and any creative vision.
The photographers who consistently nail dramatic portraits don’t just know the techniques; they’ve built repeatable workflows that let them work confidently under pressure. They walk into every session with a plan, adapt quickly when needed, and deliver consistent results that keep clients coming back.
That’s what separates good photographers from great ones—having systems in place that free you up to focus on the creative and interpersonal aspects of photography rather than scrambling to remember technical details.
Ready to streamline your entire portrait workflow? While you’re perfecting your Rembrandt lighting setup, Aftershoot can handle the heavy lifting in post-processing. Our AI learns your editing style and automates the tedious culling and editing work, giving you more time to focus on what really matters—creating stunning portraits and building relationships with your clients.
Try Aftershoot free for 30 days and discover how much more creative energy you have when you’re not spending hours at your computer after every session.
What is Rembrandt lighting in one sentence?
A portrait setup where the key light creates a small triangle of light on the far cheek under the eye, with the light about 45° off-axis and slightly above eye level.
Which side should the triangle be on?
The cheek opposite the key light.
What are the best modifiers for Rembrandt lighting?
24×36 softbox or 36–48″ octa; add a 30–40° grid for control.
Can I do this with one light?
Yes. One key plus a reflector gives classic Rembrandt with clean shadow detail.
How is it different from Loop or Short lighting?
Loop has a separated nose shadow; Rembrandt connects nose and cheek shadows to form the triangle. Short lighting places the lit cheek away from camera for more slimming.