AI Editing Just Got A Lot Cooler – Introducing ‘Aftershoot Edits 2.0’
It’s been a little over a year since we launched Aftershoot EDITS – our AI Editing solution for photographers – and what a ride it’s been!
From introducing the Aftershoot Marketplace with editing styles from renowned photographers to achieving the milestone of processing over 1 billion images; we’ve come this far only because of YOU – the photographers.
It’s your feedback, suggestions, and questions that help us fuel our way into the future. A future where your post-processing workflows are smoother and faster than ever with Aftershoot as your faithful sidekick.
And today we are thrilled to talk about the latest update which will take your AI Editing experience to newer heights – say hello to Aftershoot Edits 2.0!
Consistent Edits, Every Time
Editing is hard. We’ll give you that. Trusting someone (or something!) else to do your editing is even harder. So we get it. We really do. Building trust doesn't happen overnight, and neither did our latest update to Aftershoot.
There’s been a singular aim with this update and that is to bring you Consistent Edits, Every Time. Be it bright daylight or low night light, indoor shots or outdoor; all you need to do is to hit the edit button in Aftershoot and let Aftershoot Edits 2.0 weave its magic.
How do we do this? 👇🏻
What Makes Aftershoot Edit Better?
While we could very easily and confidently claim that we edit better than other AI Editing platforms, we’ll leave that debate to our users. What we will definitely say is that with this new update, Aftershoot is now a better version of itself.
With all the new features and updates, simply put, Aftershoot Edits Better. Let’s jump straight into how we made it happen.
Intuitive Workflow Transition
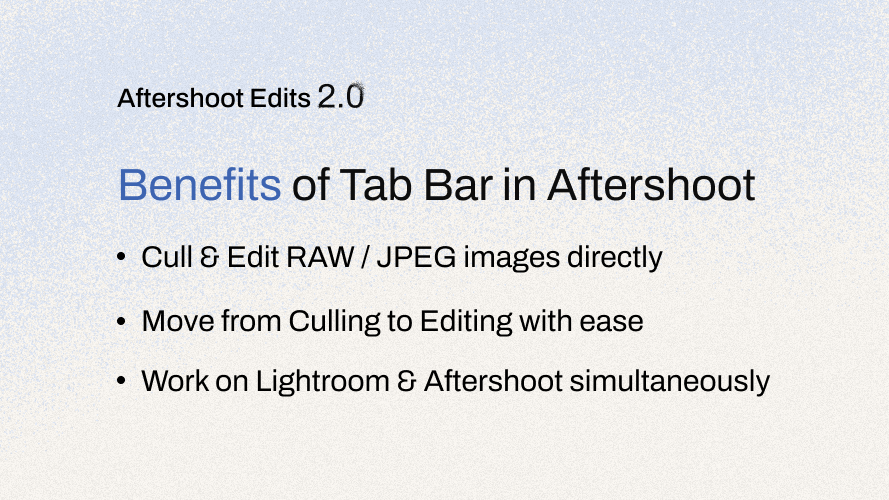
Some of our users may already be familiar with the recent launch of the Aftershoot Tab Bar, a nifty little addition to Aftershoot’s UI that enables a seamless post-processing workflow.
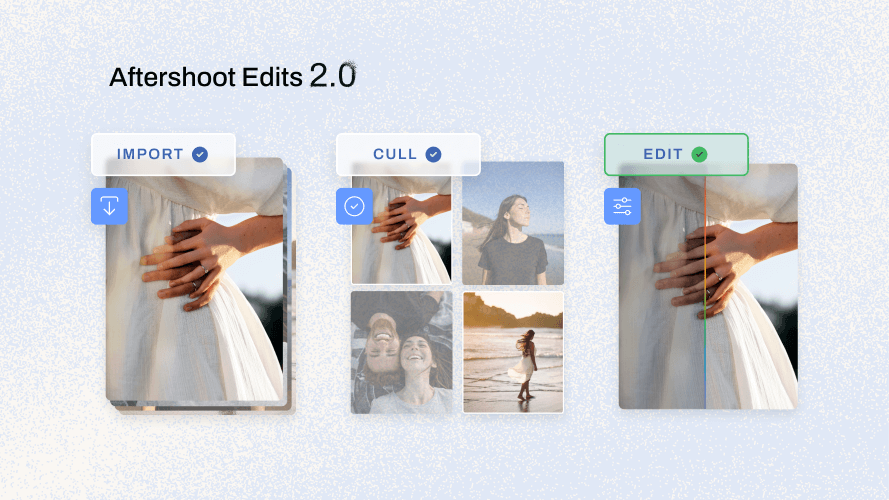
The Tab Bar divides your workflow into three tabs – Import, Cull, and Edit and lets you move between them with ease.
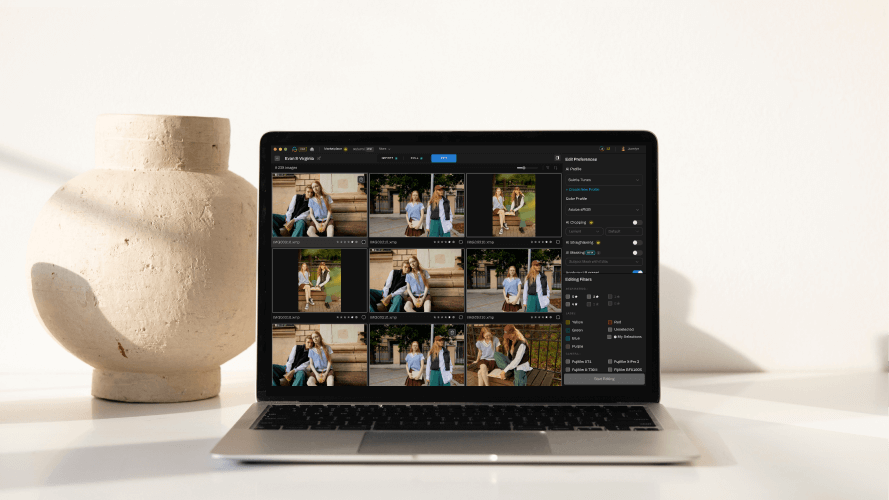
You can now Cull & Edit RAW and JPEG images directly, work on Lightroom & Aftershoot simultaneously, and even export your edited images to the platform of your choice (more on this later)!
Advanced AI Models
As a photographer, when you’re in the moment, capturing that picture-perfect shot, you can’t always set everything to perfection. Sometimes, tricky settings like Exposure and White Balance may not align perfectly, requiring fine-tuning during post-processing.
We have improved our Exposure and White Balance AI Models to understand these intricacies better and give you more consistent edits across all kinds of photos within a session.
White Balance
Even if the lighting differs drastically within a session, White Balance in Aftershoot will now handle your images smartly and give you more consistent edits.
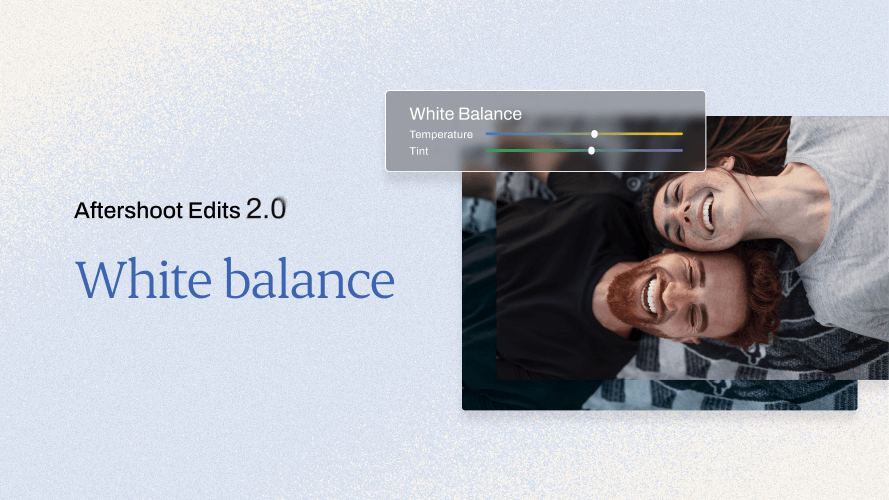
It particularly excels with photos taken in extreme conditions from very bright sunlight to dim indoor night light. So you don’t need to worry about editing while you move around from day to night or indoor to outdoor during your sessions.
Exposure
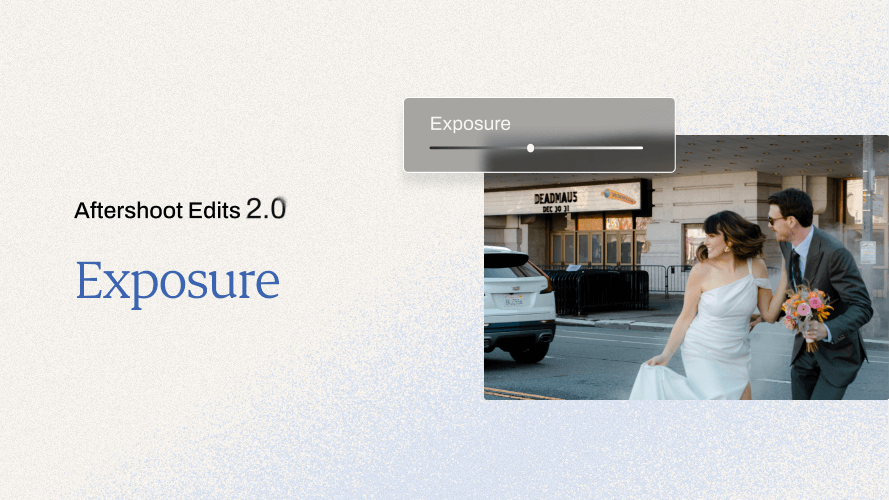
From overexposed to under-exposed and even those tricky backlit shots, Aftershoot now gives you balanced, detailed edits every time.
New AI Tools
The Aftershoot Edits 2.0 update also brings with itself some amazing new tools which we’re super excited for you to try.
AI Masking
Make your subjects pop with our new AI Masking. It intelligently identifies the key subjects, applies a mask over them, and lets you edit parts of your image selectively.
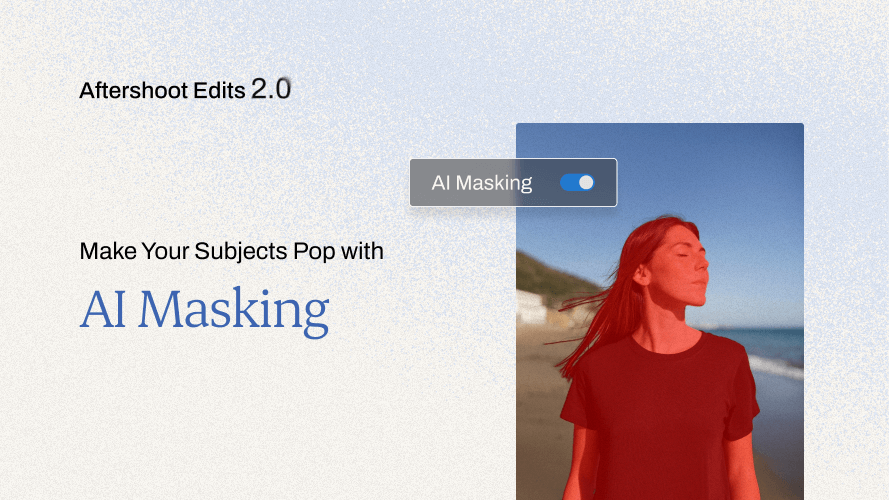
There are two types of AI Masking you can choose from –
- Subject Masking Only: This applies a mask over your subject and edits the entire image including the subject.
- Subject Masking with Edits: This applies a mask over your subject and edits the complete image but selectively edits the subject differently to make it pop.
Advanced Cropping
Need to crop your edits for print? Or social media? Or just for a digital gallery? The Advanced Cropping in Aftershoot now allows you to tailor your photos in any aspect ratio of your choice.
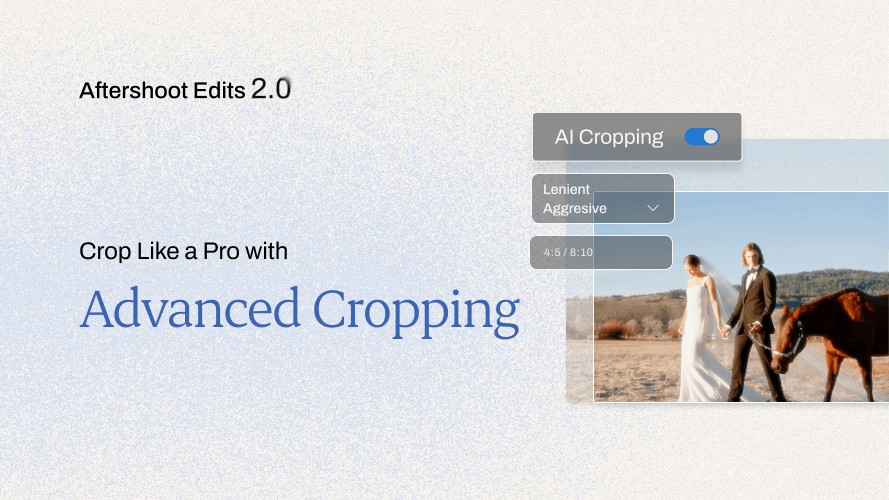
More often than not, the subjects in your photos literally need to be the center of attention and that’s why you can now choose from two cropping options.
- Loose Cropping: This would ensure that your subjects are within the frame
- Aggressive Cropping: This ensures your subjects are right at the center of the frame
Improved Straightening
Say goodbye to tilted horizons and awkward angles. With Improved Straightening in Aftershoot, get more visually appealing images especially those outdoor shots which can be a bit tricky to balance.
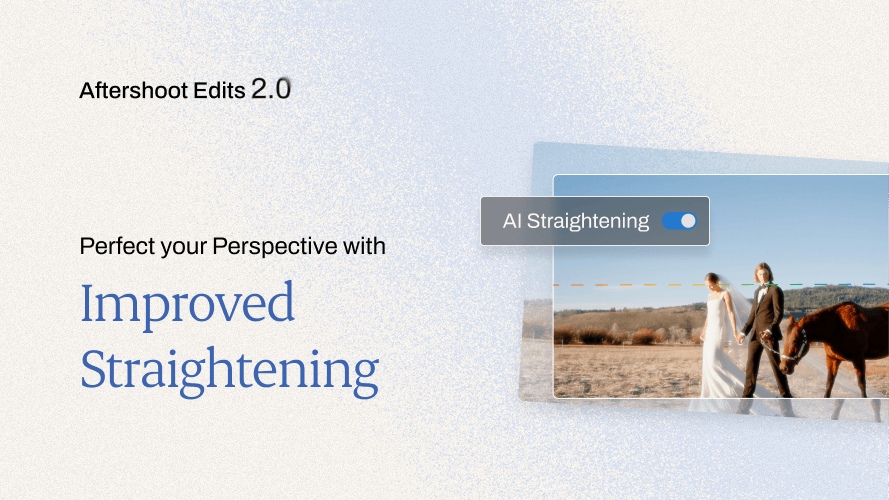
Our upgraded algorithms improve automatic straightening reducing manual intervention extensively.
More Creator Styles
We know you love the Creator Styles in the Aftershoot Marketplace and you’ll be happy to know we’ve introduced new ones from your favorite photographers.
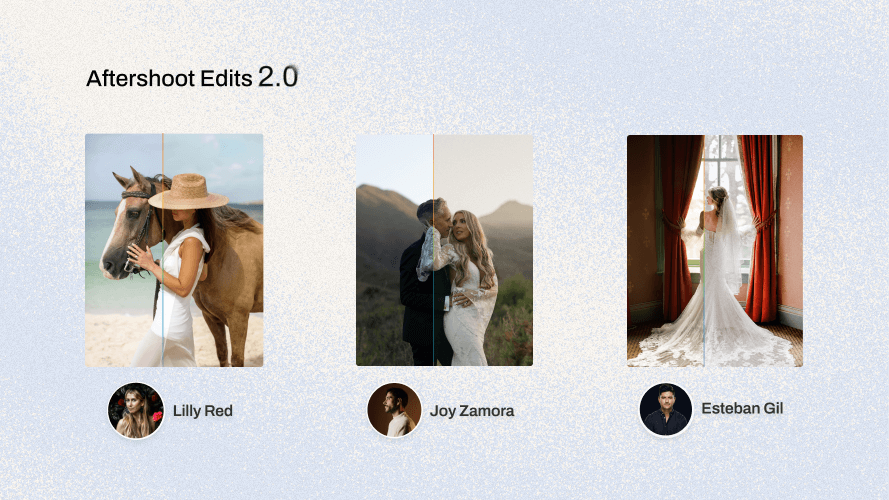
For those who haven’t had the chance to explore Creator Styles yet – these are AI Editing Styles that mirror the editing styles of some of the best photographers out there.
You may purchase the ones you like and use them as much as you want to. And you know what the best part is? When you buy any of the Creator Styles, 100% of the fee goes directly to the photographers themselves.
Extended Platform Compatibility
Imagine being able to drag and drop your edited images from Aftershoot to the editing platform of your choice. Wait… Don’t just imagine, you can actually do this now.
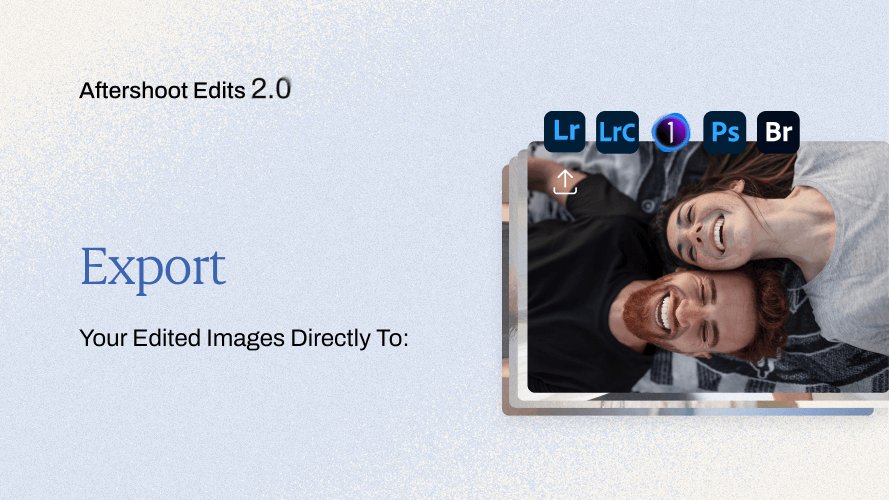
Aftershoot is now compatible with and supports direct export to platforms like Adobe Lightroom Cloud, Adobe Bridge, Adobe Camera RAW, and Adobe Photoshop. Add your signature finishing touches where you like, easily.
Are You Ready to Try Aftershoot Edits 2.0?
With all the new features and enhancements that are now live with the new update, it’s time to experience the consistency and efficiency of AI Editing with Aftershoot.
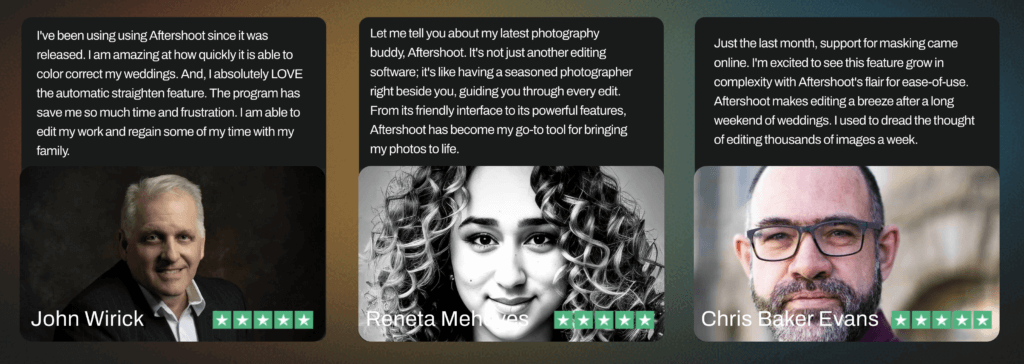
And it’s not just us who you need to listen to. Here are some of our users with their experience of Editing with Aftershoot.
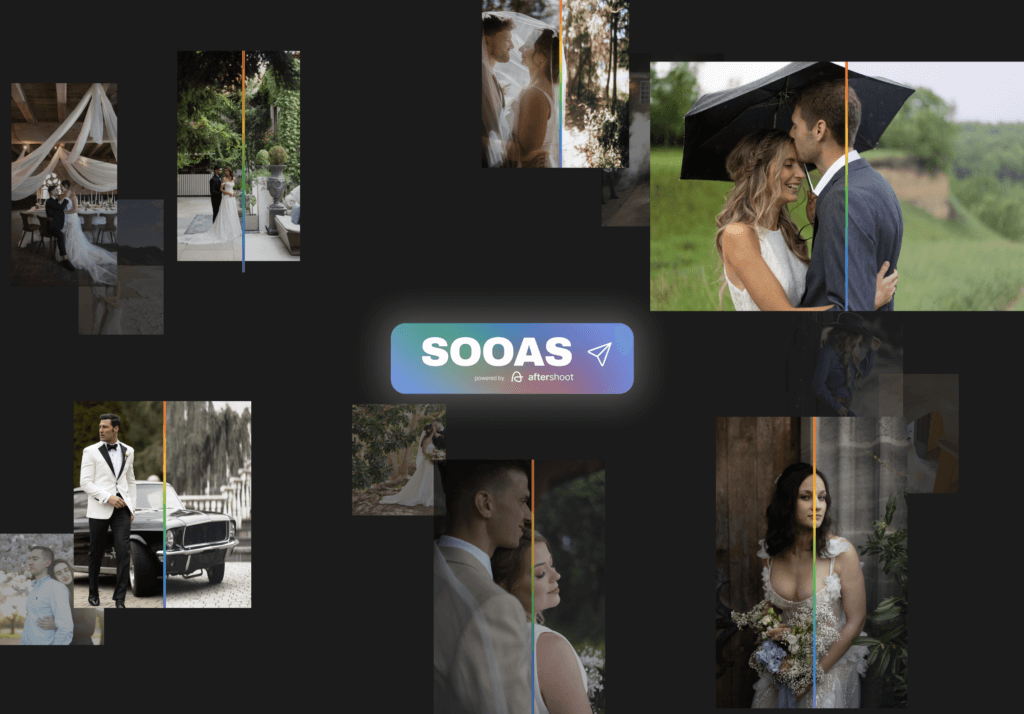
In fact, many of these users have shared their edits with us which are Straight Out Of Aftershoot. SOOAS as they like to call it – are Aftershoot-edited-images that haven’t required any touch ups or edits elsewhere!
Whether you’re a first-time user or you’ve already tried Aftershoot in the past, you can get a 30-day trial for Aftershoot Edits 2.0 absolutely free.
Even if you’re a current Culling user of Aftershoot, you can have a 30-day trial added to your account to try out Editing.
And when you do end up buying the subscription, there’ll be a 20% discount waiting for you at the time of checkout. Just use code EDITS20 to avail the offer.
We are kicked about this new era of AI Editing with Aftershoot Edits 2.0 and can’t wait for you to try it out. We’d love to hear about your experience and you can get in touch with our support team for any kind of assistance you may need.